Granny Rectangular Blanket
To my utter delight, my grandsons love having me crochet for them. They’re especially fond of loveys (I’ve made a few for Gabe who’s 4) and blankets. It all started with their baby blankets which became fixtures in their lives. However, this summer, Gabe decided that, because he was about to turn 4, he needed a big boy blanket. He chose the colors that would make up his granny square blanket – I added the light gray to bring it all together. I finished and delivered his blanket on…wait for it…Granny Square Day! Well, truth be told, that just happens to be his birthday, so…
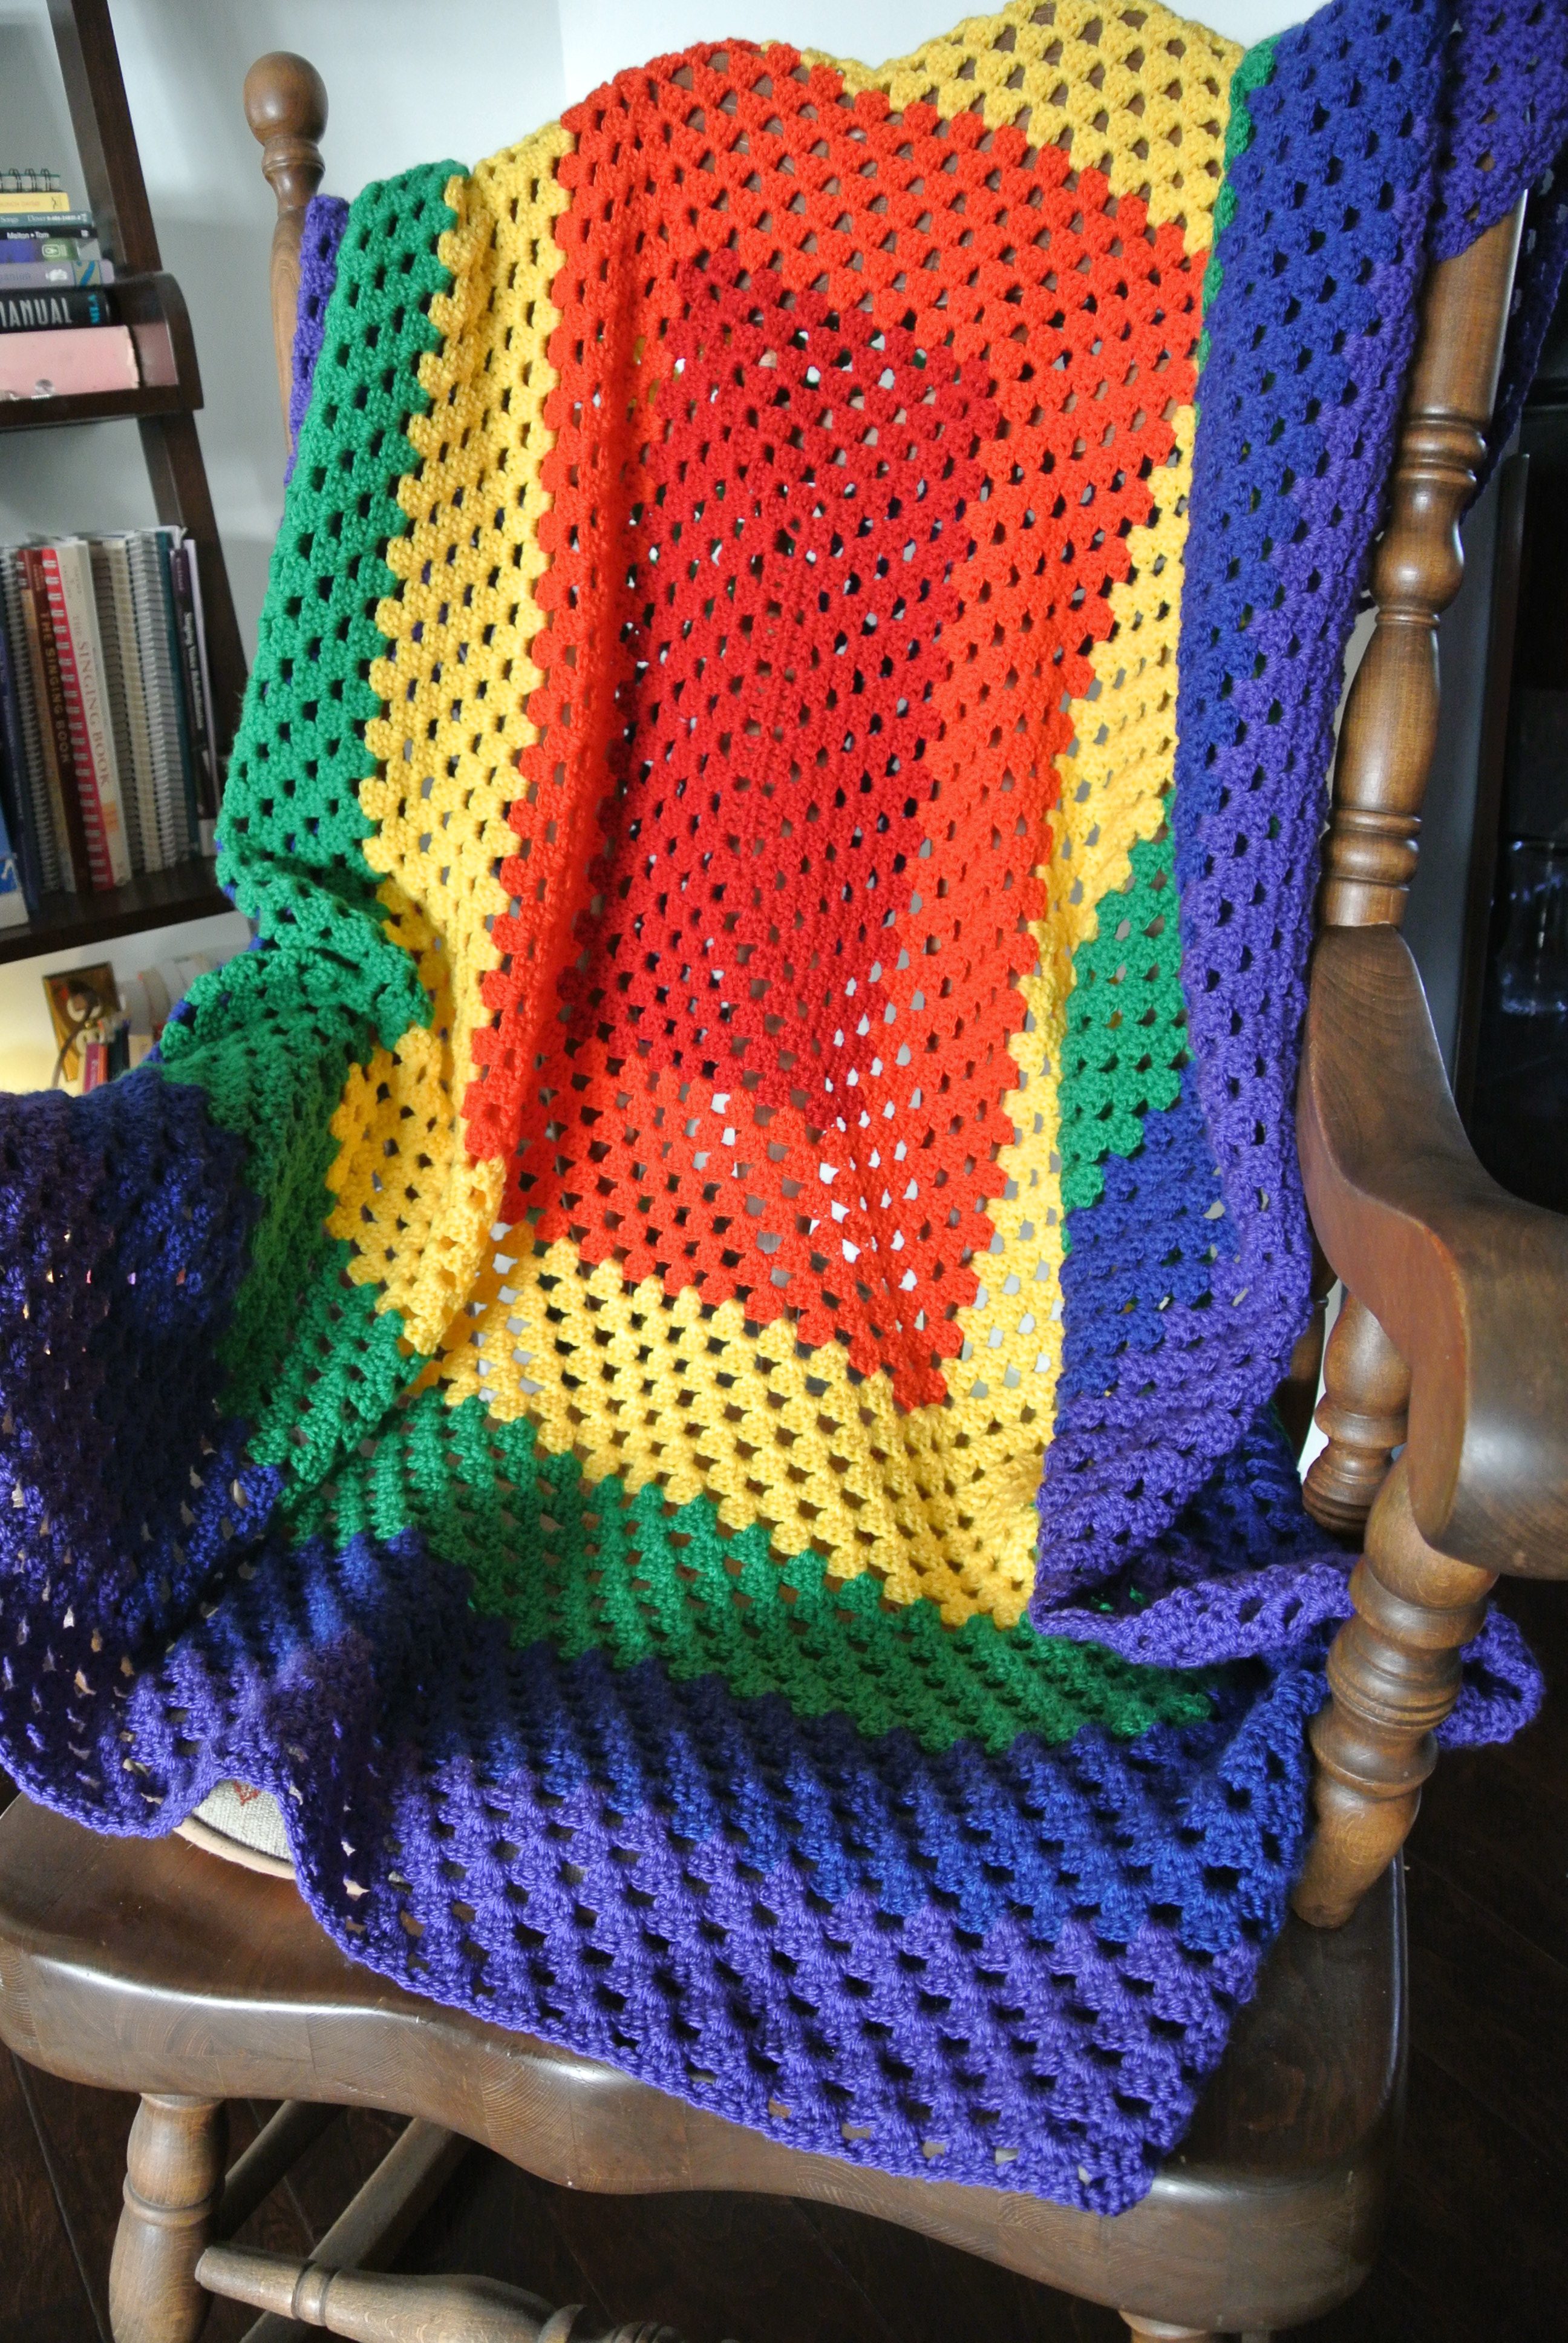
Once I delivered that blanket, Kason (who’s 6) told me it was his turn. He decided his blanket should be a rainbow and, because I wanted to do something granny square again, he chose a rectangular version with red being the first color.
![]()
I made both blankets using Hobby Lobby’s “I Love This Yarn”. This soft, cozy acrylic yarn comes in a wide range of colors and is inexpensive (it goes on sale just about every other week).
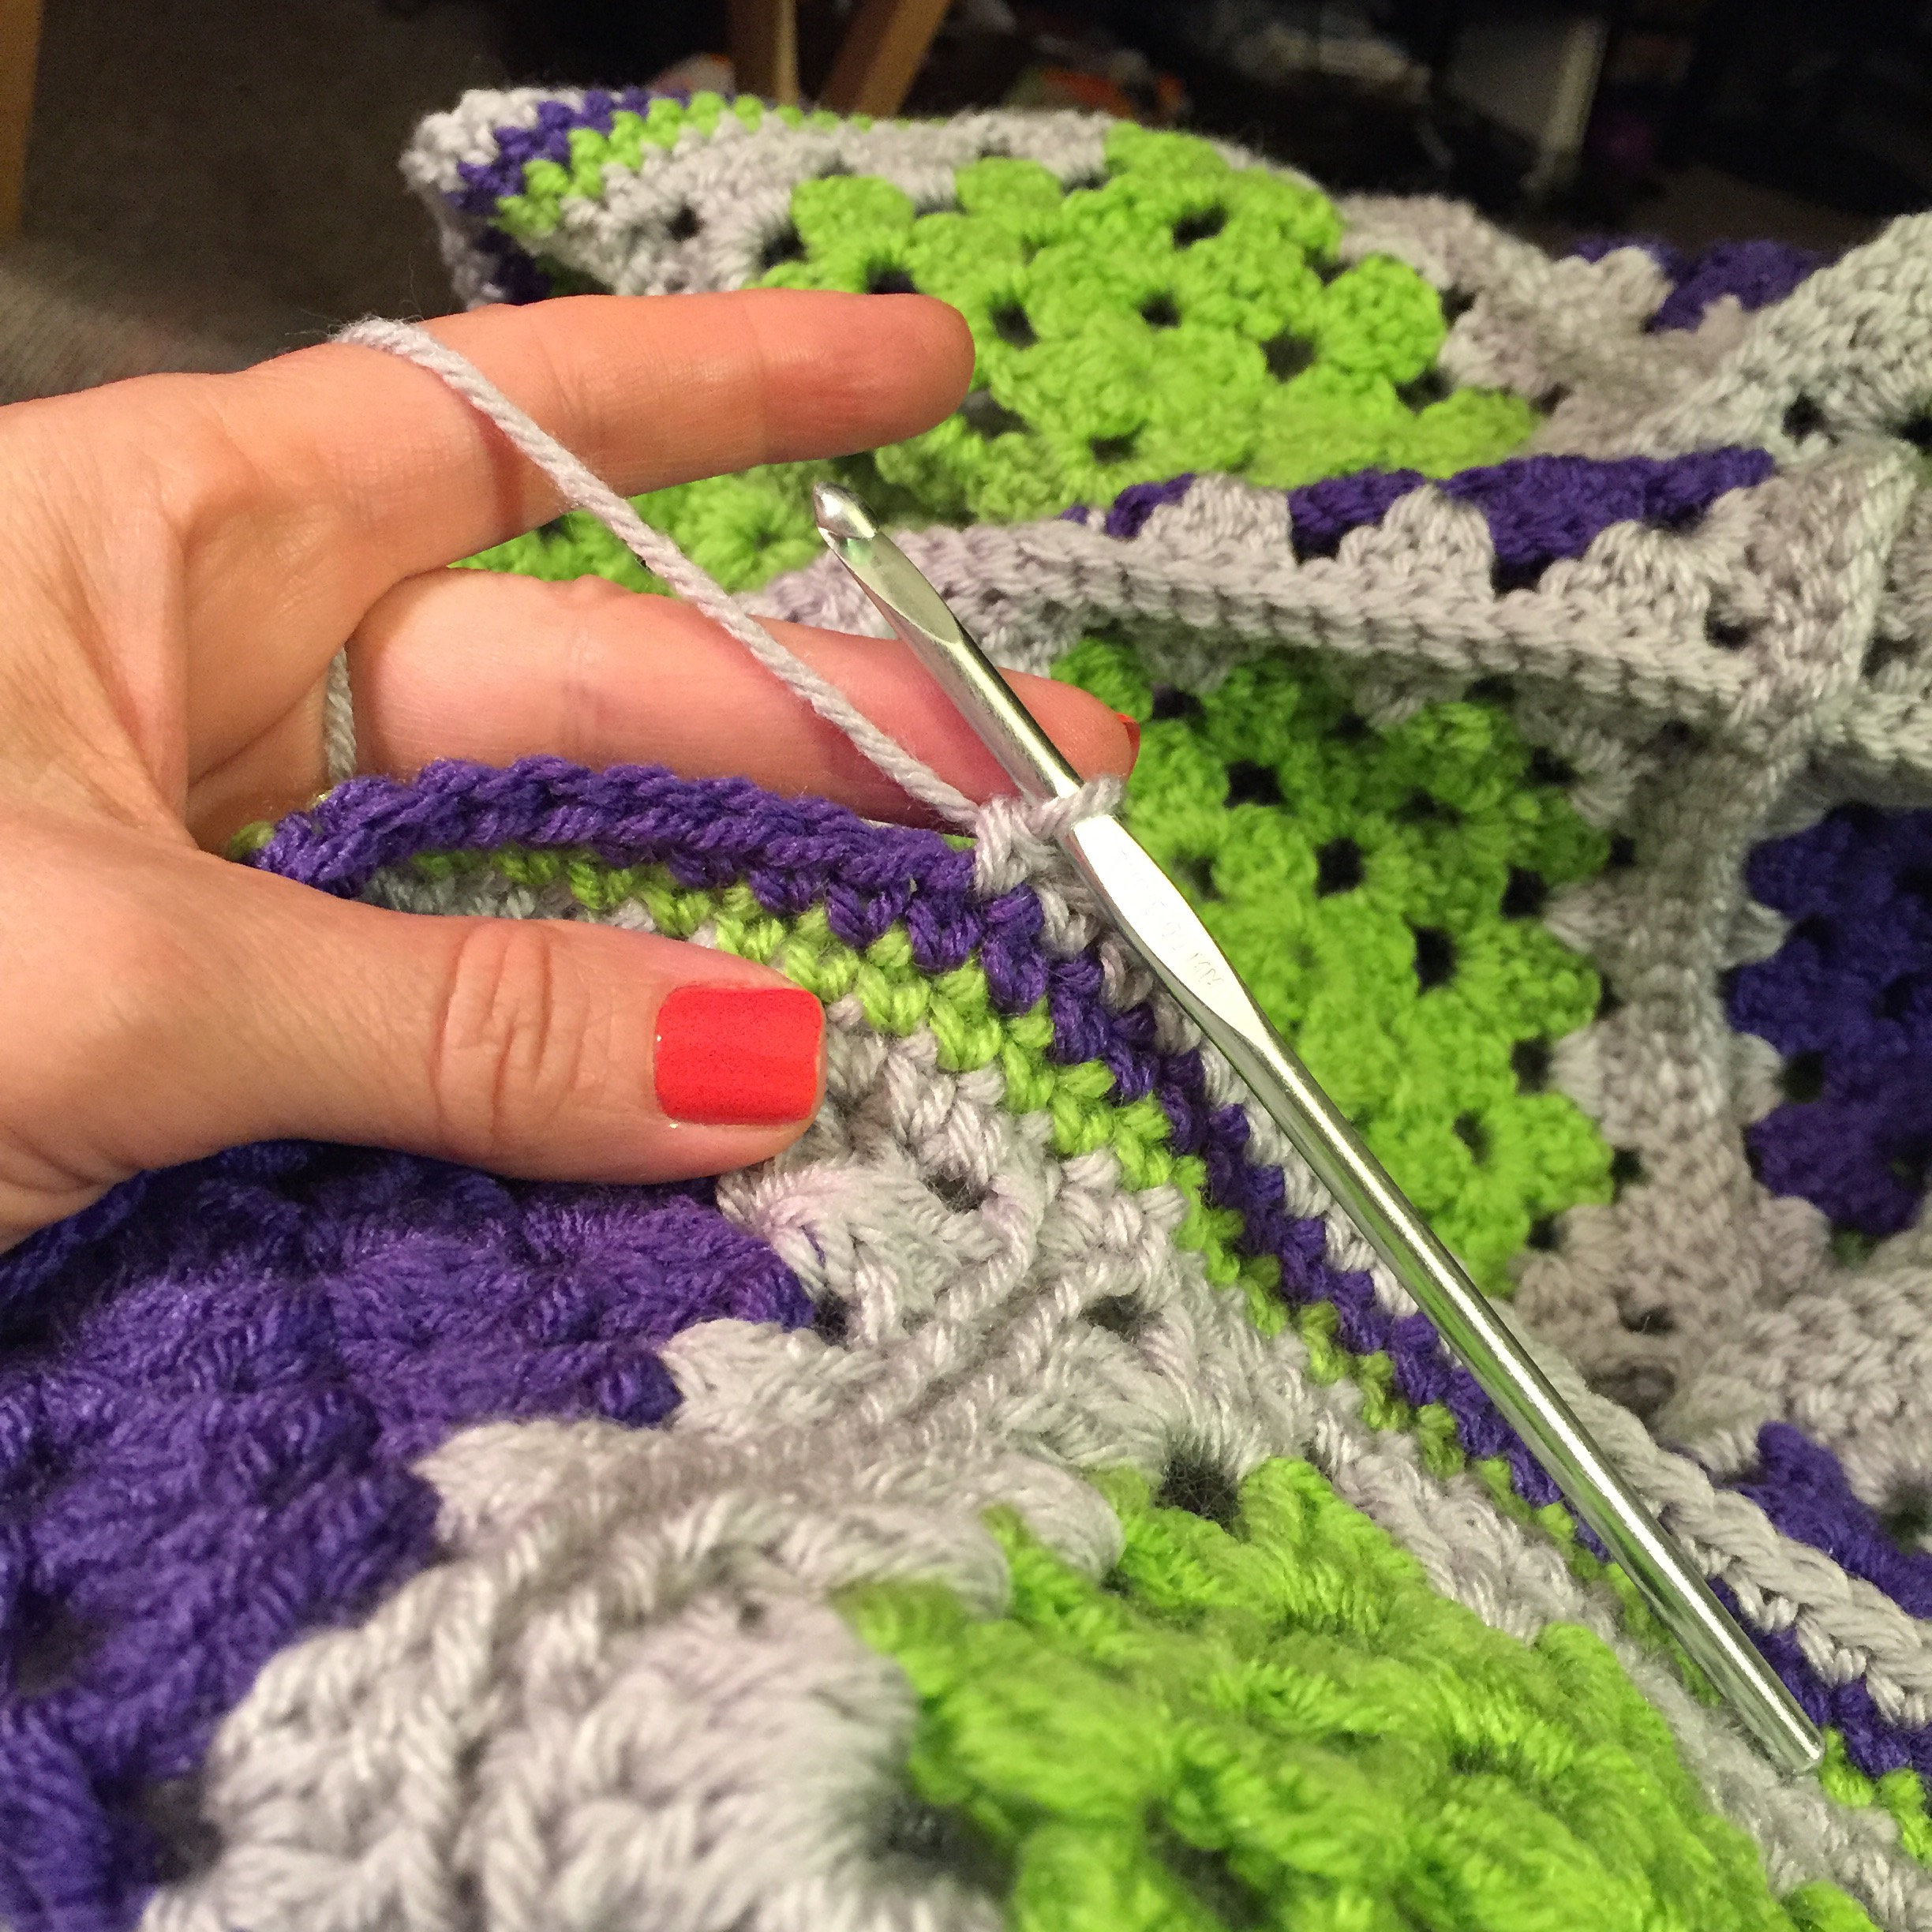
Construction is pretty much the same as a traditional granny square. The only difference is the foundation round. Instead of a ch4, join with a sl st to form a ring, I made a longer chain and worked on both sides of the chain to create a rectangle instead of square. The rest of the blanket was worked in rounds as usual. If you’d like to see how one designer started her rectangle, click here for a helpful tutorial. You can find another one here.
A traditional granny square is worked in rounds with the right side always facing you. Sometimes, that can result in a slanting of the square or rectangle because of the way the stitches pull. To avoid slanting, your work can be turned at the end of each round. I’m conflicted about whether or not I should have done this here. The blanket did have a slight slant to it. However, I love the look of all of the rounds being made with right side facing. You can choose whatever gives you the desired effect.
I’m working on a written pattern for this fun blanket. I’ll let you know when it’s posted to Ravelry and Etsy. In the meantime, happy hooking!