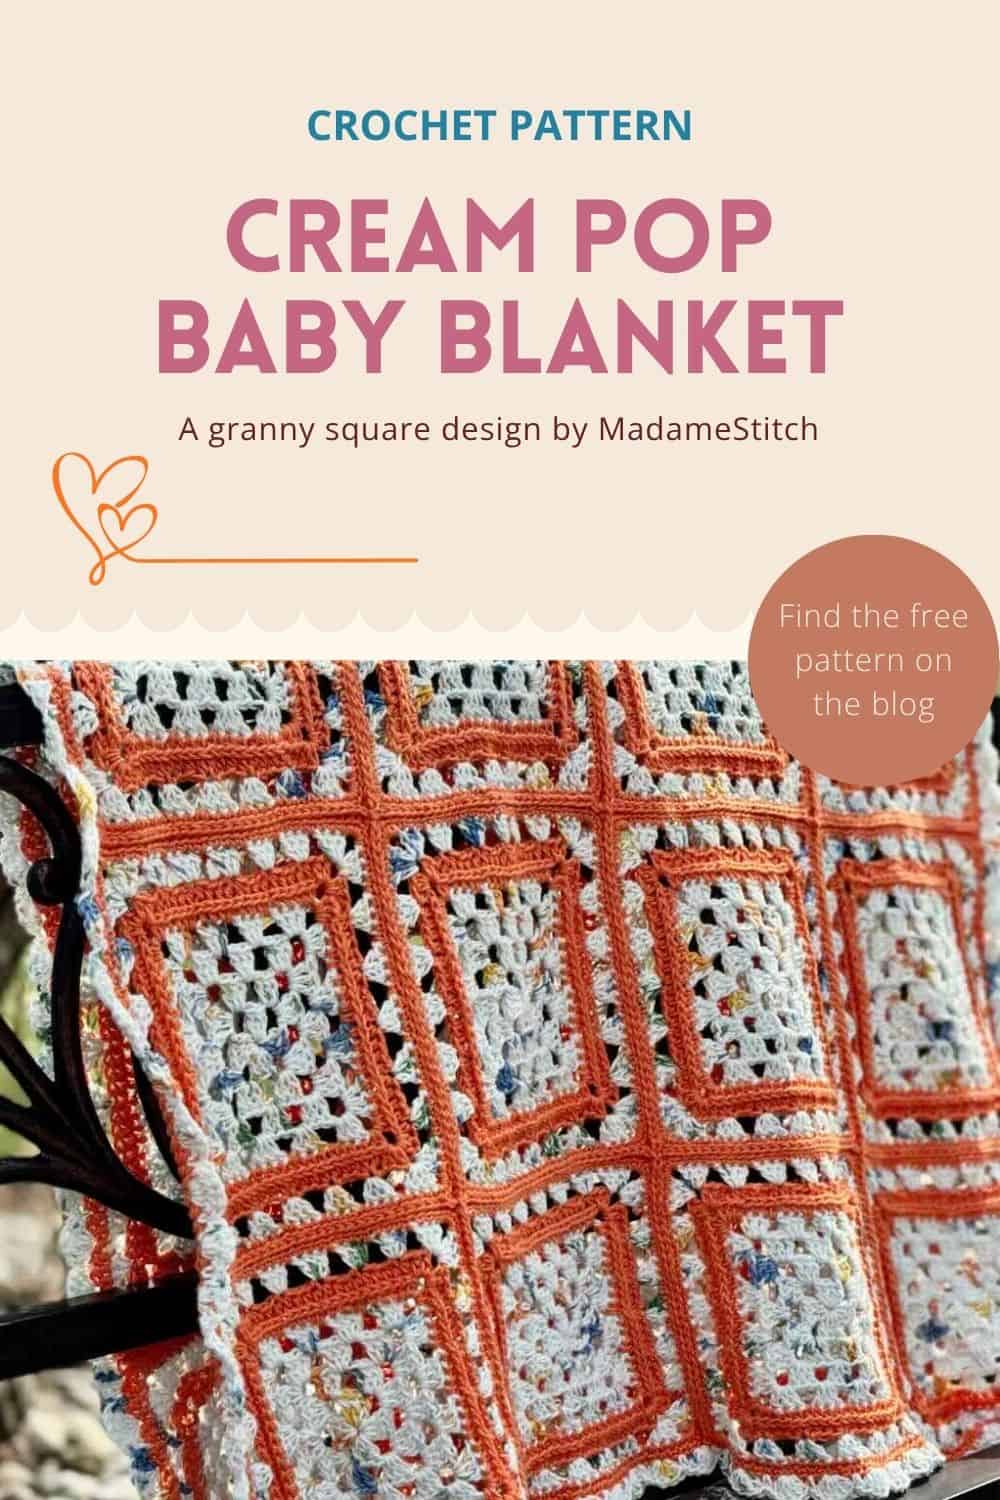
Cream Pop Granny Square Baby Blanket – the perfect nursery gift
An eye-catching granny square baby blanket crocheted with soft cotton DK weight yarn in bright colors will become baby’s favorite companion.
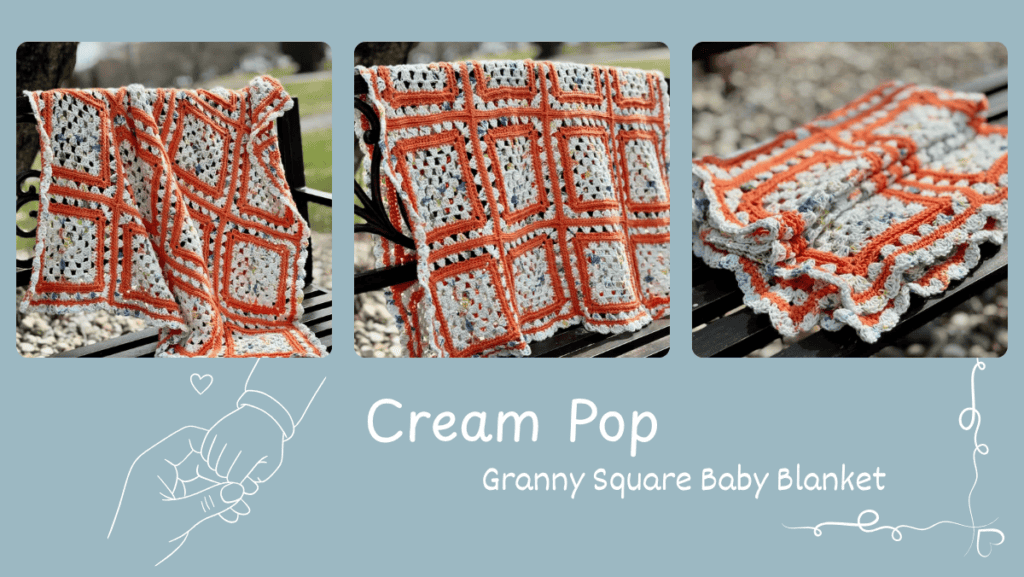
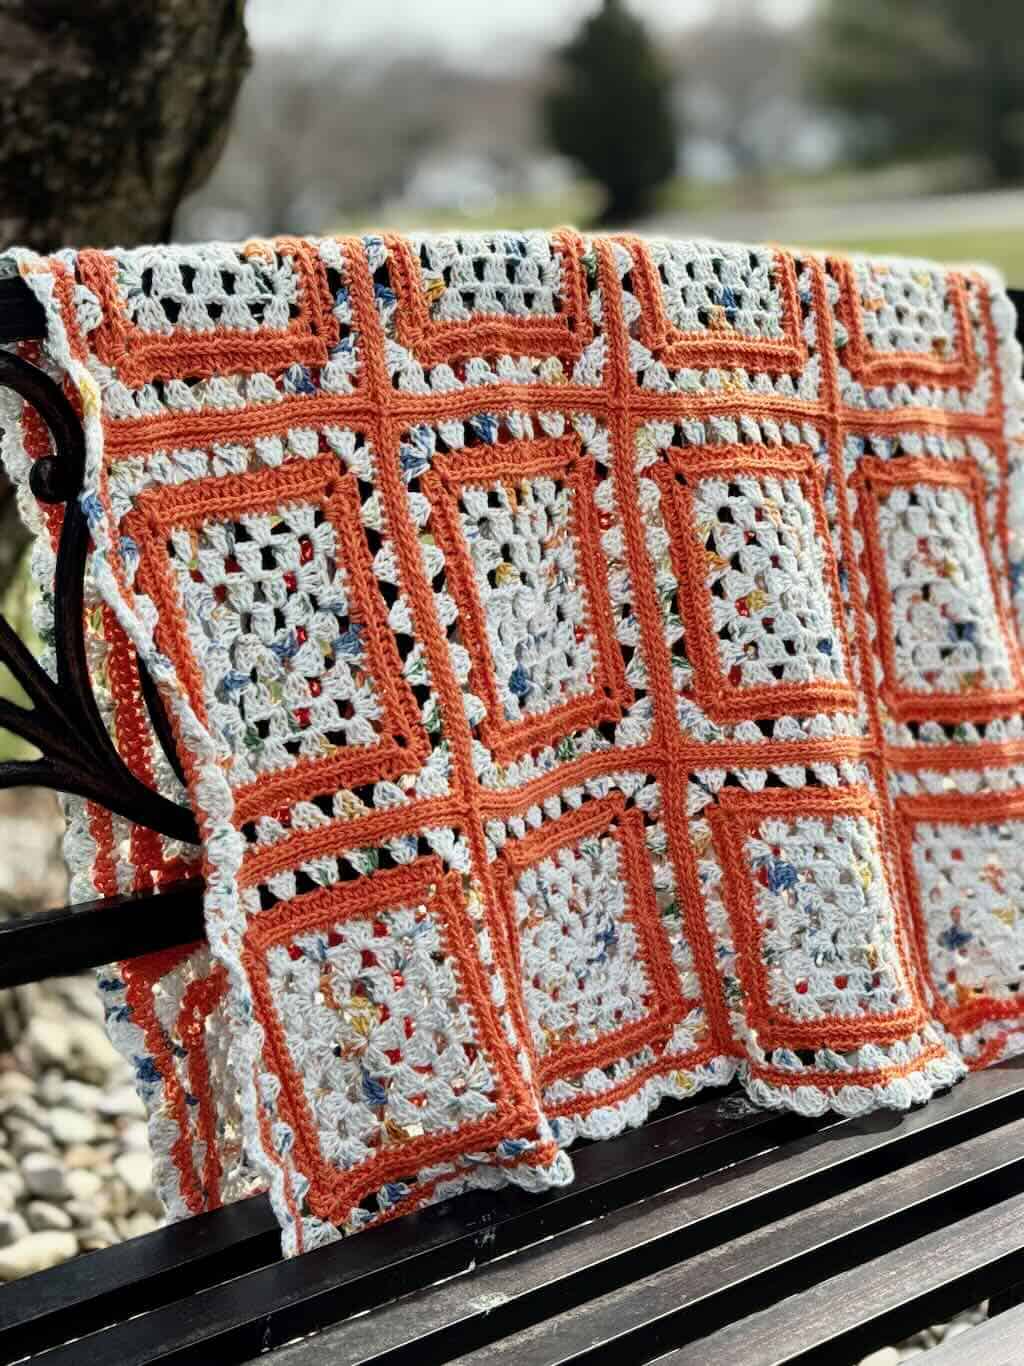
The Cream Pop Granny Square Baby Blanket
Soft, sweet, and so satisfying to make — the Cream Pop Baby Blanket is the perfect project for the little one in your life. Worked in DK weight cotton yarn, this blanket is as practical as it is pretty: easy to care for, gentle against baby’s delicate skin, and just the right weight for snuggling.
The design features classic granny square construction with a fresh, modern twist. Contrasting colors bring the subtle design elements to life, giving the finished blanket that signature “pop” that makes it impossible to put down — whether you’re making it or wrapping a baby in it.
This is a pattern you’ll want to make again and again, in every color combination your stash has to offer.

Pattern at a Glance
- Skill level: Advanced Beginner
- Yarn: Any DK weight yarn in 2 colors
- Yardage: Approx. 1165 yds divided between 2 colors
- Hook: US size 7 (4.5mm)
- Finished Size: Approx. 32″ wide x 40″ long
Design + Construction
This granny square baby blanket is worked in some of the softest cotton yarn I know and the DK weight makes all the difference. You get beautiful drape, gorgeous stitch definition, and a finished blanket that’s lightweight enough for year-round use.
The design is made up of 20 colorful, modern granny squares, each one featuring rounds of half double crochets worked in the third loop. It’s a subtle technique, but it creates a lovely surface texture that catches the eye without overwhelming the classic granny square look.
The magic really comes to life through the interplay of two colors: the contrasting color doesn’t just add a pop of playfulness. It actively draws out that surface texture, making it shimmer across the finished fabric in a way that’s hard to put into words until you see it in person.
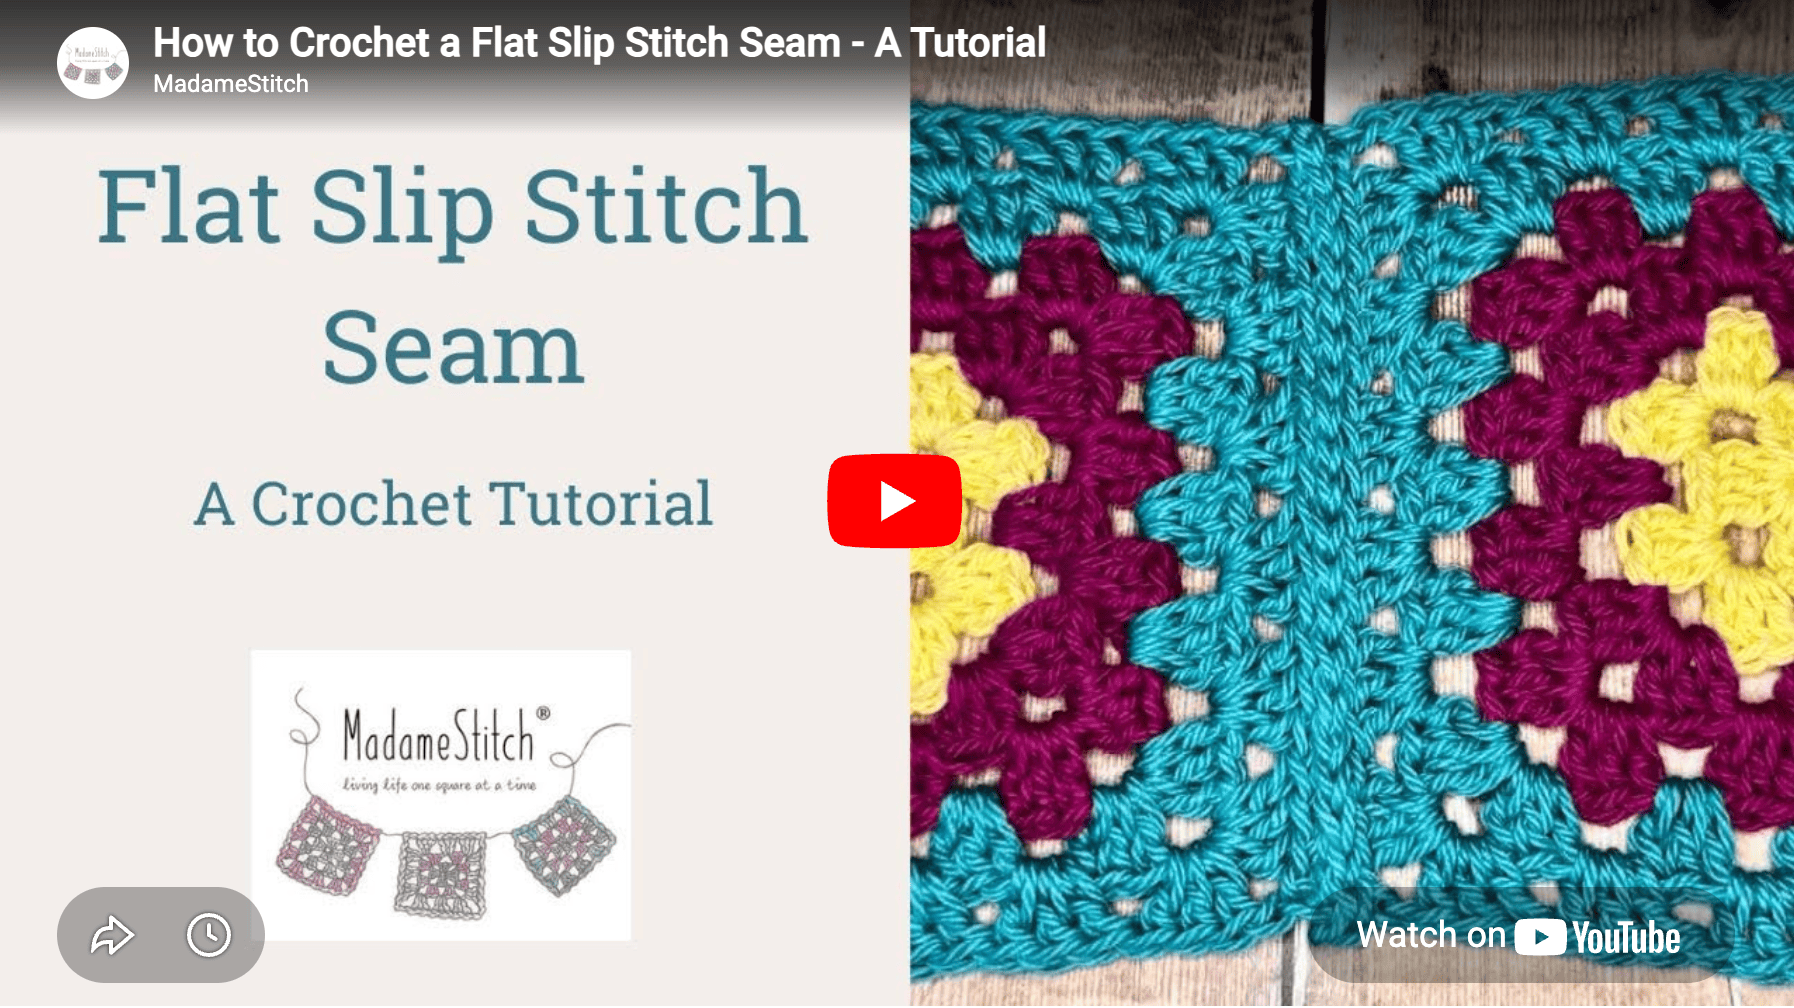
The granny squares are joined using a flat slip stitch seam worked in the contrasting color, which does something unexpected. It gives the seaming a presence and purpose it doesn’t usually have, turning a purely functional step into a genuine design feature.
A delicate shell border ties everything together and gives this granny square baby blanket that soft, finished look that’s just right for a baby gift.
The Yarn for the Cream Pop Granny Square Baby Blanket
When it comes to a granny square baby blanket, I most often reach for DK weight yarn, and for good reason. The lighter weight means your finished blanket has stunning drape and a softness that works just as beautifully in July as it does in December, giving it true year-round versatility.
While I do on occasion use an acrylic or cotton blend yarn for my baby blankets, cotton yarn is another reason this granny square baby blanket is so special.
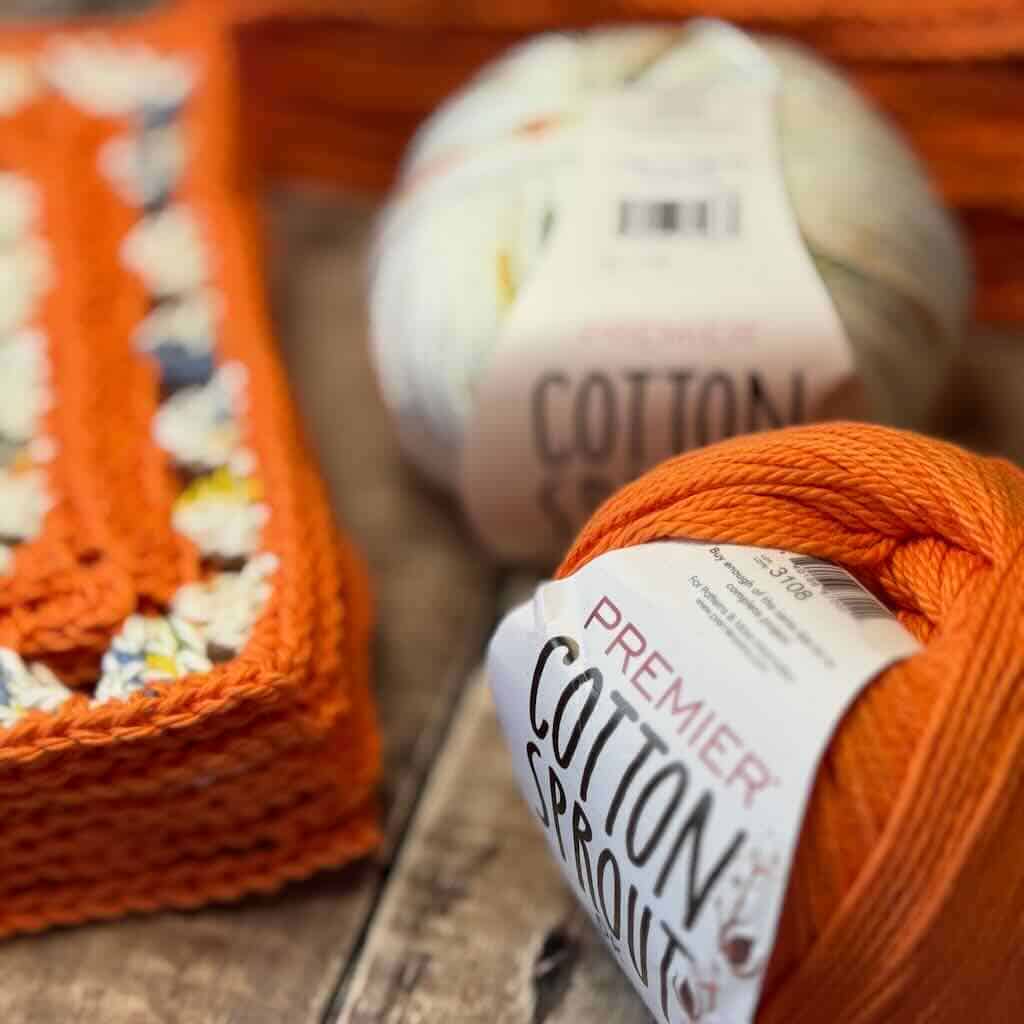
For this granny square baby blanket, I’ve chosen a stunning cotton yarn from Premier Yarns – Cotton Sprouts DK. It ticks all the boxes for the perfect blanket for baby.
It gives every stitch incredible definition, so all those subtle design details — the third-loop texture, the slip stitch seaming, the shell border — really get to shine in the finished fabric.
A quick note on yarn: Cotton Sprout Speckles, used in the original, is no longer available. The good news is that Cotton Sprouts DK in solid colors — the same yarn used for the contrasting color — makes a beautiful alternative and is just as lovely to work with.
Need help choosing the perfect yarn for your granny square baby blanket?
Head over to this blog post for some tips!
Yarn Substitute
I chose Cotton Sprout Speckles in my stash. You may find something in yours, too. If you do, use my handy Yarn Substitution Worksheet to see if your yarn is a good match.

Looking for an alternative to Speckles? Check here

Here’s What to Love About the Pattern
- A modern take on the classic traditional granny square adds vintage charm
- A lightweight, beautifully fluid baby blanket for the most sensitive babies.
- A relaxing granny square project that’s enjoyable to crochet
- A beautiful combination of texture and detail that makes this granny square baby blanket extra special.
- A cute shell border that puts the perfect finishing touch on a subtly whimsical accessory
Baby Shower Blog Hop
The Baby Shower Blog Hop, hosted by Ambassador Crochet, features a wide variety of crochet patterns specially designed for the little ones.
On Friday, April 24, the Cream Pop Baby Blanket is the featured design. That means, the premium PDF is 50% off in my Ravelry shop with the coupon code you’ll find on the roundup post. Head to the roundup post to get the discount code.

The code is good for 24 hrs only so head over to my Ravelry shop with code in hand and grab your copy now!

Where to get the PDF for the Cream Pop Baby Blanket
The Cream Pop Baby Blanket is a free crochet granny square baby blanket pattern in this blog post for subscribers. Scroll down to sign in and view the free version.
Upgrade to the premium PDF to get a printer friendly, downloadable version of the pattern, available from any of my shops.
The premium PDF can be uploaded to your favorite mobile device so you can take your Cream Pop granny square baby blanket with you to work on whenever you’re out and about. The PDF is easy to read and beautifully formatted without ads for a great experience.
Get your copy today!


The Cream Pop Baby Blanket Free Pattern
General Information
Yarn
Premier Yarns “Cotton Sprout Speckles” 100% cotton DK weight (194yd/3oz;178m/85g)
Main color (MC): Surfboard – approx. 630 yds
Premier Yarns “Cotton Sprout DK” 100% cotton (230yd/3.5oz; 210m/100g)
Contrasting color (CC): Orange – approx. 535 yds
Hook
US size 7 (4.5mm)
Finished Size
- Square: Approx. 7.5″ across
- Blanket: Approx. 32″ wide x 40″ long
Gauge
Rnds 1-3 = Approx. 3″ across
Skill Level: Advanced Beginner
Abbreviations – US crochet terminology
- beg – beginning
- ch – chain
- dc – double crochet
- hdc – half double crochet
- rnd(s) – round(s)
- sc – single crochet
- sk – skip
- sp – space
- st(s) – stitch(es)
- RS – right side
- YO – yarn over
Repeats
- (…) – Work everything within the parentheses in the same st or sp.
- […] – Repeat everything within the brackets the indicated number of times.
- {…} – Repeat everything within the braces the indicated number of times.
Special Stitches
Chain-1 space (ch-1 sp) – The number denotes the number of chains made
Chain-3 corner space (ch-3 corner sp) – The number denotes the number of chains made in a corner space.
Granny stitch (GS) – 3 dc in the same st or sp
Half double crochet in the 3rd loop (hdc 3lp) – when working on the front side of the stitches from the rnd before – YO, insert hook through the 3rd loop that sits just under and behind the top loop of the stitch, YO, pull through the 3rd loop, YO, pull through all 3 loops on the hook to complete the hdc.
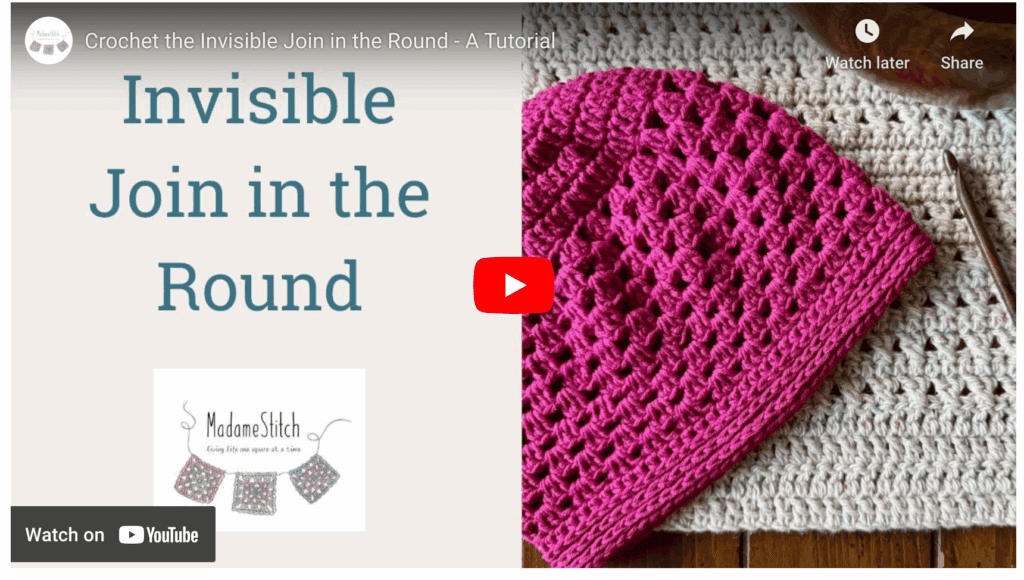
Invisible join: At the end of the rnd, remove working loop from hook, insert hook from back to front through the top of the 1st st of the rnd, add working loop back onto hook and pull through to the wrong side, continue as instructed.
Shells
- 5-dc shell (worked along the sides of the blanket in the Border) – 5 dc worked in the same st
- 7-dc shell (worked in the corner spaces only) – 7 dc worked in the same corner sp
Stacked single crochet (STsc) – (This stitch is used at the beginning of a round to replace the traditional turning ch-3. It has the appearance of a dc.) – Insert hook in the same st as the loop, YO, pull up a loop, YO, pull through 2 loops (bottom sc made), insert hook through the left vertical bar of the bottom sc, YO, pull up a loop, YO, pull through 2 loops (top sc made).
Standing double crochet (Standing dc) – Make a slip knot, hold the slip knot firmly against the hook with the forefinger of the same hand, YO, insert hook in the indicated st, YO, pull up a loop, [YO, pull through 2 loops] twice.
A note about the hidden stitch
The hidden stitch is the 1st st that follows each corner when working in the round. Oftentimes, because of the stitches worked in the corner space, that 1st stitch can be hidden and tucked underneath those stitches. In this pattern, be sure to work into the hidden stitch, especially in Rnds 6 & 7.
Unlock Exclusive Subscriber Content
To unlock Exclusive Subscriber Content, click on the button in the box below. The Grow.me app window will pop up where you can either create an account or sign in if you already have one.
To create an account, sign in with your existing Google or Facebook account. You can also create an account with an email address and new password.
If you forget your password, simply click the “Forgot my Password”button. I have no access to your Grow account so I’m unable to retrieve or reset your password.
Remember, once you’ve created a Grow account, you never have to do it again. Your Grow account unlocks all the exclusive content created by Grow
Thank you for being a loyal blog subscriber. I hope you enjoy the exclusive content!
Pattern Notes
- Do not turn after any rnd. The RS is always facing you.
- A ch-2 or ch-3 may be substituted for the STsc at any time.
- Pay close attention to the number of ch worked in each corner space.
Pattern Instructions
Granny Square – Make 20
With MC, ch 4, join with slip st to beg st.
Rnd 1: (STsc, 2 dc) in the ring, ch 3, [GS, ch 3] 3 times, join with slip st to beg st. < 4 GS, 4 ch-3 corner sp >
Rnd 2: STsc in the sp to the right of the hook, ch 1, [(GS, ch 3, GS) in the next ch-3 corner sp, ch 1] 3 times, (GS, ch 3, 2 dc) in the same sp as the STsc to complete the 1st corner, join with slip st to beg st. < 8 GS, 4 ch-1 sp, 4 ch-3 corner sp >
Rnd 3: Slip st into the ch-1 sp, (STsc, 2 dc) in the same sp, ch 1, [(GS, ch 3, GS) in the next ch-3 corner sp, ch 1, GS in the next sp, ch 1] 3 times, (GS, ch 3, GS) in the next ch-3 corner sp, ch 1, join with slip st to beg st. < 12 GS, 8 ch-1 sp, 4 ch-3 corner sp >
Rnd 4: STsc in the sp to the right of the hook, ch 1, GS in the next sp, ch 1, {(GS, ch 2, GS) in the next ch-3 corner sp, [ch 1, GS in the next sp] twice, ch 1} 3 times, (GS, ch 2, GS) in the next ch-3 corner sp, ch 1, 2 dc in the next ch-1 sp to complete the 1st GS, join with slip st to beg st. Fasten off. < 16 GS, 12 ch-1 sp, 4 ch-2 corner sp >
Rnd 5: Attach CC to any ch-2 corner sp, ch 1, (2 hdc, ch 2, 2 hdc) in the same ch-2 corner sp, hdc in the next st and in each st and ch-1 sp across to the next ch-2 corner sp, [(2 hdc, ch 2, 2 hdc) in the next ch-2 corner sp, hdc in the next st and in each st and ch-1 sp across to the next ch-2 corner sp] 3 times, invisible join. < 19 hdc along each side, 4 ch-2 corner sp >
Rnd 6: Ch 1, hdc 3lp in the same st and in each st across to the next ch-2 corner sp, [(2 hdc, ch 2, 2 hdc) in the ch-2 corner sp, hdc 3lp in the next st and in each st across to the next ch-2 corner sp] 3 times, (2 hdc, ch 2, 2 hdc) in the ch-2 corner sp, hdc 3lp in the next st and in each st across to the beg st, join with slip st to beg st. Fasten off. < 19 hdc 3lp along each side, 16 hdc, 4 ch-2 corner sp >
Rnd 7: With MC in any ch-2 corner sp (Standing dc, 2 dc, ch 2, GS), [ch 1, sk 3 sts, GS in the next st] 5 times, ch 1, sk 3 sts, {(GS, ch 2, GS) in the next ch-2 corner sp, [ch 1, sk 3 sts, GS in the next st] 5 times, ch 1, sk 3 sts} 3 times, join with slip st to beg st. Fasten off. < 28 GS, 24 ch-1 sp, 4 ch-2 corner sp >
Rnd 8: Attach CC to any ch-2 corner sp, ch 1, (2 sc, ch 2, 2 sc) in the same ch-2 corner sp, sc in the next st and in each st and ch-1 sp across to the next ch-2 corner sp, [(2 sc, ch 2, 2 sc) in the next ch-2 corner sp, sc in the next st and in each st and ch-1 sp across to the next ch-2 corner sp] 3 times, join with slip st to beg st. < 31 sc across each side, 4 ch-2 corner sp >
Fasten off and weave in ends. Block the squares before moving on.
Assembly
With CC, use a flat slip stitch seam to sew the squares together in a 4 x 5 square grid.
Border
Rnd 1: Attach CC to any ch-2 corner sp, ch 1, (sc, ch 2, sc) in the same ch-2 corner sp, sc in the next st and in each st across to the next ch-2 corner sp, working 1 or 2 sc across each seam, [(sc, ch 2, sc) in the next ch-2 corner sp, sc in the next st and in each st across to the next ch-2 corner sp, working 1 or 2 sc across each seam] 3 times, join with slip st to beg st. Fasten off.
Note for Rnd 2: You may need to adjust the number of skipped sts just before each corner to ensure that the last st worked before the corner is a sc.
Rnd 2: With MC in any ch-2 corner sp (Standing dc, 3 dc), sk 1 st, sc in the next st, sk 1 st, [5-dc shell in the next st, sk 1 st, sc in the next st, sk 1 st] across to the next ch-2 corner sp, {7-dc shell in the ch-2 corner sp, sk 1 st, sc in the next st, sk 1 st, [5-dc shell in the next st, sk 1 st, sc in the next st, sk 1 st] across to the next ch-2 corner sp} 3 times, 3 dc in the 1st ch-2 corner sp to complete the 1st 7-dc shell, join with slip st to beg st.
Fasten off and weave in ends