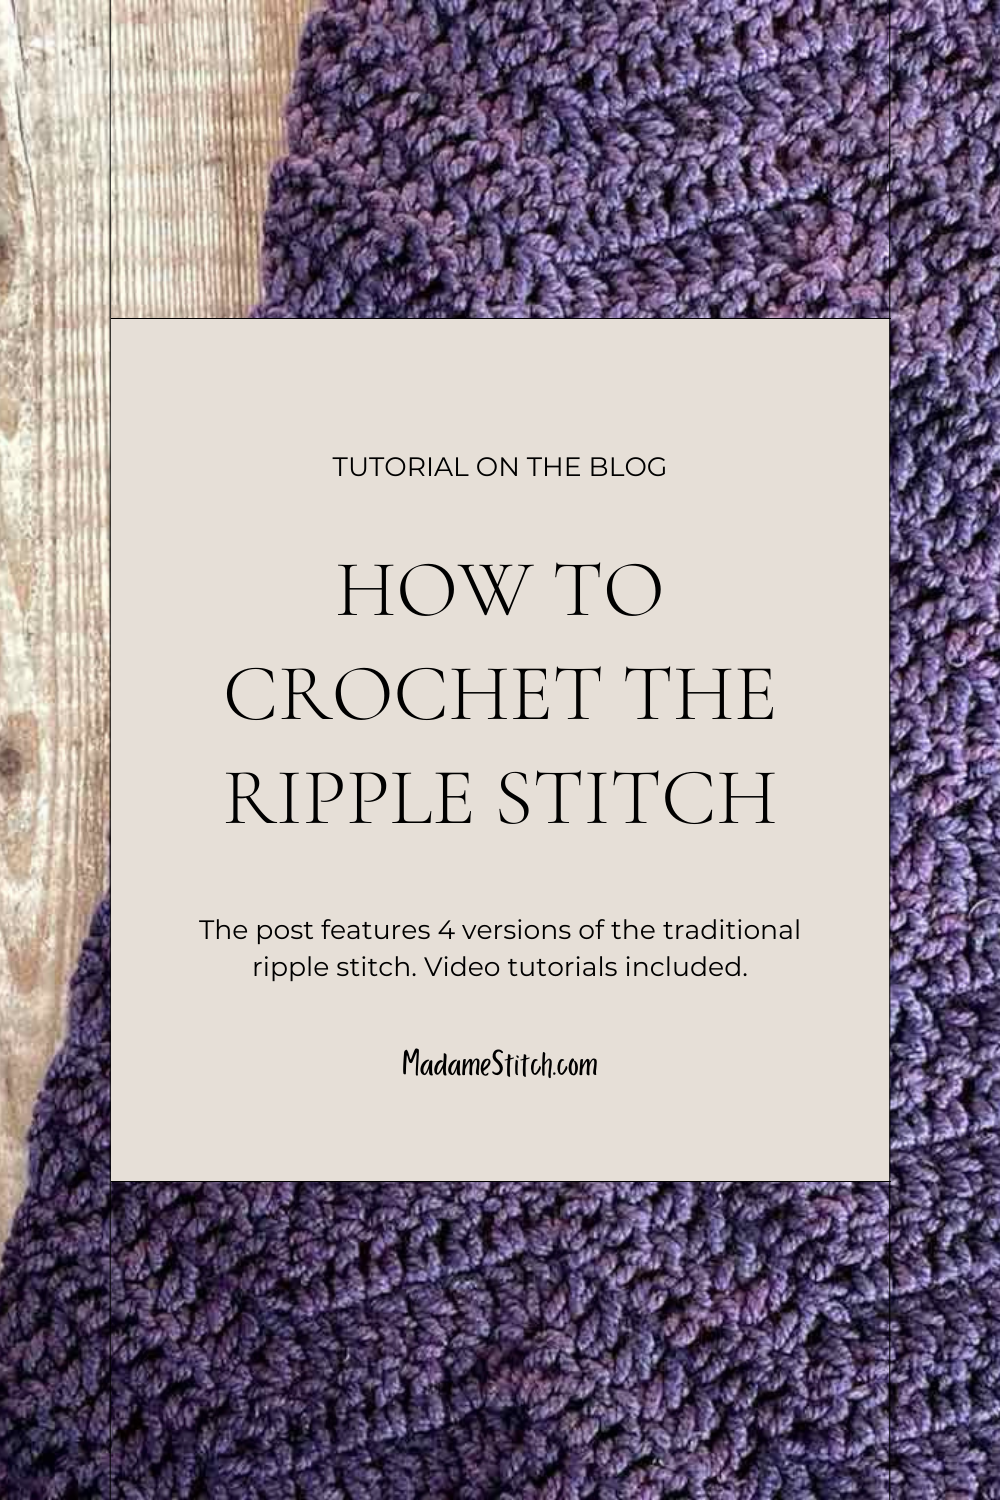
How to Crochet the Simple Ripple Stitch with Variations
The Ripple Stitch, also known as the chevron, is a popular, basic stitch in the crochet toolbox. It’s one of the most versatile and adaptable crochet stitch patterns a crocheter can master. The ripple is perfect for blankets, a variety of neckwear, and occasionally a sweater design. It’s a basic stitch pattern common to many crochet projects.
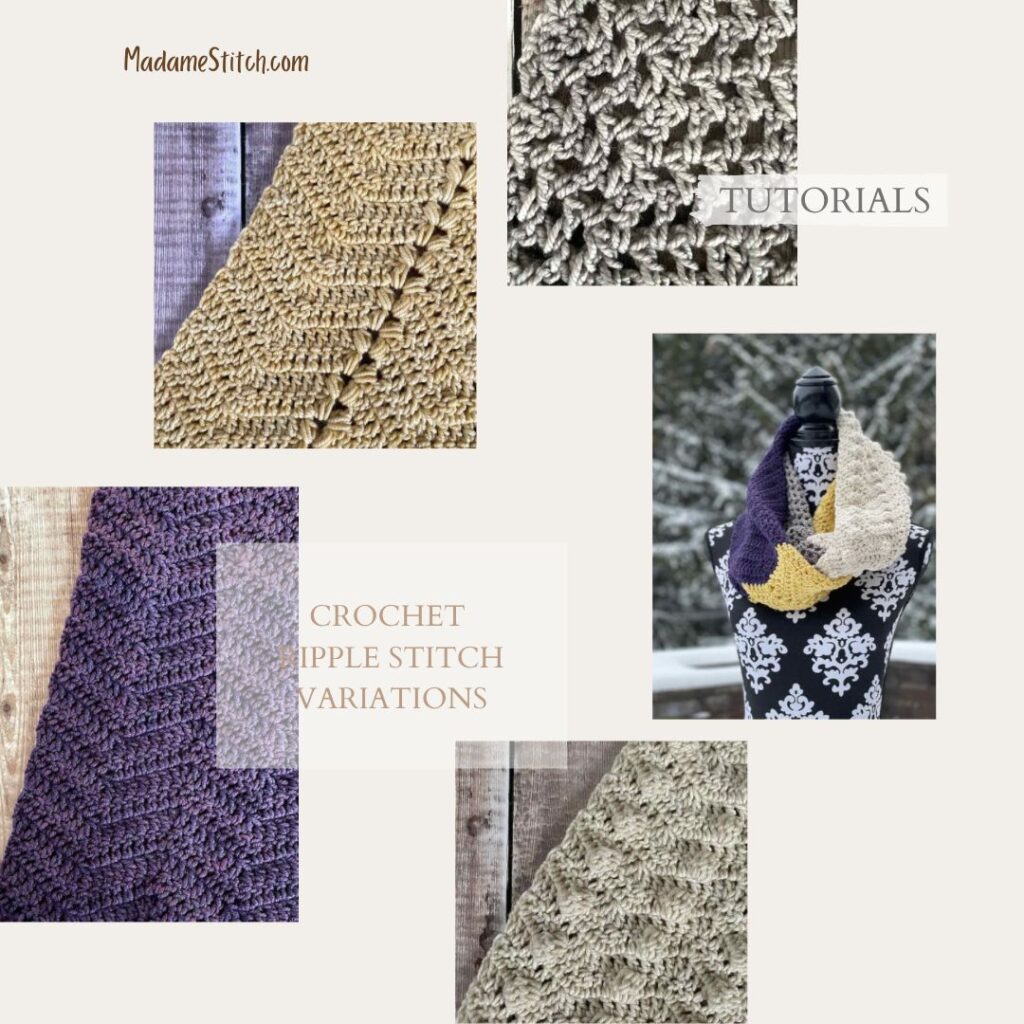
The Ripple Stitch consists of peaks and valleys (or troughs) that are created by working increases and decreases at regular intervals along the row. Many variations of the ripple stitch exist and are only limited by the imagination of the maker or designer.
The standard ripple stitch will follow the same basic formula: A series of alternating increases/decreases form the peaks and valleys. The stitches in between determine the width of the ripples across the row. The number of stitches along the slopes can vary from project to project and does not ultimately affect the construction. I have chosen 5 sts along the slopes for all of these swatches.
This ripple stitch pattern is repetitive, usually made up of 1-2 row repeats, making it ideal for beginning crocheters. Advanced crocheters will enjoy it, too!
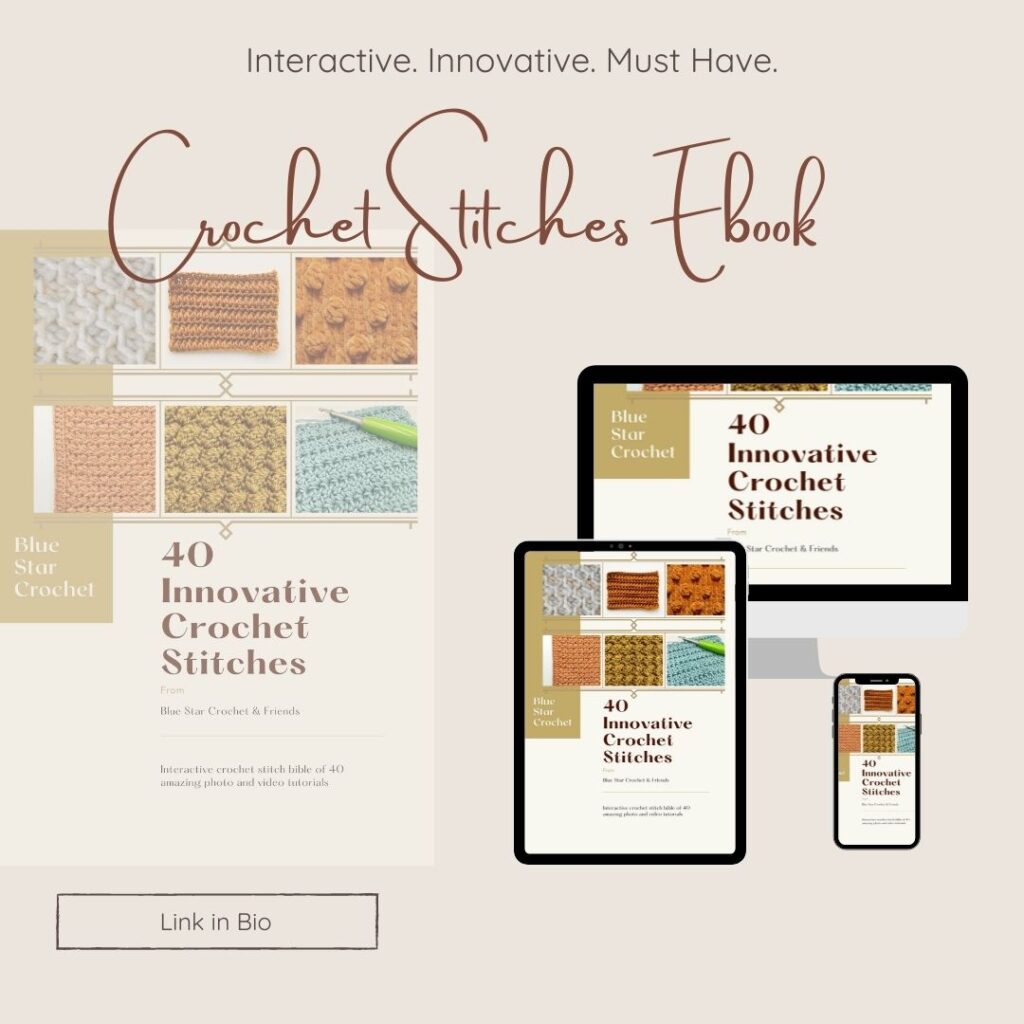
Veronika of Blue Star Crochet has put together a stunning eBook, filled with crochet stitches (and tutorials) from some of the best crochet designers in the business.
From now through February 28th, you can get a copy of this one of a kind, interactive resource for just $17.99. Don’t delay, though. Click below to get yours today!

For this tutorial, I’ve included written instructions to make a practice swatch of each version of the ripple stitch. I’ve also included a video tutorial for those who like to see the stitch worked.
Let’s get started!
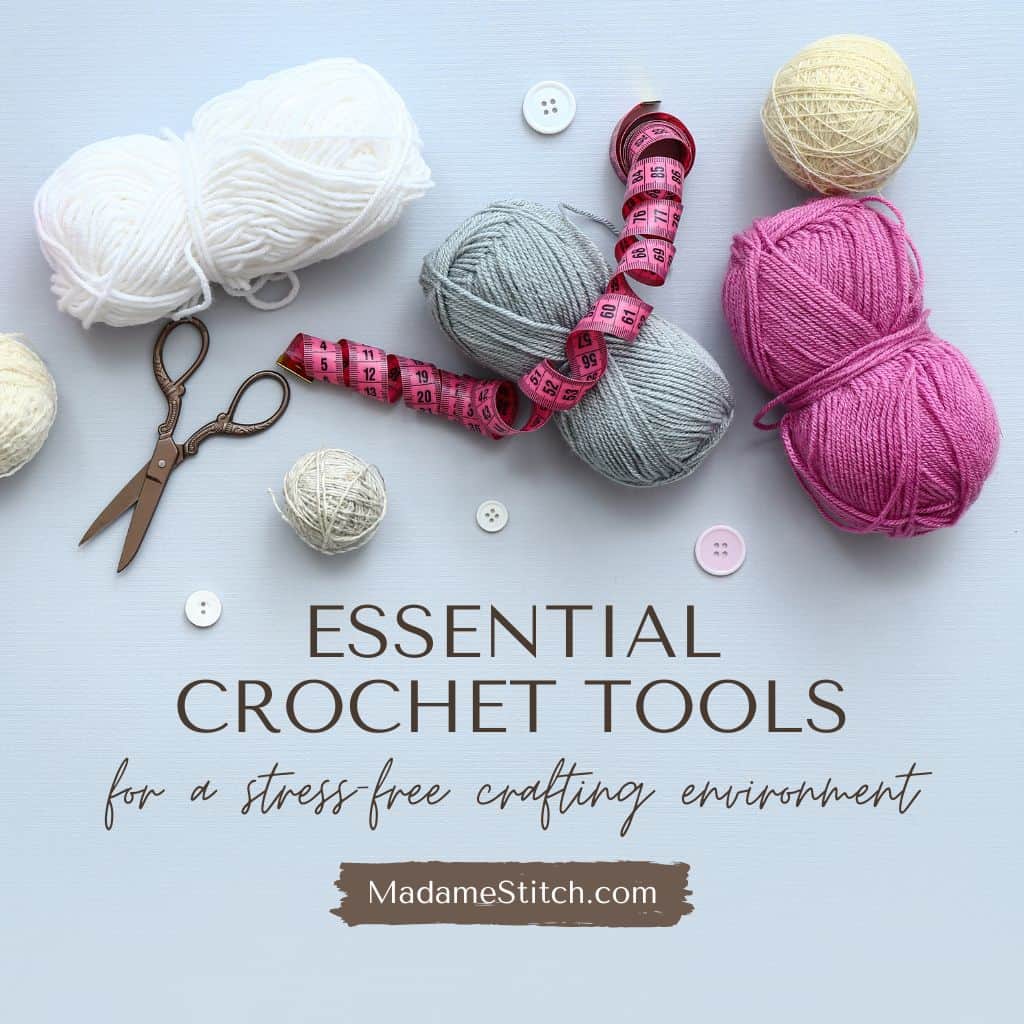
Materials you’ll need to make the swatches
Yarn: Any worsted weight yarn, preferably one that has very little halo so you can see the stitches as you work. Use something from your stash if you can.
Hook: US size H-8 (5mm) or the size hook you like to use when working with worsted weight yarn
Patience: If you’ve never crocheted the ripple stitch or any of the special stitches included, take some time to practice.
Abbreviations
- Chain – ch
- Double crochet – dc
- Single crochet – sc
- Stitch(es) – st(s)
- Yarn over – YO
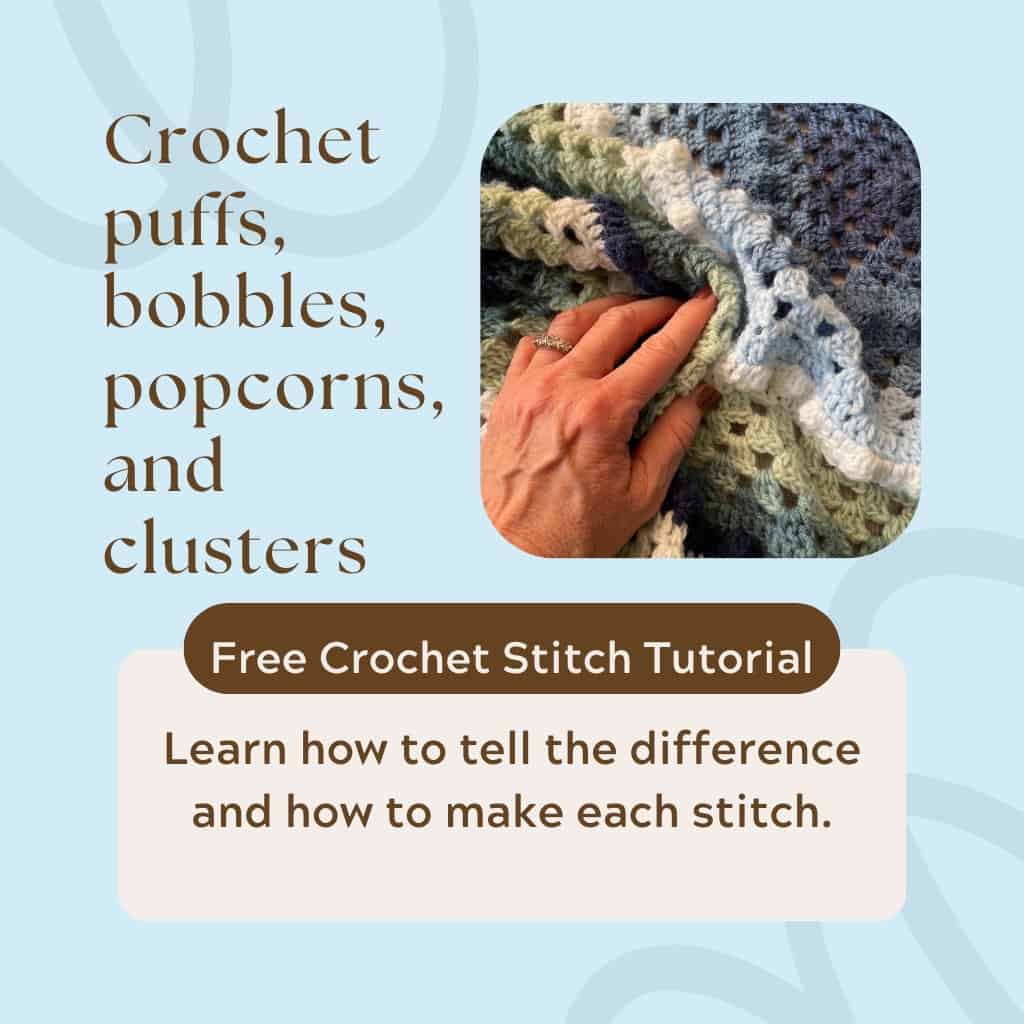
Special Stitches
- Bobble (bo) – This stitch is worked on the wrong side of the fabric and pops out to the right side. (YO, insert hook in indicated st, pull up loop, YO, draw through 2 loops) 5 times, YO, draw through all 6 loops on hook.
- Double crochet 2 together (dc2tog) – This is worked over 3 sts. YO, insert hook in next st, pull up loop, YO, draw through 2 loops (2 loops on hook), skip st, YO, insert hook in next st, pull up loop, YO, draw through 2 loops (3 loops on hook), YO, draw through all 3 loops on hook.
- Double crochet 3 together (dc3tog) – This is worked over 3 sts. (YO, insert hook in next st, pull up loop, YO, draw through 2 loops) 3 times, YO, draw through all 4 loops on hook.
- Puff – (YO, insert hook in indicated st, YO, pull up loop) 3 times, YO, draw through all 7 loops on hook.
- Stacked single crochet (STsc) – This stitch is worked at the beginning of the row instead of a turning chain. A ch-3 may be substituted for the STsc. To see a video tutorial of the STsc, click here.
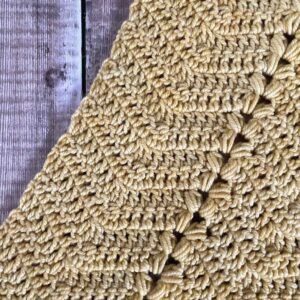
Variation 1 – The Simple Ripple Stitch
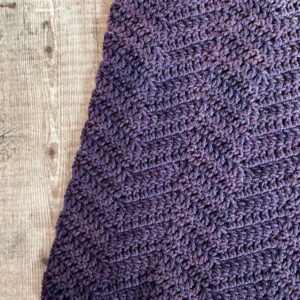
The simple ripple stitch, aka chevron, is the original ripple stitch pattern. All other variations are based on the concept of this version. Worked entirely in double crochet, the resulting fabric is perfect for blankets and scarves. This version is reversible.
Swatch Instructions
Ch 31.
Foundation Row: Dc in 3rd ch from hook, (dc in next 5 ch, dc2tog, dc in next 5 ch, 3 dc in next ch) twice, ending with 2 dc in last ch instead of 3 dc, turn.
Ripple Stitch Row: STsc, dc in same st, (dc in next 5 sts, dc2tog, dc in next 5 sts, 3 dc in next st) twice, ending with 2 dc in last st instead of 3 dc, turn.
Repeat the ripple stitch row to the desired length.

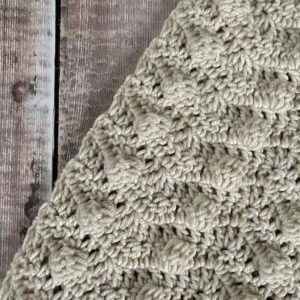
Variation 2 – Simple Ripple Stitch with Puffs
For this variation, I’ve taken the simple ripple stitch from the above tutorial and replaced the 3 dc at the increases with puff stitches. This adds just a bit of texture and visual interest to the otherwise basic fabric. This version is reversible.
Swatch Instructions
Ch 31.
Foundation Row: Dc in 3rd ch from hook, (dc in next 5 ch, dc3tog, dc in next 5 ch, 3 dc in next ch) twice, ending with 2 dc in last ch instead of 3 dc, turn.
Puff Stitch Row: STsc, dc in same st, dc in next 5 sts, dc3tog, dc in next 5 sts, (puff, ch 2, puff) in next st (or the ch-2 space in subsequent rows), dc in next 5 sts, dc3tog, dc in next 5 sts, 2 dc in last st, turn.
Repeat the puff stitch row to desired length.

Variation 3 – Open Mesh Ripple Stitch
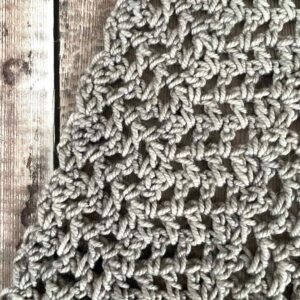
For this variation, each slope features alternating dc/ch-1 spaces to create an openwork fabric reminiscent of a simple lace. This version is reversible.
Note: Because of the ch-1 spaces, the fabric tends to pull a bit narrower than the other variations in this tutorial. Blocking may help alleviate a bit of that pulling.
Swatch Instructions
Ch 31.
Foundation Row: Dc in 3rd ch from hook, (dc in next 5 ch, dc2tog, dc in next 5 ch, 3 dc in next ch) twice, ending with 2 dc in last ch instead of 3 dc, turn.
Open Mesh Row: STsc, dc in same st, [(ch 1, skip 1, dc in next st) twice, ch 1, skip 1, dc2tog, (ch 1, skip 1, dc in next st) twice, ch 1, skip 1, 3 dc in next st] twice, ending with 2 dc in last st instead of 3 dc, turn.
Repeat the open mesh row to desired length.

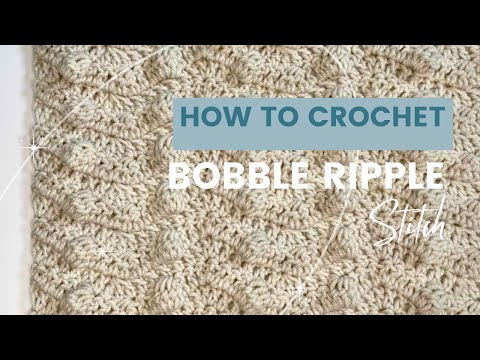
Variation 4 – Simple Ripple Stitch with Bobbles
For this variation, I’ve taken the simple ripple stitch and worked a bobble along each slope. This adds just a bit more texture than the puffs and makes a basic ripple stitch ‘POP’.
Note: The bobble stitch is worked on the wrong side of the fabric and pops out to the right side. This is the only variation in this post that features a 2 row repeat and is not a reversible fabric.
Swatch Instructions
Ch 31.
Foundation Row: Dc in 3rd ch from hook, (dc in next 5 ch, dc3tog, dc in next 5 ch, 3 dc in next ch) twice, ending with 2 dc in last ch instead of 3 dc, turn.
Bobble Stitch Row (Wrong side): STsc, dc in same st, (dc in next 2 sts, bo in next st, dc in next 2 sts, dc3tog, dc in next 2 sts, bo in next st, dc in next 2 sts, 3 dc in next st) twice, ending with 2 dc in last st instead of 3 dc, turn.
Right side row: STsc, dc in next st, (dc in next 5 sts, dc3tog, dc in next 5 sts, 3 dc in next st) twice, ending with 2 dc in last st instead of 3 dc, turn.
Repeat these 2 rows to desired length.
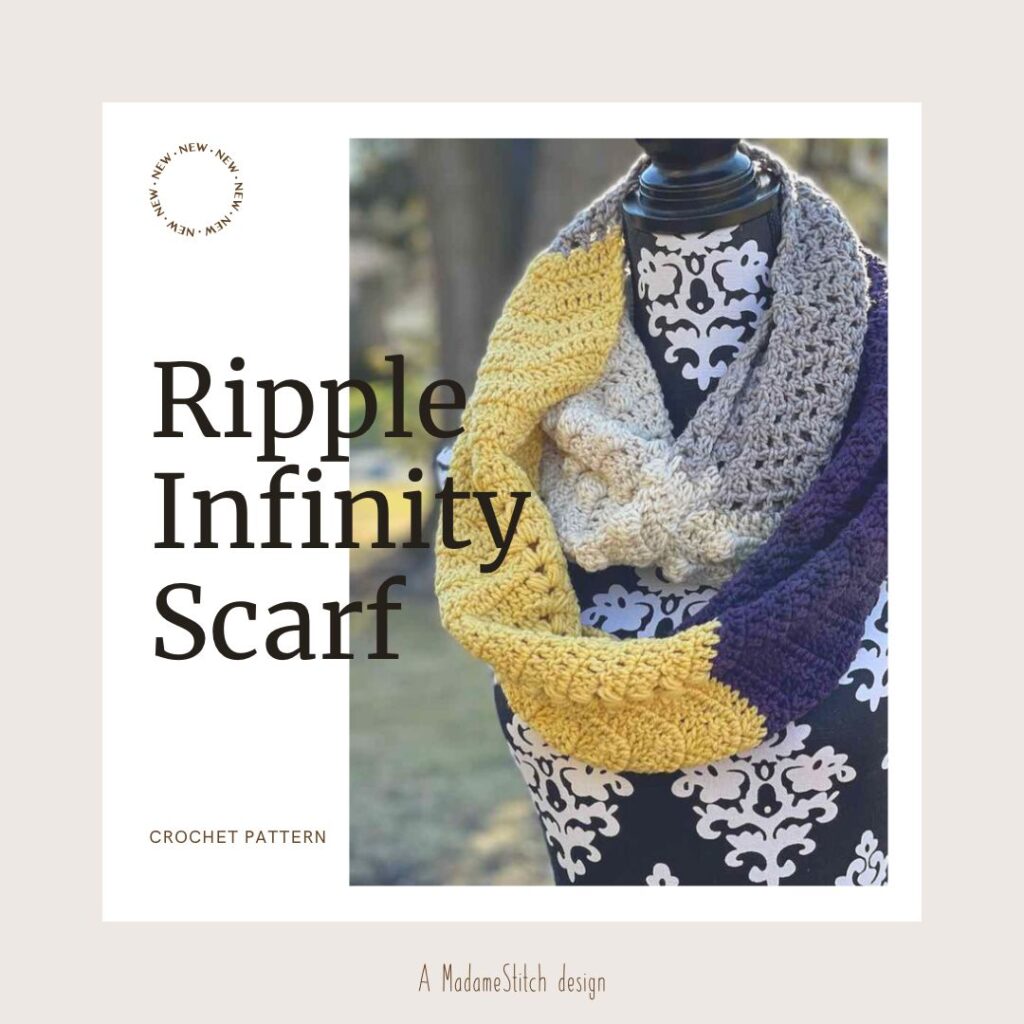
Want to have ALL of these beautiful variations in one design?
The Ripple Infinity Scarf is worked in four sections, each section highlighting one of these variations of the ripple stitch. It’s crocheted in a stunning DK weight yarn, sure to become a statement piece in your wardrobe.
You can purchase this gorgeous scarf in the shop of your choice.

One Comment