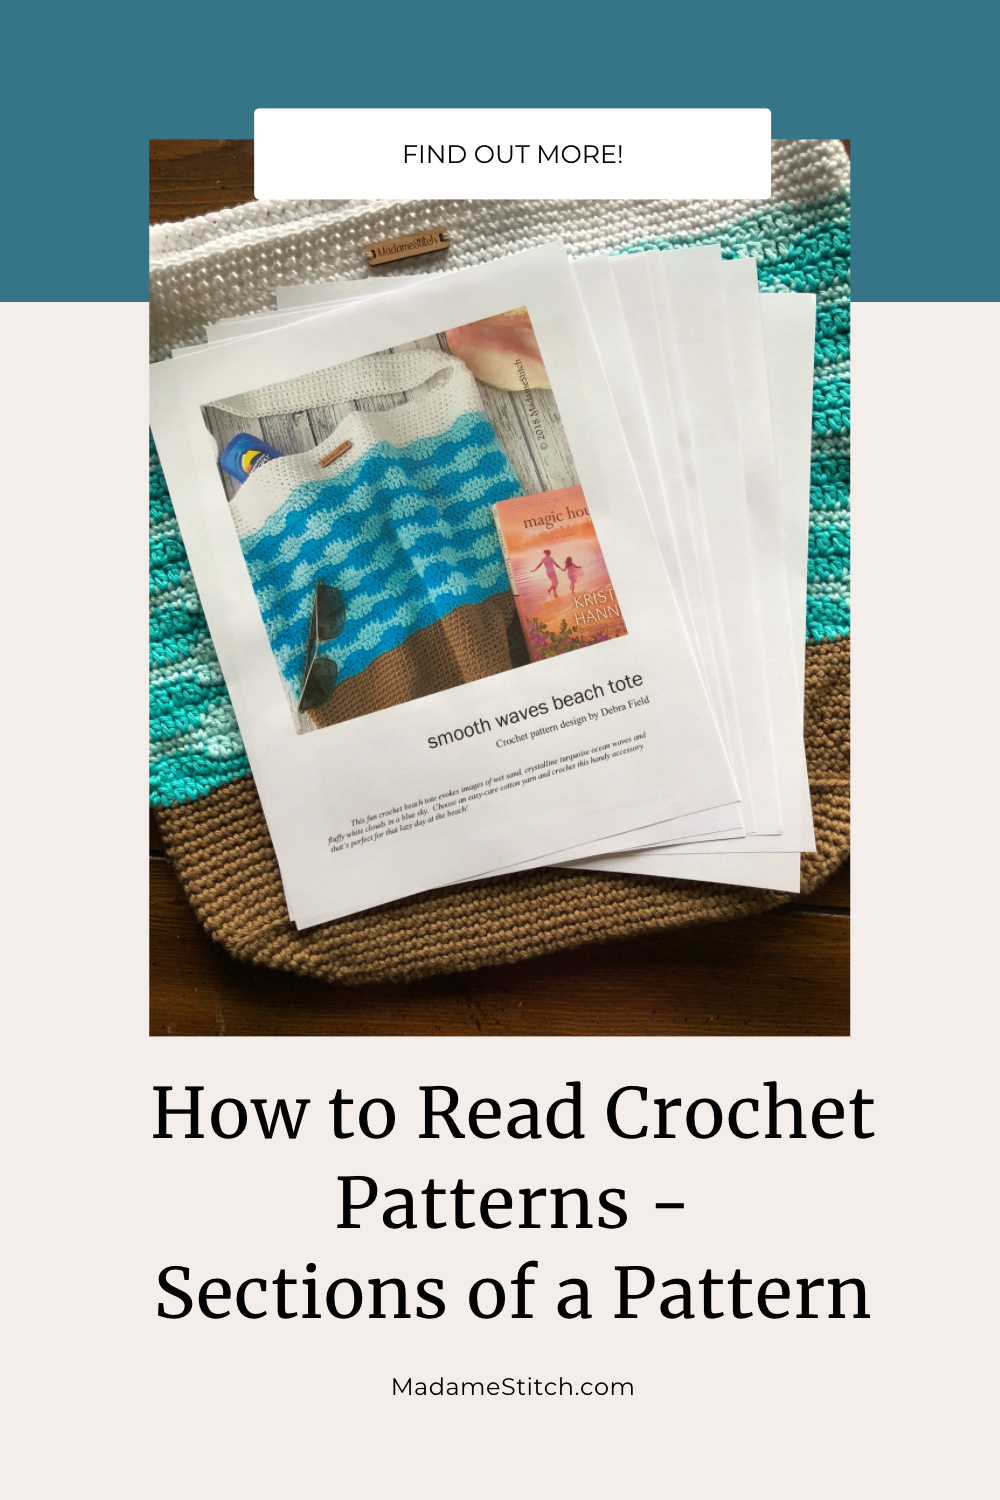
How to Read Crochet Patterns Pt. 1 | Sections
Welcome to the blog!
I’m so excited that you’ve decided to join me as we explore crochet patterns together! The project possibilities are endless and, if you know how to read crochet patterns, you have access to those possibilities. Doesn’t that sound exciting?!

In this post, we’ll take a look at some of the information included in a crochet pattern and what it all means. Let’s get started!
Sections of a Crochet Pattern
Materials + Tools
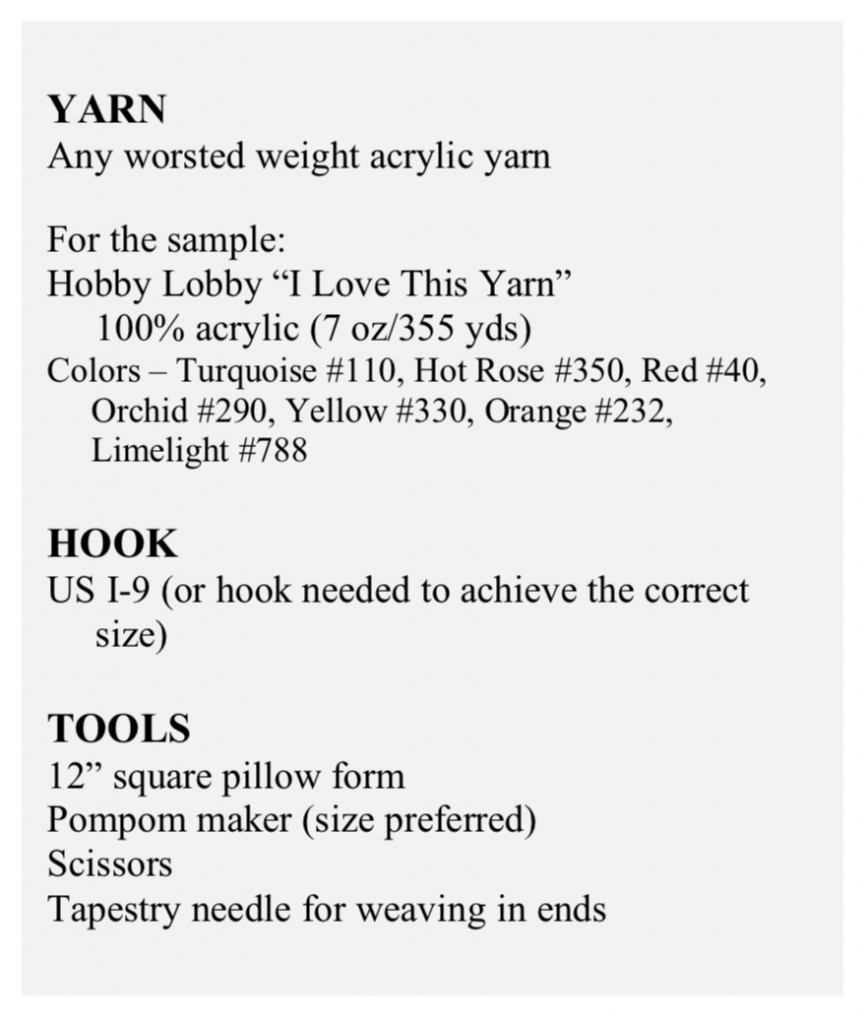
Yarn
This is likely the first section you’ll encounter in your pattern. There are 2 ways a designer might list the yarn that’s needed.
- The designer might simply list the weight of yarn used and how many yards or meters you need to complete the project. For example, the pattern may say “Any worsted weight yarn” and then list the approximate yardage needed.
- The designer usually lists the yarn used to create the project, the specifics about the fiber content, weight and yardage, and how many skeins or hanks you need to complete the project.
Substitutions
What if you want to use a different yarn? You can certainly substitute another yarn but you’ll need to choose something that’s the same weight and is a similar fiber. For instance, you wouldn’t want to substitute a mercerized cotton when the original design called for a wool blend. If your project is a fitted garment or something that needs to be a specific size, what you choose becomes even more important. Sticking to what the designer recommends will certainly work the best.
Hook
This is the size the designer used to get the desired results. You may need to go up or down a size or two depending on your crochet tension. Your ultimate goal is to achieve gauge (more on that below).
Tools
Listed here will be any additional tools you’ll need to complete the project. Common tools would be scissors, tapestry needles and stitch markers. This section will also list any notions like purse handles or pillow forms.
Abbreviations + Special Stitches
This list includes all of the abbreviations used in the pattern instructions. Special stitches are the ones beyond the basic stitches and/or stitches the designer has created for the project you’re about to begin. In the next blog post, I’ll talk about common abbreviations and help you with what you should already know before beginning a new pattern.
Note: We’ll talk about this later, but I highly recommend that you practice all special stitches before beginning any new project. That way you’ll encounter any problems or questions before you get started, not while you’re in the middle of a project!
Gauge + Finished Measurements
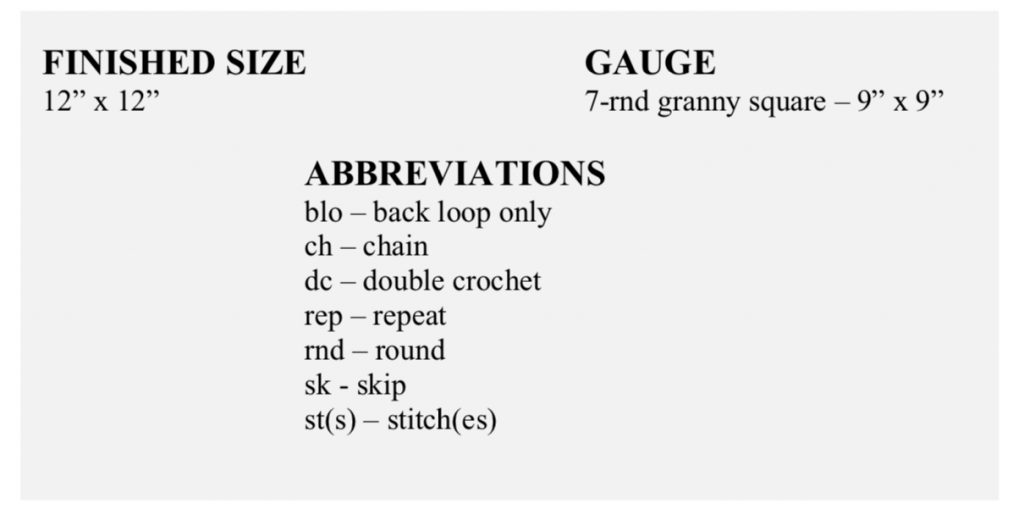
If you don’t know what gauge or tension is, you’ll want to stick around for this post later in the series. It’s kind of a big deal!
Gauge tells you how many stitches per inch and how many rows per inch, using the hook and yarn the designer used. Why is that important? Well, if you want your project to turn out the right size, you need to pay attention to gauge.
For some projects like fitted garments or accessories that require a specific size, achieving gauge is critical. Otherwise, your finished object will be the wrong size and you’ll be incredibly disappointed and unhappy. If your stitches are too big, your FO will be too big and you’ll run out of yarn. The reverse is true if your stitches are too small.
Knowing the finished size of your crochet project is critical to get the finished object you want. Sometimes this section will include a schematic to make it easier to understand how to apply the measurements.
Pattern Notes (About the Pattern)
Pattern Description
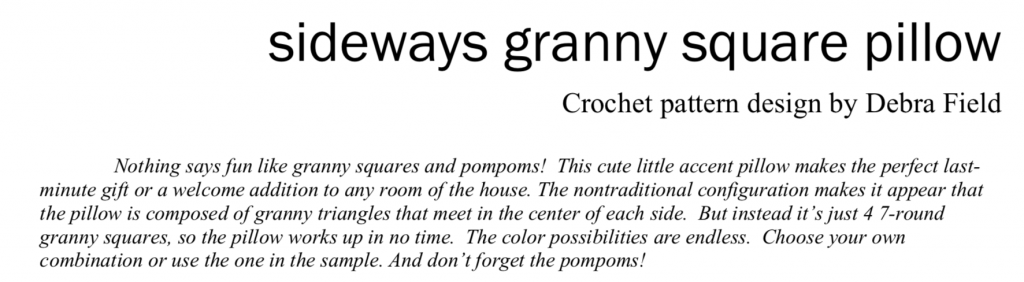
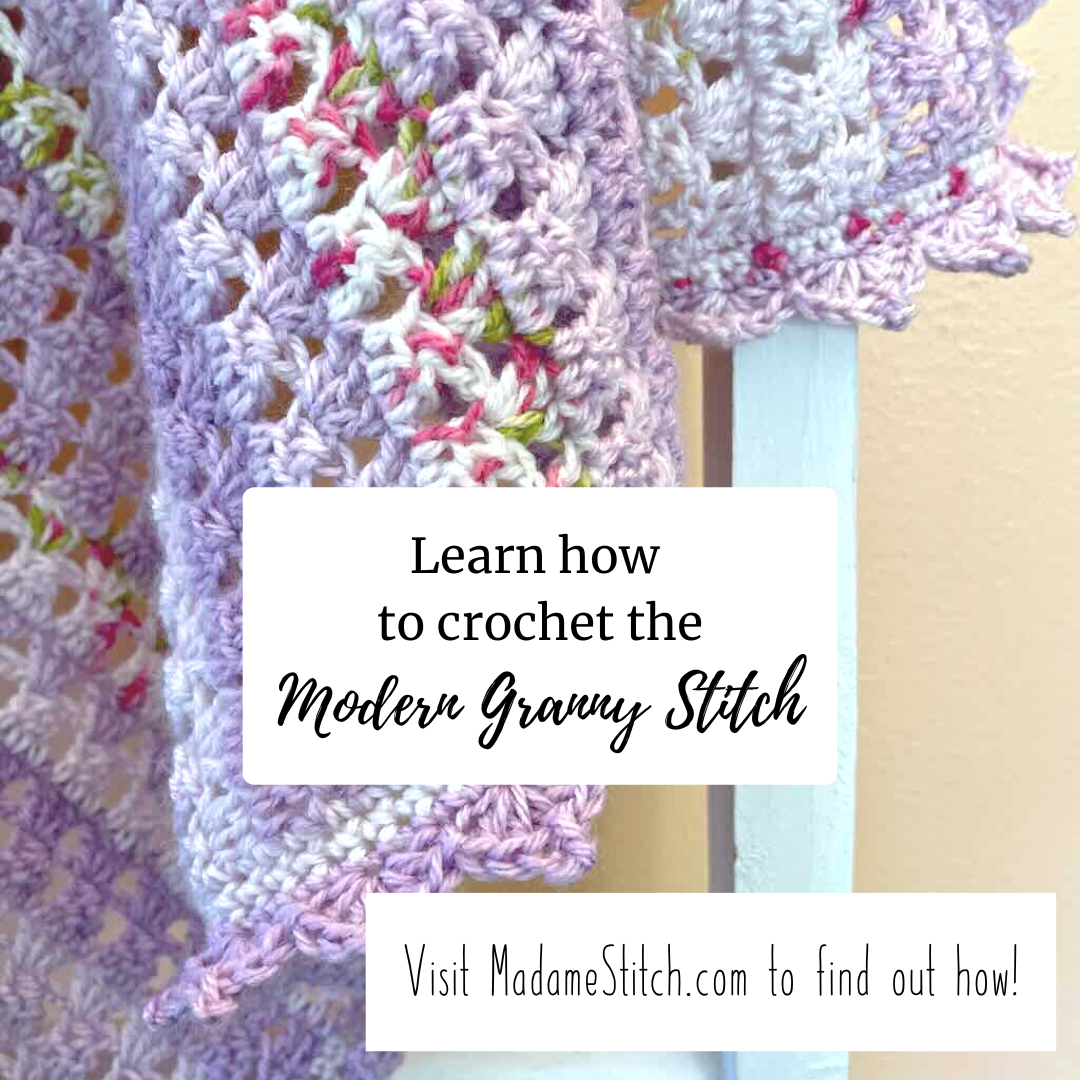
Most pattern writers will include copy that gives you a sense of the design inspiration and elements of the project you might encounter (see example above from one of my patterns). It might be something that gets you really excited about the project. Or it might describe the construction so you have a better idea of how you’ll be crocheting your project.
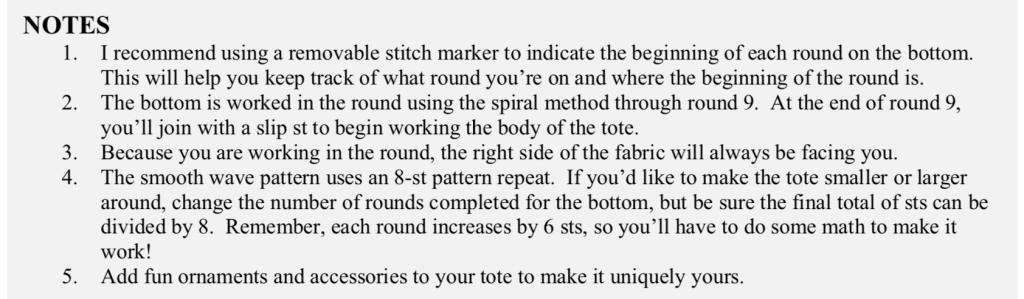
Notes
Pattern notes are designed to give extra information that may not be obvious from simply reading the pattern. The notes may also explain techniques used in the making of the item or simply give some helpful hints. Think of it as a place where the designer can help you be as successful as possible!
Instructions
This is where the magic happens! You’ve finally reached the section in the crochet pattern where the designer will tell you exactly how to make the project.
Granny Skills Resources
As you work your way through these posts and learn more about how to read a crochet pattern, you’ll need quick guides. Luckily, I’ve created a free download for each post!
Create a 3-ring binder dedicated to all the resources you’ll have from the Granny Skills: How to Read a Crochet Pattern like Your Granny Used To. Or, make a folder on your computer or mobile device to gather everything in one place.
Click on the graphic below and fill out the form to get your free download for this blog post: Sections of a Pattern.
How to choose the perfect crochet pattern for you
I have a whole post about that very topic. Here are 5 Tips to Pick the Perfect Pattern Every Time!
In addition, you might want to consider the following:
Choose a pattern that has photo tutorials and high quality photos within the pattern. Even though I’m an advanced crocheter/designer, I still look for patterns with high quality photos and photo tutorials. Designers have unique ways of writing instructions and sometimes it just helps to see a photo to confirm what you think the designer is trying to say.
Look for patterns aimed at beginners. Many patterns will list the skill level required, especially those listed on Ravelry.
Look for a designer who welcomes comments and communication. That means, if you encounter a problem along the way, or are confused about something you’re being asked to do, the designer will be happy to answer your questions. Etsy has a great service called ‘Etsy Conversations’.
Start your journey here
Sign up for the email series and you’ll get basic information about how to read crochet patterns sent right to your inbox. Click the graphic below and get started!
One final thought…Not all patterns are created equal. Don’t assume that, just because you pay for a pattern, it will be better than a free one. Nothing could be further from the truth. Yes, if you find the pattern in a reputable magazine or published book, chances are you’ll be OK. Outside of that, there is no guarantee unless you are familiar with the designer’s work or you have a recommendation from someone you trust.
Plenty of designers offer their patterns for free on their blogs. I have found some patterns to be excellent and others to be less than stellar. Be a discriminating consumer. Don’t assume that big names and companies will have excellent patterns and smaller designers won’t. Use your new-found pattern reading skills to find the best patterns for you!
That’s it for this post. The next part is all about crochet abbreviations and common terms. Head over to find out more!

2 Comments