An adorable preemie lovey that provides security and comfort
Crochet a preemie lovey that brings peace of mind—Granny’s Snuggle Lovey pattern makes a soft, cozy blanket for the tiniest babies.
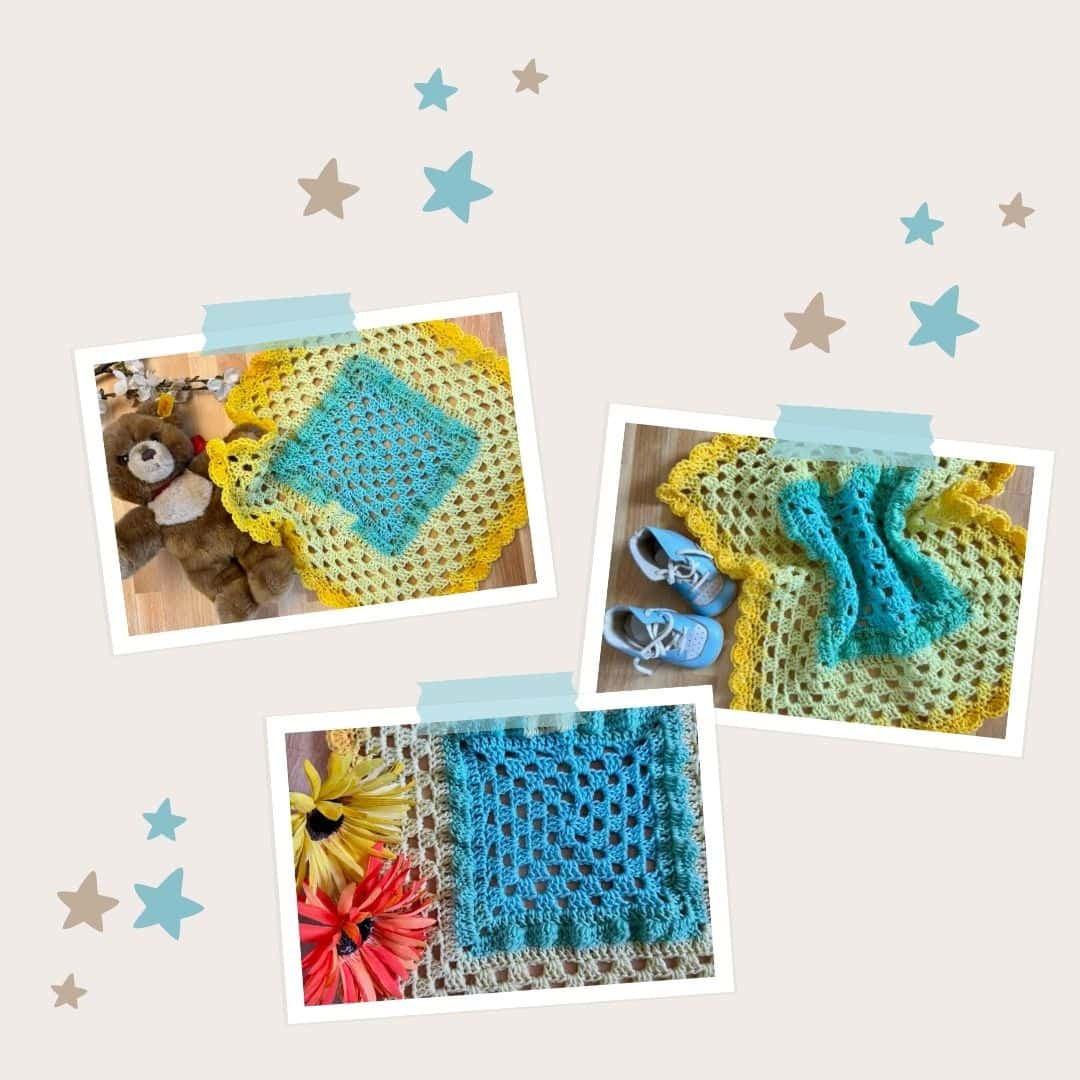
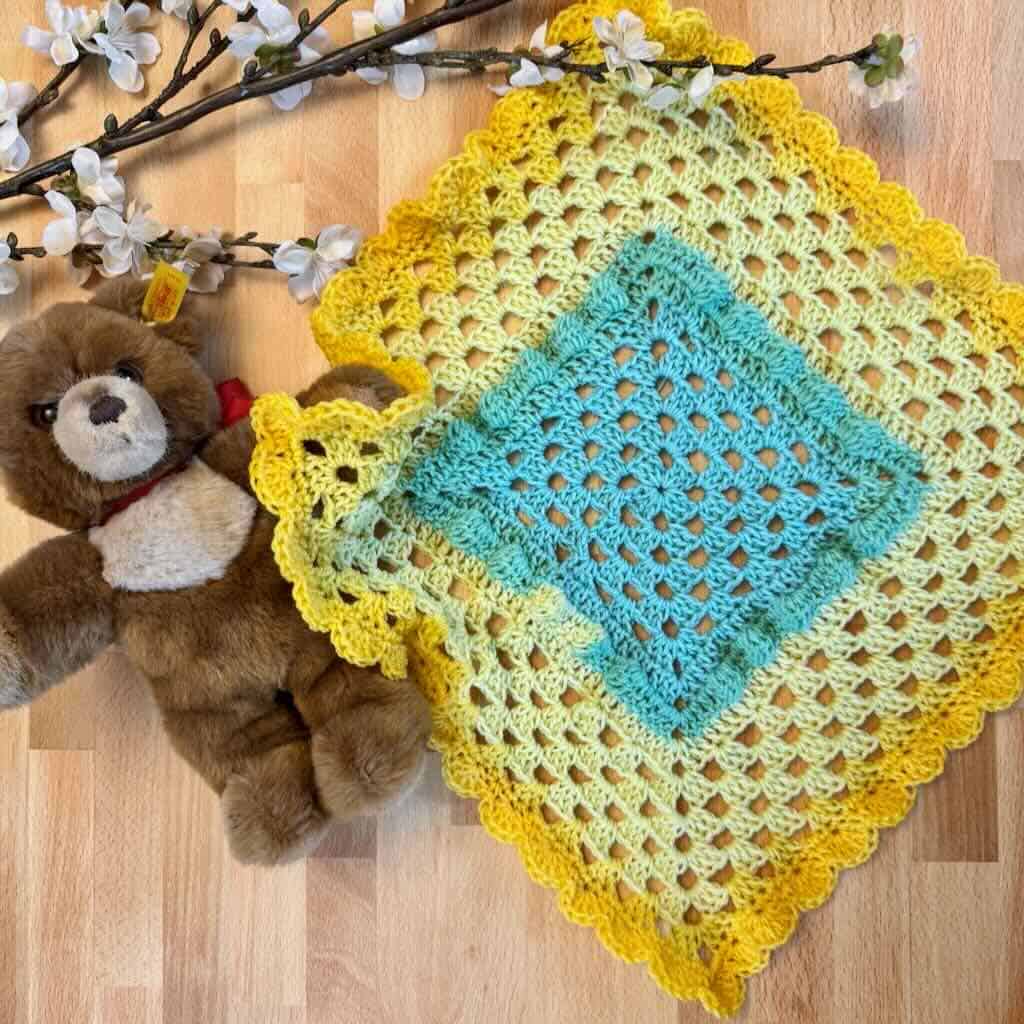
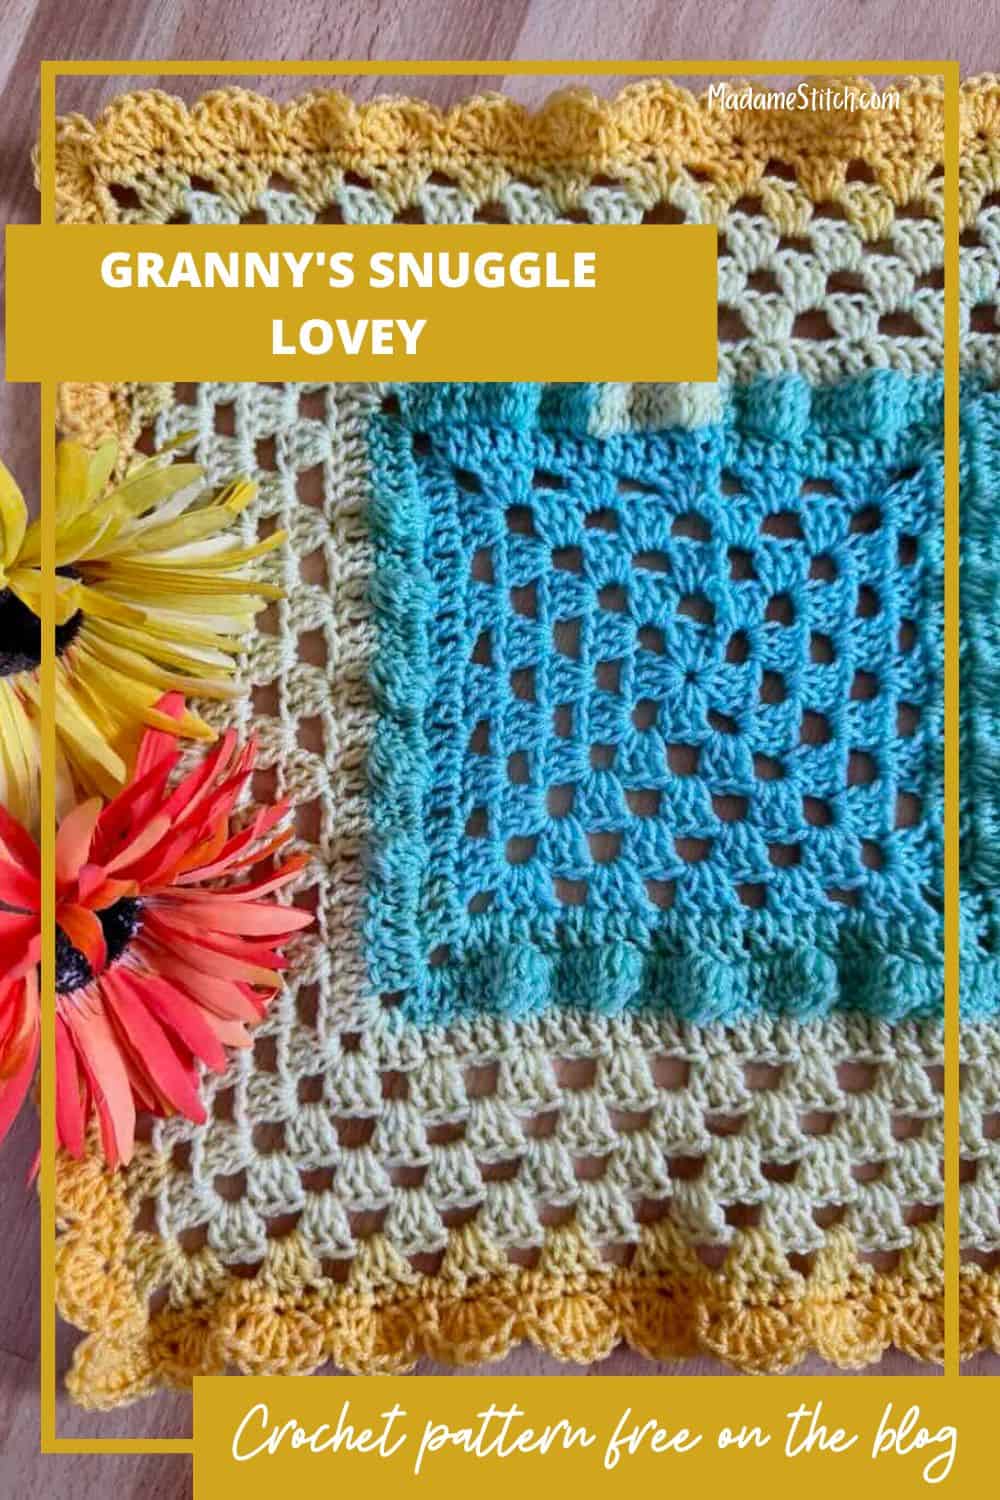
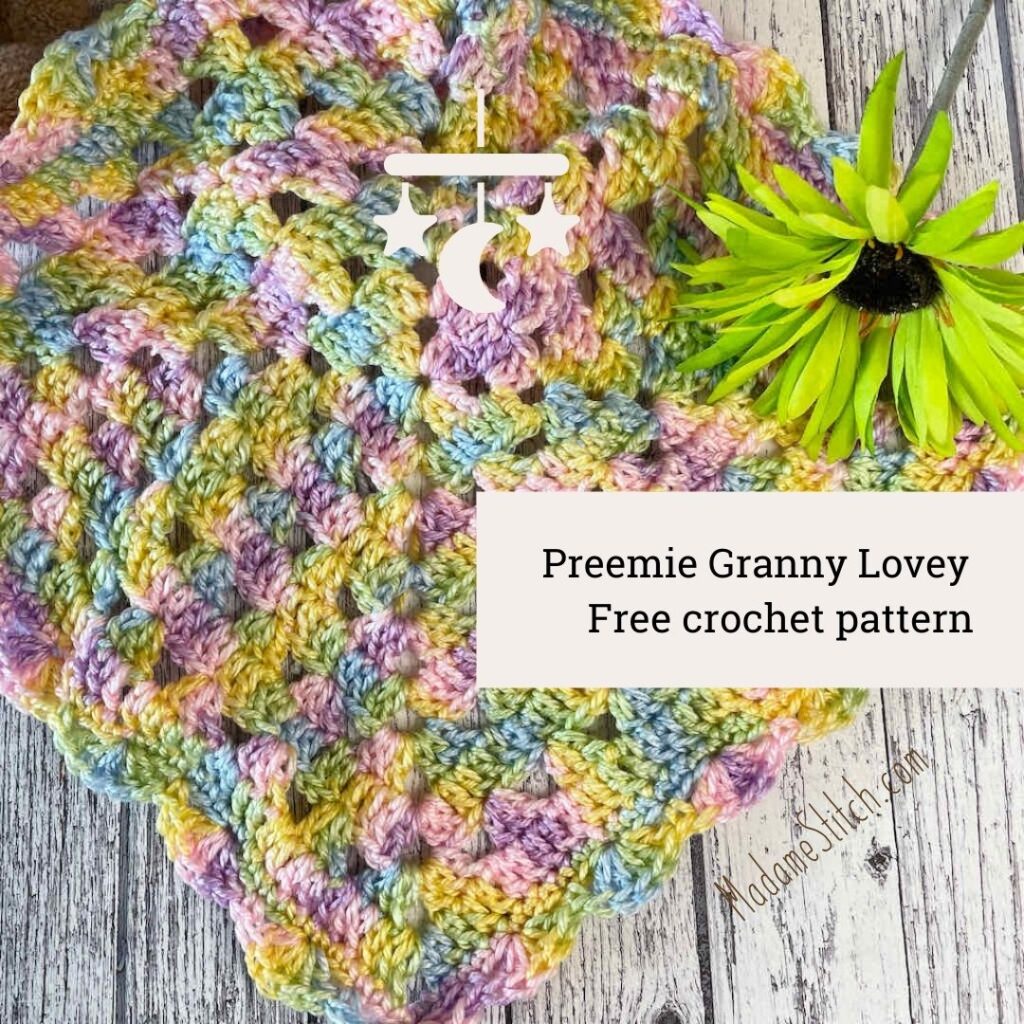
Granny’s Snuggle Preemie Lovey
I am privileged once again to be participating in Sunflower Cottage Crochet’s “Preemie Crochet Challenge”. Each year, we’re challenged to design something that can be gifted or donated to benefit NICU babies and parents in their time of need.
My submission for this year’s challenge is Granny’s Snuggle Preemie Lovey. This little security size NICU baby blanket provides comfort and relief to a preemie who needs a soothing sense of familiarity. Tucked against the baby’s tiny body, it calms and comforts.
What we don’t talk about often enough is the anxiety suffered by the parents. All they want to do is solve the problem and take their precious baby home.
For the mom who crochets, making this preemie lovey while sitting alongside the baby can provide calming, mindful movement. It’s something mom can be doing for her preemie baby while soothing her own anxiety.
This year’s preemie lovey is perfect as a NICU baby blanket for those who want to give some handmade love to preemie and parents alike.

Design + Construction
Granny’s Snuggle Preemie Lovey is a modified granny square.
The granny stitch section of the preemie lovey provides lightweight breathability. The bobbles in the middle section add a bit of texture and whimsy.
The perfect finishing touch for your preemie lovey are the shells that surround the granny square.
Granny’s Snuggle Preemie Lovey works up quickly, making it the ideal charity item. The blanket is quick and easy to work up, ready at a moment’s notice.
The Yarn
When choosing yarn for a baby blanket, particularly one for a preemie, it’s important to consider the following:
- Fiber content: Plant fibers, esp. cotton or bamboo, are ideal. Acrylic is also a great choice but avoid anything that scratchy.
- Texture/softness: Because preemie skin is thinner and more sensitive, choose a yarn that’s smooth and silky.
- Easy to care for: A NICU baby blanket should be machine washable and durable.
- Weight/warmth: Sport or DK weight yarns work best because they drape softly and avoid bulkiness.
I chose Lion Brand’s “Mandala Baby” because it ticks all the boxes for my preemie lovey. It comes in a beautiful array of colors and is a budget-friendly choice.
Note: Before gifting the preemie lovey or using it in the NICU, hand wash in a gentle soap and allow it to air dry. Doing so will remove any chemicals and will also soften the fabric before it touches baby’s tender skin.
What are some other choices?
Here are a few of my other favorites when crocheting a NICU baby blanket:
Lion Brand “Baby Soft Yarn” 60% acrylic 40% nylong DK weight (459yd/5oz; 420m/140g)
Premier Yarns “Cotton Sprout DK” 100% cotton (3.5oz/230yd; 100g/210m)
Paintbox Yarns “Baby DK” 55% nylon, 45% acrylic (183yd/1.76oz; 167m/50g)

Where to get the premium PDF for Granny’s Snuggle Lovey
Granny’s Snuggle Lovey is a free crochet granny square baby blanket pattern in this blog post. Scroll down to view the free version.
Upgrade to the premium PDF and you’ll get a printer friendly, downloadable version of the pattern, available for purchase from one of my shops.
The premium PDF can be uploaded to your favorite mobile device so you can take your Granny’s Snuggle Lovey project with you to work on whenever you’re out and about.
The PDF is easy to read and beautifully formatted without ads for a great experience.
Get your copy today!


The Preemie Crochet Challenge
Hosted by Helen of Sunflower Cottage Crochet, this annual event focuses on crochet the benefits preemies. Each day in the month of September, new designs that include blankets, hats, bonding squares and more provide a wide array of choices for the crocheter who loves to make for donation.
On Friday, Sept. 12th, Granny’s Snuggle Lovey is the featured design. On that day, and for the remainder of September, you can download the free PDF.
By doing so, you are making a pledge to donate at least one item made from the free pattern to a NICU or organization that helps babies in need.
To get your free PDF for Granny’s Snuggle Lovey, use the button below. Once you arrive, follow the instructions to download and save your PDF.

Like my pattern, many of the other patterns are offered as free downloads for the rest of September. While you’re on the roundup post, be sure to collect other patterns you might be interested in.

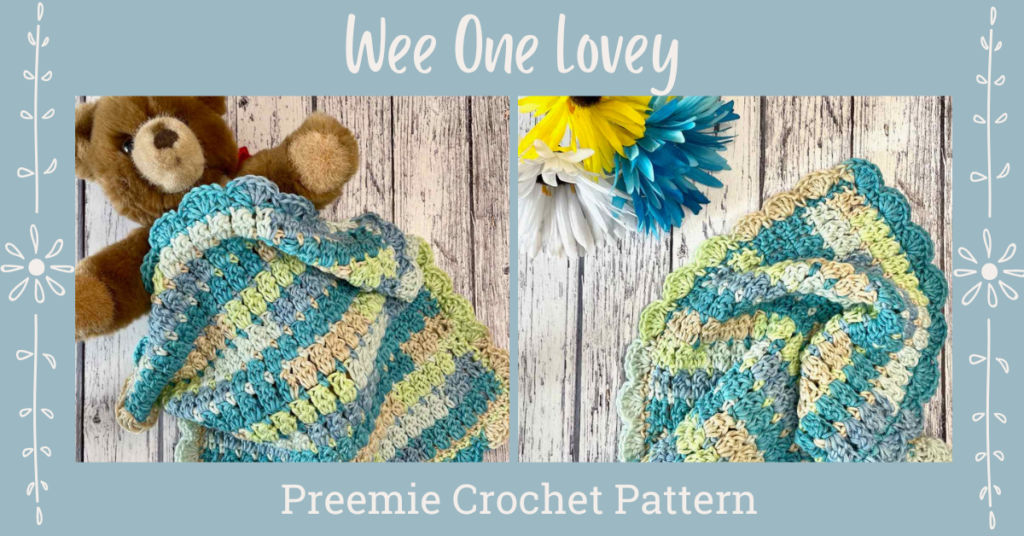
More for preemies

Granny’s Snuggle Lovey Free Pattern starts here
General Information
Yarn
Lion Brand “Mandala Baby” 100% acrylic DK weight (5.3oz/590yd; 150g/540m)
- Color 207 (Honeydukes) – 225 yds (210m)
- You may use any DK weight yarn you choose. Be sure it’s appropriate for babies.
Hook
US size H-8 (5mm)
Skill Level: Advanced Beginner
Finished Size
Approx. 14.5” square after blocking
Gauge
Rnds 1-5 = approx. 5.5” across before blocking
Abbreviations – US crochet terminology
- beg – beginning
- ch – chain
- dc – double crochet
- rep – repeat
- rnd(s) – round(s)
- sc – single crochet
- sk – skip
- sp – space
- st(s) – stitch(es)
- RS – right side
- WS – wrong side
- YO – yarn over
Repeats
- (…) – Work everything within the parentheses in the same st or sp
- […] – Repeat everything within the brackets the indicated number of times
- {…} – Repeat everything within the brackets the indicated number of times
Special Stitches
5-dc shell – 5 dc in the same st
7-dc shell – 7 dc in the same corner
Bobble (BO) – YO, insert hook in the indicated st, YO, pull up a loop, YO, pull through 2 loops, [YO, insert hook in the same st, YO, pull up a loop, YO, pull through 2 loops] 4 times, YO, pull through all 6 loops on hook. Do not ch 1 after the bobble; the next dc closes off the bobble.
Granny stitch (GS) – 3 dc in the same sp.
Stacked single crochet (STsc) – (This stitch is used at the beginning of a row or round to replace the traditional turning ch-3. It has the appearance of a dc.) – Insert hook in same st as loop, YO, pull up a loop, YO, pull through 2 loops (bottom sc made), insert hook in the left vertical bar of the bottom sc, YO, pull up a loop, YO, pull through 2 loops (top sc made).
A note about the hidden stitch
What is the hidden stitch in crochet? It’s the 1st st that follows each corner when working in the round. Oftentimes, because of the stitches worked in the corner space, that 1st stitch can be hidden and tucked underneath those stitches. In this pattern, the hidden stitch is included in the stitch count unless instructed to skip it. It is worked into in the hdc 3lp rounds as well.
Pattern Notes
- Most rnds are worked with RS facing. However, the bobble rnd is worked with the WS facing in order for the bobble to “pop” to the right side of the blanket. Pay close attention to “Turn” and “Do not turn” in the Bobble section.
- The corners are worked differently for each section so that the blanket will lay flat when completed. This also ensures the stitch count is correct when transitioning from one section to the next. Corners in the Granny Sections are (3 dc, ch 3, 3 dc). Corners in the Bobble section are (2 dc, ch 2, 2 dc).
- A ch-2 or ch-3 may be substituted for the STsc at any time without altering the construction of the square.
Pattern Instructions
Beginning Granny Section
Notes
- The corners in this section will always be (GS, ch 3, GS).
- Do not turn after any rnd in this section.
Ch 4, join with slip st to form ring.
Rnd 1 (RS): (STsc, 2 dc) in the ring (1st GS made), ch 3, (GS in the ring, ch 3) 3 times, join with slip st to beg ch-3. < 4 GS, 4 ch-3 corner sp >
Rnd 2 (RS): STsc in the ch-3 corner sp to the right of the hook, ch 1, [(GS, ch 3, GS) in the next ch-3 corner sp, ch 1] 3 times, (GS, ch 3, 2 dc) in the same sp as the STsc to complete the 1st corner, join with slip st to beg st. < 8 GS, 4 ch-1 sp, 4 ch-3 corner sp >
Rnd 3: Slip st in the ch-1 sp, (STsc, 2 dc) in the ch-1 sp (counts as 1st GS), ch 1, [(GS, ch 3, GS) in the next ch-3 corner sp, ch 1, GS in the ch-1 sp, ch 1] 3 times, (GS, ch 3, GS) in the next ch-3 corner sp, ch 1, join with slip st to beg st. < 12 GS, 8 ch-1 sp, 4 ch-3 corner sp >
Rnd 4: STsc in the ch-1 sp to the right of the hook, ch 1, GS in the next ch-1 sp, ch 1, {(GS, ch 3, GS) in the next ch-3 corner sp, [ch 1, GS in the next ch-1 sp] twice, ch 1} 3 times, 2 dc in the same sp as the STsc to complete the 1st GS, ch 1, join with slip st to beg st. < 16 GS, 12 ch-1 sp, 4 ch-3 corner sp >
Rnd 5: Slip st in the ch-1 sp, (STsc, 2 dc) in the ch-1 sp (counts as 1st GS), ch 1, GS in the next ch-1 sp, ch 1, (GS, ch 3, GS) in the next ch-3 corner sp, ch 1, {[GS in the ch-1 sp, ch 1] 3 times, (GS, ch 3, GS) in the next ch-3 corner sp, ch 1} 3 times, GS in the next ch-1 sp, ch 1, join with slip st to beg st. < 20 GS, 16 ch-1 sp, 4 ch-3 corner sp >
Do not fasten off. Continue to Bobble section.
Bobble Section
Notes
- The corner in this section will always be (2 dc, ch 2, 2 dc).
- The rnd with bobbles is always worked on the WS of the blanket. Pay close attention to the instructions to turn or not to turn.
- The bobble sts should be lined up in the middle st of each granny group 2 rnds below.
Rnd 6 (RS): STsc, dc in the next st and in each st and ch-1 sp across to the ch-3 corner sp, (2 dc, ch 2, 2 dc) in the ch-3 corner sp, [dc in the next st and in each st and ch-1 sp across to the next ch-3 corner sp, (2 dc, ch 2, 2 dc) in the ch-3 corner sp] 3 times, dc in the next st and in each st and ch-1 sp across to the beg st, join with slip st to beg st, TURN. < 23 dc along each side, 4 ch-2 corner sp >
Rnd 7 (WS): STsc, dc in the next st, [BO in the next st, dc in the 3 sts] twice, (2 dc, ch 2, 2 dc) in the ch-2 corner sp, {dc in the next 3 sts, [BO in the next st, dc in the next 3 sts] 5 times, (2 dc, ch 2, 2 dc) in the ch-2 corner sp} 3 times, [dc in the next 3 sts, BO in the next st] 3 times, dc in the last st, join with slip st to beg st, TURN. < 20 BO, 22 dc along each side, 4 ch-2 sp >
Rnd 8 (RS): STsc, dc in the next st and in each st across to the ch-2 corner sp, (2 dc, ch 2, 2 dc) in the ch-2 corner sp, [dc in the next st and in each st across to the next ch-2 corner sp, (2 dc, ch 2, 2 dc) in the ch-2 corner sp] 3 times, dc in the next st and in each st across to the beg st, join with slip st to beg st, DO NOT TURN. < 31 dc along each side, 4 ch-2 corner sp >
Do not fasten off. Continue to Granny Section.
Granny Section
Notes
- Follow all notes from the Beginning Granny Section.
- The granny sts will line up directly above a bobble st from 2 rnds below.
Rnd 9 (RS): Slip st into the next st, (STsc, 2 dc) in the same st (counts as 1st GS), ch 1, sk 3 sts, [GS in the next st, ch 1, sk 3 sts] 3 times, (GS, ch 3, GS) in the ch-2 corner sp, {ch 1, sk 3 sts, [GS in the next st, ch 1, sk 3 sts] 7 times, (GS, ch 3, GS) in the ch-2 corner sp} 3 times, ch 1, sk 3 sts, [GS in the next st, ch 1, sk 3 sts] 3 times, join with slip st to beg st. < 36 GS, 32 ch-1 sp, 4 ch-3 sp >
Rnd 10: STsc in the ch-1 sp to the right of the hook, ch 1, [GS in the next ch-1 sp, ch 1] across to the next ch-3 corner sp, {(GS, ch 3, GS) in the ch-3 corner sp, ch 1, [GS in the next ch-1 sp, ch 1] across to the next ch-3 corner sp} 3 times, (GS, ch 3, GS) in the ch-3 corner sp, ch 1, [GS in the next ch-1 sp, ch 1] across to the beg ch-1 sp, 2 dc in the same sp as the STsc to complete the 1st GS, join with slip st to beg st. < 40 GS, 36 ch-1 sp, 4 ch-3 corner sp >
Rnd 11: Slip st in the ch-1 sp, (STsc, 2 dc) in the ch-1 sp (counts as 1st GS), ch 1, [GS in the next ch-1 sp, ch 1] across to the next ch-3 corner sp, {(GS, ch 3, GS) in the ch-3 corner sp, ch 1, [GS in the next ch-1 sp, ch 1] across to the next ch-3 corner sp} 3 times, (GS, ch 3, GS) in the ch-3 corner sp, ch 1, [GS in the next ch-1 sp, ch 1] across, join with slip st to beg st. < 44 GS, 40 ch-1 sp, 4 ch-3 corner sp >
Rnds 12-13: Rep Rnds 10-11. < 52 GS, 48 ch-1 sp, 4 ch-3 corner sp >
Do not fasten off. Proceed to the Border.
Border
Notes
- The shells along the side should be lined up with the middle st of each GS 2 rnds below.
- The corners in Rnd 14 are (2 sc, ch 2, 2 sc).
Rnd 14: Ch 1, sc in the same st and in each st and ch-1 sp across to the ch-3 corner sp, [(2 sc, ch 2, 2 sc) in the ch-3 corner sp, sc in the next st and in each st and ch-1 sp across to the next ch-3 corner sp] 3 times, (2 sc, ch 2, 2 sc) in the ch-3 corner sp, sc in the next st and in each st and ch-1 sp across to beg st, join with slip st to beg st. < 67 sc along each side, 4 ch-2 corner sp >
Note: The skipped st after each corner in Rnd 15 is the hidden st.
Rnd 15: Slip st in the next st, (STsc, 4 dc) in the same st (counts as 1st 5-dc shell), sk st, sc in the next st, sk st, [5-dc shell in the next st, sk st, sc in the next st, sk st] across to the next ch-2 corner sp, {7-dc shell in the ch-2 corner sp, sk st, sc in the next st, sk st, [5-dc shell in the next st, sk st, sc in the next st, sk st] across to the next ch-2 corner sp} 3 times, 7-dc shell in the ch-2 corner sp, sk st, sc in the next st, sk st, [5-dc shell in the next st, sk st, sc in the next st, sk st] across, join with slip st to STsc. < 52 5-dc shells, 56 sc, 4 7-dc shells >
Fasten off and weave in ends.

One Comment