A lovely textured crochet star stitch afghan square
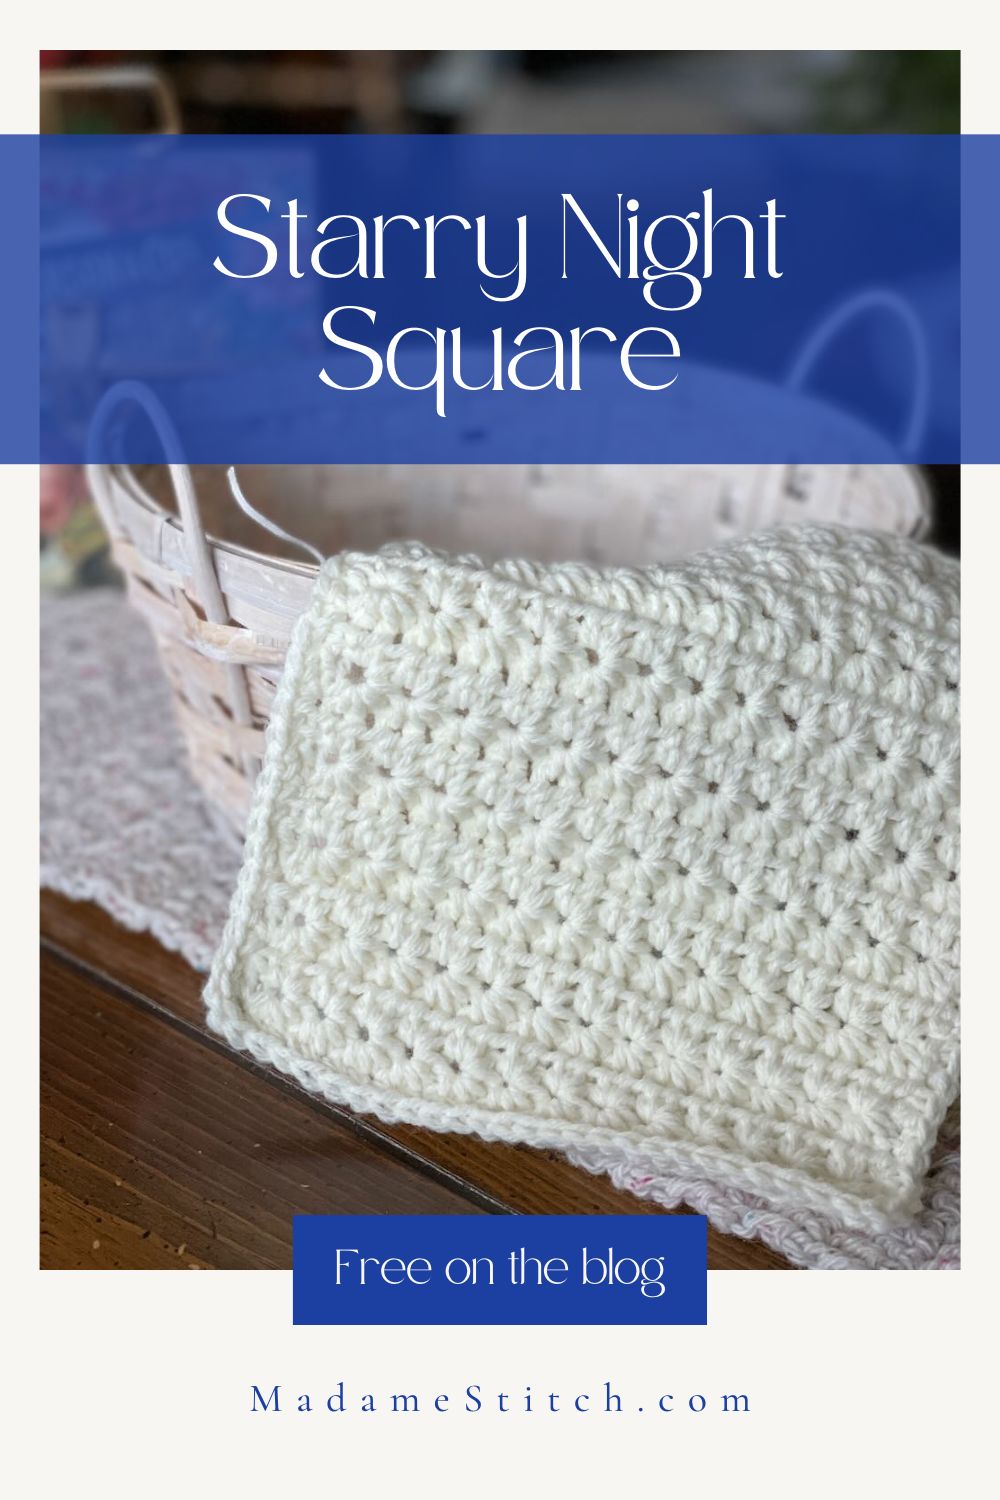
The Starry Night square is worked with the crochet star stitch. The pattern for this square is free on the blog. Part of the Fireside Throw.
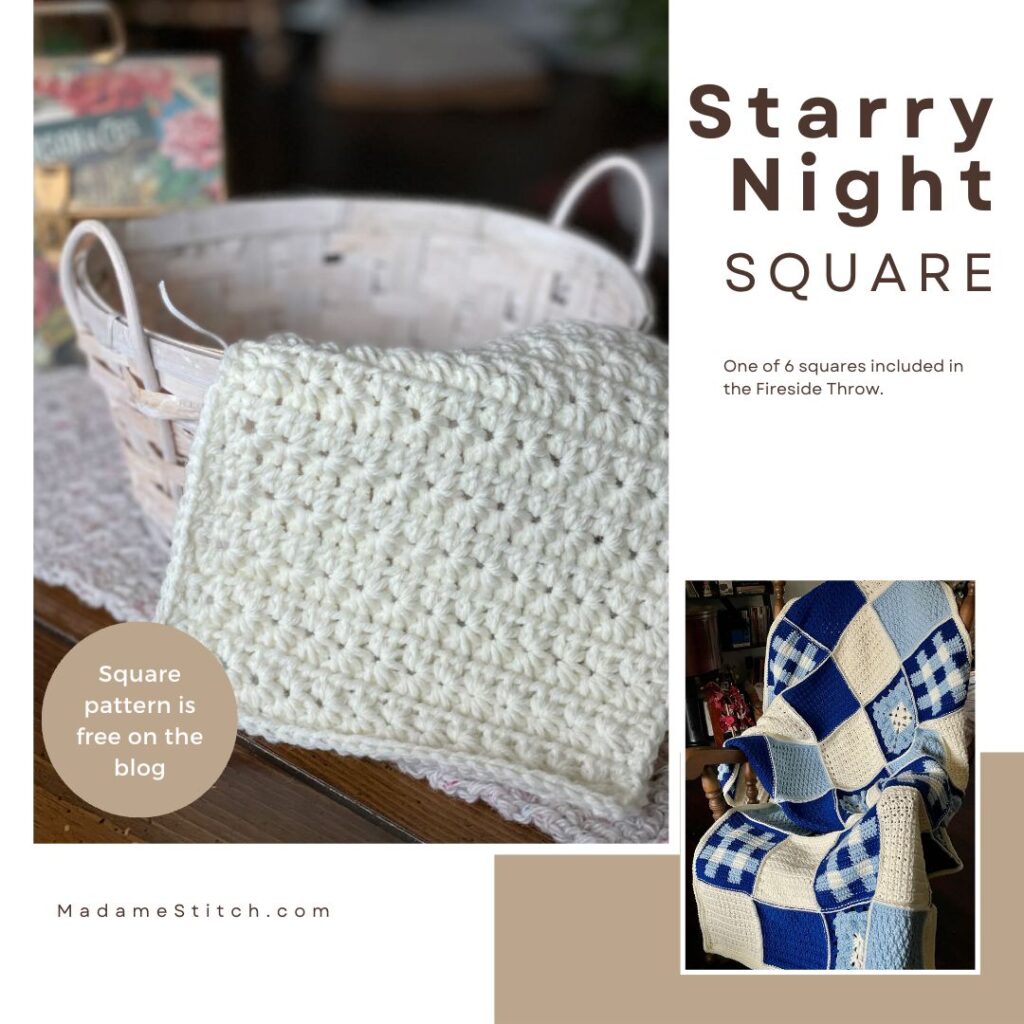
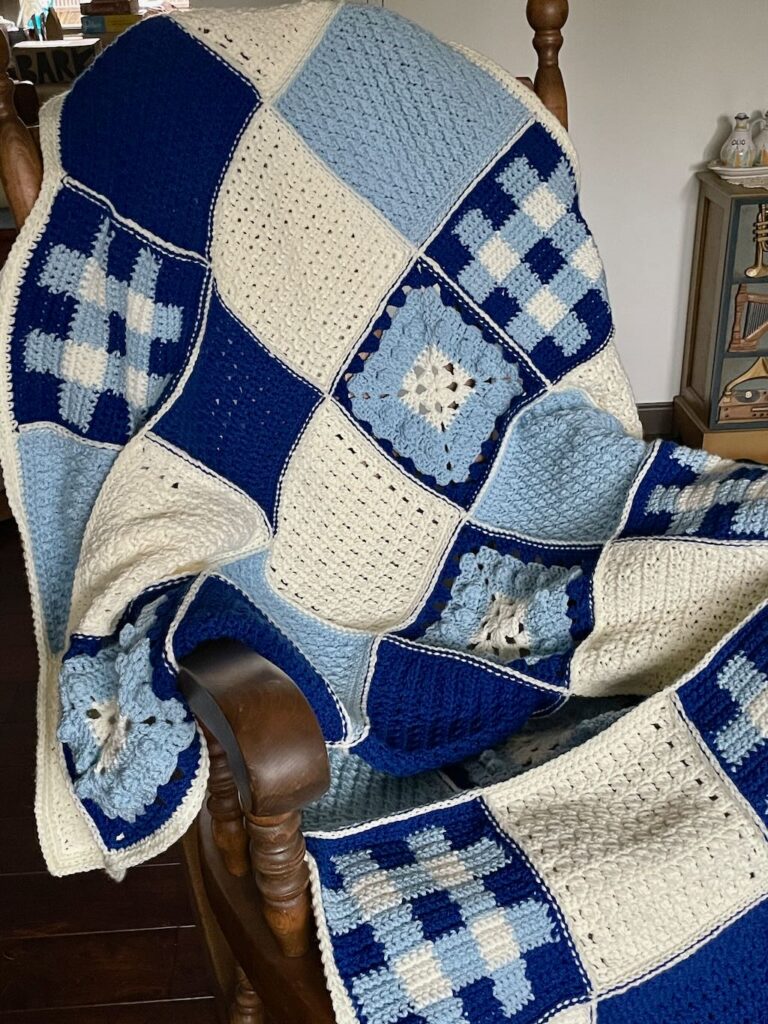
This afghan square was designed as part of the Fireside Throw, a beautiful stitch sampler blanket that’s perfect for cuddling under during the cold winter months.
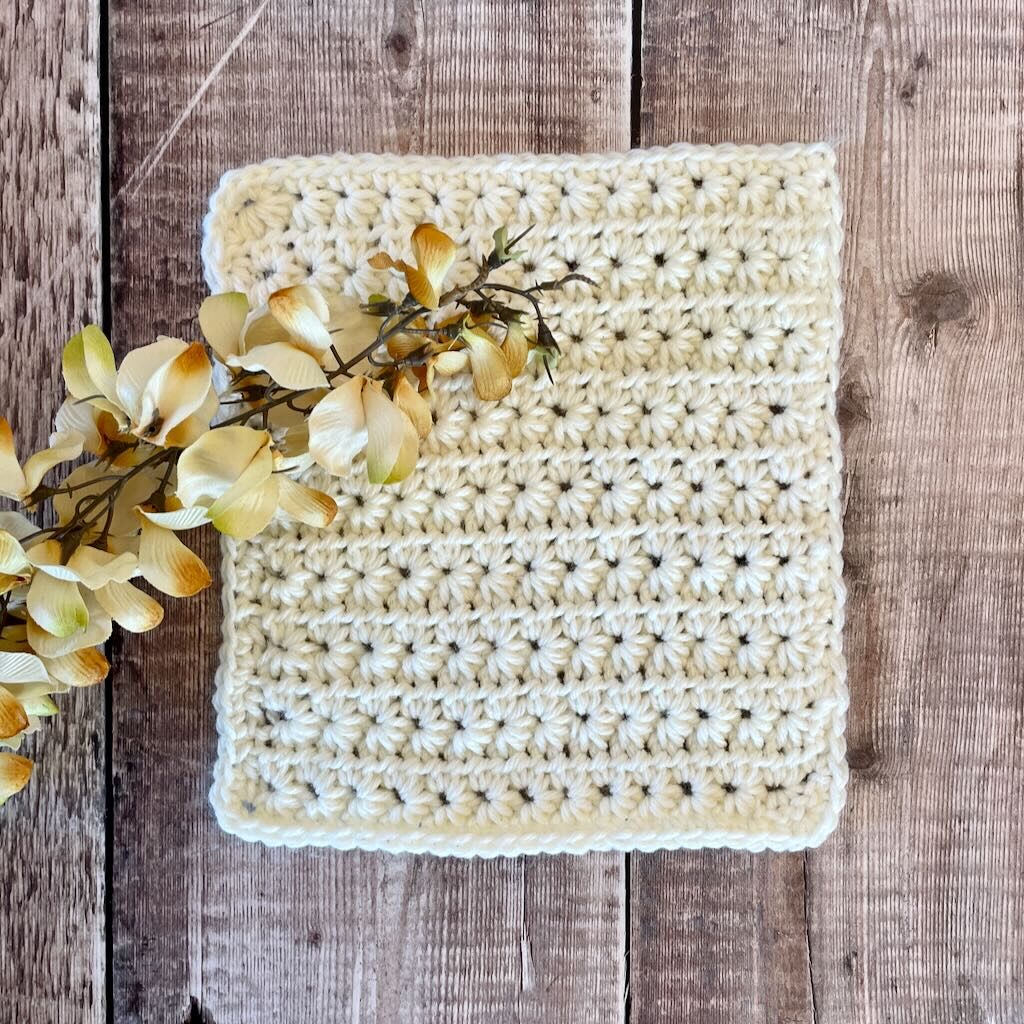
The Starry Night square evokes images of a crisp, clear winter night when the stars are thick and twinkling bright. This crochet star stitch afghan square features rows of stitches that look like star bursts. It’s easy to imagine those stars in the sky.
This crochet star stitch square adds a beautiful texture to the overall look and feel of the Fireside Throw. While the fabric is dense, it doesn’t feel too heavy or thick. You’ll enjoy creating the rows of star stitches and seeing the Starry Night square come to life.
Design + Construction of this crochet star stitch square
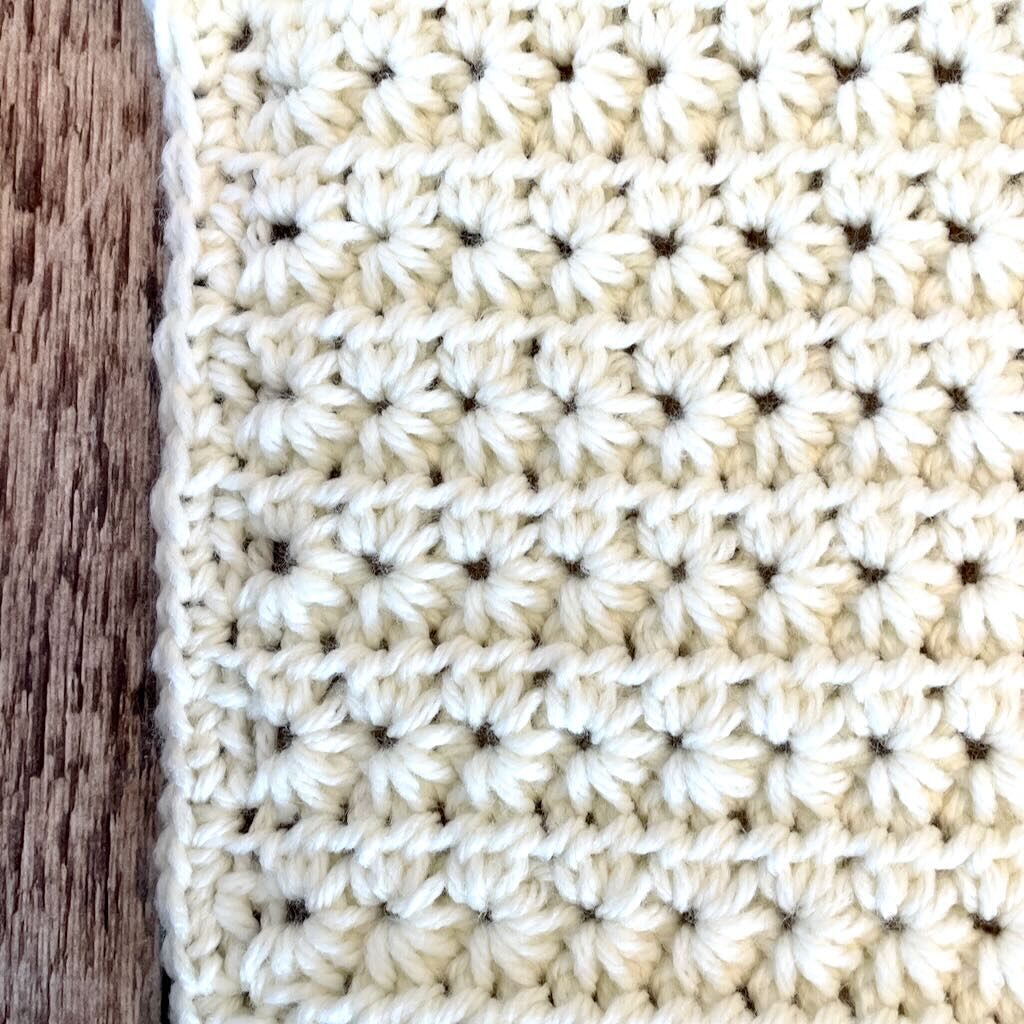
The body of the square is worked in crochet star stitch, an easy to learn and easy to work 2-row repeat.
In the first row of the repeat, 5 of the loops of the star stitch are picked up and secured with a chain stitch. In the second row of the repeat, half double crochets are worked in the chains (or eyes) from the previous row to finish the star stitch. The 2 rows together create the entire crochet star stitch.
The single crochet edging provides an even, straight edge to sew this square to others in the blanket.
Notes about the crochet star stitch
- I end the row with a hdc to create an even, straight edge for a square that’s easy to sew to other squares of different stitches. This nay be different from what other designers have done. The crochet star stitch will still look the same.
- The number of stitches to chain can be either even or odd depending up how the final star st of the row is worked. In this square, you’ll need an even number of chains to have an odd number stitches in the row.
The yarn
This post contains affiliate links. That means, if you purchase something using the link, I receive a small commission. You don’t pay any extra and your information is safe. Thanks for supporting my small business.
Any worsted weight will work for this crochet star stitch square. Choose any yarn from your stash or one that works for the overall project the square is a part of.
For the sample (and the Fireside Throw), I chose Lion Brand’s “Pound of Love”. It’s soft, easy to work with and creates a beautiful finished look. I fell in love with this yarn when I was working on the Friends with Granny blanket and discovered how soft the yarn was. It comes in economical 16oz skeins making it the perfect choice for large projects.
The PDF for the Starry Night afghan square is available for purchase.
Even though the pattern is free here on the blog, you may want a handy PDF to print out or add to the library on your favorite electronic device. It’s much easier to take this project with you when you don’t need to keep a browser open.
The Fireside Throw blanket pattern
As I mentioned earlier, this square is included in the Fireside Throw CAL. You can purchase the full pattern for $8 through February 13th after which the price increases to $12.
This beautifully formatted PDF includes everything you need to make your very own Fireside Throw. Here’s what you’ll get with your copy:
- Written instructions for all 6 squares in the blanket
- Detailed instructions for assembly and adding the simple border
- Tips that will help you as you make your blanket
What you need to know to make this crochet star stitch afghan square
Thank you for staying on this post and reading my patterns right here on the blog, without copy/pasting. When you stay here to follow the free version of my pattern, I am compensated for my time and energy. This is a great, free way to support a designer. If you would like to save this for later, bookmark the page to save it in your mobile browser.
Yarn
Lion Brand “Pound of Love” 100% premium acrylic worsted weight (16 oz/1020 yd; 454 g/932 m) Color #99 – Antique White – Approx. 1 oz for each square
Hook
US size H-8 (5mm)
Tools
- Removable stitch markers
- Tapestry needle for weaving in ends
Finished size: Approx. 8.5″ square
Gauge: 8 star st x Rows 3-10 (plus half of Row 11) = 4″
Skill level: Advanced beginner/Intermediate
Abbreviations – US crochet terminology
- beg – beginning
- ch – chain
- hdc – half double crochet
- sc – single crochet
- sc5tog – single crochet 5 together
- st(s) – stitch(es)
- RS – right side
- WS – wrong side
- YO – yarn over

The Star Stitches
The star stitch worked at the beginning of the foundation chain is worked into chains rather than stitches. However, the resulting star stitch looks the same.
Beginning foundation chain star stitch (This star stitch is worked into the foundation ch)
- Insert hook in 2nd ch from hook, YO, pull up a loop (2 loops on hook).
- [Insert hook in next ch, YO, pull up a loop] 4 times (6 loops on hook).
- YO, pull through all 6 loops. (This is a sc5tog).
- Ch 1 to complete the star stitch and form the eye.
Beginning star stitch (This star stitch is worked at the beginning of subsequent star stitch rows, following a hdc row)
- Ch 3, insert hook in 2nd ch from hook, YO, pull up a loop (2 loops on hook).
- Insert hook in next ch, YO, pull up a loop (3 loops on hook).
- Insert hook into 1st hdc (same st as the ch-3), YO, pull up a loop (4 loops on hook).
- Insert hook into next unworked hdc, YO, pull up a loop (5 loops on hook).
- Insert hook into next unworked hdc, YO, pull up a loop (6 loops on hook).
- YO, pull through all 6 loops on hook. (This is a sc5tog)
- Ch 1 to complete the star stitch and form the eye.
Star stitch
- Insert hook into ch-1 (eye) just made, YO, pull up a loop (2 loops on hook).
- Insert hook into leg of the first loop pulled up in previous star stitch (the topmost loop), YO, pull up a loop (3 loops on hook).
- Insert hook into same st as the last loop of the previous st, YO, pull up a loop (4 loops on hook).
- Insert hook into next unworked st, YO, pull up a loop (5 loops on hook).
- Insert hook into next unworked st, YO, pull up a loop (6 loops on hook).
- YO, draw through all 6 loops on hook (This is a sc5tog)
- Ch 1 to complete the star stitch and form the eye.
A full tutorial is coming soon. In the meantime, check out this one by Crafting Happiness.
Written Instructions for the crochet star stitch square
Thank you for staying on this post and reading my patterns right here on the blog, without copy/pasting. When you stay here to follow the free version of my pattern, I am compensated for my time and energy. This is a great, free way to support a designer. If you would like to save this for later, bookmark the page to save it in your mobile browser.
Pattern Notes
- The ‘ch 1’ at the beginning of a row does not count as a st.
- The right side of the fabric is the one that’s facing you when you work a star stitch row.
- Turning chains do not count as stitches.
- Pull up loops a little taller when working the star st to avoid short squat rows.
Pattern Instructions for the crochet star stitch square
Body
Ch 30.
Row 1 (RS): Beg foundation ch star st, star st across, hdc in the last ch (the same ch as the final loop of the last star st), turn. (13 star sts, 1 hdc)
Row 2 (WS): Ch 1, 2 hdc in eye of 1st star st and in each eye across, hdc in last st, turn. (27 hdc)
Row 3: Ch 3, beg star st, star st across, hdc in last st (the same st as the final loop of the last star st), turn. (13 star sts, 1 hdc)
Row 4: Rep Row 2.
Rows 5-16: Rep Rows 3-4 6 times.
Row 17: Rep Row 3.
At the end of Row 17, do not turn and do not fasten off. Proceed to Edging.
Edging
Note: To evenly space the sc along the side edges, place a marker at the halfway point. Work 11 sc before and after the marker plus one where the marker sits for a total of 23 sc between corners.
Side 1: Ch 1, work 23 sc evenly spaced across.
Bottom edge: Rotate 90 degrees, 3 sc in 1st foundation ch, work 25 sc evenly spaced across to last ch, 3 sc in last ch.
Side 2: Rotate 90 degrees, work 23 sc evenly spaced across.
Top edge: Rotate 90 degrees, 3 sc in eye of first star st, [sc in top loop of next star st, sc in eye of same star st] across to eye of last star st, sc in loop of last star st, 3 sc in eye of last star st. Join with invisible join to beg sc.
Fasten off and weave in ends.
[mailerlite_form form_id=3]


2 Comments