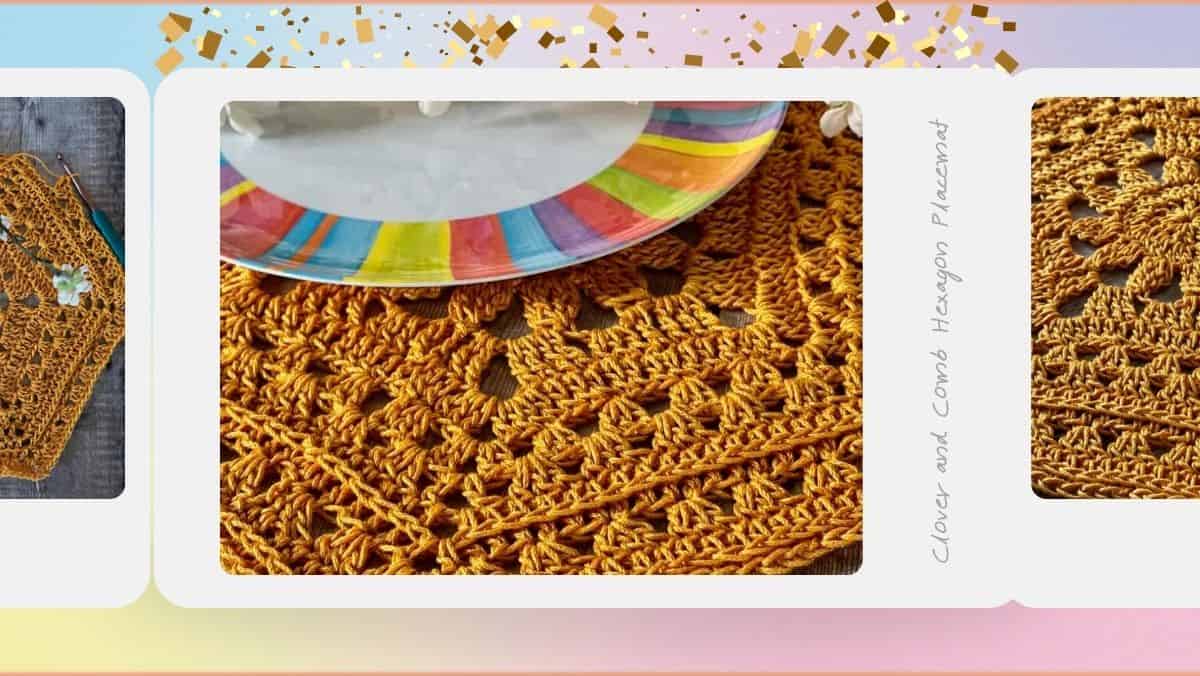
A Crochet Hexagon Placemat Pattern | The Clover and Comb Placemat
Dine in style with this granny stitch inspired crochet hexagon placemat. Made with cotton worsted weight yarn, it’s durable and easy to care for.
We don’t often give attention to the picnic table place setting. But dining at home — really dining — should feel like an occasion, not an afterthought.
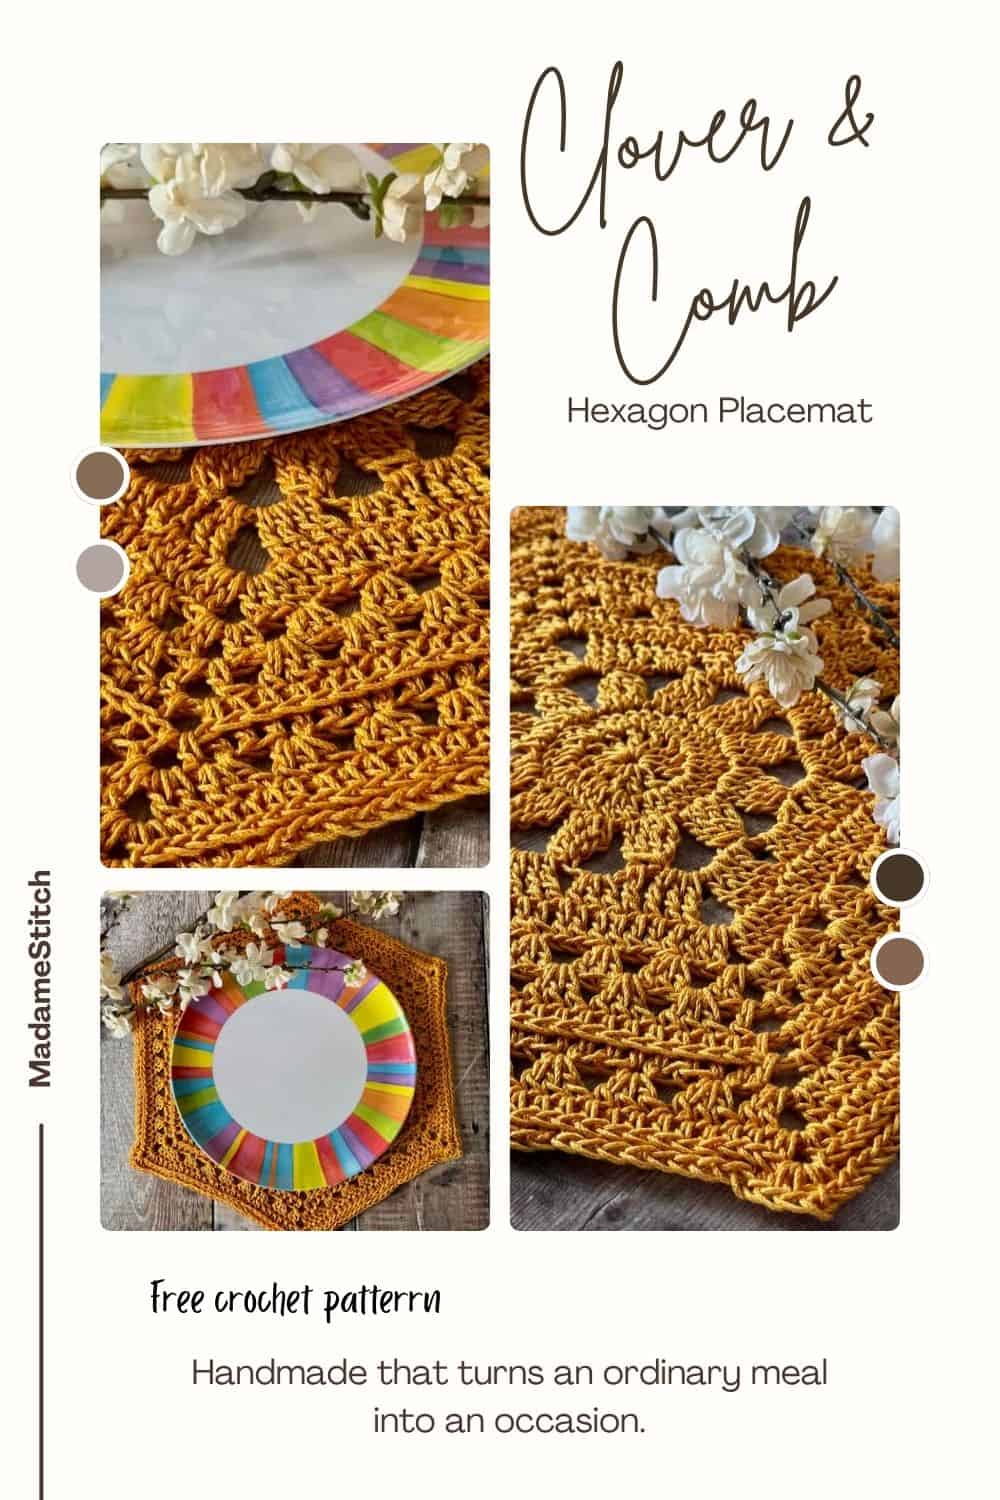
The Clover and Comb Placemat is a small detail that changes the whole mood. This handmade, crochet hexagon placemat, worked in classic granny stitch with a floral-inspired center, brings something intentional to the table, literally. The kind of thing guests notice. The kind of thing that turns a Tuesday night into a memory.
Because a beautiful table doesn’t wait for a special occasion. It creates one.
The Clover and Comb Hexagon Placemat
Pattern at a Glance
- Yarn: 100% cotton worsted weight
- Yardage: Approx. 160 yds for each placemat
- Hook: US size H-8 (5mm)
- Skill Level: Advanced Beginner
- Stitches Used – chain, half double crochet, double crochet treble crochet, granny stitch, camel stitch
Design + Construction
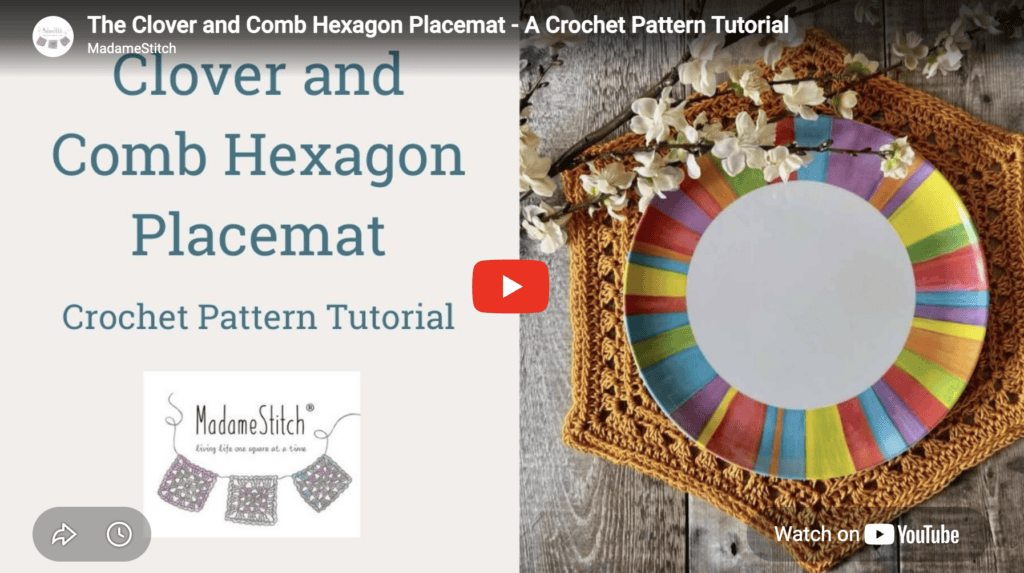
What sets this handmade placemat apart from all the rest is its hexagon shape. This crochet hexagon placemat takes the traditional granny square and creates a statement piece that’s not your typical table décor.
The placemat begins with a circle, a floral-inspired center worked with double crochets and treble crochet clusters. The actual hexagon shape is created in the 4th round with trebles and doubles strategically worked around the circle.
The granny stitch takes center stage as the hexagon placemat grows. To add a bit of subtle surface texture, the camel stitch, aka the half double crochet worked in the third loop, completes the look.
The unique shape takes typical table décor and turns it into a statement piece, one you’ll use with family and guests alike.
The crochet hexagon placemat is a generous 14.5-15″ to accommodate the size of the plate, allowing the placemat to extend beyond the plate.

Why You’ll Love This Placemat
- A granny stitch construction that’s familiar enough to work up quickly
- The hexagon shape is distinctive on the table without being too hard
- That quiet satisfaction of setting a handmade table
- Worked in cotton for easy care and outdoor durability
The Yarn
Yarn choice matters here for this hexagon placemat. The right fiber makes the difference between a placemat that holds its shape through a summer of outdoor dining and one that doesn’t quite deliver.
Cotton worsted is the clear winner. The cotton brings durability and easy care; the worsted weight gives each placemat the heft it needs to lie flat and feel substantial on the table.
- For my version, I reached for Lion Brand 24/7 Cotton. It ticks every box. It’s widely available, comes in a beautiful range of colors, and has a subtle sheen that gives the finished placemat a polished, intentional look.
- This crochet hexagon pattern is also a wonderful stash-buster. I worked mine in a single color, but the granny stitch construction makes it easy to introduce multiple colors, a great way to use up what’s already in your collection without sacrificing the result.

Yarn Substitution
You may have something in your yarn collection you’d like to use. Not sure whether it will work for this crochet hexagon placemat?
Use my Yarn Substitution Worksheet. It will help you make an informed decision.

Learn more about how to successfully substitute yarn in this blog post.
Or, check out this link to find some recommendations for Lion Brand “24/7 Cotton”.
How to Care for Your Handmade Hexagon Placemat
You’ve taken the time to carefully and lovingly work each stitch. You owe it to your finished placemat to care for it in a way that protects it for years to come.
Placemats are made to get dirty and protect tabletops. Even though the Clover and Comb Hexagon Placemat is designed to be a decorative item on your table, it will eventually get dirty. Mealtime can be messy!
When laundering your placemat, place it in a zippered laundry bag before putting it in the washer. Be sure to use cold water and a gentle detergent. Lay the placemat out flat, reshape it, and allow it to dry. Then, it’s ready to use again!
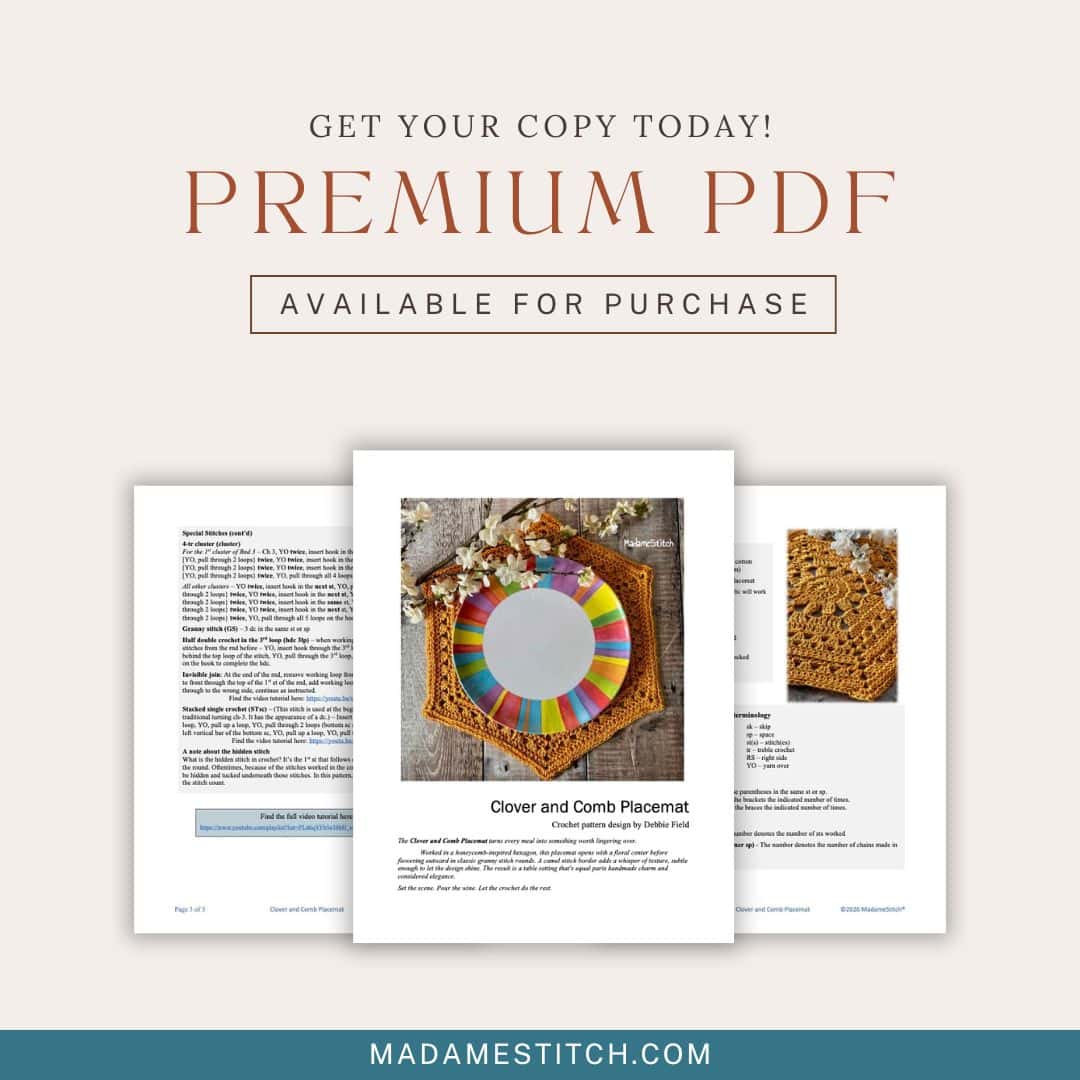
Where to Purchase the Premium PDF for the Clover and Comb Hexagon Placemat
The Clover and Comb Hexagon Placemat is a free crochet pattern in this blog post for Grow subscribers. Scroll down, enter your login information and view the free pattern.
Upgrade to the premium PDF for a printer friendly, downloadable version of the pattern.
The premium PDF can be uploaded to your favorite mobile device so you can take your Clover and Comb project with you to work on whenever you’re out and about.
The PDF is easy to read and beautifully formatted without ads for a great experience. It includes detailed written instructions and helpful photos for reference.
Get your copy today!


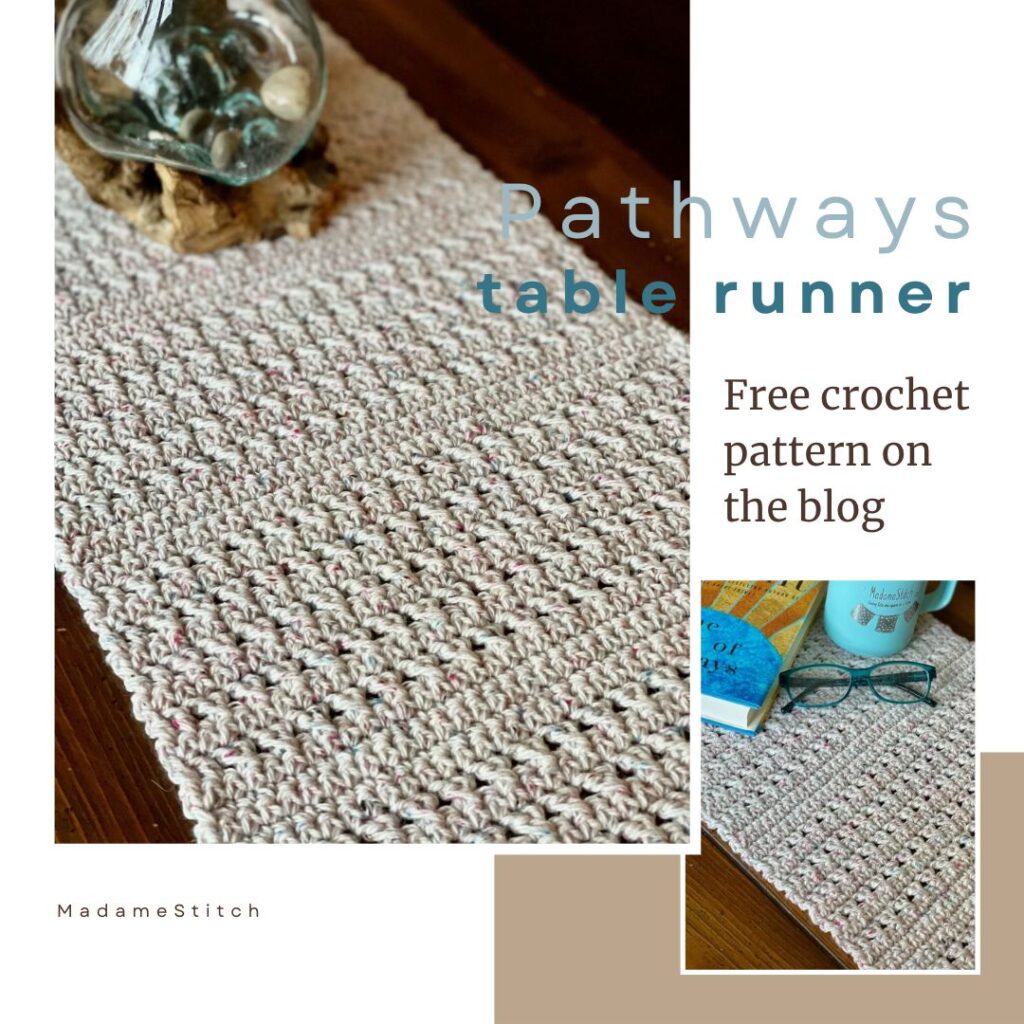
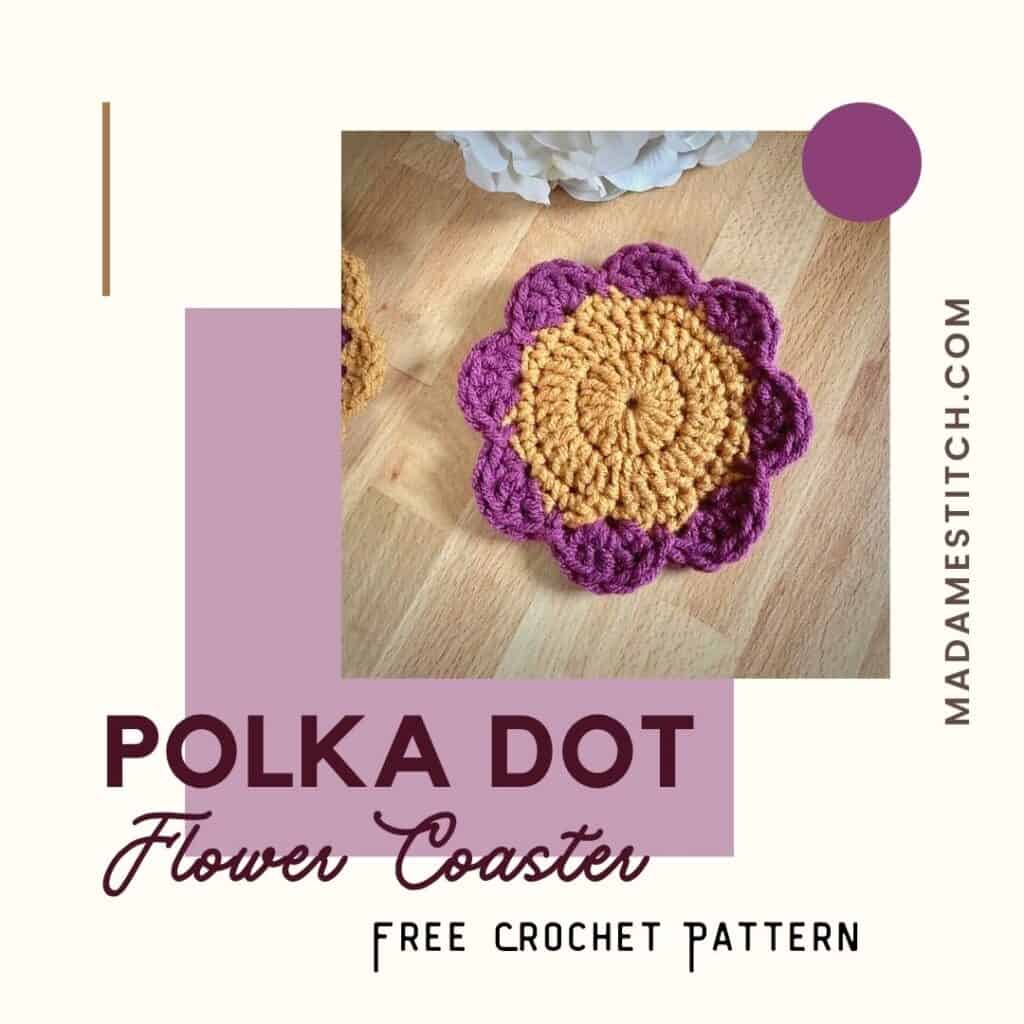
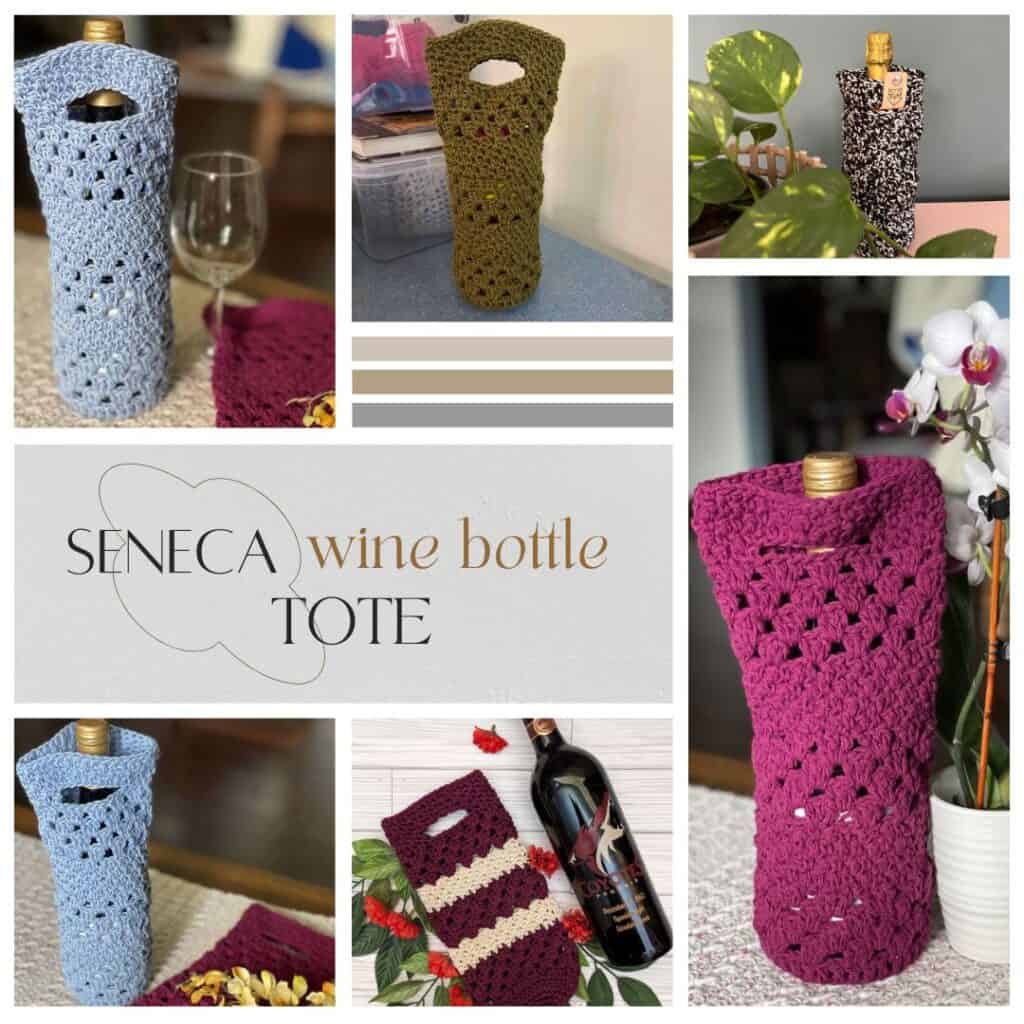
Enjoy crocheting items for your home? Try these MadameStitch designs!
Clover and Comb Hexagon Placemat Free Pattern
General Information
Yarn
Lion Brand “24/7 Cotton” 100% cotton worsted weight (3.5oz/185yd; 100g/170m)
Approx. 160 yds for each placemat; Any worsted weight cotton or acrylic will work for the placemat.
Hook
US size H-8 (5mm)
Finished Size
Approx. 14.5-15” across, blocked
Gauge
Rnds 1-3 = Approx. 5” across blocked
Skill Level: Advanced Beginner
Abbreviations – US crochet terminology
- beg – beginning
- ch – chain
- dc – double crochet
- hdc – half double crochet
- rnd – round
- sc – single crochet
- sk – skip
- sp – space
- st(s) – stitch(es)
- tr – treble crochet
- RS – right side
- YO – yarn over
Repeats
- (…) – Work everything within the parentheses in the same st or sp.
- […] – Repeat everything within the brackets the indicated number of times.
- {…} – Repeat everything within the braces the indicated number of times.
Special Stitches
Chain-1 space (ch-1 sp) – The number denotes the number of sts worked
Chain-3 corner space (ch-3 corner sp) – The number denotes the number of chains made in a corner space.
4-tr cluster (cluster)
For the 1st cluster of Rnd 3 – Ch 3, YO twice, insert hook in the next st, YO, pull up a loop, [YO, pull through 2 loops} twice, YO twice, insert hook in the same st, YO, pull up a loop, [YO, pull through 2 loops} twice, YO twice, insert hook in the next st, YO, pull up a loop, [YO, pull through 2 loops} twice, YO, pull through all 4 loops on the hook.
All other clusters – YO twice, insert hook in the next st, YO, pull up a loop, [YO, pull through 2 loops} twice, YO twice, insert hook in the next st, YO, pull up a loop, [YO, pull through 2 loops} twice, YO twice, insert hook in the same st, YO, pull up a loop, [YO, pull through 2 loops} twice, YO twice, insert hook in the next st, YO, pull up a loop, [YO, pull through 2 loops} twice, YO, pull through all 5 loops on the hook.
Granny stitch (GS) – 3 dc in the same st or sp
Half double crochet in the 3rd loop (hdc 3lp) – when working on the front side of the stitches from the rnd before – YO, insert hook through the 3rd loop that sits just under and behind the top loop of the stitch, YO, pull through the 3rd loop, YO, pull through all 3 loops on the hook to complete the hdc.
Invisible join: At the end of the rnd, remove working loop from hook, insert hook from back to front through the top of the 1st st of the rnd, add working loop back onto hook and pull through to the wrong side, continue as instructed.
Stacked single crochet (STsc) – (This stitch is used at the beginning of a round to replace the traditional turning ch-3. It has the appearance of a dc.) – Insert hook in the same st as the loop, YO, pull up a loop, YO, pull through 2 loops (bottom sc made), insert hook through the left vertical bar of the bottom sc, YO, pull up a loop, YO, pull through 2 loops (top sc made).
A note about the hidden stitch
What is the hidden stitch in crochet? It’s the 1st st that follows each corner when working in the round. Oftentimes, because of the stitches worked in the corner space, that 1st stitch can be hidden and tucked underneath those stitches. In this pattern, the hidden stitch is included in the stitch count.
Video Tutorial
Pattern Notes
- Do not turn after any rnd.
- A ch-2 or ch-3 may be substituted for the STsc at any time.
- A ch-1 at the beg of a rnd does not count as a st.
- A ch-3 at the beg of a rnd counts as a tr.
- The hidden st is included in the st counts.
- The GS of Rnd 7 are worked in the sp between GS, where a ch-1 sp would normally be.
- Pay close attention to the number of chains and stitches worked in each corner space. They vary to keep the hexagon lying flat.