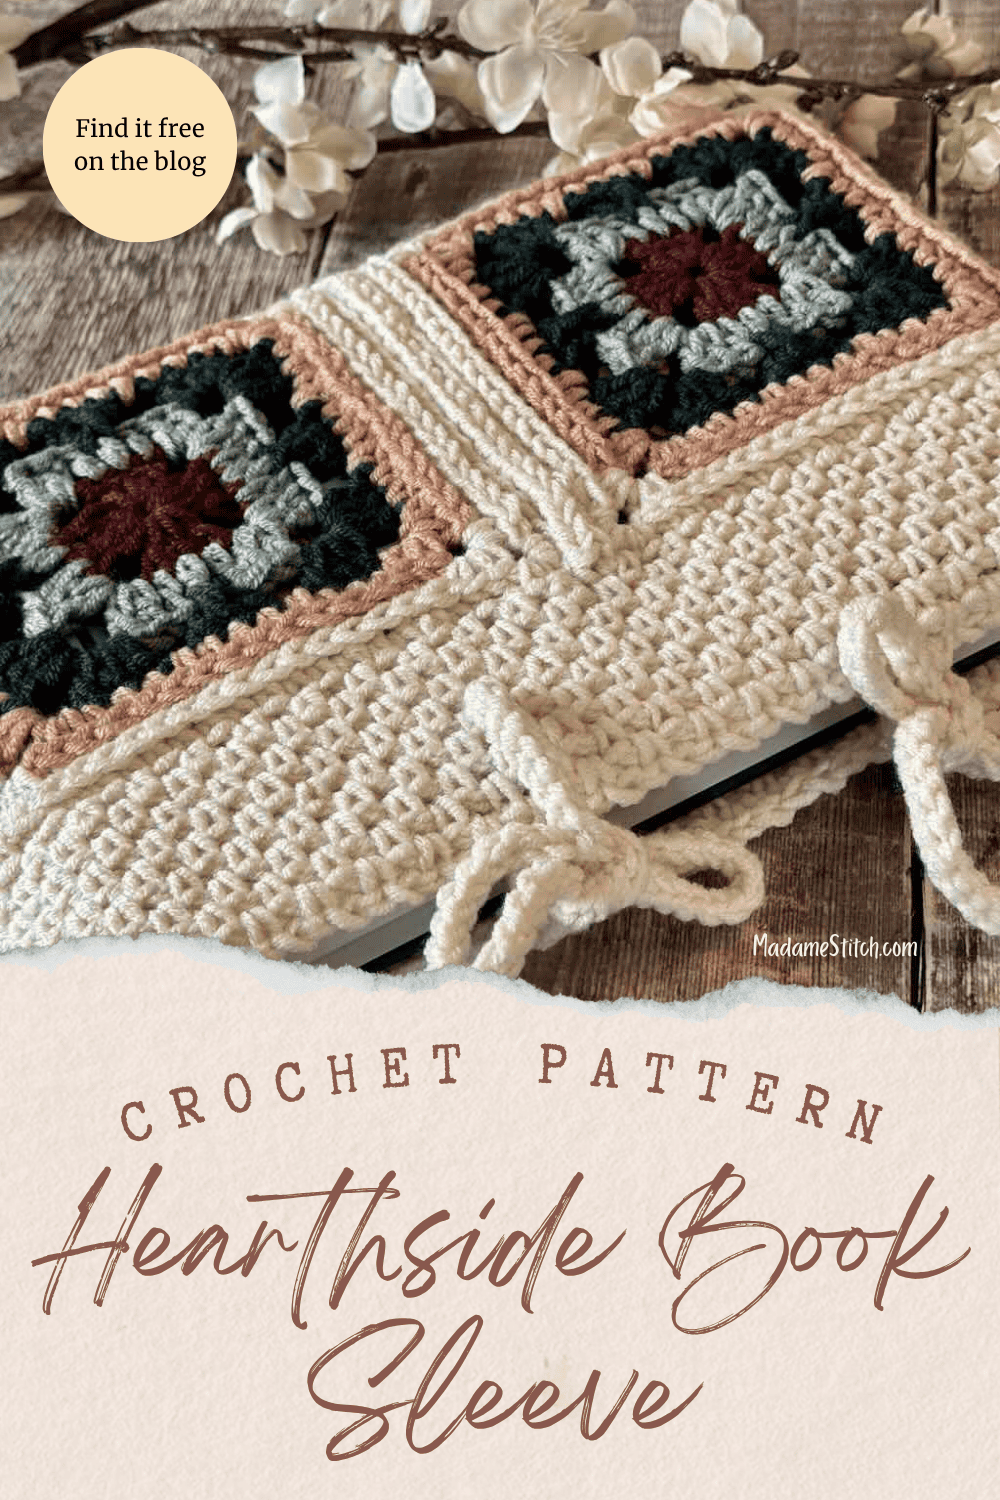
A Granny Square Book Sleeve Crochet Pattern | The Hearthside Book Sleeve
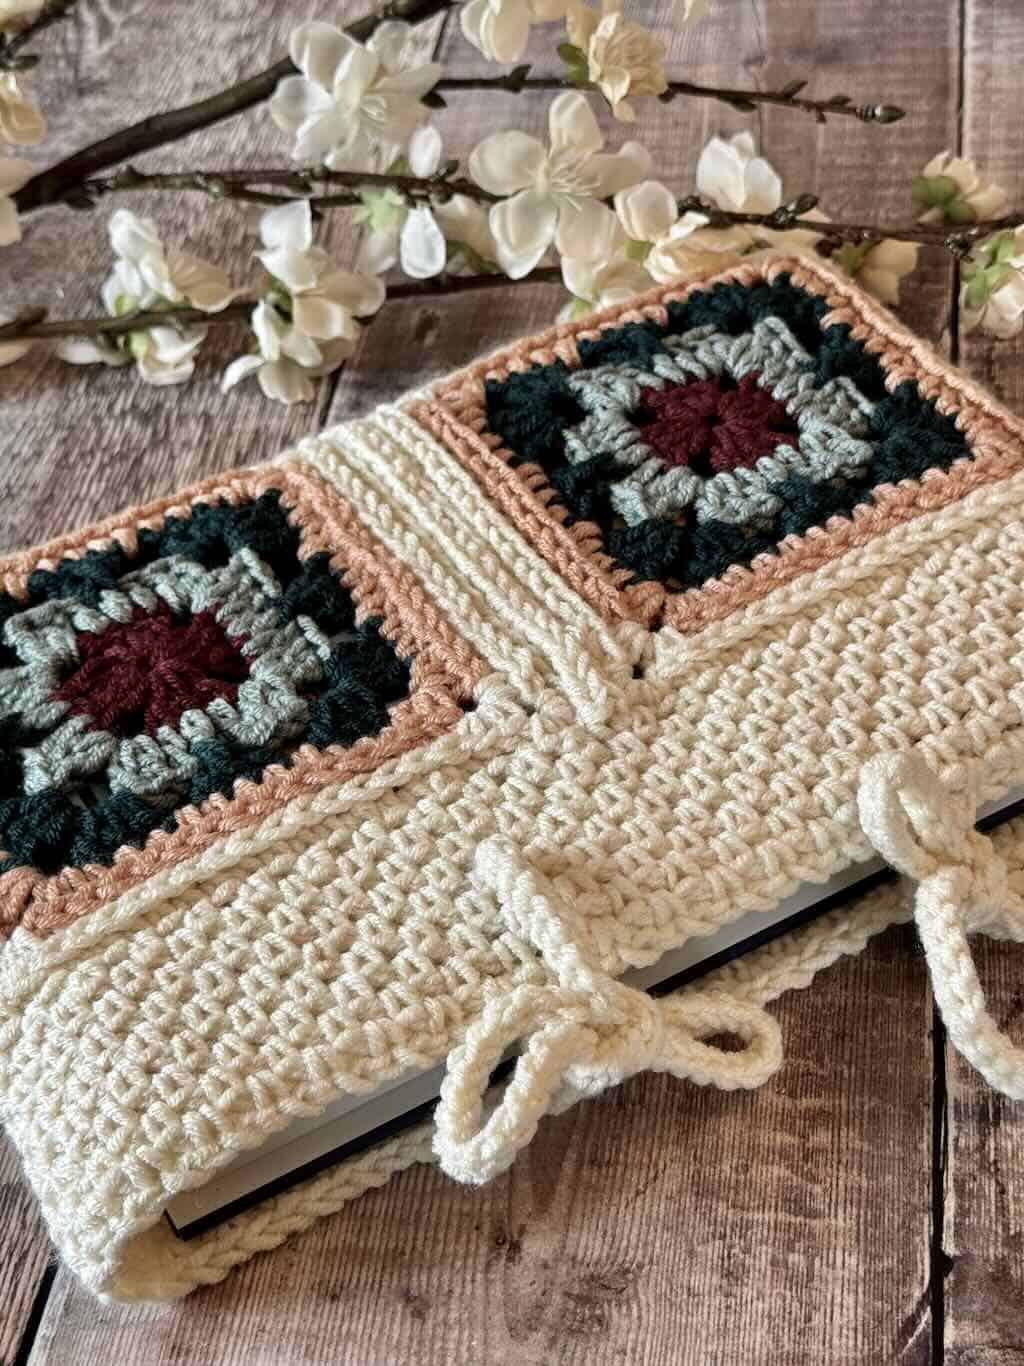
This granny square book sleeve is made with just 4 granny squares, combining basic stitches for a cozy, stylish look for your book.
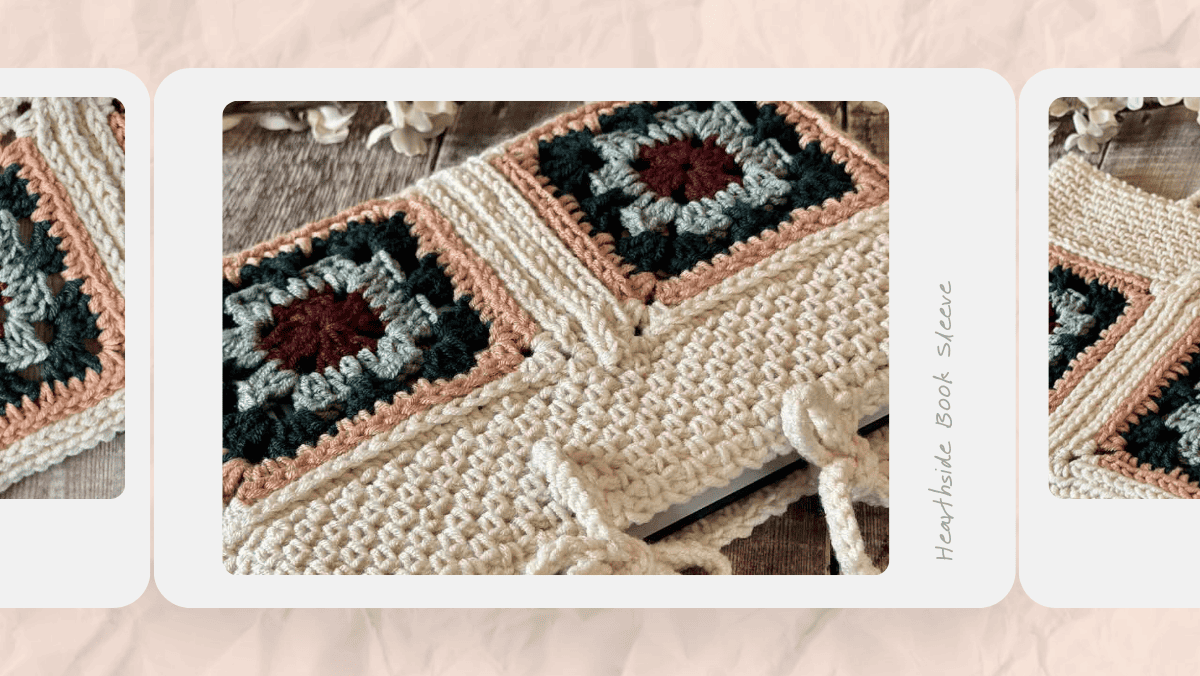
The Hearthside Book Sleeve
I love to read, especially right before I tuck in for the night. But I also enjoy taking my book out and about when I get a chance.
Every month my public library hosts a Silent Book Club at a local restaurant. My daughter and I pack up our latest reads and head over to enjoy a bite to eat while we silently read for an hour.
Reading is already a silent activity. What makes the Silent Book Club experience so special is that the restaurant goes magically silent at the stroke of 6. It’s like somebody flipped a switch. That switch gets flipped back on exactly 1 hour later.
Time flies and I leave wishing I had more time to enjoy the environment.
Because I love to read so much, I couldn’t resist creating a beautiful granny square book sleeve to protect the cover of my book.
Crocheting a book sleeve for your hardcover provides stylish protection against bent covers, scuffed spines, and damage from being tossed into bags. It acts as a cozy “sweater” for your books, keeping them safe from liquid spills, while allowing for personal customization in colors, stitches, and sizes.
You’ll love creating your very own granny square book sleeve!
Pattern at a Glance
- Skill level: Advanced Beginner/Intermediate
- Yarn: Lion Brand “Color Theory” worsted weight acrylic
- Yardage: Approx. 230 yds of 5 different colors, one of which is the main color
- Hooks: US size 7 (4.5mm) and H-8 (5mm)
- Finished Size: Approx. 7.75” tall x 12” wide, large enough to hold a standard size hardcover
Design + Construction
Like so many of my designs, this one begins with a granny square because I simply love the endless possibilities of that little granny square.
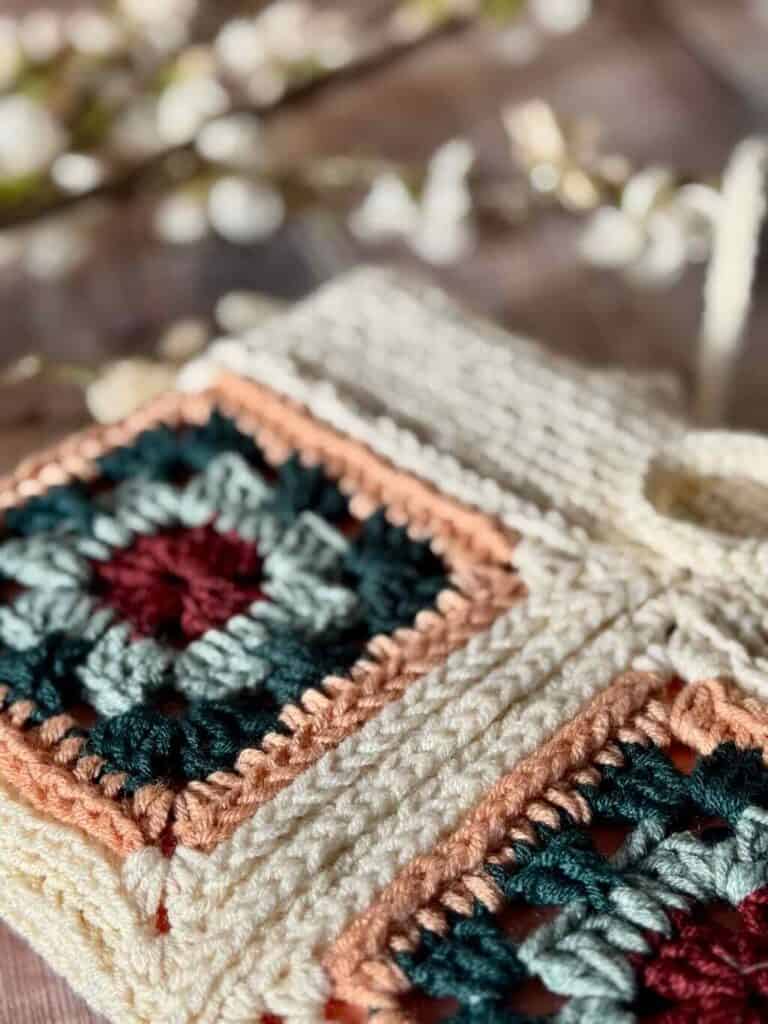
The Hearthside Book Sleeve is built around a modern variation of the traditional granny square, letting that classic motif take center stage while everything else falls into place around it.
The result is a stylish, customizable accessory that feels both timeless and fresh, proof that the granny square never really goes out of style.
Now for the specifics:
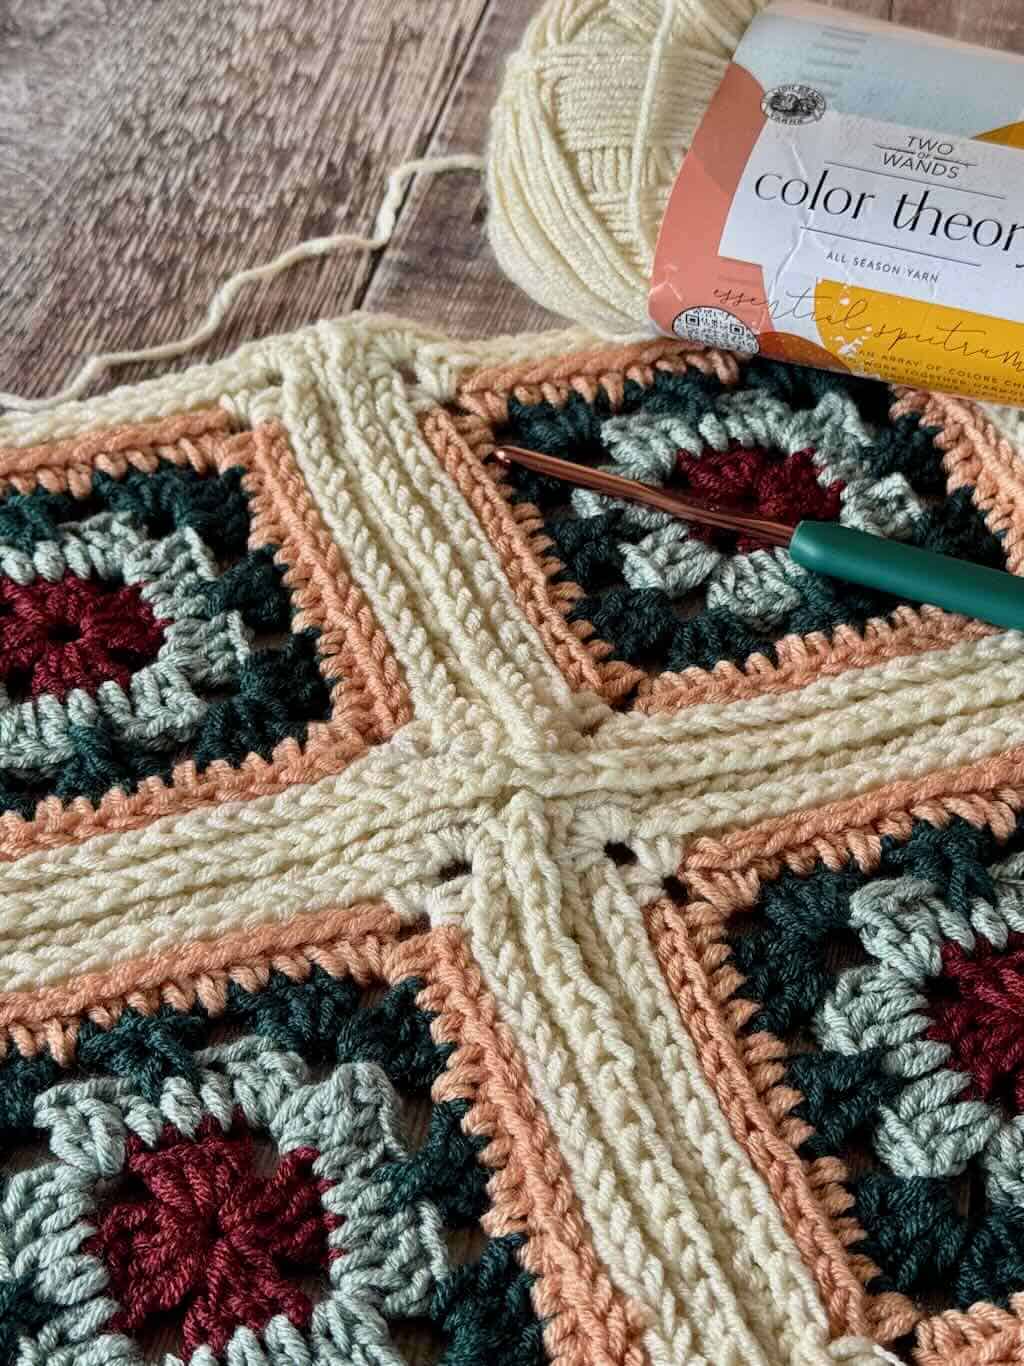
- The book sleeve construction begins with 4 granny squares which are a fun variation of a traditional granny square.
- Besides the typical granny stitch, the squares include a spiked granny stitch which employs a front post double crochet within the granny stitch, creating the illusion of a spike.
- The granny squares also include one of my favorite crochet techniques – the half double crochet worked in the 3rd loop. This beautiful stitch creates subtle surface texture without the effort of surface stitching.
- Sew it all together with a flat slip stitch seam that adds even more subtle surface texture.
- Add a beautiful linen stitch top border and ties to secure your book in place.
You’ll be the envy of all your book-loving buddies with this granny square book sleeve!
The Yarn
This granny square book sleeve can be made with any worsted weight yarn you choose. In fact, it’s the perfect stash busting project. Create something that truly reflects your personality with bits and bobs from yarn you’ve already chosen.
I chose Lion Brand’s “Color Theory” for my granny square book sleeve. I haven’t used this yarn much but I absolutely fell in love with it when I used it for A Very Cottage Christmas CAL.
Not only is the yarn soft to work with, the color offerings are stunning. The 5 colors used in the sample complete the vintage look I was hoping for, the perfectly elegant choice for my very own book sleeve.
Yarn Substitution
You may not like Color Theory or it may not be available where you live. To find the best alternatives and get the kind of finished object you’re looking for, check YarnSub for guidance.
Want to find out if what you have in your stash will work? Use my Yarn Substitution Worksheet (a free PDF download) to work through steps to see if your yarn is a good fit.


Here’s what to love about this pattern
- Hearthside is a gorgeous way to protect your favorite hardcover from dents, scratches and bent pages.
- You’ll be the envy of your book lover friends when you walk in with yours under your arm.
- Customize the colors for a unique, stylish look that’s all you.
Frequently Asked Questions
Is this a traditional granny square?
No, but it’s a fun variation that takes its inspiration and basic construction from the traditional granny square. If you know how to make a basic granny square, the stitch variations I’ve included shouldn’t be a problem.
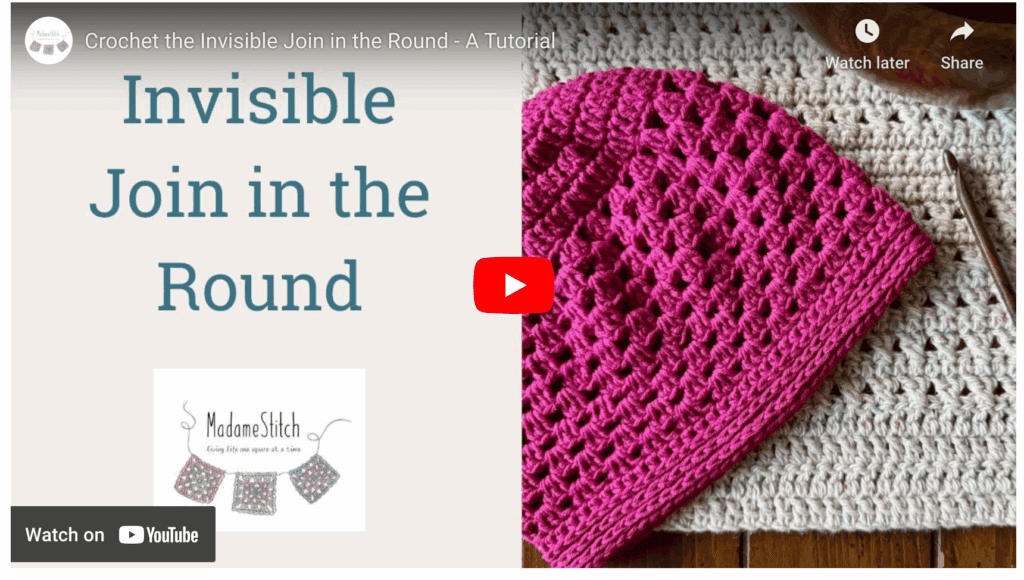
Is there a video tutorial for this granny square book sleeve?
Yes there is! You can find it on YouTube. If you’re a visual learner, this video will be a helpful aid in conjunction with the written instructions.
How easy would it be to customize the book sleeve?
The width of the book sleeve can be altered depending upon how many rounds of the top border you work. The length is set because of the size of the granny squares.
What IS easily customized are the colors. That’s where you can make this book sleeve uniquely yours. Remember, you don’t have to use 5 colors. Experiment with combinations or go all one color. The choice is yours!
Where to get the PDF for the Hearthside granny square Book Sleeve
The Hearthside Book Sleeve is a free crochet granny square pattern available to blog subscribers. Scroll down to view the free version.
Upgrade to a printer friendly, downloadable PDF you can purchase from one of my shops.
The premium PDF can be uploaded to your favorite mobile device so you can take your Hearthside granny square book sleeve project with you to work on whenever you’re out and about.
The PDF is easy to read and beautifully formatted without ads for a great experience. With detailed written instructions and a crochet chart for the granny square, you’ll have everything you need to make your very own granny square book sleeve.
Get your copy today!


The Hearthside Book Sleeve free pattern
General Information
Yarn
Lion Brand “Color Theory” 100% acrylic worsted weight (3.5oz/246yd; 100g/225m)
- Color A – Beaujolais
- Color B – Tourmaline
- Color C – Peacock
- Color D – Himalayan Salt
- Main color (MC) – Ivory
Any worsted weight yarn will work – Approx. 230 yds total for 5 colors
Hooks
- US size H-8 (5mm)
- US size 7 (4.5mm) for the Top Border
Tools
- Removable stitch markers
- Tapestry needle
Finished Size
Approx. 7.75″ tall x 12″ wide – to fit a standard size hardcover
Gauge
Rnds 1-3 of the granny square = Approx. 3.75″ across
Skill Level: Advanced Beginner/Intermediate
Abbreviations – US crochet terminology
- beg – beginning
- ch – chain
- dc – double crochet
- hdc – half double crochet
- rnd(s) – round(s)
- sc – single crochet
- sk – skip
- sp – space
- st(s) – stitch(es)
- MR – magic ring
- RS – right side
- YO – yarn over
Repeats
- (…) – Work everything within the parentheses in the same st or sp.
- […] – Repeat everything within the brackets the indicated number of times.
Special Stitches
Chain-1 space (ch-1 sp) – The number denotes the number of chains made
Chain-3 corner space (ch-3 corner sp) – The number denotes the number of chains made in a corner space.
Granny stitch (GS) – 3 dc in the same st or sp
Half double crochet in the 3rd loop (hdc 3lp) – when working on the front side of the stitches from the rnd before – YO, insert hook through the 3rd loop that sits just under and behind the top loop of the stitch, YO, pull through the 3rd loop, YO, pull through all 3 loops on the hook to complete the hdc.
Single crochet in the 3rd loop (sc 3lp) – Insert hook through the 3rd loop that sits just under and behind the top loop of the stitch, YO, pull through the 3rd loop, YO, pull through the 2 loops on the hook to complete the sc.
Invisible join: At the end of the rnd, remove the working loop from the hook, insert hook from back to front through the top of the 1st st of the rnd, add the working loop back onto the hook and pull through to the wrong side, continue as instructed.
Spiked granny stitch (spiked GS) – The granny spike stitch is worked the same as a traditional granny stitch with the exception of the center dc. [Dc in the indicated st, FPdc around the same dc, dc in the same st as the 1st dc which sits behind the FPdc]
Standing double crochet (Standing dc) – Make a slip knot, hold the slip knot firmly against the hook with the forefinger of the same hand, YO, insert hook in the indicated st, YO, pull up a loop, [YO, pull through 2 loops] twice to complete the dc.
Stacked single crochet (STsc) – (This stitch is used at the beginning of a round to replace the traditional turning ch-3. It has the appearance of a dc.) – Insert hook in the same st as the loop, YO, pull up a loop, YO, pull through 2 loops (bottom sc made), insert hook through the left vertical bar of the bottom sc, YO, pull up a loop, YO, pull through 2 loops (top sc made).
A note about the hidden stitch: What is the hidden stitch in crochet? It’s the 1st st that follows each corner when working in the round. Oftentimes, because of the stitches worked in the corner space, that 1st stitch can be hidden and tucked underneath those stitches. In this pattern, the hidden stitch is included in the stitch count.
Unlock Exclusive Subscriber Content
To unlock Exclusive Subscriber Content, click on the button in the box below. The Grow.me app window will pop up where you can either create an account or sign in if you already have one.
To create an account, sign in with your existing Google or Facebook account. You can also create an account with an email address and new password.
If you forget your password, simply click the “Forgot my Password”button. I have no access to your Grow account so I’m unable to retrieve or reset your password.
Remember, once you’ve created a Grow account, you never have to do it again. Your Grow account unlocks all the exclusive content created by Grow
Thank you for being a loyal blog subscriber. I hope you enjoy the exclusive content!
Pattern Notes
- Do not turn after any rnd. The RS is always facing you.
- A “ch-2” or “ch-3” may be substituted at any time for the standing dc or STsc if you prefer.
Pattern Instructions
Granny Squares – Make 4
With Color A and 5mm hook, ch 4, join with slip st to form ring OR use a MR, closing the ring after Rnd 1.
Rnd 1 (RS): (STsc, 2 dc) in the ring (counts as the 1st GS), ch 3, [GS in the ring, ch 3] 3 times, join with slip st to beg st. Fasten off. < 4 GS, 4 ch-3 corner sp >
Rnd 2 (RS): With Color B, (Standing dc, dc, ch 2, 2 dc) in any ch-3 corner sp, dc in the next 3 sts, [(2 dc, ch 2, 2 dc) in the next ch-3 corner sp, dc in the next 3 sts] 3 times, join with slip st to beg st. Fasten off. < 28 dc, 4 ch-2 corner sp >
Rnd 3: With Color C, (Standing dc, 2 dc, ch 2, GS) in any ch-2 corner sp, ch 1, sk 3 sts, spiked GS in the next st, ch 1, sk 3 sts, [(GS, ch 2, GS) in the next ch-2 corner sp, ch 1, sk 3 sts, spiked GS in the next st, ch 1, sk 3 sts] 3 times, join with slip st to beg st. Fasten off. < 8 GS, 4 spiked GS, 8 ch-1 sp, 4 ch-2 corner sp >
Rnd 4: Attach Color D to any ch-2 corner sp, ch 1, (2 hdc, ch 2, 2 hdc) in the same ch-2 corner sp, hdc in the next st and in each st and ch-1 sp across to the next ch-2 corner sp, [(2 hdc, ch 2, 2 hdc) in the ch-2 corner sp, hdc in the next st and in each st and ch-1 sp across to the next ch-2 corner sp] 3 times, join with slip st to beg st. Fasten off. < 15 hdc along each side, 4 ch-2 corner sp >
Note for Rnds 5 & 6: Be sure to work into the 1st st (the hidden stitch) after each corner.
Rnd 5: Attach MC to any ch-2 corner sp, ch 1, (2 hdc, ch 2, 2 hdc) in any ch-2 corner sp, hdc 3lp in the next st and in each st across to the next ch-2 corner sp, [(2 hdc, ch 2, 2 hdc) in any ch-2 corner sp, hdc 3lp in the next st and in each st across to the next ch-2 corner sp] 3 times, invisible join. < 15 hdc 3lp along each side, 16 hdc, 4 ch-2 corner sp >
Rnd 6: Ch 1, sc 3lp in the same st and in the next st, [(2 sc, ch 2, 2 sc) in the ch-2 corner sp, sc 3lp in the next st and in each st across to the ch-2 corner sp] 3 times, (2 sc, ch 2, 2 sc) in the ch-2 corner sp, sc 3lp in the next st and in each st across to the beg st, join with slip st to beg st. < 19 sc 3lp along each side, 16 sc, 4 ch-2 corner sp >
Fasten off and weave in ends.
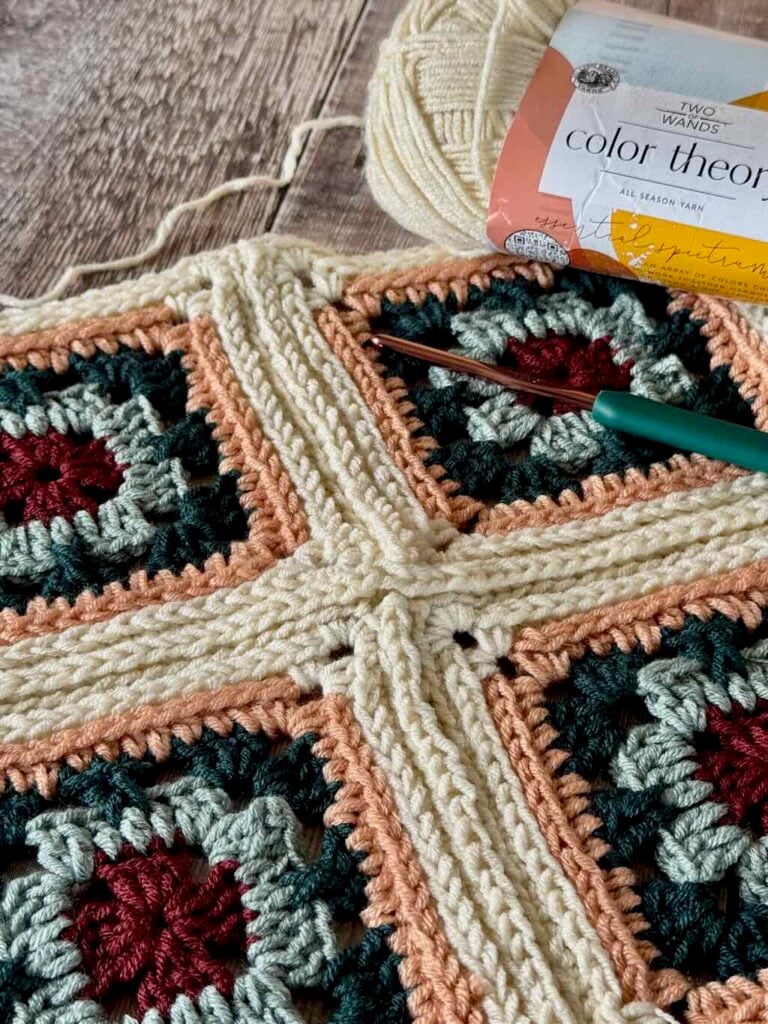
Assemble the Granny Squares
With MC, seam the granny squares together in a 2 x 2 grid. The sample was worked with a flat slip stitch seam, but you may choose any joining method you prefer.
After joining the squares in a grid, fold the grid in half. Using the same seaming method, sew the sides closed.
Top Border
Notes
- Pull up the loop at the beginning of the rnd.
- To reduce bulk at the join, be sure the loop on the hook isn’t twisted once you turn.
- Use a marker to keep track of the 1st st.
Rnd 1 (RS): With RS facing and using the 4.5mm hook, attach MC to one of the stitches that sits above a side seam, ch 1, sc in the same st, ch 1, sk 1 st, [sc in the next st, ch 1, sk 1 st] around, join with slip st to beg st, turn.
Rnd 2: Do not ch, sc in the next sp, ch 1, [sc in the next sp, ch 1] around, turn.
Rnds 3-9: Repeat Rnd 2. At the end of Rnd 9, fasten off.
Tie Closure
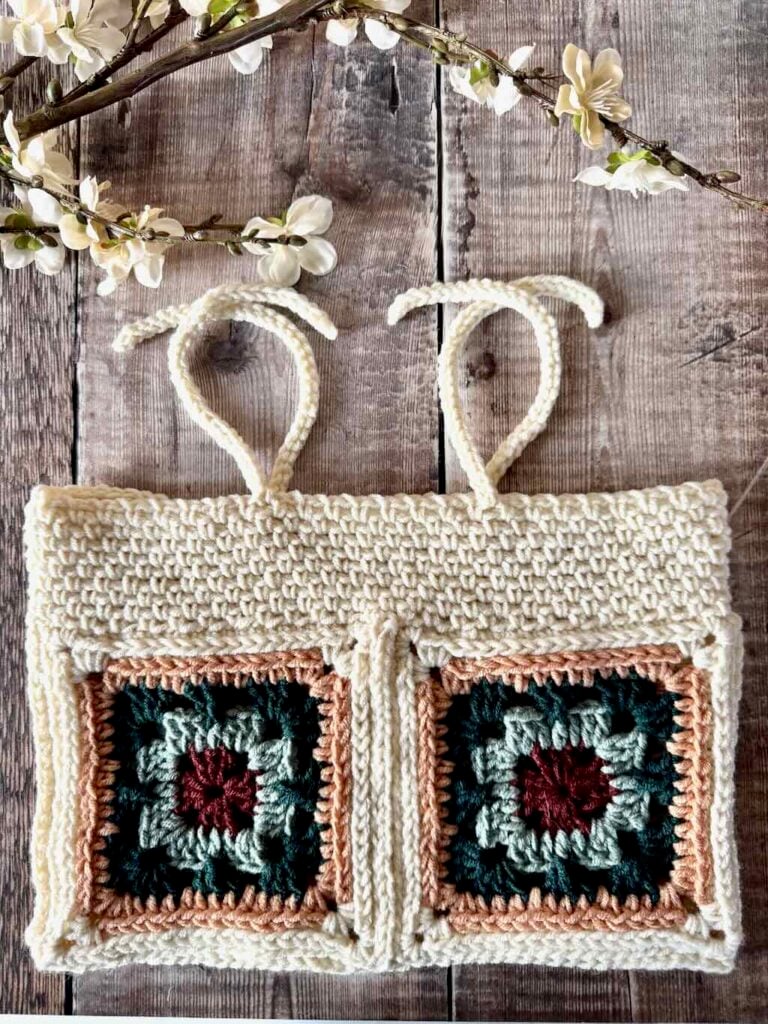
Step 1: Place 2 stitch markers on the front and 2 on the back, evenly spaced, to mark where the ties will be made.
Step 2: Attach MC at the 1st marker, ch 31.
Step 3: Slip st in the 2nd ch from the hook and in each ch across, slip st in the same st as the marker to anchor the tie.
Step 4: Fasten off and remove the marker.
Repeat for the remaining 3 ties. Weave in all remaining ends.
Video tutorial
Coming shortly