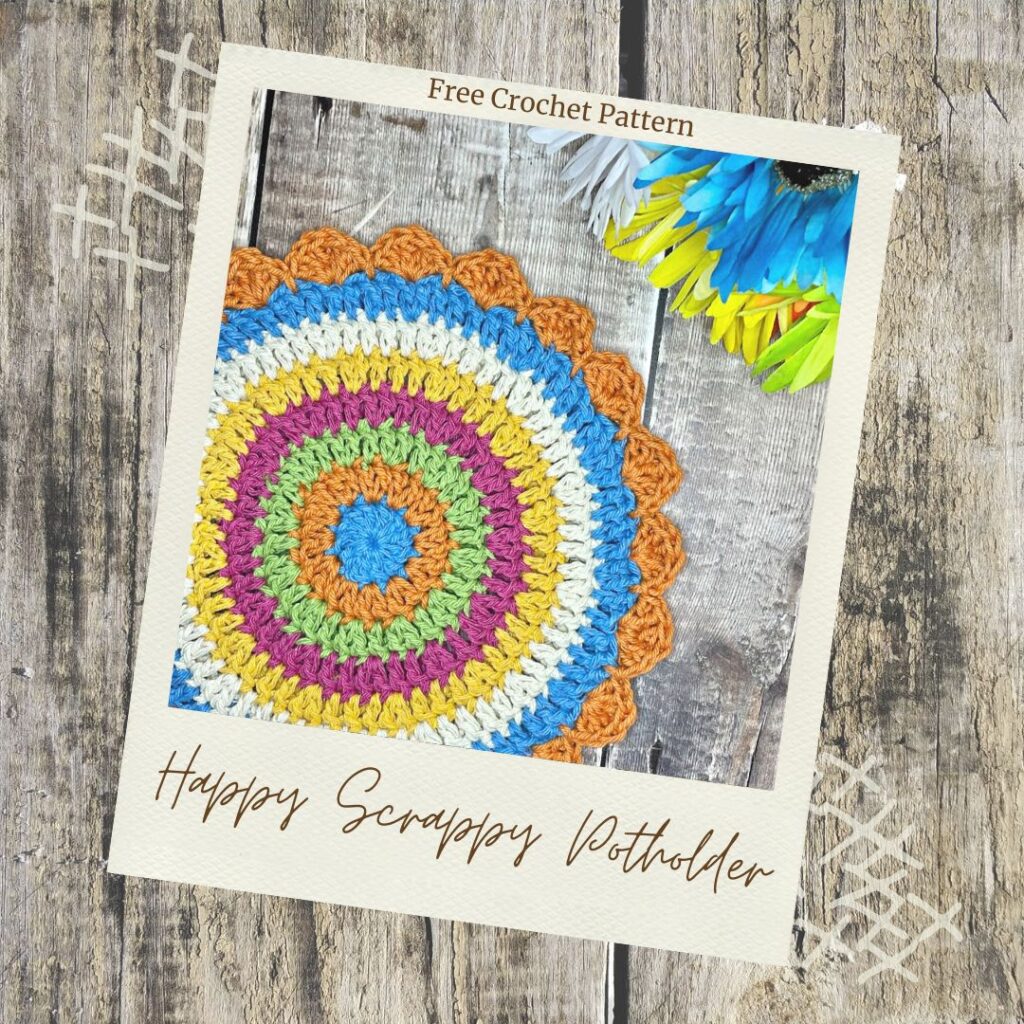
A fun crochet potholder that uses up scrap yarn
Add a little vintage look to your kitchen with the Happy Scrappy crochet potholder. Use your yarn stash to create a crochet potholder that puts the fun back in functional.
When I was a kid, one of my favorite crafty things to do was make potholders out of stretchy loops. Remember those? You wove the loops onto a loom, then wove the edges to finish it off. Yeah, those were awesome.
Now that I’m all grown up, I’d rather make a crochet potholder. I love adding a handmade crochet potholder to my kitchen repertoire, especially one like my Happy Scrappy Potholder.
A crochet potholder makes a thoughtful housewarming gift, even a stocking stuffer. My family loves to receive them.
Design + Construction of this crochet potholder
I’m always looking for a way to use yarn from my stash. I have a whole lot of 100% cotton worsted weight in my stash from all the various and sundry crochet projects I’ve made over the years. Thus was born a funky vintage look potholder that helps bust that stash.
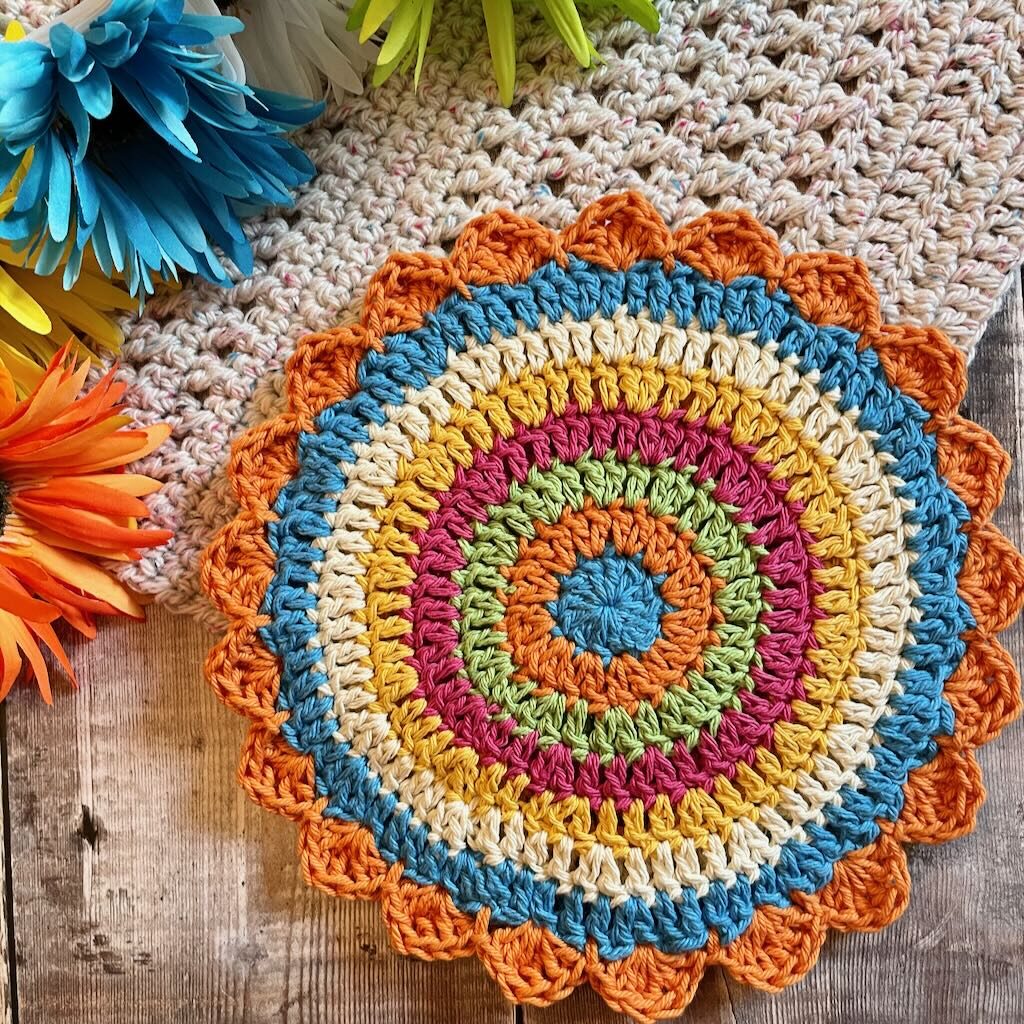
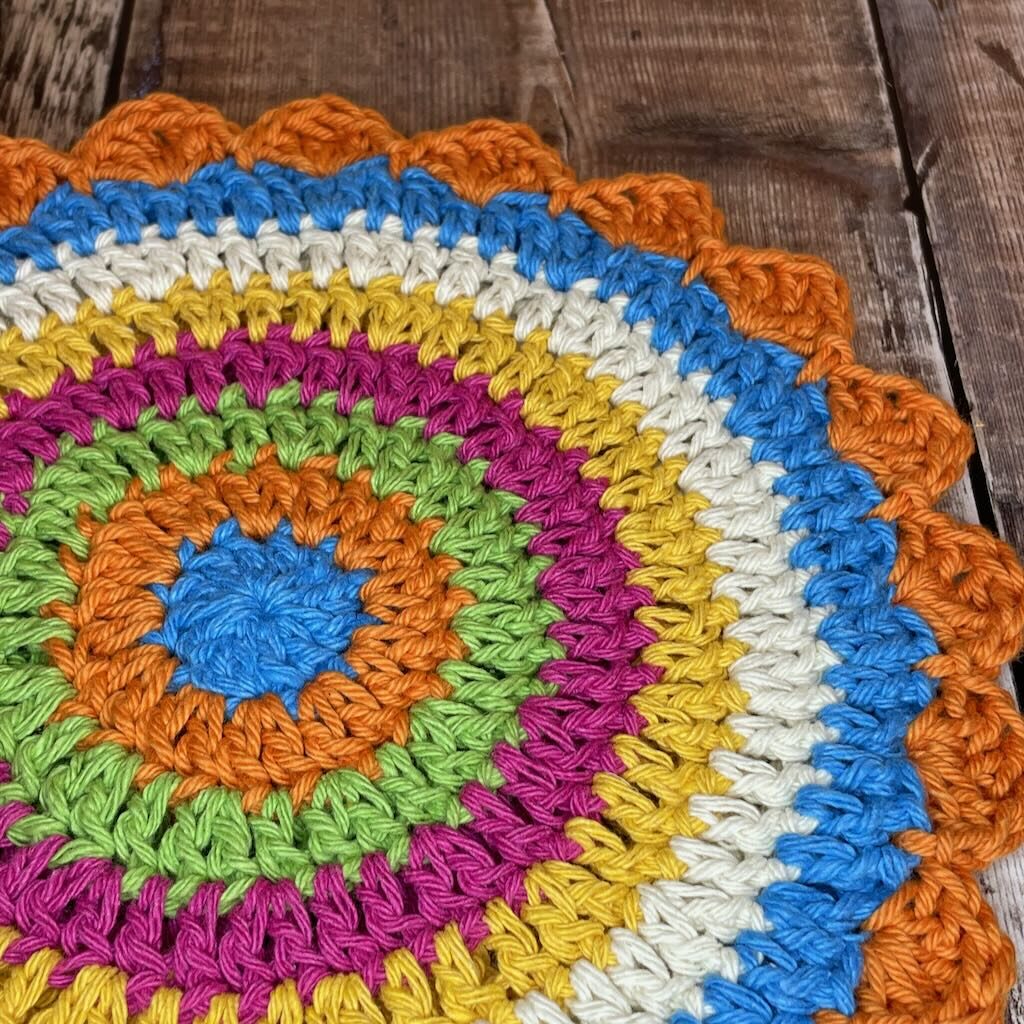
In the case of this crochet potholder, I wanted to let the beautiful colors I found in my stash do the talking. So, the two panels of the potholder are flat circles worked with a slip stitch join at the end of each round. The two circles are joined by working a shell border. The double thickness provides any surface with protection from a hot pot.
The yarn
This post contains affiliate links. That means, if you purchase something using the link, I receive a small commission. You don’t pay any extra and your information is safe. Thanks for supporting my small business.
As I said, this crochet potholder was made with scraps of yarn from my stash. I pulled colors that went together and ended up with a rather funky, vintage look. I absolutely love how it turned out, don’t you?!
You can mix and match colors like I did to create the unique look of your choice. Or, use just one color to match your kitchen decor.
If you’ve decided to buy some yarn instead of using something from your stash, here is a list of yarns I love:
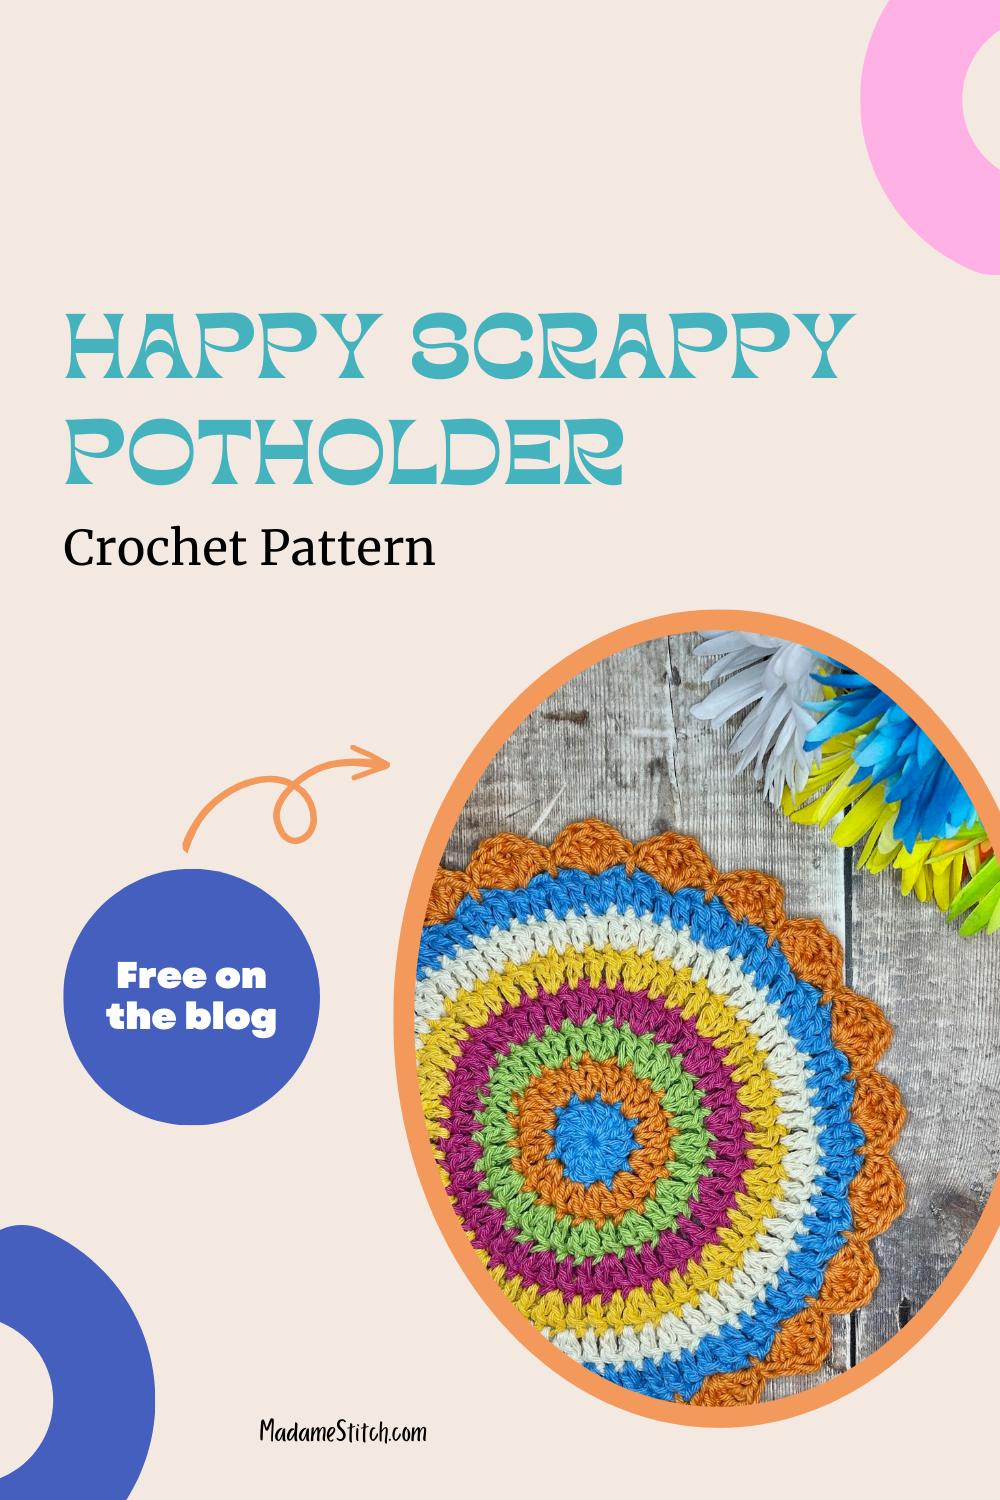
Buy the PDF in my Ravelry shop!
Even though the pattern is free here on the blog, you might want to have a beautifully formatted, ad-free PDF to reference anytime you like. Get it in Ravelry.
Here’s all the information you need to make your very own Happy Scrappy Potholder.
Thank you for staying on this post and reading my patterns right here on the blog, without copy/pasting. When you stay here to follow the free version of my pattern, I am compensated for my time and energy. This is a great, free way to support a designer. If you would like to save this for later, bookmark the page to save it in your mobile browser.
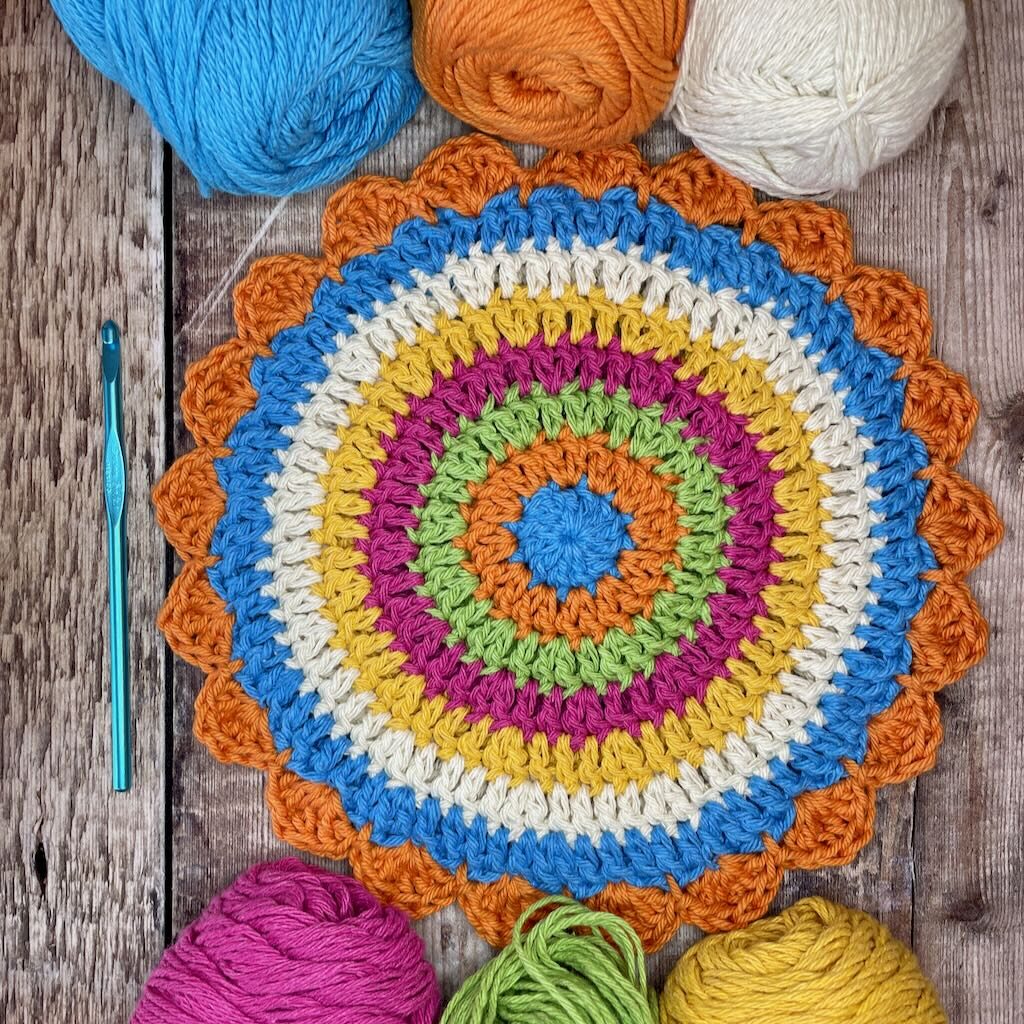
Yarn
100% cotton worsted weight yarn – 6 colors (you’ll need approx. 2.2 oz for the potholder)
Each round is a different color from the stash.The sample uses blue (C1), orange (C2), green (C3), pink (C4), yellow (C5) and off-white (C6).
Hook
US size H-8 (5mm) or hook needed to get the size you want
Tool
Tapestry needle for weaving in ends
Finished size: Approx. 9.5″ across including the border
Gauge
Rnds 1-3 = 3.5” across (Gauge is not important; however, stitches should be fairly firm to prevent gaps and for protection against the heat.)
Skill level: Confident beginner
Abbreviations – US crochet terminology
- beg – beginning
- C1 – color 1
- ch – chain
- dc – double crochet
- dc inc – double crochet increase (2 dc in the same st)
- rnd(s) – round(s)
- sc – single crochet
- sk – skip
- st(s) – stitch(es)
- tr – treble crochet
Special Stitch
Invisible Join – Joining at the end of a circle or square worked in the round can leave an unsightly bump when the yarn is simply tied off after a slip stitch join. An invisible join creates a seamless look along the edge of your work.

Written Instructions for the Happy Scrappy Potholder
Thank you for staying on this post and reading my patterns right here on the blog, without copy/pasting. When you stay here to follow the free version of my pattern, I am compensated for my time and energy. This is a great, free way to support a designer. If you would like to save this for later, bookmark the page to save it in your mobile browser.
Pattern Notes
- Ch 2 at beg of each rnd does not count as a st.
- The final sts of each rnd are worked in the st where the beg ch-2 is worked. To ensure the correct st count, don’t forget to work into this st.
- Do not turn after any rnd.
- To change colors, work the final step of the last st of the current round plus the slip st join with the new color of the next rnd. For example, to begin Rnd 2, work the final step of the last dc of Rnd 1 and the slip st join in C2.
Pattern Instructions
Circles – Make 2
Rnd 1: With C1, ch 3, 12 dc in 3rd ch from hook, join with slip st to beg st. (12 dc)
Rnd 2: With C2, ch 2, dc inc in each st around, join with slip st to beg st. (24 dc)
Rnd 3: With C3, ch 2, [dc in next st, dc inc in next st] around, join with slip st to beg st. (36 dc)
Rnd 4: With C4, ch 2, [dc in next 2 sts, dc inc in next st] around, join with slip st to beg st. (48 dc)
Rnd 5: With C5, ch 2, [dc in next 3 sts, dc inc in next st] around, join with slip st to beg st. (60 dc)
Rnd 6: With C6, ch 2, [dc in next 4 sts, dc inc in next st] around, join with slip st to beg st. (72 dc)
Rnd 7: With C1, ch 2, [dc in next 5 sts, dc inc in next st] around, use an invisible join with slip st to beg st. (84 dc)
Fasten off and weave in ends.
Shell border (to join circles)
Hold circles together with wrong sides facing each other.
Attach C2 through both loops of both circles anywhere along the top of Rnd 7.
Ch 1, sk 1 st, [(2 dc, 2 tr, 2 dc) in next st, sk 1 st, slip st in next st, [sk 1 st, (2 dc, 2 tr, 2 dc) in next st, sk 1 st, slip st in next st] around, use an invisible join with slip st to 1st dc.
Fasten off and weave in ends.
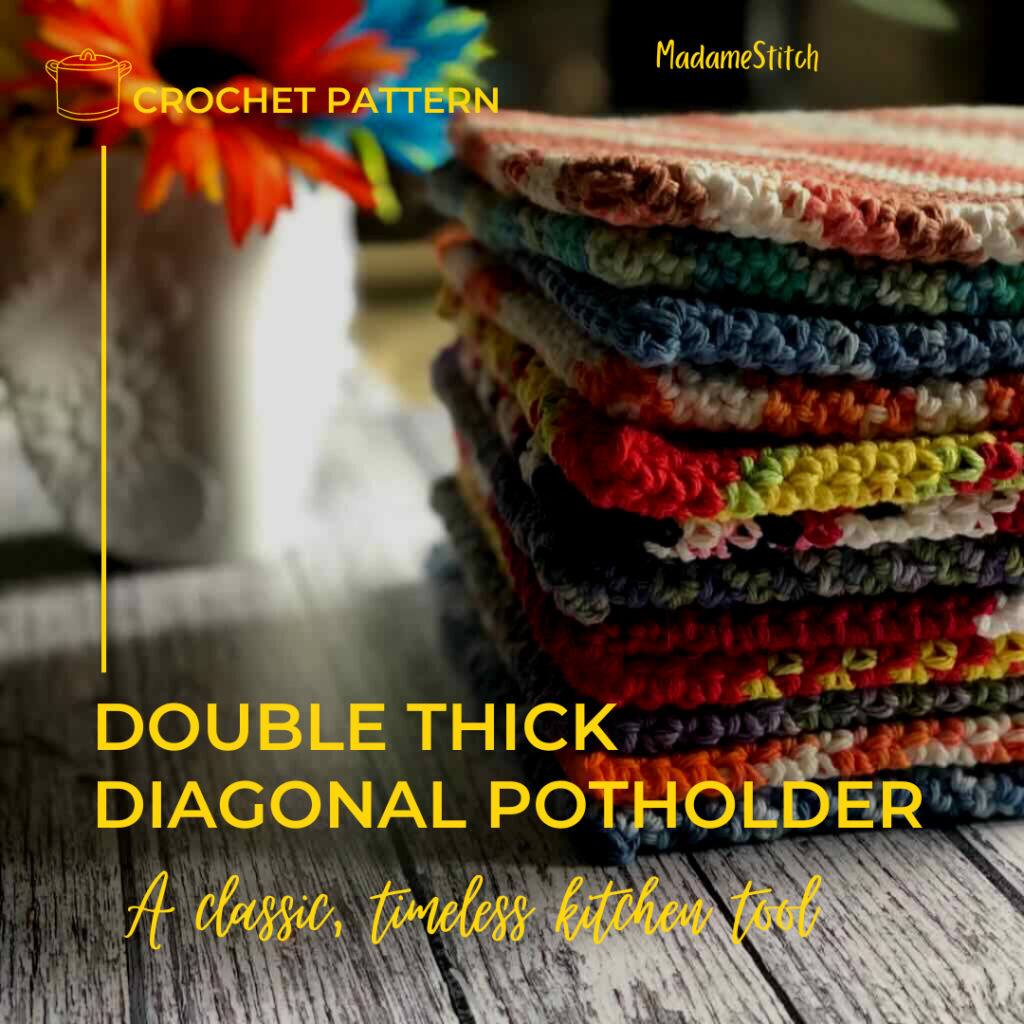
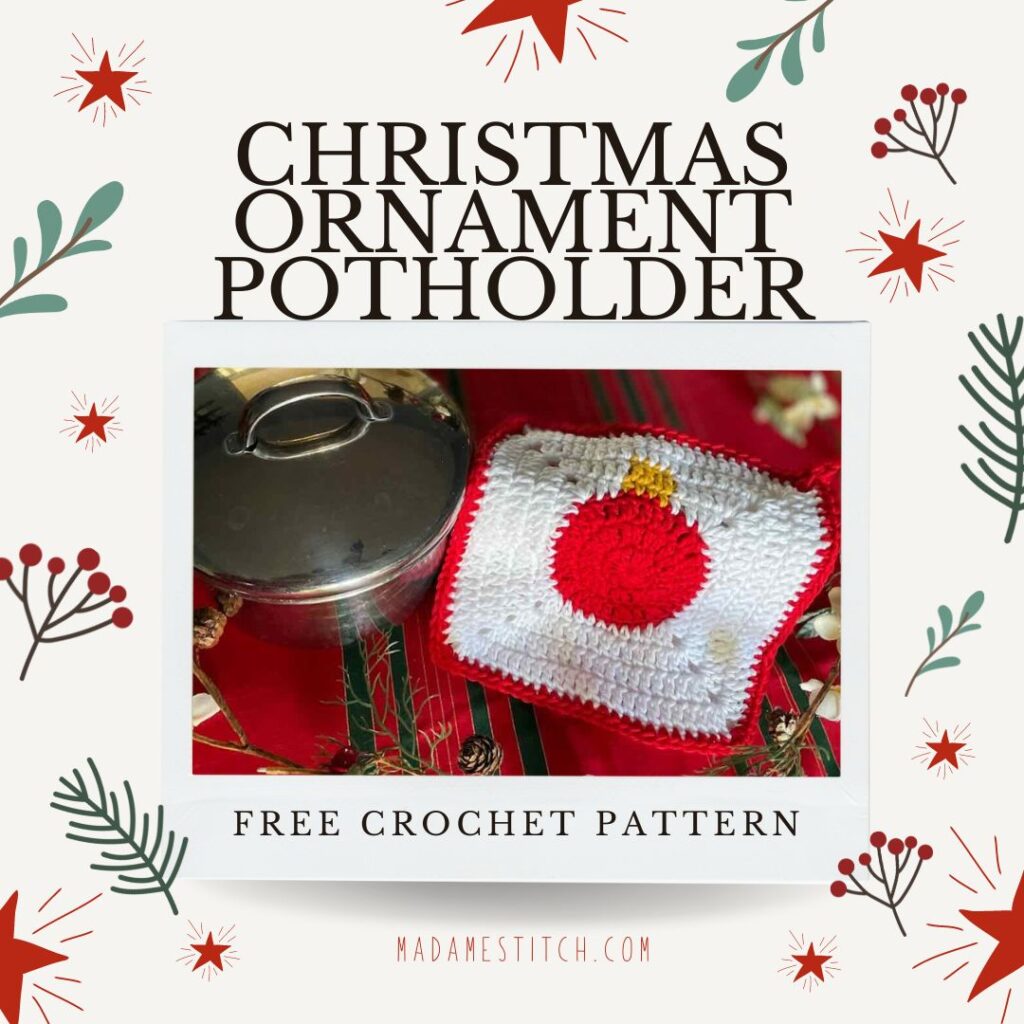
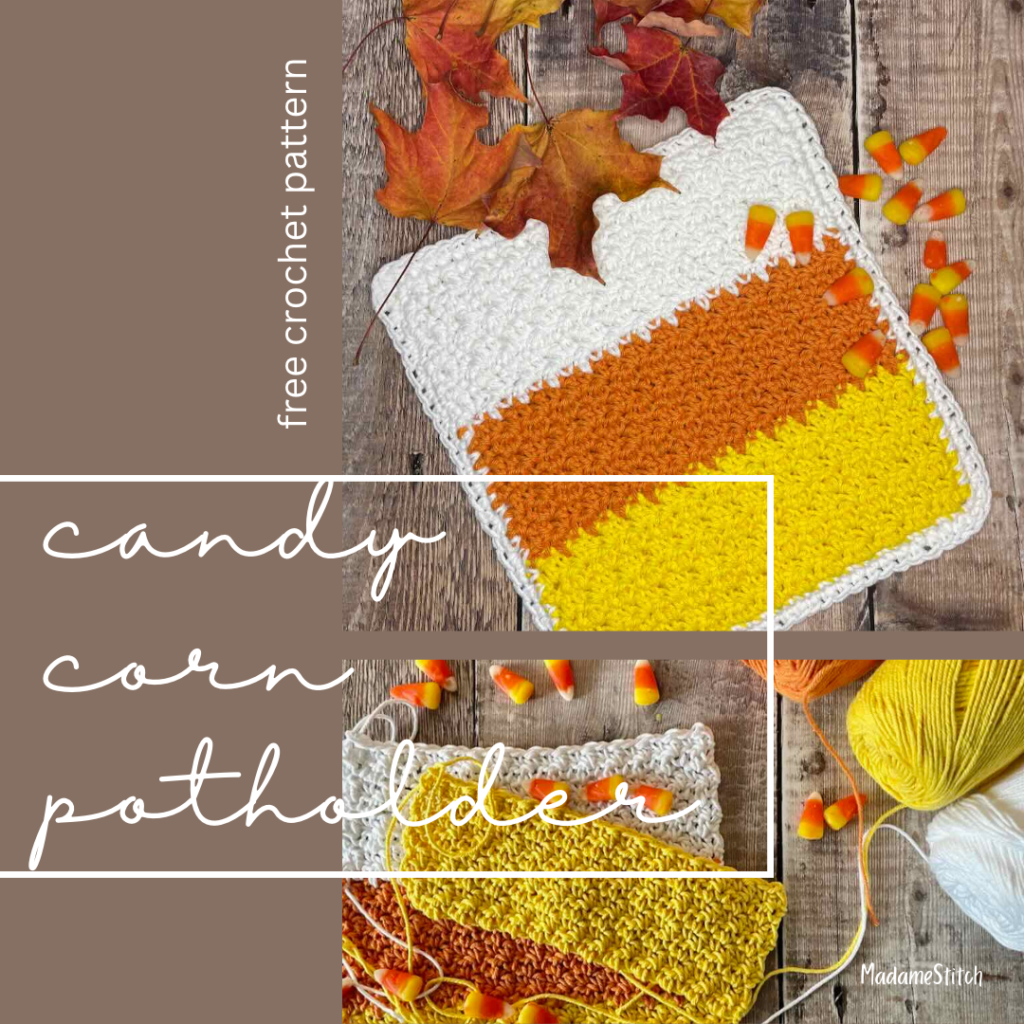
Need another crochet potholder for your kitchen decor?
Choose from one of these other MadameStitch potholder designs. Or, make them all!
[mailerlite_form form_id=3]

I am curious how well the potholder stands up to the heat from a pan straight out of the oven. I would think the acrylic yarns would be a definite no-no. This one lists cotton as the chosen yarn, but I know cotton burns when it gets too hot.
Cristie,
I’ve made potholders with cotton yarn for years and never had an issue with it burning. However, you might want to evaluate your own cotton choices before using the potholder with hot pots just in case.
Best,
Debbie
Thanks for the response. I’ll try one and see how it works for a bit. I appreciate your contribution to the Stash Busting Blog Hop!