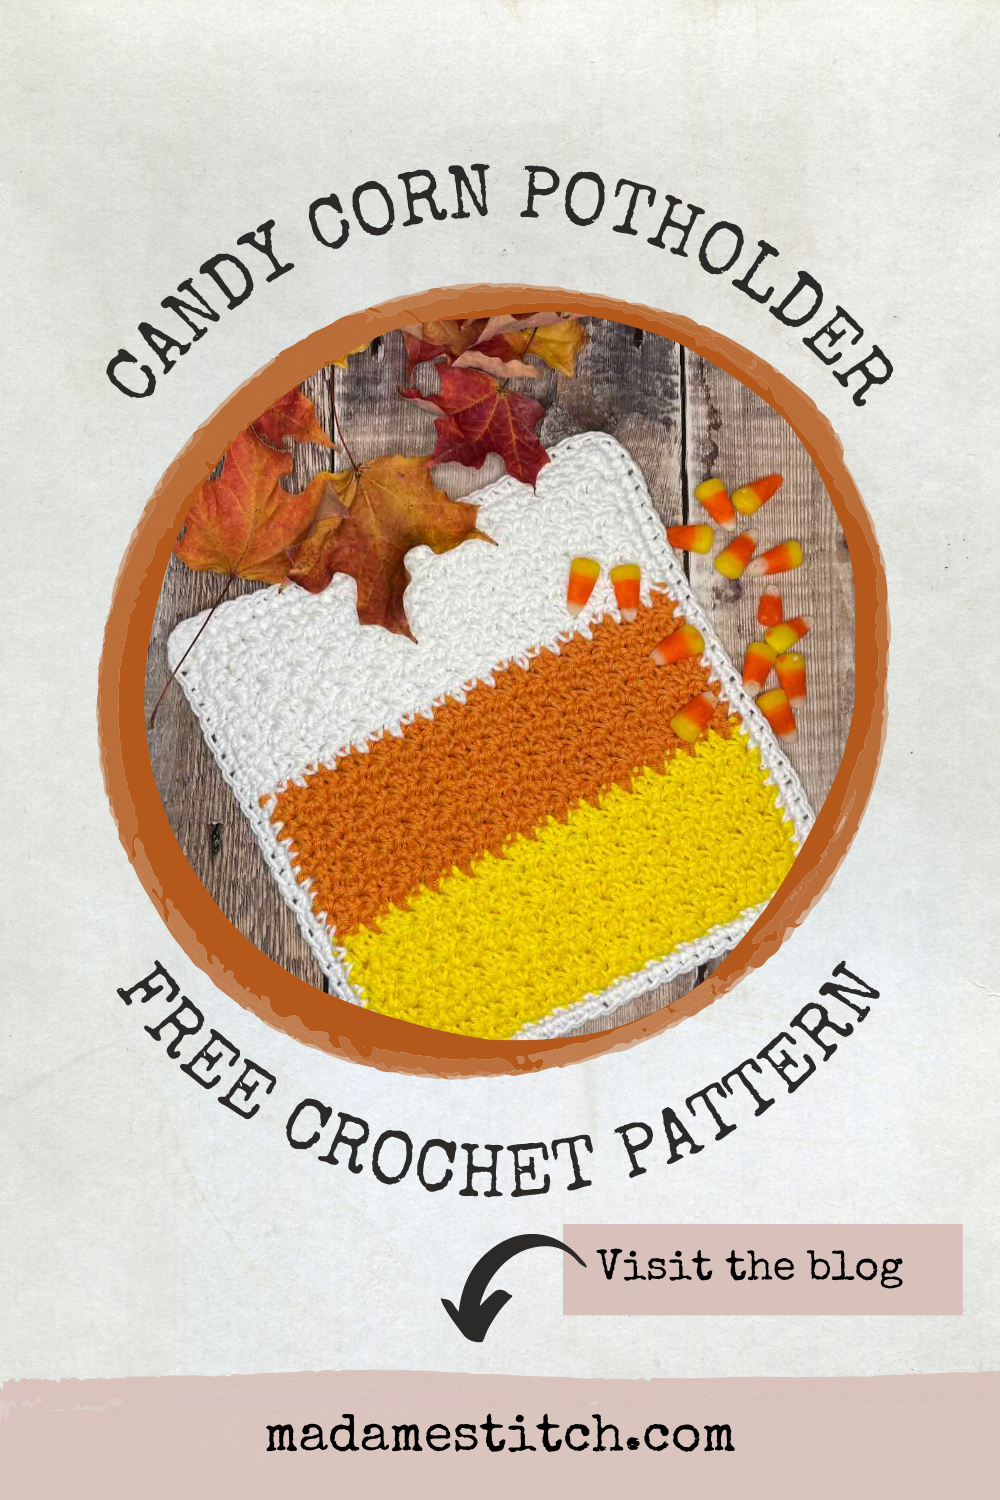
A candy corn potholder for the kitchen | Free crochet pattern
Add a bit of Halloween fun to your kitchen with this quick candy corn potholder. The crochet pattern is free on the blog.
This post contains affiliate links. That means, if you purchase something using the link, I receive a small commission. You don’t pay any extra and your information is safe. Thanks for supporting my small business.
Are you looking for fun ways to decorate the house for Halloween that don’t take hours to put together? This quick and easy candy corn potholder will have you dressing up the kitchen in no time.
Potholders and hot pads are staples in the kitchen, especially if you cook as much as I do. I use them so much they tend to wear out. So, replacing them is a real thing for me. Handmade potholders add a touch of cozy to the kitchen and they’re so easy to make. Plus, if you have leftover cotton yarn in your stash, you’re on your way to adding these inexpensive little gems to your kitchen decor.
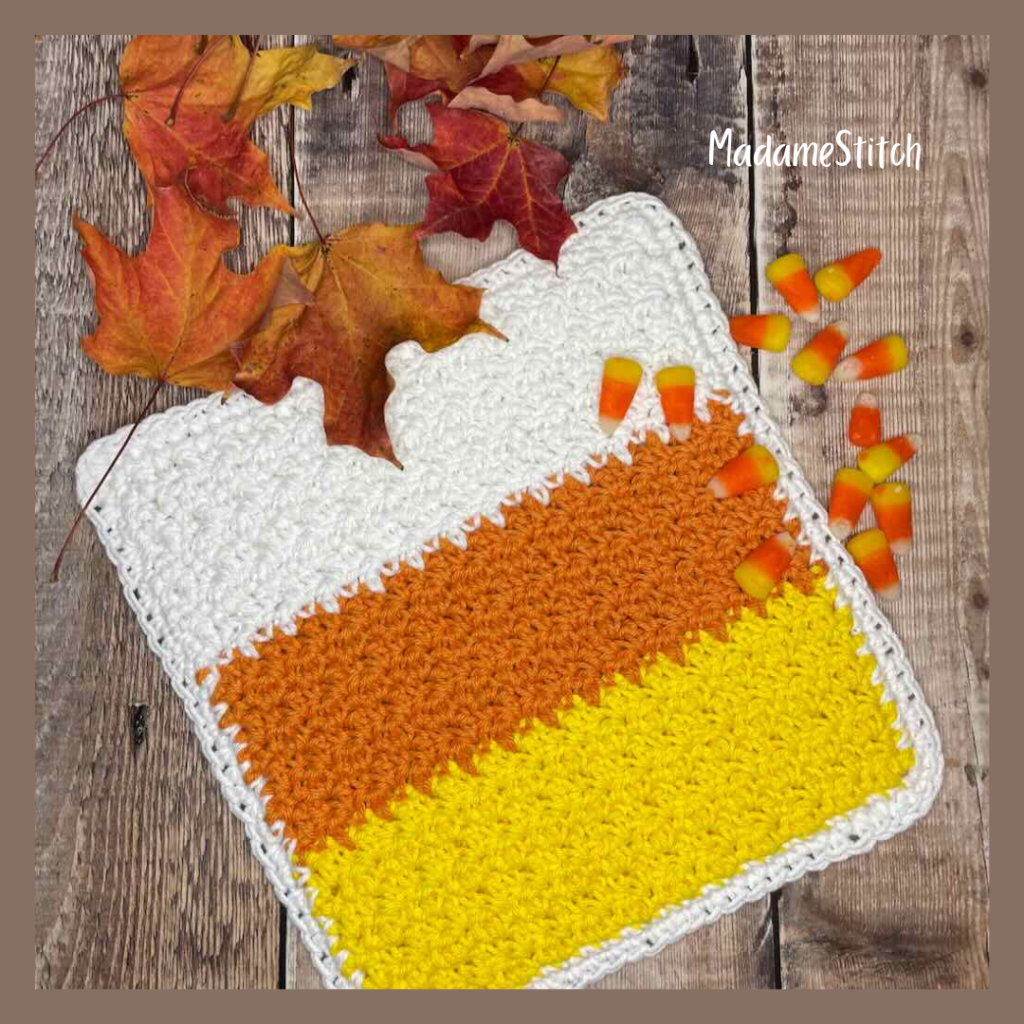
Candy corn is my absolute, hands down favorite Halloween candy. I live and breath for it to show up on the grocery store shelf every year. Because I love it so much, I buy a box only once at Halloween. I know I have no self control when it comes to eating the whole thing in one sitting. Now I have a potholder that reminds me of my favorite candy!
Design + Construction
I wanted a quick and easy design because right now I don’t have a lot of extra time on my hands. So, I chose the seed stitch because it’s an easy stitch pattern to remember, making this a perfect mindful crochet project when times are busy.
The seed stitch is an ideal stitch for the candy corn potholder. It creates a ton of subtle, nubby texture and ample protection against hot objects.
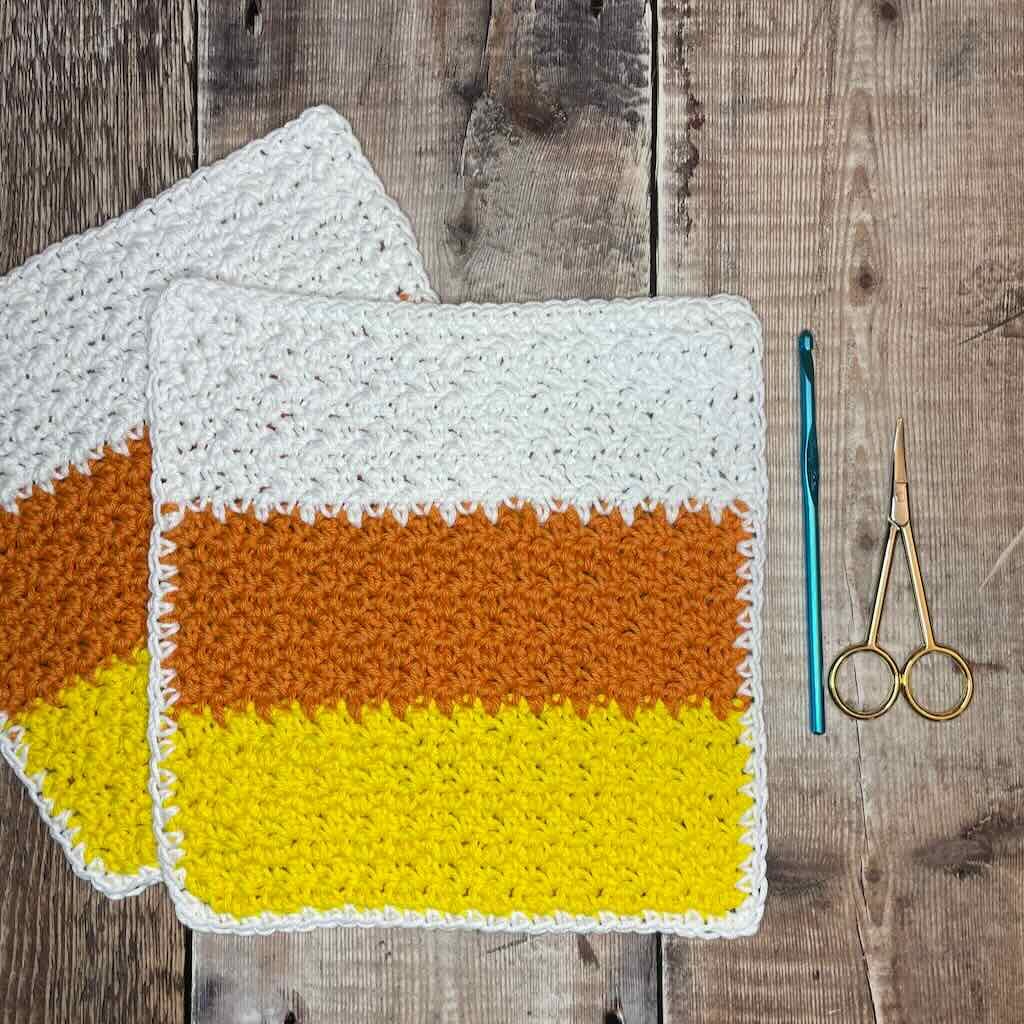
The candy corn potholder is made with 2 identical squares using the 3 colors of a piece of candy corn. Each square is finished off with a round of single crochet to even out the edge around each square to prepare for sewing the squares together.
Joining the 2 squares is the final quick step. Instead of sewing the squares together, I used a single crochet to connect them together in one final round.
I haven’t included it in the pattern but you can add an optional chain loop at one of the top corners to hang and store your candy corn potholder when it’s not in use. I don’t have any place to hang mine but, if you like to display yours, a chain loop would be a fabulous addition.
The Yarn
I chose Dishie by Knitpicks because it has beautiful stitch definition and it’s easy to work with. This cotton yarn is durable, making it the perfect choice for the candy corn potholder that will undoubtedly get a ton of use during the Halloween season. You’ll be able to toss your potholder in the wash as long as you put it in a laundry bag (it IS handmade after all) and use cold or warm water.

Honestly, any worsted weight cotton will work for the candy corn potholder. I tend to shy away from acrylic because the heat could have an adverse affect on the yarn (like melting). I also don’t use animal fibers because I don’t think they hold up as well against the heat and constant use.
Even though this potholder uses the colors of candy corn, it’s easily adaptable to whatever color scheme you’d like. In fact, the seed stitch is a one row repeat so you could use up ALL the cotton scraps in your stash and make a very unique potholder!
Why buy the PDF for the Candy Corn Potholder?
- It includes a crochet chart for stitch placement.
- There’s a handy box for keeping track of your rows (because you can’t see the rows in seed stitch).
- It’s ad-free and easy to read.
About the pattern and what you’ll need
Yarn
KnitPicks “Dishie” 100% cotton (OEKO-TEX Standard 100) worsted weight (190yd/100g) – 1 skein each color
Color A (CA) – Bumblebee #28096
Color B (CB) – Clementine #25403
Color C (CC) – White #28150
Hook
US size H-8 (5mm) or size you need to meet the finished measurements
Tools
You’ll only need a tapestry needle to weave in ends.
Finished Measurements
Approx. 9″ square
Gauge
8 rows of seed stitch x 26 sts = Approx. 8” wide x 2.75” high. This is the measurement of one color section. (Gauge is not important for this potholder.)
Skill level: Confident beginner
Abbreviations – US crochet terminology
- ch – chain
- dc – double crochet
- rep – repeat
- sc – single crochet
- st(s) – stitch(es)
- YO – yarn over
Special Stitches + Techniques


About the Seed Stitch
The seed stitch is a simple stitch pattern that any beginner can easily learn. Crocheters of all skill levels will find it relaxing to work. Single crochets and double crochets alternate across the row and this one row is repeated to the desired length.
The seed stitch is reversible meaning both sides of the work look exactly the same. The stitch pattern creates a subtle, nubby texture that forms a fairly dense, tightly woven fabric. That makes it the perfect choice for a potholder.
A written tutorial for the seed stitch (plus a free pattern) can be found at the link below:
Pattern for the Candy Corn Potholder
Thank you for staying on this post and reading my patterns right here on the blog, without copy/pasting. When you stay here to follow the free version of my pattern, I am compensated for my time and energy. This is a great, free way to support a designer. If you would like to save this for later, bookmark the page to save it in your mobile browser.
Pattern Notes
- A “ch 3” may be substituted for the STsc throughout without changing the construction or the look of the square.
- If you are using a ch-3 turning ch instead of the STsc, be sure to work the final sc of each row in the turning ch. Because of the nature of the seed stitch, it may be hidden and difficult to see.
- When changing colors, crochet to the last sc of the row, working the final step of the sc in the new color.
- Eight rows of each color are worked for each square.
Written Instructions
Squares – Make 2
Section CA
With CA, ch 27.
Row 1: Sc in 3rd ch from hook (skipped sts count as dc), [dc in next ch, sc in next st] across, turn. (13 dc, 13 sc)
Row 2: STsc, sc in next st, [dc in next st, sc in next st] across, working final sc in turning ch, turn.
Note: Where to work the final sc may be difficult to see because the STsc or turning ch may be hidden. Be sure to pull up the STsc or turning ch and work the final sc into it for Row 2 and all other rows.
Row 3: STsc, sc in next st, [dc in next st, sc in next st] across, turn.
Rows 4-8: Rep Row 3 5 times.
At the end of Row 8, change to CB in the last step of the final sc of the row. Cut CA.
Section CB
Rows 9-16: Rep Row 3 8 times.
At the end of Row 16, change to CC in the last step of the final sc of the row. Cut CB.
Section CC
Rows 17-24: Rep Row 3 8 times.
At the end of Row 24, do not fasten off. Proceed to Edging.
Square Edging
Note: Work each sc along the side edges at the same depth as well as an equal distance apart especially in the sections where the color is different from the Edging color.
Side 1: Continuing with CC, rotate the square 90 degrees to work along the side. Ch 1, work 8 sc evenly across each color for a total of 24 sc along the side edge.
Bottom edge: Rotate the square 90 degrees, 3 sc in the 1st foundation ch, sc in each foundation ch across to last foundation ch, 3 sc in last foundation ch. (24 sc + 3 sc for each corner)
Side 2: Rep Side 1. (24 sc)
Top edge: Rotate the square 90 degrees, 3 sc in the 1st st, sc in each st across to last st, 3 sc in last st, join with an invisible join to 1st sc of Side 1, fasten off. (24 sc + 3 sc for each corner)
Weave in ends (this will become the wrong side of the square) before crocheting the squares together.
Border (crocheting the squares together)
Note: The right side of the square is indicated by the top loops of the Edging round. If they tilt toward you, the right side is facing you. Also, your ends should be woven in on the wrong side of each square.
With wrong sides held together and the colors lined up the same direction, attach CC to any st along the edge, being sure to catch both loops of both squares. Ch 1, sc in each st around, working 3 sc in the middle st at each corner, join with an invisible join.
Fasten off and weave in ends.
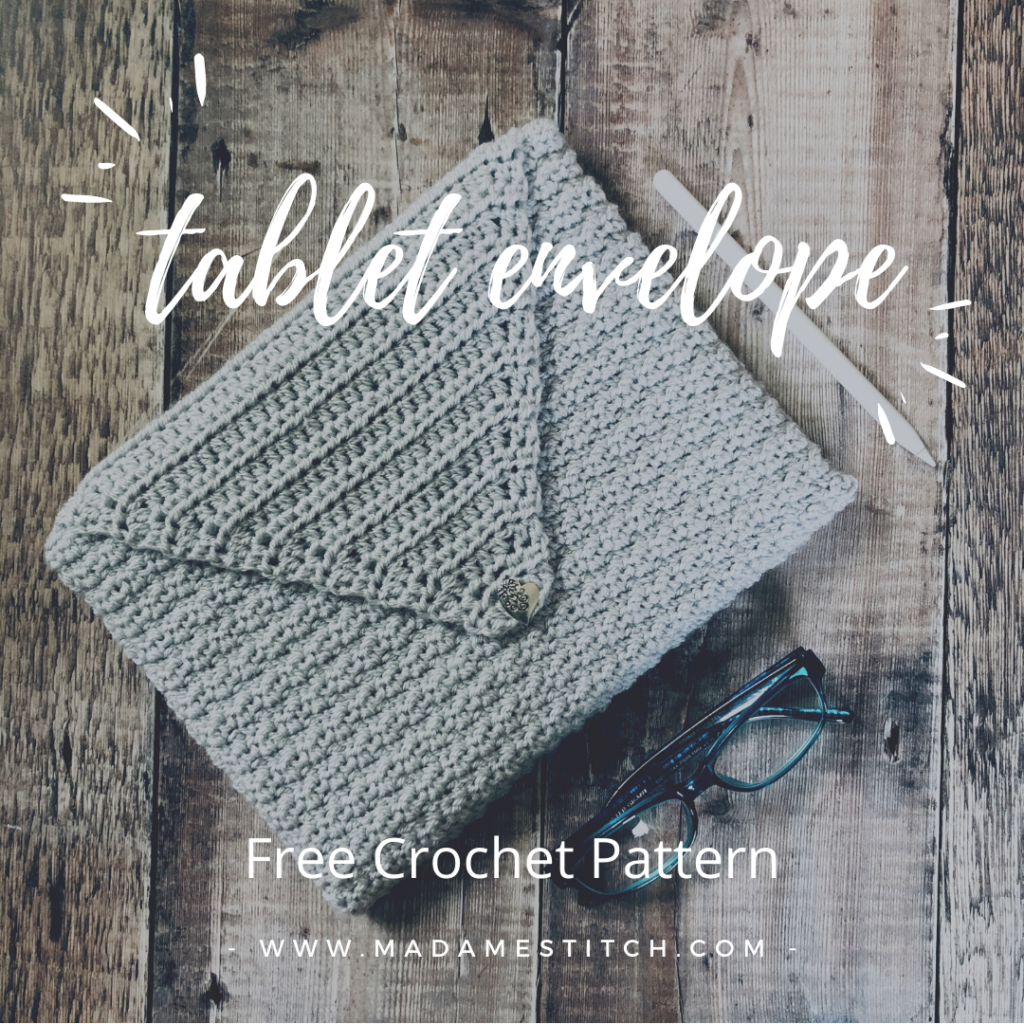
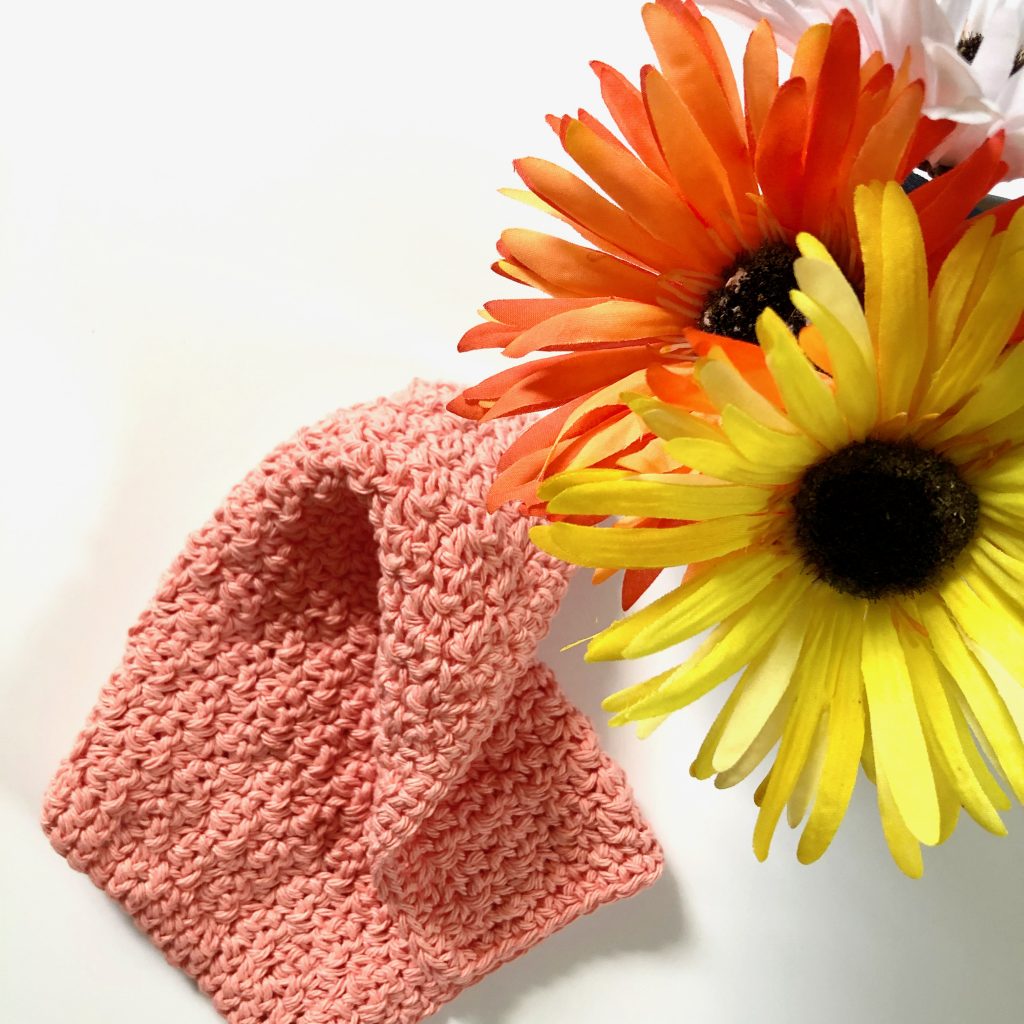
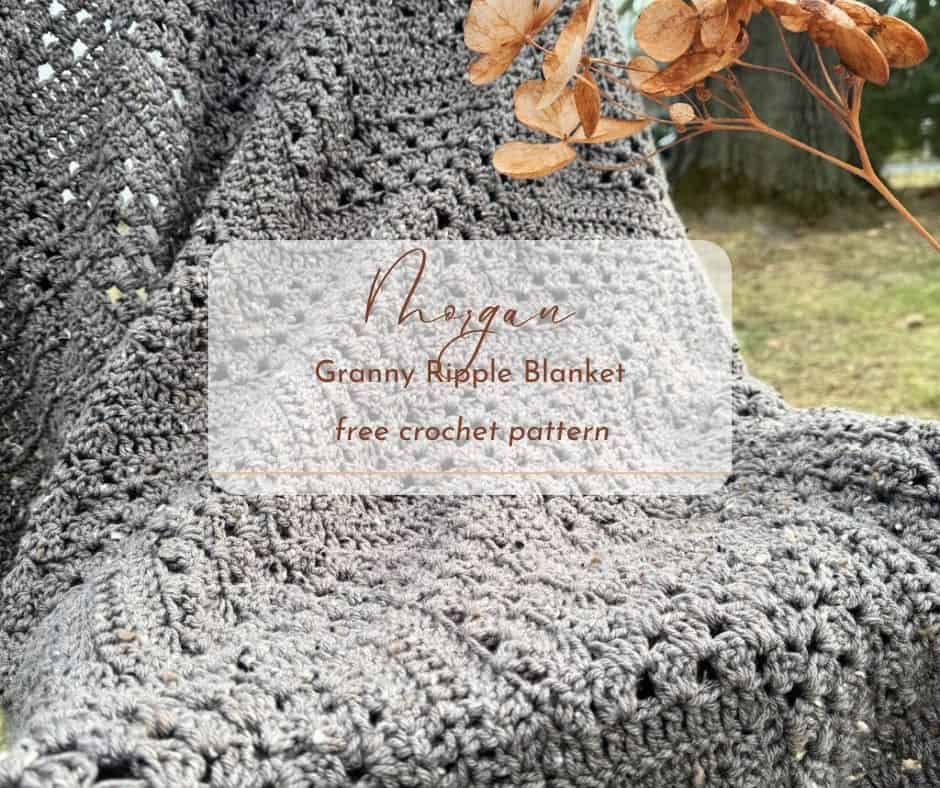
Here are three other designs that use seed stitch.


4 Comments