A beginner-friendly granny square blanket for cozy snuggles
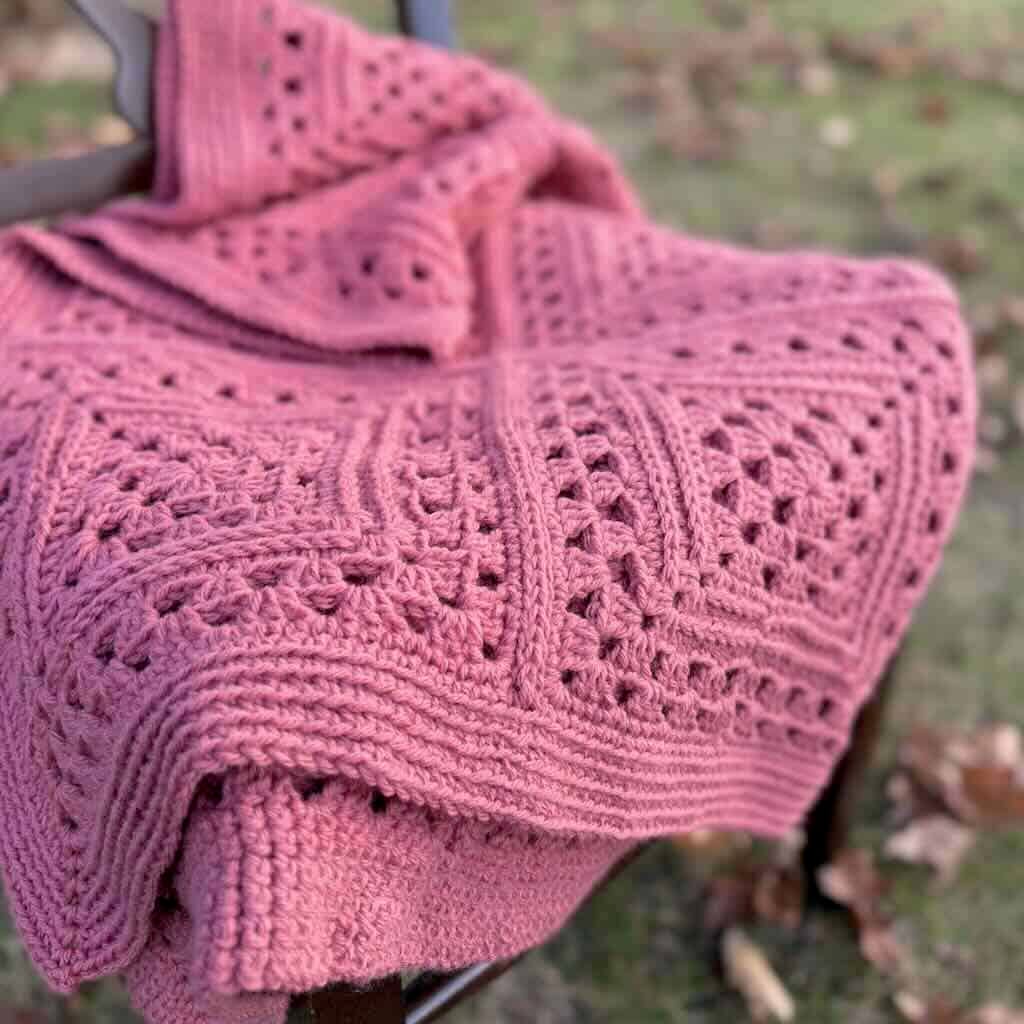
The Gabe Squared granny square blanket provides hours of mindful crochet time and a cozy blanket when you’re done. Beginner friendly, made with worsted weight yarn, free on the blog.
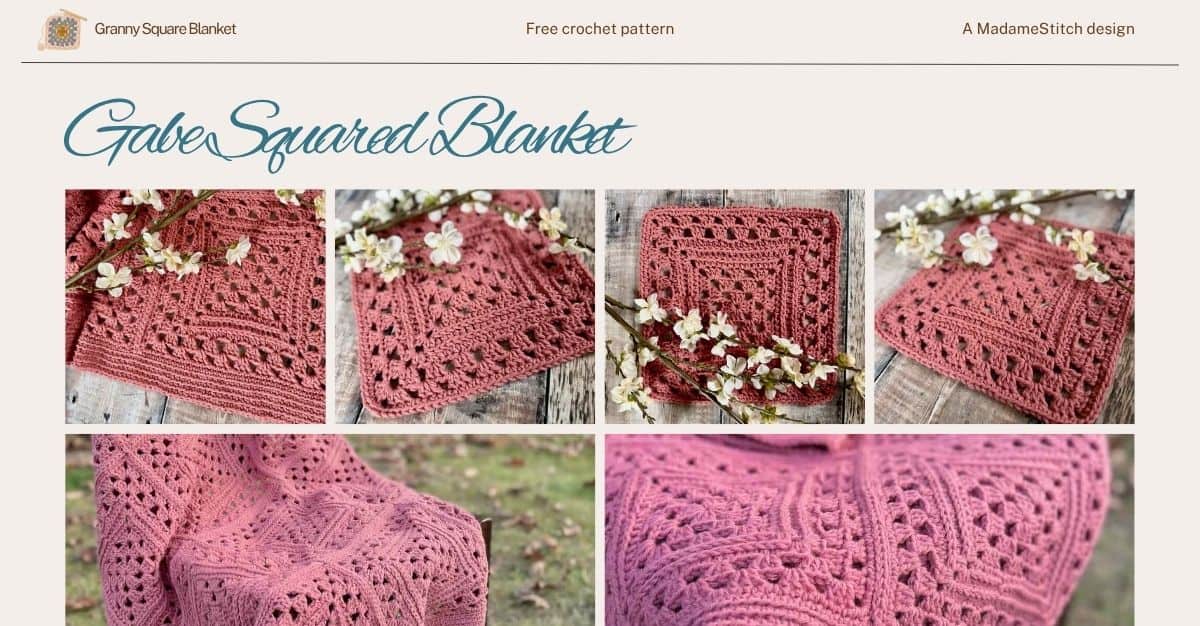
Gabe Squared Granny Square Blanket
I love nothing more than a comfy granny square blanket. For me, the rhythm of crocheting granny squares is one of the most relaxing activities.
A couple of years ago, I crocheted granny square blankets for my grandsons. I took a traditional granny square and added a little zip to the design. The granny square for each blanket were slightly different so the boys could feel like they had one designed just for them.
The younger grandson received a version of the Gabe Squared Granny Square Blanket (yes, it’s named after him). He loved it!
The Gabe Squared granny square blanket is perfect for a night of relaxing crochet, either to make the granny squares or cuddle up under. You’ll love this beautiful granny square blanket!
Pattern at a Glance
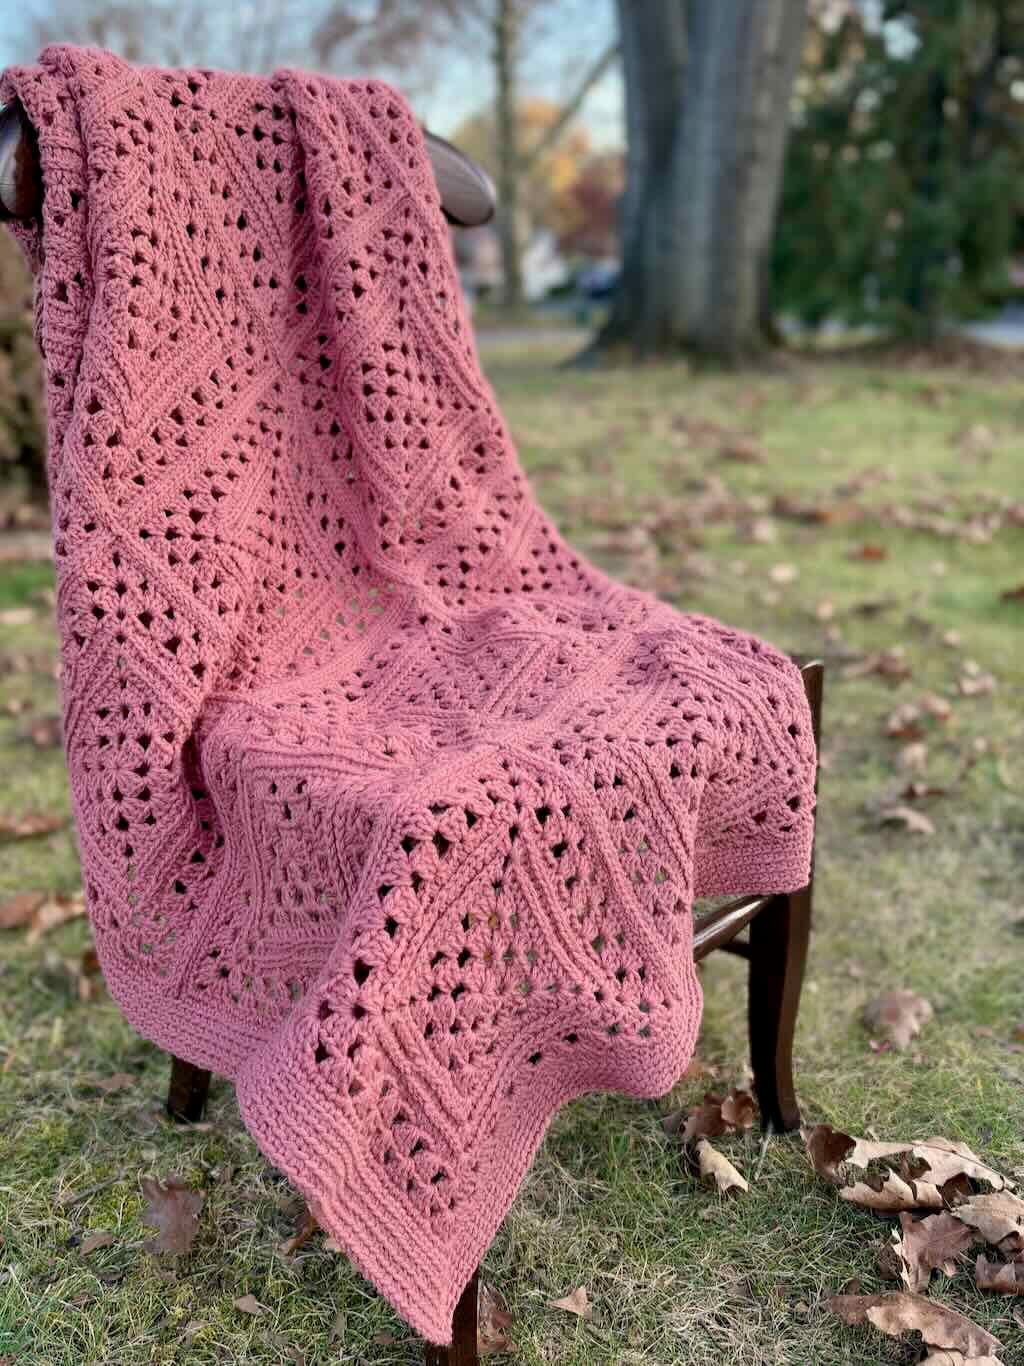
- Skill Level: Advanced Beginner
- Yarn: Any worsted weight yarn perfect for granny square blankets
- Yardage: Approx. 1785 yds (always have extra on hand)
- Hook: US size I-9 (5.5mm)
- Finished Size: 43″ x 53″
- Original publish date: November 6, 2026

Design + Construction
Most of my granny square blankets are pretty straightforward. I design for the kind of crocheter who loves to relax with a good granny square project on her hook with good TV to watch. The Gabe Squared Granny Square Blanket is no exception.
The traditional granny stitch is the star of the show. But, to add a little interest to this granny square, I tucked in a few rounds of stitches worked in the 3rd loop in the midst of the granny stitch to create a solid section with some subtle surface texture.
The two contrasting sections offer a little more interest than a traditional granny square without getting overly complicated.
I chose a flat slip stitch seam to assemble the squares. Not only does it add another layer of subtle texture to the right side of the blanket, it’s crocheted rather than sewn, saving you time.
The entire granny square blanket is finished off with a simple single crochet border with all the stitches worked in the back loop only. You’ll love the way the exposed front loops enhance the look of an otherwise plain border.
It’s a beautiful granny square blanket designed to be as much fun to make as it is warm to snuggle up under!
Why You’ll Love This Pattern
- The granny squares are easy and quick to crochet.
- Perfect for the mindful crocheters
- Use your creative skills to find color combinations that suit your taste.
- It’s the ideal gift for anyone who loves something simple and elegant to cozy up under.
The Yarn
I designed this blanket to work with any worsted weight yarn you choose. The construction of the granny squares, the seaming method and the border all work perfectly for a wide array of worsted weight choices.
I chose Lion Brand’s “Pound of Love” because it’s soft and easy to work with. Plus, the extra large skeins means it’s an economical choice for this larger granny square blanket.
The Gabe Squared granny square blanket gives you the chance to shop your yarn stash, too. This version of the granny square blanket started because I had a lot of “Pound of Love” left over from a previous project.
You can experiment with color combinations in the squares themselves, assigning various colors to the sections that naturally occur in the granny squares. Plus, the flat slip stitch seam and the border can be worked in complimentary or contrasting colors, giving you the chance to use up what you already own.
Yarn Substitution
Because I used Lion Brand’s “Pound of Love”, you may want to use a yarn similar to get the same look as mine. If you aren’t sure if your yarn will work, use my Yarn Substitution Worksheet to see how close they are.

Or, check out YarnSub.com for other choices that would work well.

Where to get the PDF for the Gabe Squared Blanket
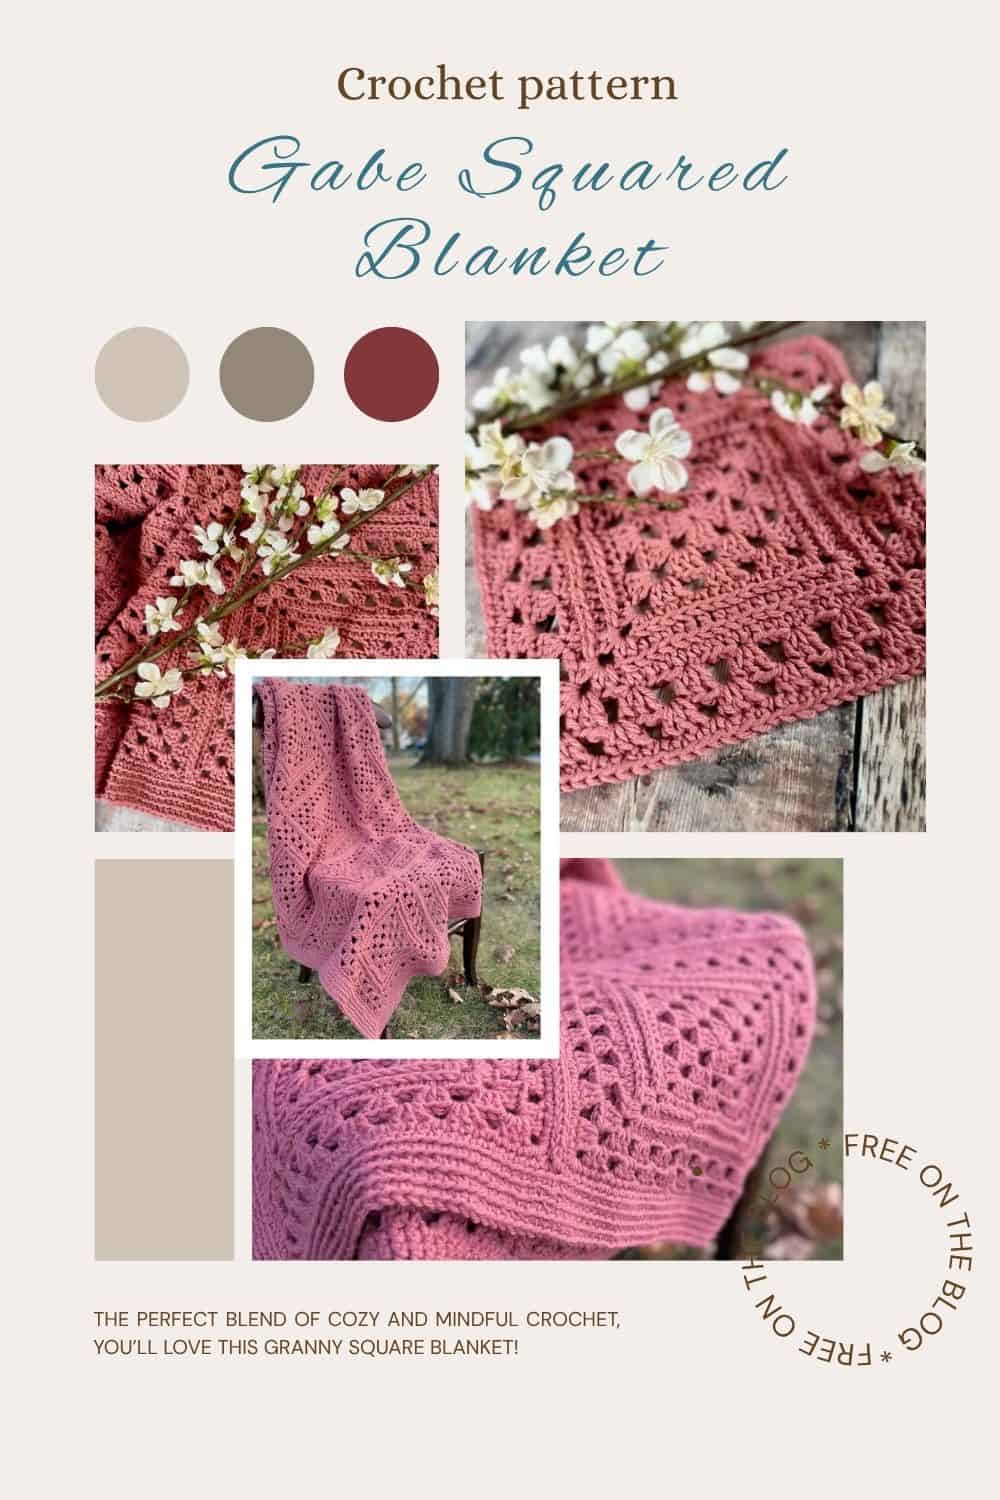
The Gabe Squared granny square blanket is a free crochet pattern in this blog post for Grow blog subscribers. Scroll down and sign in to view the free version.
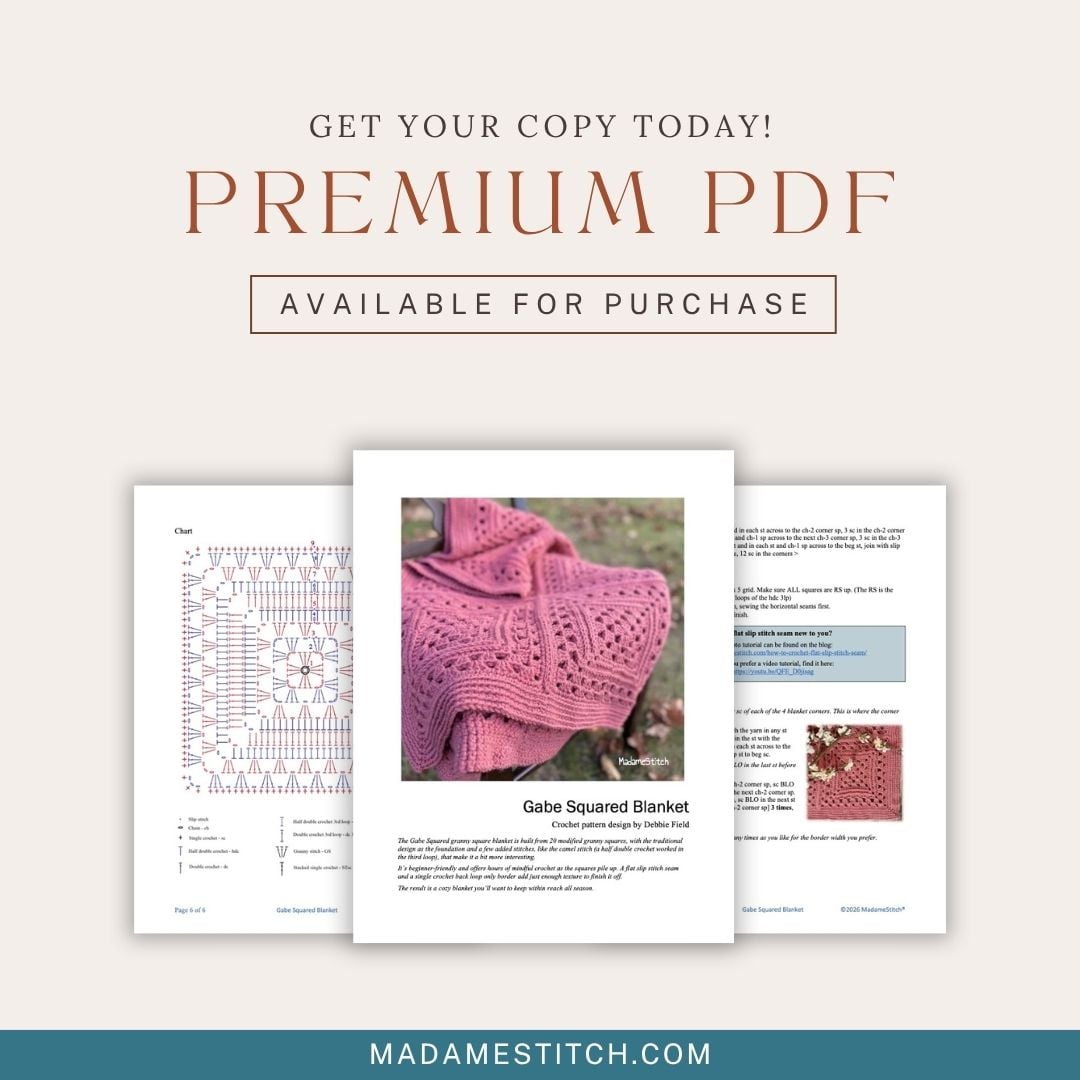
Upgrade your experience to a printer friendly, downloadable version PDF, available from one of my shops.
The premium PDF can be uploaded to your favorite mobile device so you can take your Gabe Squared granny square blanket project with you to work on whenever you’re out and about.
The premium PDF includes detailed written instructions and a handy chart for the granny square. It’s easy to read and beautifully formatted without ads for a great experience.
Get your copy today!



The Gabe Squared Granny Square Blanket Free Pattern
General Information
Yarn
Lion Brand “Pound of Love” 100% premium acrylic worsted weight (16oz/1020yd; 454g/932m)
Color: Terracotta – Approx. 1785 yds
Any worsted weight appropriate for blankets will work
Hook
US size I-9 (5.5mm) or size needed for gauge
Tools
- Removable stitch markers
- Scissors
- Tapestry needle
Finished Size
Approx. 43” x 53”
Granny square measures approx. 10” across
Gauge
Rnds 1-3 = Approx. 4” across
Skill Level: Advanced Beginner/Intermediate
Abbreviations – US crochet terminology
- beg – beginning
- BLO – back loop only
- ch – chain
- dc – double crochet
- hdc – half double crochet
- pm – place marker
- rep – repeat
- rm – remove marker
- rnd(s) – round(s)
- sc – single crochet
- sk – skip
- sp – space
- st(s) – stitch(es)
- RS – right side
- YO – yarn over
Repeats
- (…) – Work everything within the parentheses in the same st or sp.
- […] – Repeat everything within the brackets the indicated number of times.
- {…} – Repeat everything within the braces the indicated number of times.
Special Stitches
Chain-1 space (ch-1 sp) – The number denotes the number of chains made
Chain-3 corner space (ch-3 corner sp) – The number denotes the number of chains made in a corner space.
Granny stitch (GS) – 3 dc in the same st or sp
Hidden stitch
The hidden stitch is the 1st st that follows each corner when working in the round. Oftentimes, because of the stitches worked in the corner space, that 1st stitch can be hidden and tucked underneath those stitches. In the instructions, it will be noted when to pay particular attention to the hidden stitch.
Invisible join: At the end of the rnd, remove working loop from hook, insert hook from back to front through the top of the 1st st of the rnd, add working loop back onto hook and pull through to the wrong side, continue as instructed.

Half double crochet in the 3rd loop (hdc 3lp) – when working with the RS facing – YO, insert hook through the 3rd loop that sits just under and behind the top loop of the stitch, YO, pull through the 3rd loop, YO, pull through all 3 loops on the hook to complete the hdc.
The double crochet in the 3rd loop (dc 3lp) is worked exactly like a normal dc except the hook is inserted in the 3rd loop the same as for the hdc 3lp.
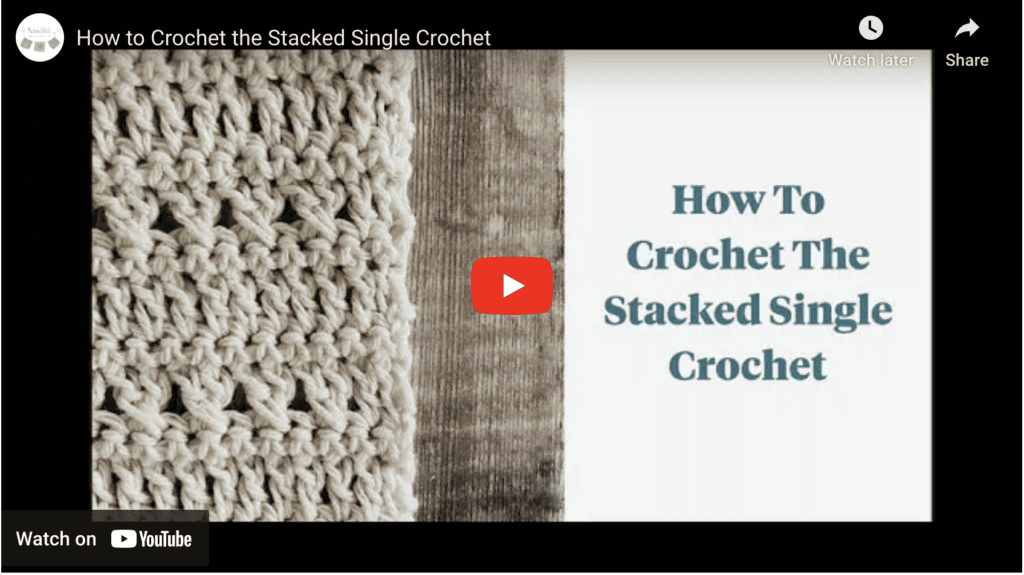
Stacked single crochet (STsc) – (This stitch is used at the beginning of a round to replace the traditional turning ch-3. It has the appearance of a dc.) – Insert hook in the same st as the loop, YO, pull up a loop, YO, pull through 2 loops (bottom sc made), insert hook through the left vertical bar of the bottom sc, YO, pull up a loop, YO, pull through 2 loops (top sc made).
Pattern Notes
- Do not turn after any rnd. The RS is always facing you.
- A ‘ch-2’ or ‘ch-3’ can be substituted for the STsc without altering the look or construction of the square.
- ‘Ch 1’ at the beg of a rnd does not count as a st.
- The number of sts worked in the corners changes to accommodate sts worked in subsequent rnds. Pay close attention to how many ch are worked in the corners of each rnd.
Unlock Exclusive Subscriber Content
To unlock Exclusive Subscriber Content, click on the button in the box below. The Grow.me app window will pop up where you can either create an account or sign in if you already have one.
To create an account, sign in with your existing Google or Facebook account. You can also create an account with an email address and new password.
If you forget your password, simply click the “Forgot my Password”button. I have no access to your Grow account so I’m unable to retrieve or reset your password.
Remember, once you’ve created a Grow account, you never have to do it again. Your Grow account unlocks all the exclusive content created by Grow
Thank you for being a loyal blog subscriber. I hope you enjoy the exclusive content!
Pattern Instructions
Square – Make 20
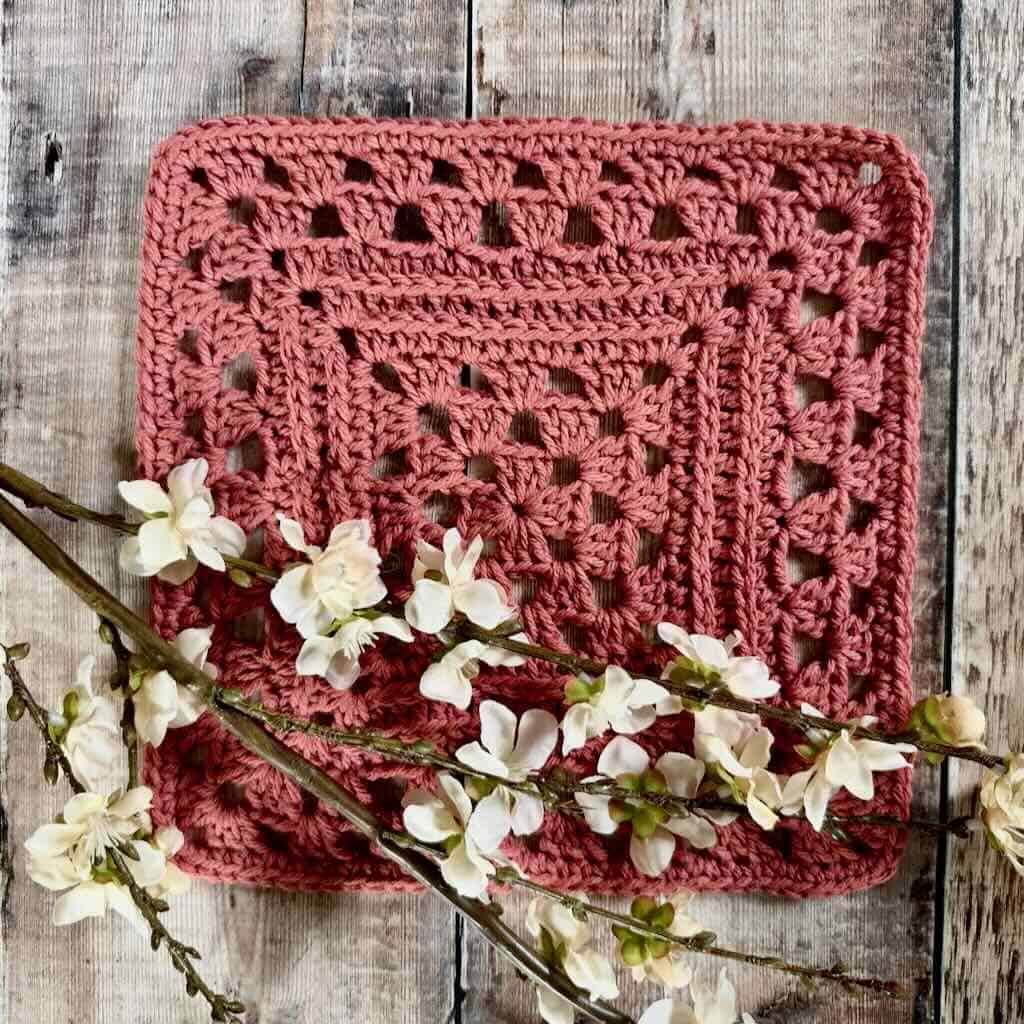
Ch 4, join with a slip st to form a ring.
Rnd 1: (STsc, 2 dc) in the ring (counts as 1st GS), ch 3, [GS, ch 3] 3 times, join with slip st to beg st. < 4 GS, 4 ch-3 corner sp >
Rnd 2: STsc in the sp to the right of the hook, ch 1, [(GS, ch 3, GS) in the ch-3 corner sp, ch 1] 3 times, (GS, ch 3, 2 dc) in the same corner as the STsc to finish the 1st corner, join with slip st to beg st. < 8 GS, 4 ch-1 sp, 4 ch-3 corner sp >
Rnd 3: Slip st into the next sp, (STsc, 2 dc) in the same sp (counts as the 1st GS), ch 1, [(GS, ch 2, GS) in the ch-3 corner sp, ch 1, GS in the ch-1 sp, ch 1] 3 times, (GS, ch 2, GS) in the next ch-3 corner sp, ch 1, join with slip st to beg st. < 12 GS, 8 ch-1 sp, 4 ch-2 corner sp >
Rnd 4: Ch 1, hdc in the same st and in each st and ch-1 sp across to the ch-2 corner sp, [(2 hdc, ch 2, 2 hdc) in the ch-2 corner sp, hdc in the next st and in each st and ch-1 sp across to the next ch-2 corner sp] 3 times, (2 hdc, ch 2, 2 hdc) in the ch-2 corner sp, hdc in the next st and in each st and ch-1 sp across to the beg st, invisible join. < 15 hdc along each side, 4 ch-2 corner sp >
Note for Rnd 5: Work the 1st dc 3lp after each corner sp in the hidden st.
Rnd 5: STsc 3lp, dc 3lp in the next st and in each st across to the ch-2 corner sp, [(2 dc, ch 2, 2 dc) in the corner, dc 3lp in the next st and in each st across to the next ch-2 corner sp] 3 times, (2 dc, ch 2, 2 dc) in the ch-2 corner sp, dc 3lp in the next st and in each st across to the beg st, invisible join. < 15 dc 3lp along each side, 16 dc, 4 ch-2 corner sp >
Note for Rnd 6: Work the 1st hdc 3lp after each corner sp in the hidden st.
Rnd 6: Ch 1, hdc 3lp in the same st and in each st across to the ch-2 corner sp, [(2 hdc, ch 2, 2 hdc) in the corner, hdc 3lp in the next st and in each st across to the next ch-2 corner sp] 3 times, (2 hdc, ch 2, 2 hdc) in the ch-2 corner sp, hdc 3lp in the next st and in each st across to the beg st, join with slip st to beg st. < 19 hdc 3lp along each side, 16 hdc, 4 ch-2 corner sp >
Note for Rnd 7: The hidden stitch is counted as a skipped st after each corner sp.
Rnd 7: Slip st in the next st, (STsc, 2 dc) in the same st (counts as the 1st GS), ch 1, sk 3 sts, [GS in the next st, ch 1, sk 3 sts] twice, (GS, ch 3, GS) in the ch-2 corner sp, ch 1, sk 3 sts, {[GS in the next st, ch 1, sk 3 sts] 5 times, (GS, ch 3, GS) in the ch-2 corner sp, ch 1, sk 3 sts} 3 times, [GS in the next st, ch 1, sk 3 sts] twice, join with slip st to beg st. < 28 GS, 24 ch-1 sp, 4 ch-3 corner sp >
Rnd 8: STsc in the sp to the right of the hook, ch 1, [GS in the next ch-1 sp, ch 1] 3 times, (GS, ch 2, GS) in the next ch-3 corner sp, ch 1, {[GS in the next ch-1 sp, ch 1] 6 times, (GS, ch 2, GS) in the next ch-3 corner sp, ch 1} 3 times, [GS in the next ch-1 sp, ch 1] twice, 2 dc in the same sp as the STsc to complete the 1st GS, join with slip st to beg st. < 32 GS, 28 ch-1 sp, 4 ch-2 corner sp >
Note for Rnd 9: Place a marker in the 1st st to make it easy to see when joining at the end of the round.
Rnd 9: Do not ch, sc in the same st and in each st across to the ch-2 corner sp, 3 sc in the ch-2 corner sp, [sc in the next st and in each st and ch-1 sp across to the next ch-3 corner sp, 3 sc in the ch-3 corner sp] 3 times, sc in the next st and in each st and ch-1 sp across to the beg st, join with slip st to beg st. < 31 sc along each side, 12 sc in the corners >
Seaming
- Lay the squares out in a 4 x 5 grid. Make sure ALL squares are RS up. (The RS is the side where you can see the loops of the hdc 3lp)
- Using a flat slip stitch seam, sewing the horizontal seams first.
- Sew the vertical seams to finish.
- Find the photo tutorial for the flat slip stitch seam here.

Border
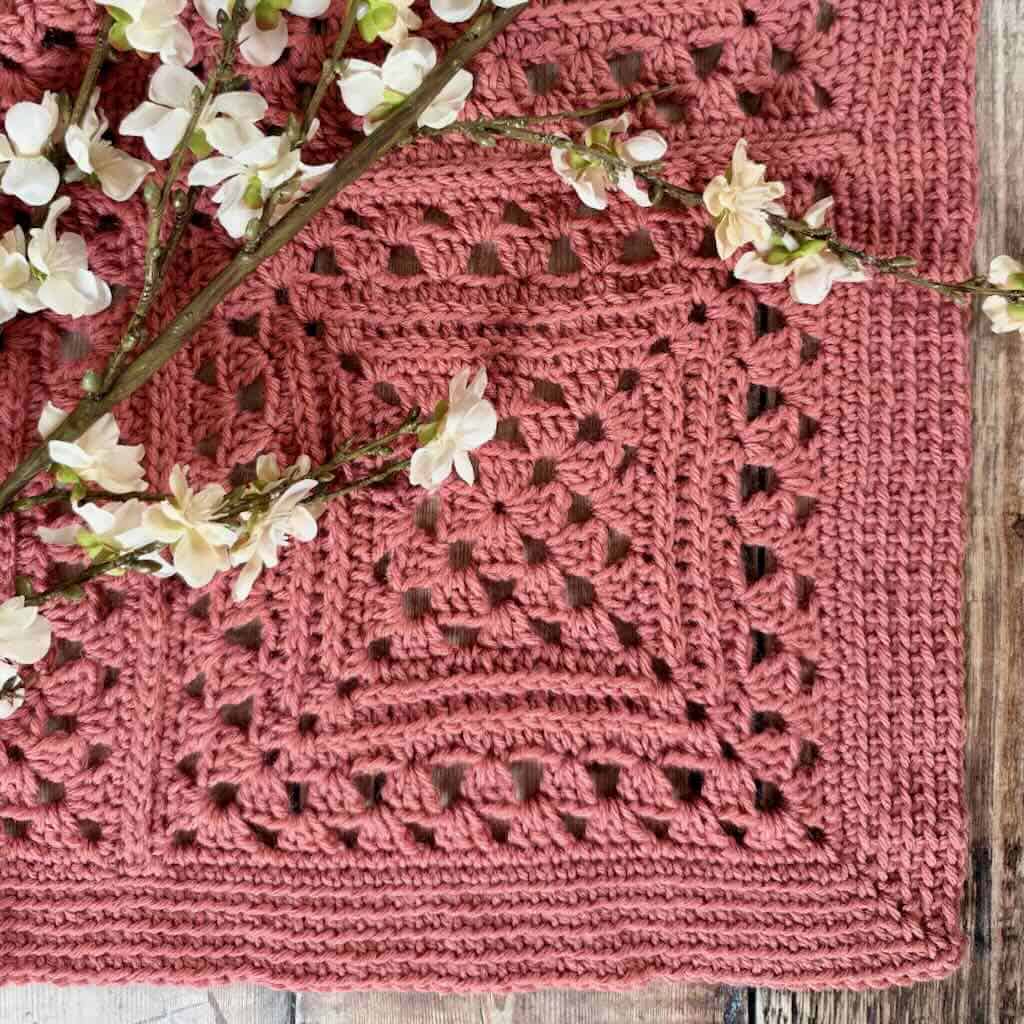
Before beginning, pm in the center sc of each of the 4 blanket corners. This is where the corner spaces will be worked.
Rnd 1 (RS): With RS facing, attach the yarn in any st with a marker, ch 1, [(sc, ch 2, sc) in the st with the marker, rm, sc in the next st and in each st across to the next marker] 4 times, join with slip st to beg sc.
Note for Rnds 2-5: Be sure to sc BLO in the last st before the corner.
Rnd 2: Ch 1, (sc, ch 2, sc) in the ch-2 corner sp, sc BLO in next st and in each st across to the next ch-2 corner sp. [(sc, ch 2, sc) in the ch-2 corner sp, sc BLO in the next st and in each st across to the next ch-2 corner sp] 3 times, join with slip st to beg sc.
Rnds 3-5: Rep Rnd 2.
Note: Rnd 2 can be repeated as many times as you like for the border width you prefer.
Fasten off and weave in ends.