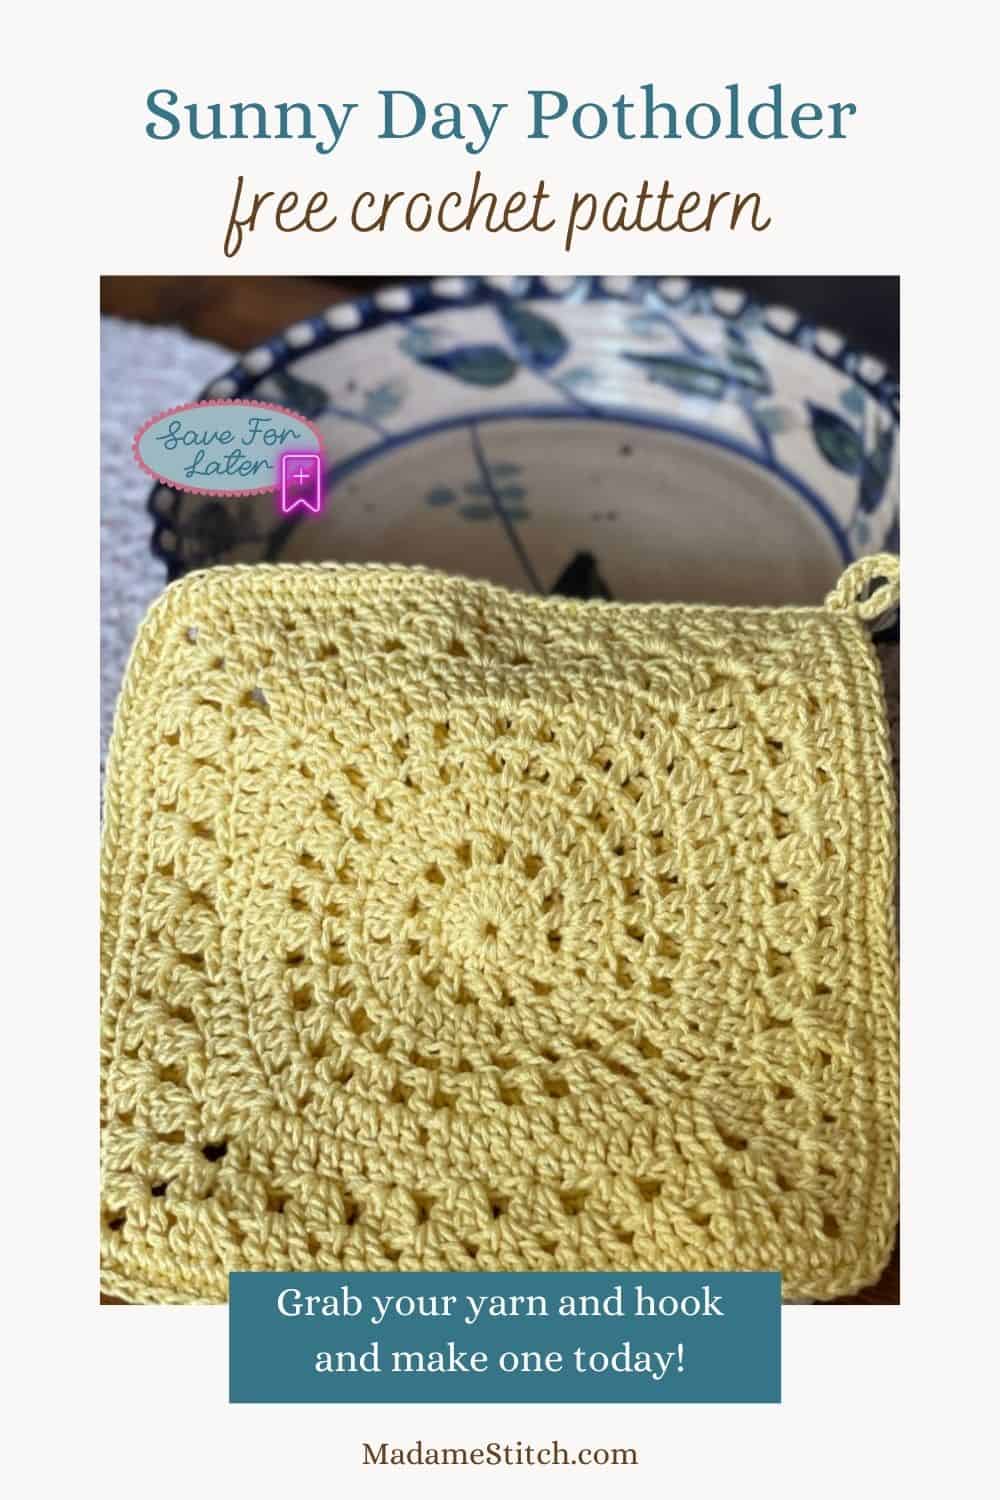
The perfect granny square potholder for a sunny afternoon
Add a touch of warmth and cheer to your kitchen with a bright and sunny granny square potholder! This delightful design is perfect for protecting your tabletop and bringing a pop of color to your meal. The Sunny Day granny square potholder crochet pattern is free on the blog.
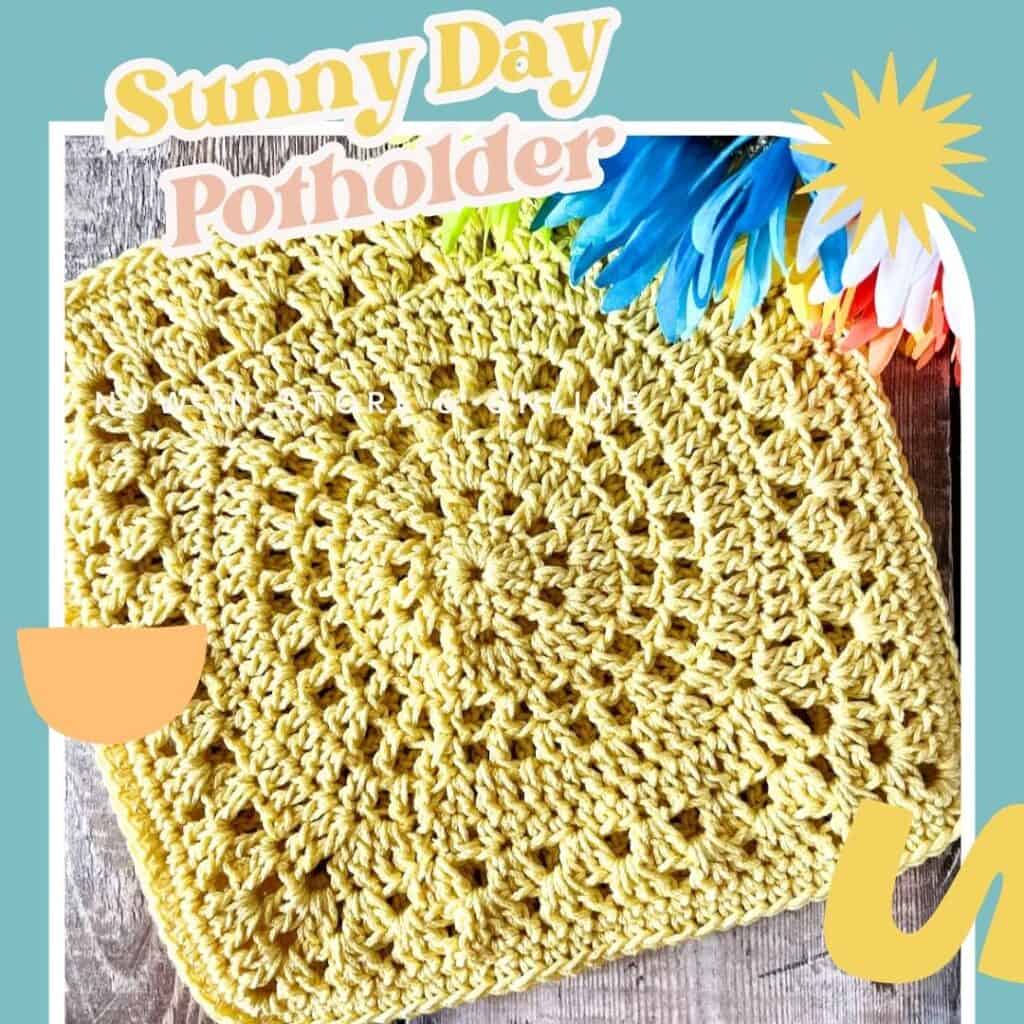
The Sunny Day granny square potholder
If you love to spruce up your kitchen with color, this granny square potholder adds sunny touch to everyday cooking routines. Handmade, crochet items are the ultimate in making a house feel like a home.
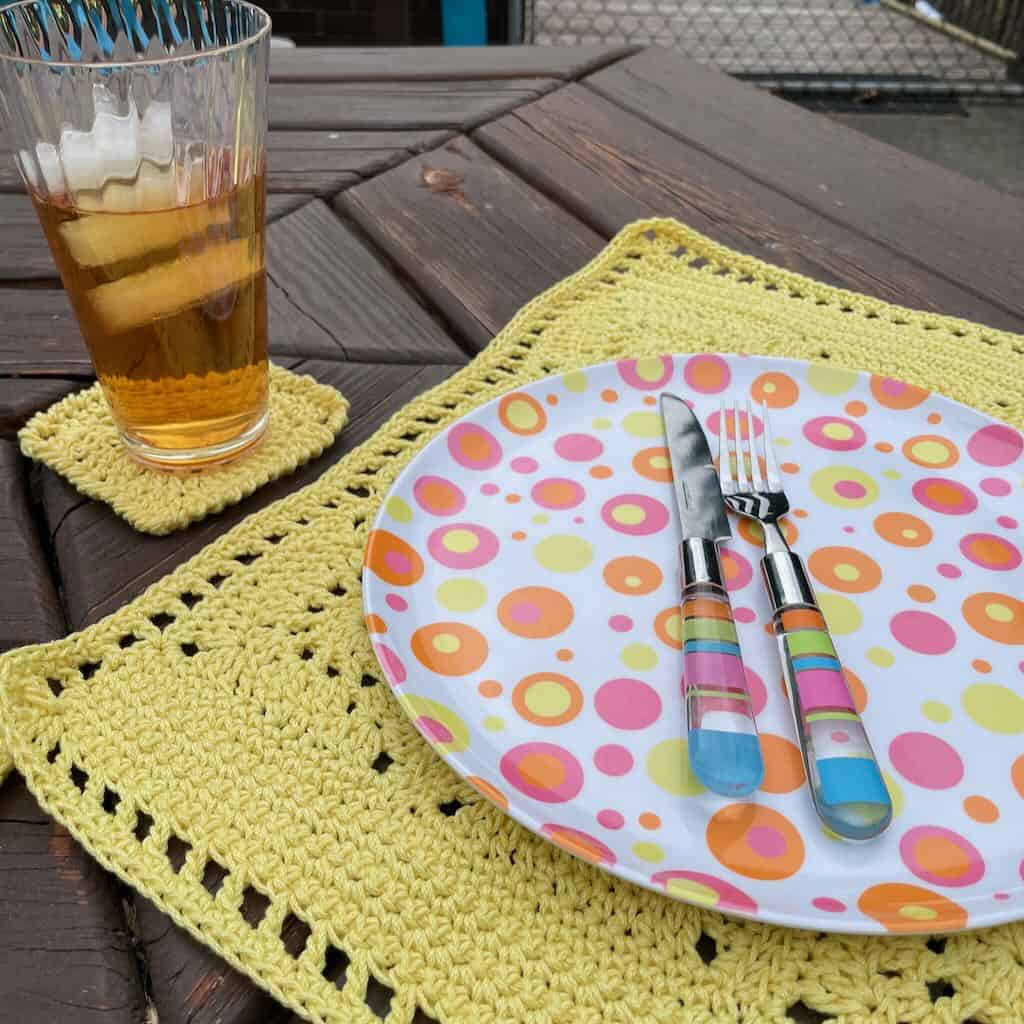
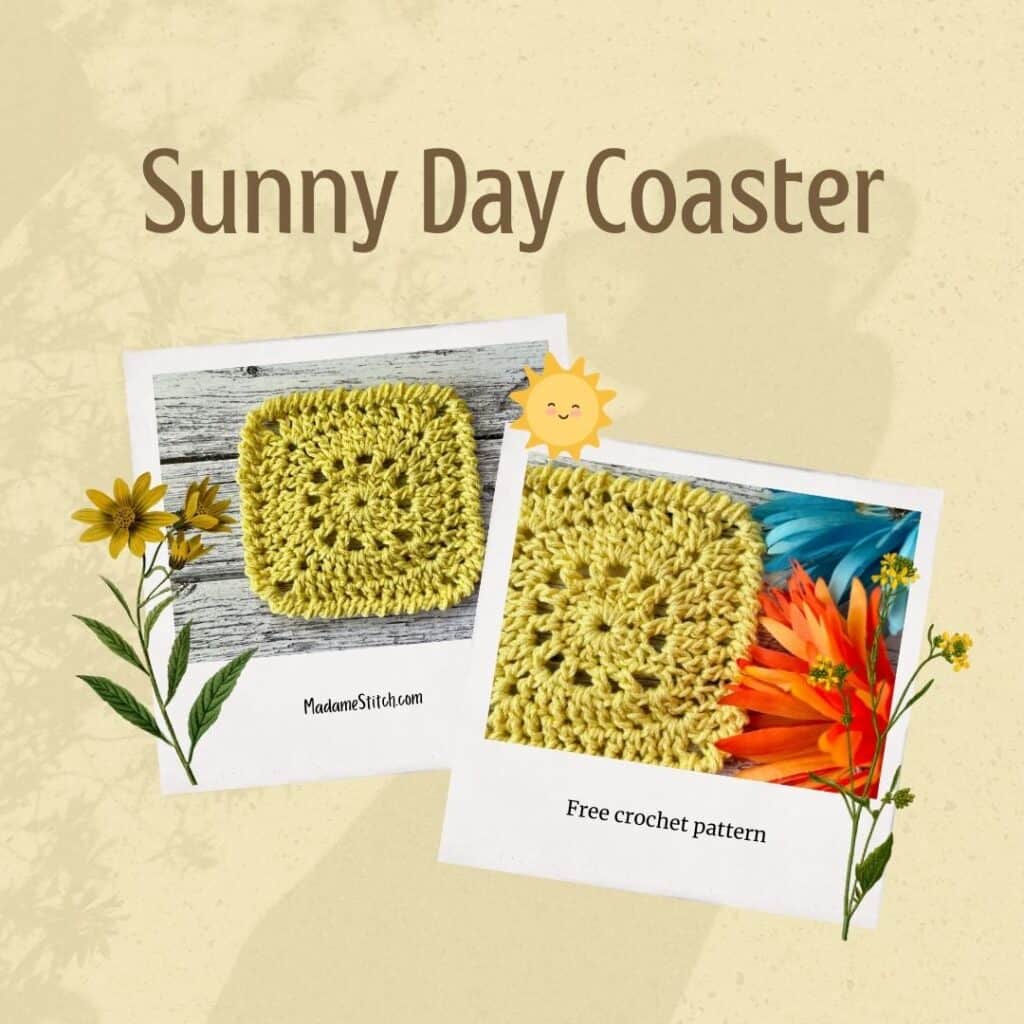
This granny square potholder is the 3rd design in the Sunny Day Home Décor collection. It features the same sunburst granny square concept as the Sunny Day Placemat and the Sunny Day Coaster. All three together are the perfect collection for indoor or outdoor dining.
I love crochet potholders. Not only are they functional, they offer an opportunity to brighten the kitchen and dining areas. They’re quick, stash busting projects so they’re perfect for summer crochet. And, they make thoughtful last-minute housewarming gifts!
Add the Sunny Day granny square potholder to your kitchen collection today!
Design + Construction
As I said, this granny square potholder is a companion piece to the Sunny Day Placemat and Coaster. That means the design matches the other 2 projects in the collection and is the perfect piece to accompany the placemat and coaster for summer dining.
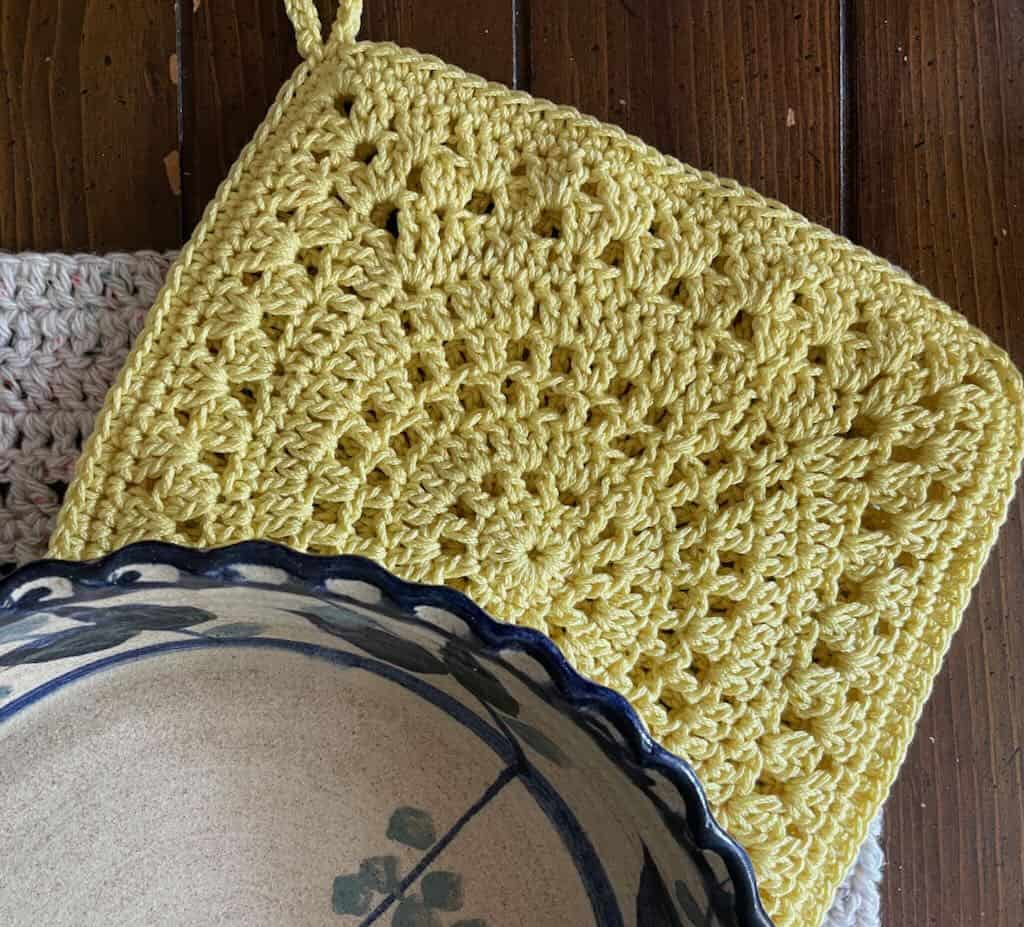
I always design my potholders to include a double thickness because I want to be sure I have adequate protection from hot handles against my hands. I also use my crochet potholders to set hot pots on so it’s important that the double thickness protects my tabletops.
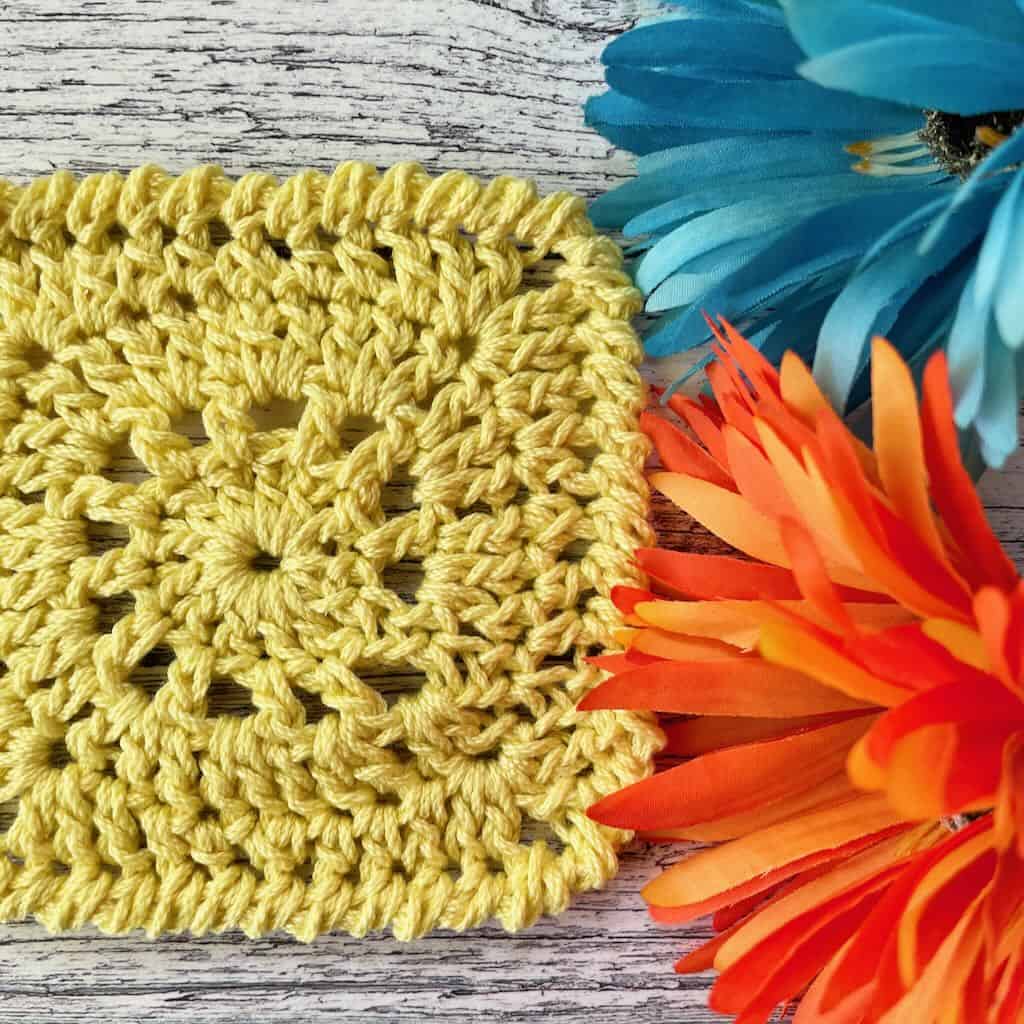
This granny square potholder consists of 2 panels – the front panel holds all the visual interests with a sunburst like flat circle center, finished off with granny square rounds and a single crochet edging.
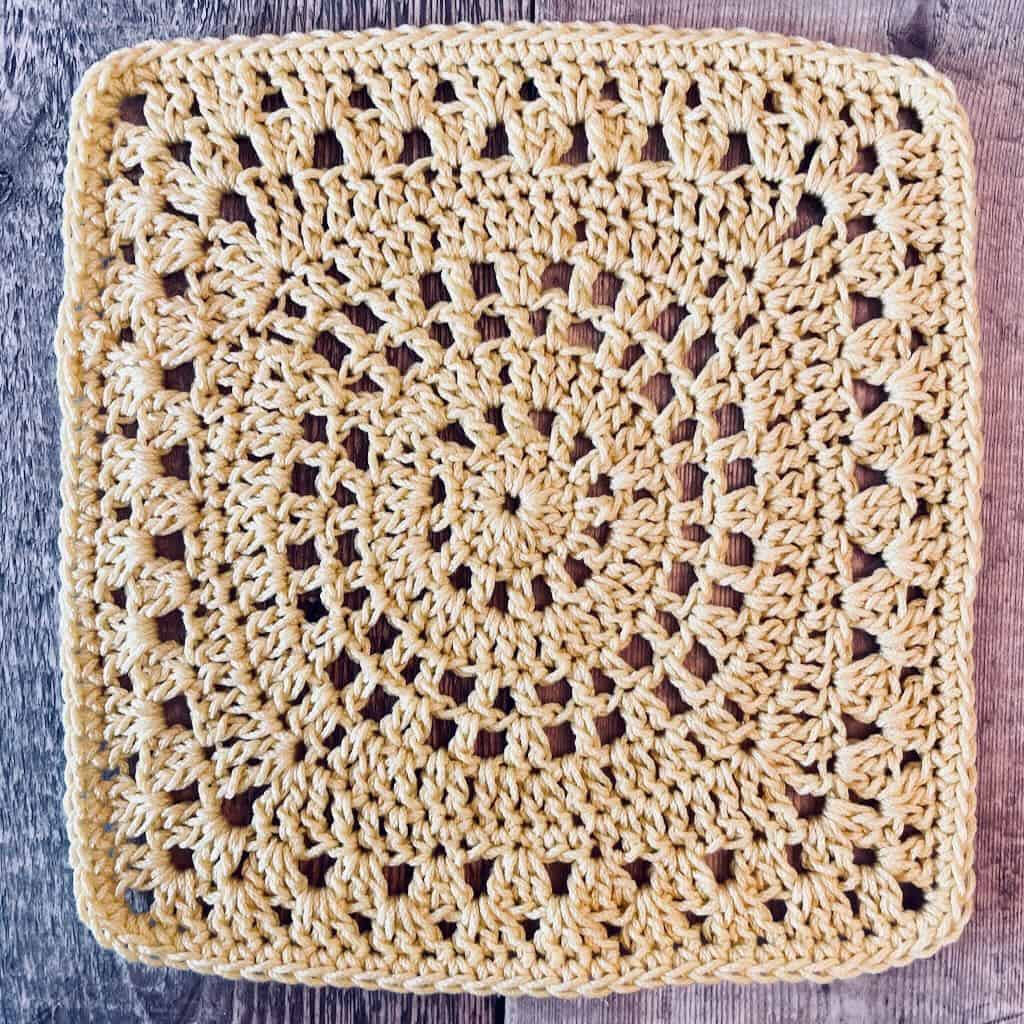
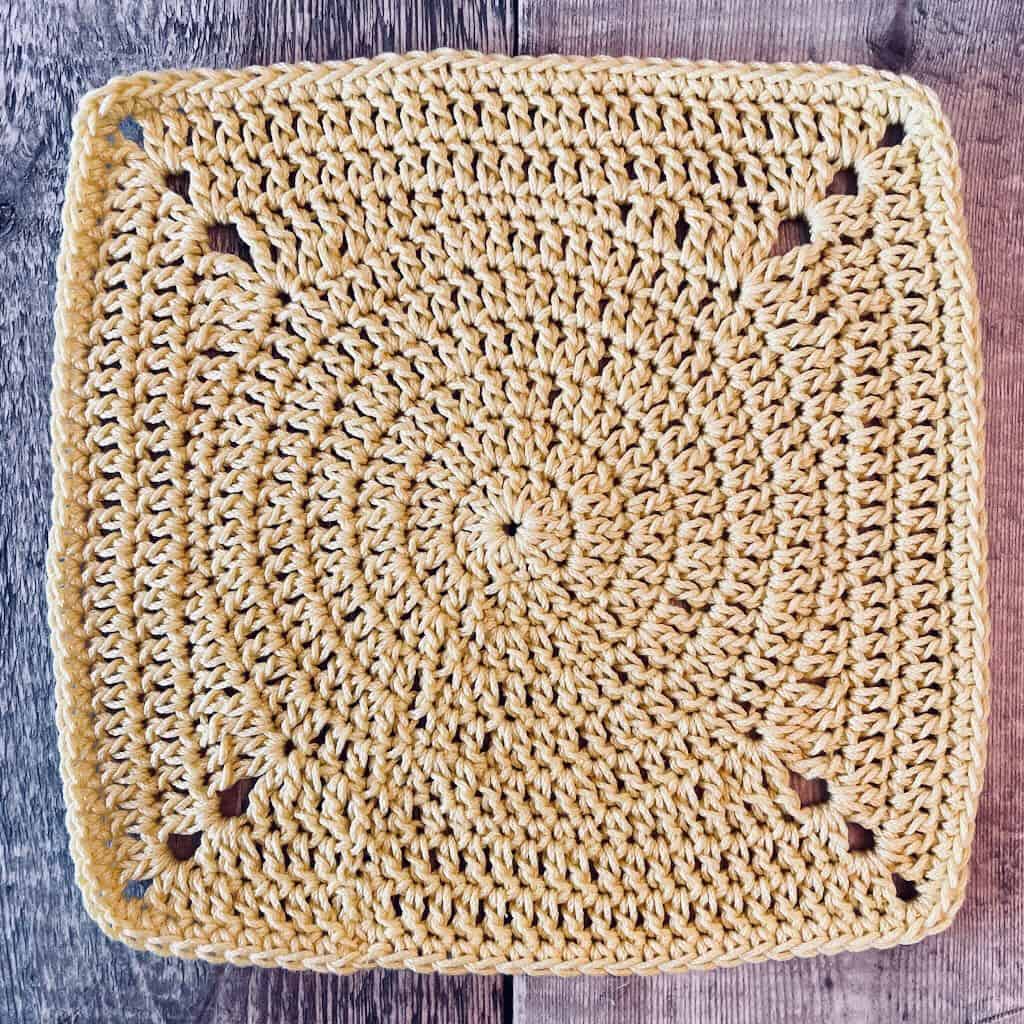
By design, a granny square potholder has holes because of the rounds of granny stitch. That’s why the back panel is similar to the front panel but with a solid design, adding a layer of protection against the open spaces on the front panel.
The 2 panels are then crocheted together with a round of single crochet. I’ve included an optional loop for the granny square potholder just in case you like to hang your potholders.
Disclaimer: This potholder is intended mostly for decorative use. It will NOT protect your hand from a hot handle. However, it will protect your tabletop from hot pans and add a pop of decorative color to your dining experience.
The Yarn for the Sunny Day granny square potholder
This post contains affiliate links. That means, if you purchase something using the link, I receive a small commission. You don’t pay any extra and your information is safe. Thanks for supporting my small business.
When choosing the yarn for a granny square potholder that will have to withstand heat, one needs to choose something resistant to heat. For that reason, I always choose cotton, preferably mercerized to reduce stretch. Acrylic and animal fibers might melt or conduct the heat, making your granny square potholder a very nice but non-functional decoration.
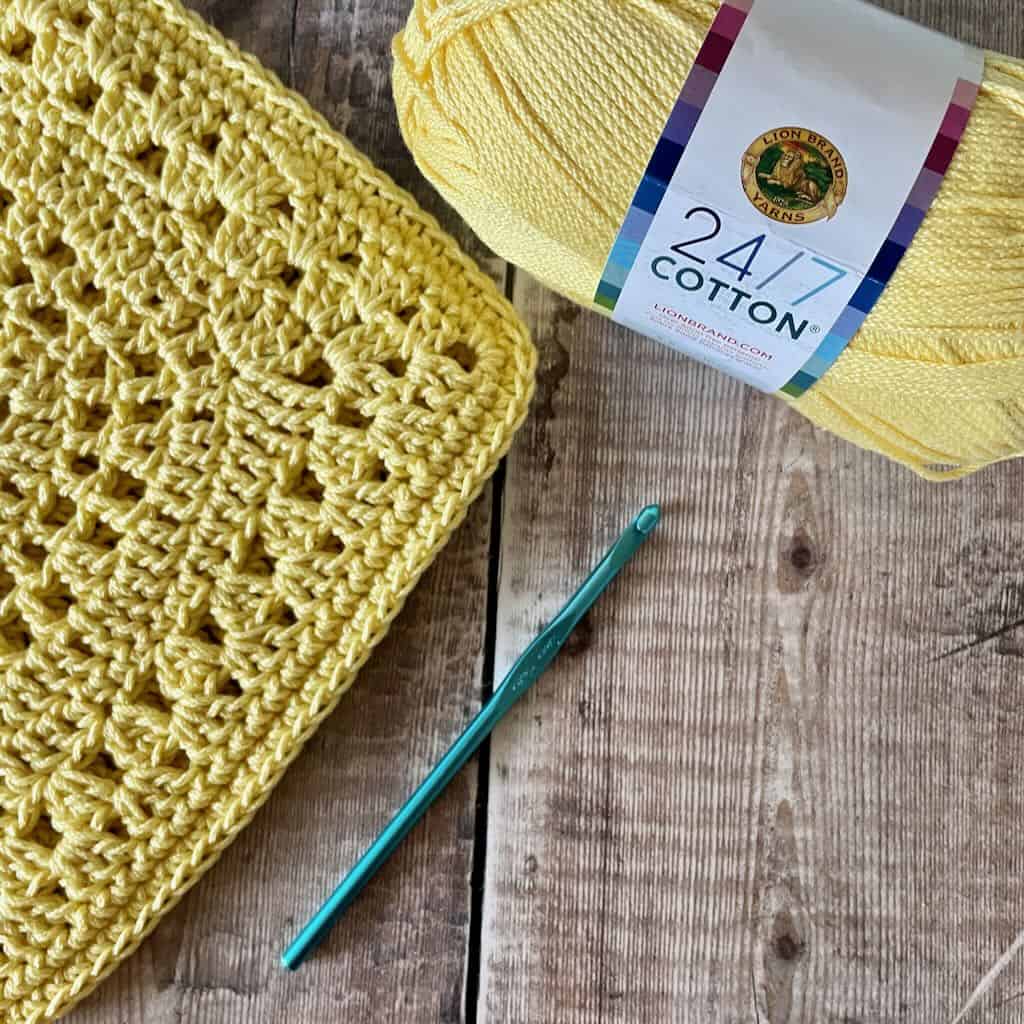
For the sample, I chose Lion Brand’s “24/7 Cotton” because I love the way the yarn feels. It’s perfect for a potholder with minimal stretch (it’s mercerized) and beautiful colors. It’s also a cost efficient choice so making your granny square potholder won’t break the bank!
Yarn Substitution Guide
There are a number of reasons why you may need to find a yarn that isn’t the one I’ve suggested here.
- The yarn isn’t available where you live.
- You have some cotton worsted weight yarn in your stash that’s just begging to be used.
- Your favorite go-to cotton yarn is better for you.
Whatever the reason, you should be able to substitute any cotton worsted weight yarn you like. Here are a few of my favorites:
- Paintbox Yarns “Recycled Cotton Worsted”
- WeCrochet “Dishie”
- Bernat Handicrafter

Purchase the Premium PDF
The full pattern for the Sunny Day Potholder is available as a downloadable PDF in all of my shops.
The premium PDF can be uploaded to your favorite mobile device so you can take your Sunny Day Potholder project with you to work on whenever you’re out and about.
You’ll get:
* A beautifully formatted, ad-free printable and downloadable document.
* Crochet charts for the front and back panels of the potholder.
* A pattern written using US crochet terminology.
The PDF is easy to read and beautifully formatted without ads for a great experience. Get your copy today!


About Video on YouTube

The Free Pattern Starts Here
Thank you for staying on this post and reading my patterns right here on the blog, without copy/pasting. When you stay here to follow the free version of my pattern, I am compensated for my time and energy. This is a great, free way to support a designer. If you would like to save this for later, bookmark the page to save it in your mobile browser.
General Information
Yarn
Lion Brand “24/7 Cotton” 100% mercerized cotton worsted weight (3.5oz/186yd;100g/170m) – 1 skein of Lemon (#157D)
Hook
US size H-8 (5mm) or size needed to achieve the finished size
Finished Size: Approx. 9.5″ across
Skill level: Advanced beginner/Intermediate
Gauge: Rnds 1-3 = 3″unblocked
A note about the potholder: This potholder is intended mostly for decorative use. It will NOT protect your hand from a hot handle. However, it will protect your tabletop from hot pans and add a pop of decorative color to your dining experience.
Abbreviations – US crochet terminology
- beg – beginning
- ch – chain
- dc – double crochet
- hdc – half double crochet
- rep – repeat
- rnd(s) – round(s)
- sc – single crochet
- sk – skip
- sp(s) – space(s)
- st(s) – stitch(es)
- tr – treble crochet
- YO – yarn over
Repeats
- (…) – Work everything within the parentheses in the same st or sp
- […] – Repeat everything within the brackets the indicated number of times
- {…} – Repeat everything within the brackets the indicated number of times
Special Stitches
Granny stitch (GS) – 3 dc in the same st or sp
Written Instructions
Pattern Notes
- A ch-1 at the beg of a rnd does not count as a st.
- A ch-2 or ch-3 may be substituted for an STsc at any time without adversely affecting the construction of the potholder. Choose the number of chains that allows it to stand even with the rest of the sts around it.
- Do not turn after any rnd. The right side is always facing you.
- A magic ring may be substituted for the ch-4 at the beg of each Panel. Be sure to close the ring at the end of Rnd 1.
- The GS is worked in the space between GS from the rnd before, where a ch-1 sp would normally be.
Pattern Instructions
Front Panel
Ch 4, join with slip st to beg ch to form ring.
Rnd 1: STsc, 11 dc in the ring, join with slip st to beg st. < 12 dc >
Rnd 2: STsc, ch 1, [dc in the next st, ch 1] 11 times, join with slip st to beg st. < 12 dc, 12 ch-1 sp >
Rnd 3: STsc, 2 dc in the ch-1 sp, [dc in the next st, 2 dc in the ch-1 sp] 11 times, join with slip st to beg st. < 36 dc >
Rnd 4: STsc, [ch 1, sk 1 st, dc in the next st, ch 1, dc in the next st] 11 times, ch 1, sk 1 st, dc in the next st, ch 1, join with slip st to beg st. < 24 dc, 24 ch-1 sps >
Rnd 5: STsc, [ch 1, sk ch-1 sp, dc in next dc, ch 1, sk ch-1 sp, 2 dc in the next dc] 11 times, ch 1, sk ch-1 sp, dc in the next dc, ch 1, sk ch-1 sp, dc in the same st as the beg STsc, join with slip st to beg st. < 36 dc, 24 ch-1 sps >
Rnd 6: STsc, {[dc in the ch-1 sp, dc in the next dc] twice, 2 dc in the next dc} 11 times, [dc in the ch-1 sp, dc in the next dc] twice, dc in the same st as the STsc, join with slip st to beg st. < 72 dc >
Note for Rnd 7: This round builds out the square. Be sure the st count is correct.
Rnd 7: STsc, dc in the next 2 sts, [hdc in the next 2 sts, sc in the next 5 sts, hdc in the next 2 sts, dc in the next 3 sts, tr in the next st, (2 tr, ch 2, 2 tr) in the next st, tr in the next st, dc in the next 3 sts] 3 times, hdc in the next 2 sts, sc in the next 5 sts, hdc in the next 2 sts, dc in the next 3 sts, tr in the next st, (2 tr, ch 2, 2 tr) in the next st, tr in the next st, join with slip st to beg st. < 20 sc, 16 hdc, 24 dc, 24 tr, 4 ch-2 corner sps >
Rnd 8: Slip st into the next st, (STsc, 2 dc) in the same st (counts as a GS), [sk 2 sts, GS in the next st] 5 times, sk 1 st, (2 dc, ch 2, 2 dc) in the ch-2 corner sp, {sk 1 st, [GS in the next st, sk 2 sts] 6 times, GS in the next st, sk 1 st, (2 dc, ch 2, 2 dc) in the ch-2 sp} 3 times, sk 1 st, GS in the next st, sk 2 sts, join with slip st to beg st. < 16 dc, 28 GS, 4 ch-2 corner sps >
Rnd 9: STsc in the sp to the right of the hook, GS in the next sp 6 times, (2 dc, ch 2, 2 dc) in the ch-2 corner sp, [GS in the next sp 8 times, (2 dc, ch 2, 2 dc) in the ch-2 corner sp] 3 times, GS in the next sp, 2 dc in the same sp as the beg STsc to complete the 1st GS, join with slip st to beg st. < 16 dc, 32 GS, 4 corner sps >
Rnd 10: Ch 1, sc in the same st and in each st across to ch-2 corner sp, [3 sc in the ch-2 corner sp, sc in the next st and in each st across to the next ch-2 corner sp] 3 times, 3 sc in the ch-2 corner sp, sc in the next st and in each st across to beg st, join with slip st to beg st. < 124 sc >
Back Panel
Ch 4, join with slip st to beg ch to form ring.
Rnd 1: STsc, 11 dc in the ring, join with slip st to beg st. < 12 dc >
Rnd 2: STsc, dc in the same st, 2 dc in the next st 11 times, join with slip st to beg st. < 24 dc >
Rnd 3: STsc, [2 dc in the next st, dc in the next st] 11 times, 2 dc in the next st, join with slip st to beg st. < 36 dc >
Rnd 4: STsc, [2 dc in the next st, dc in the next 2 sts] 11 times, 2 dc in the next st, dc in the next st, join with slip st to beg st. < 48 dc >
Rnd 5: STsc, [2 dc in the next st, dc in the next 3 sts] 11 times, 2 dc in the next st, dc in the next 2 sts, join with slip st to beg st. < 60 dc >
Rnd 6: STsc, dc in the same st, [dc in the next 4 sts, 2 dc in the next dc] 11 times, dc in the next 4 sts, join with slip st to beg st. < 72 dc >
Note for Rnd 7: This round builds out the square. Be sure the st count is correct.
Rnd 7: STsc, dc in the next 2 sts, [hdc in the next 2 sts, sc in the next 5 sts, hdc in the next 2 sts, dc in the next 3 sts, tr in the next st, (2 tr, ch 2, 2 tr) in the next st, tr in the next st, dc in the next 3 sts] 3 times, hdc in the next 2 sts, sc in the next 5 sts, hdc in the next 2 sts, dc in the next 3 sts, tr in the next st, (2 tr, ch 2, 2 tr) in the next st, tr in the next st, join with slip st to beg st. < 20 sc, 16 hdc, 24 dc, 24 tr, 4 ch-2 corner sps >
Rnd 8: STsc, dc in the next st and in each st across to ch-2 corner sp, [(2 dc, ch 2, 2 dc) in the ch-2 corner sp, dc in the next st and in each st across to next ch-2 corner sp] 3 times, (2 dc, ch 2, 2 dc) in the next ch-2 corner sp, dc in the next st and in each st across to beg st, join with slip st to beg st. < 100 dc, 4 ch-2 corner sps >
Rnd 9: Rep Rnd 8. < 116 dc, 4 ch-2 corner sps >
Rnd 10: Ch 1, sc in the same st and in each st across to the ch-2 corner sp, [3 sc in the ch-2 corner sp, sc in the next st and in each st across to the next ch-2 corner sp] 3 times, 3 sc in the ch-2 corner sp, sc in the next st and in each st across to beg st, join with slip st to beg st. < 128 sc >
Fasten off and weave in ends on both panels.
Assemble Your Granny Square Potholder
Notes
- Work through both loops of both panels to crochet the panels together.
- The Back Panel has 1 more st on each side than the Front Panel. Adjust as you stitch the panels together.
With wrong sides of the panels held together and the front panel facing you, attach the yarn to the middle st of any corner.
Ch 1, sc in the same st and in each st around all 4 sides, join with a slip st to beg st. If adding the optional loop, do not fasten off.
Optional loop: After the slip st join, ch 10, slip st to the next sc along the edge, turn and slip st in each ch of the loop and in the st at the base of the 1st ch to secure the loop.
Fasten off and weave in ends.


Hi,Madame Stitch
I have just finished my third Sunny day potholder. Instead of adjusting the extra stitch of the back panel I decided to omit the « hidden » stitch after each corner and It was perfect. Thank you for sharing this pattern.
Sylvaine Marchand
Sylvaine,
I’m so happy you enjoy the pattern so much. That adjustment sounds like magic!
Thanks for sharing.
-Debbie