Join As You Go crochet tutorial
In this tutorial, you’ll learn how to Join As You Go which replaces the need for sewing crochet squares together, saving time and energy when working on a large project.

I absolutely adore making granny squares! 🤩 I feel such a sense of accomplishment when all the squares are done for a big afghan. But then…I have to sew them all together. 😫 It’s one of my least favorite parts of crochet. I’ll bet you feel the same way.
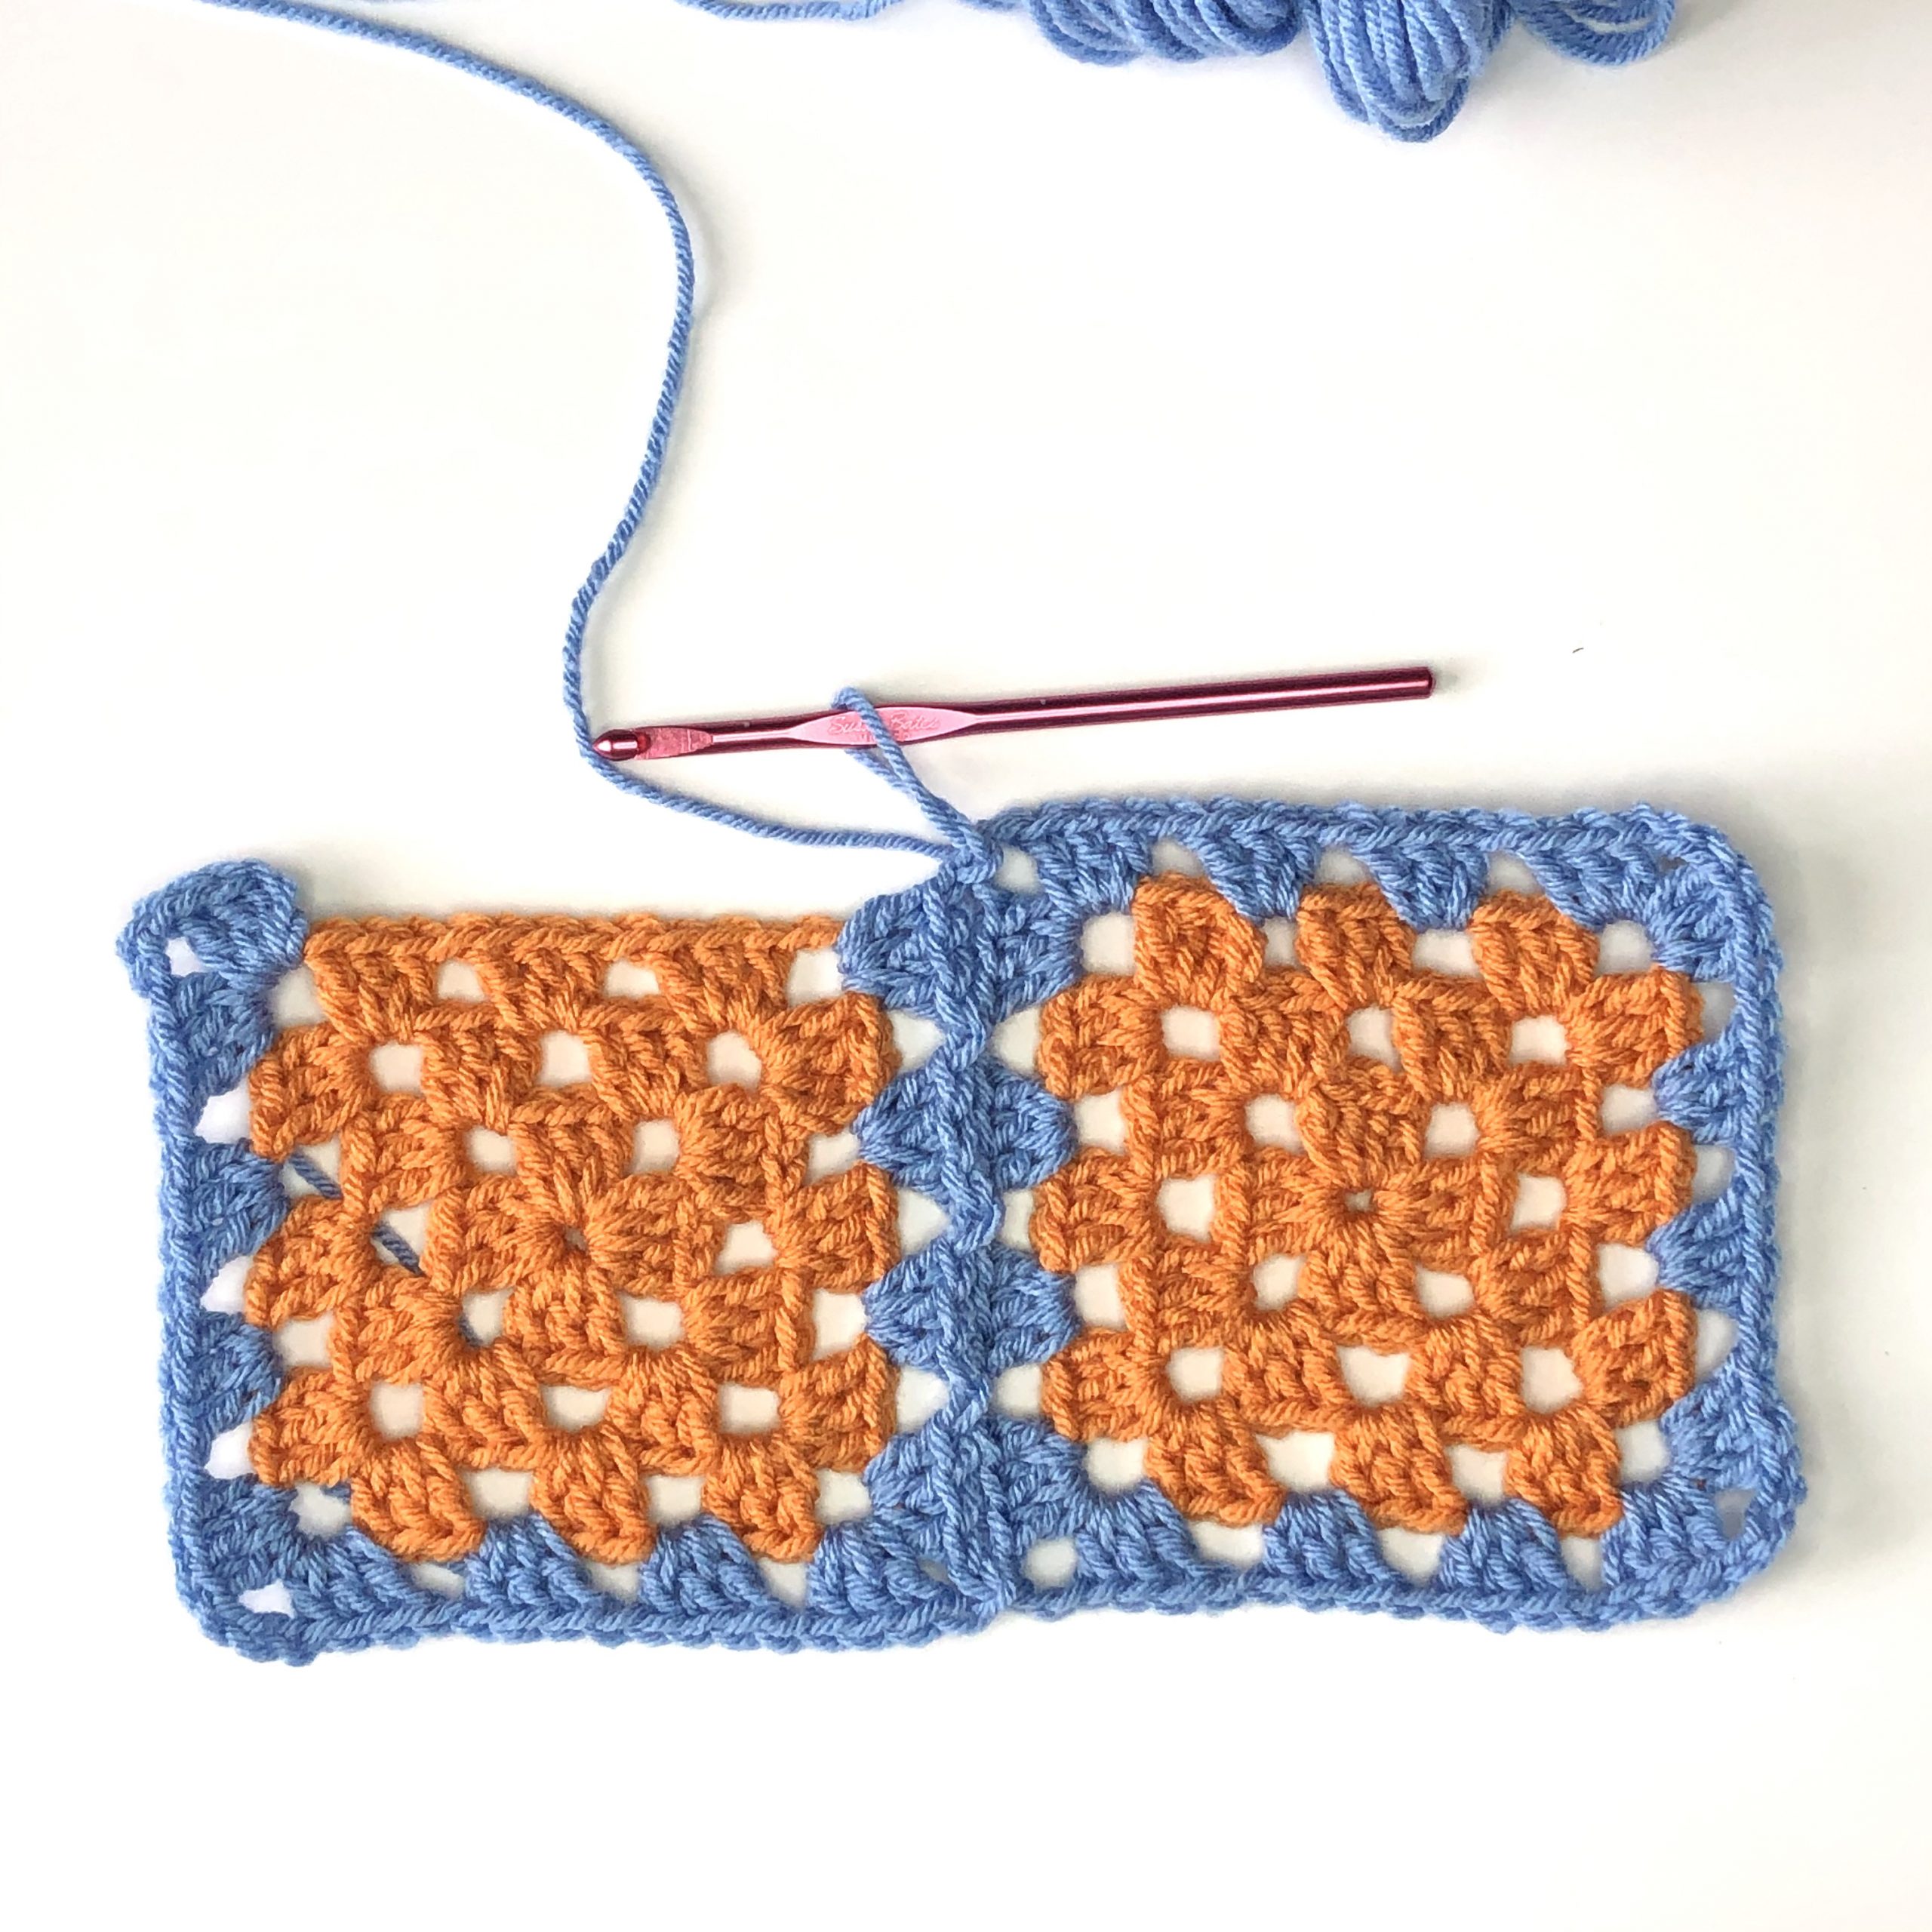
If you’ve never heard of “Join As You Go”, or JAYGO, it’s a method of joining your squares as you work the last round of each square. With the slip stitch method, you simply replace the ch-1 spaces and one of the corner chains with a slip stitch that’s worked through both squares to join the squares together. It’s that simple.
Are you ready to learn how to eliminate the need for sewing your squares together? If you’ve mastered the traditional granny square, then you’re definitely ready to learn JAYGO slip stitch. Let’s begin!

What you’ll need for this tutorial exercise
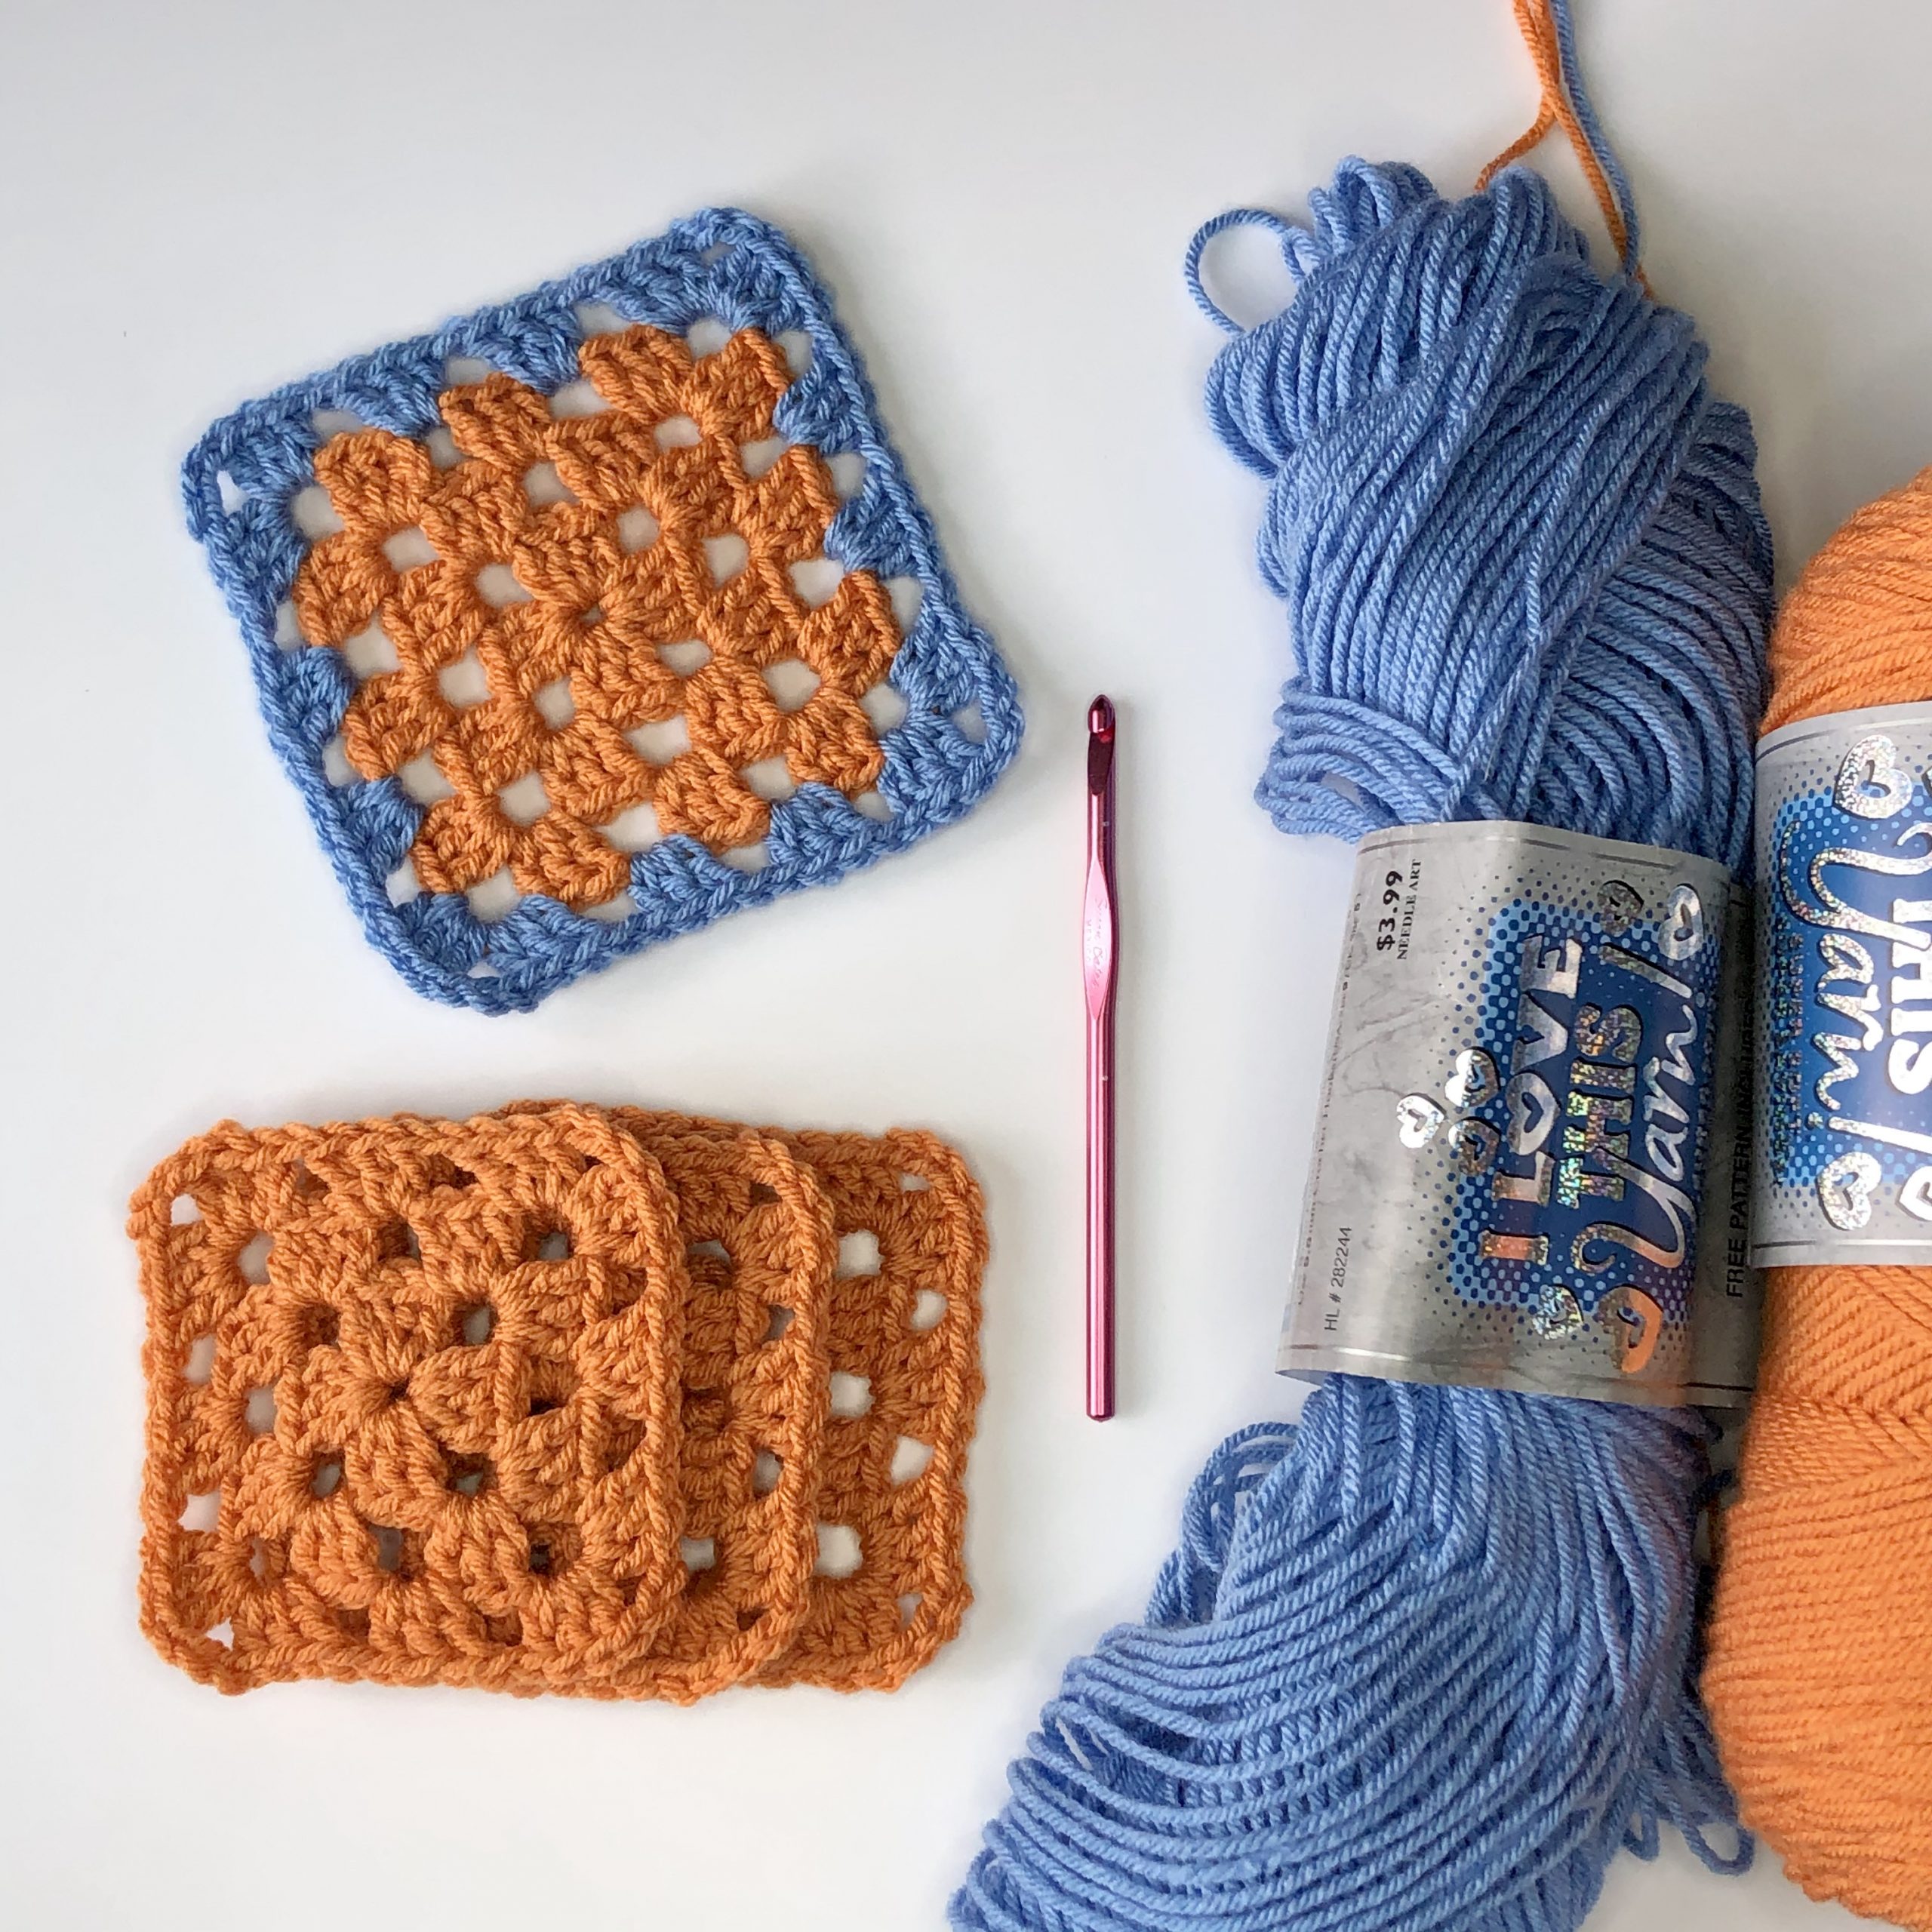
For this practice exercise, you’ll need worsted weight yarn (I used Hobby Lobby “I Love This Yarn”) and a US size I-9 hook (that’s 5.5mm). You can make your practice squares all in one color. Or, have 2 colors available because it might be easier to see what you’re doing on the joining round if you’re using a contrasting color.
Let’s get started!
Abbreviations
beg – beginning; ch – chain; dc – double crochet; sp – space; st – stitch
Join as you go slip stitch method – tutorial
Note: The chart below shows the number designation of the squares referenced in the tutorial.
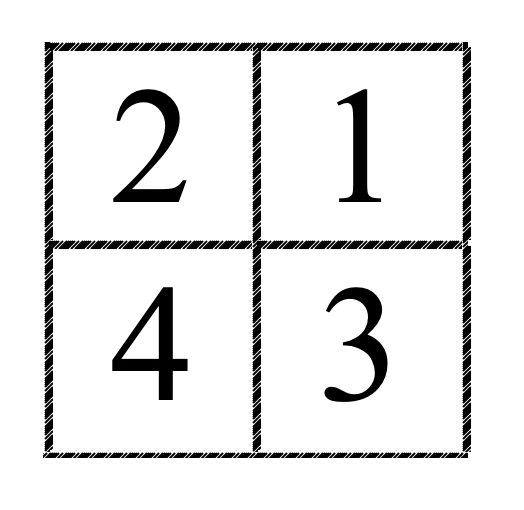
Make 4 3-round granny squares, all in the same color.
Note: If you’re using only one color for this exercise, make squares one at a time so you don’t need to fasten off after the 3rd round and re-attach yarn. Just remember that you’ll start each join in a corner space.
You can use any pattern you like. Or, use my handy tutorial and free pattern on the traditional granny square. My version of the granny square has ch-1 spaces along the sides and ch-3 corner spaces. That’s important when following this tutorial.
Square 1
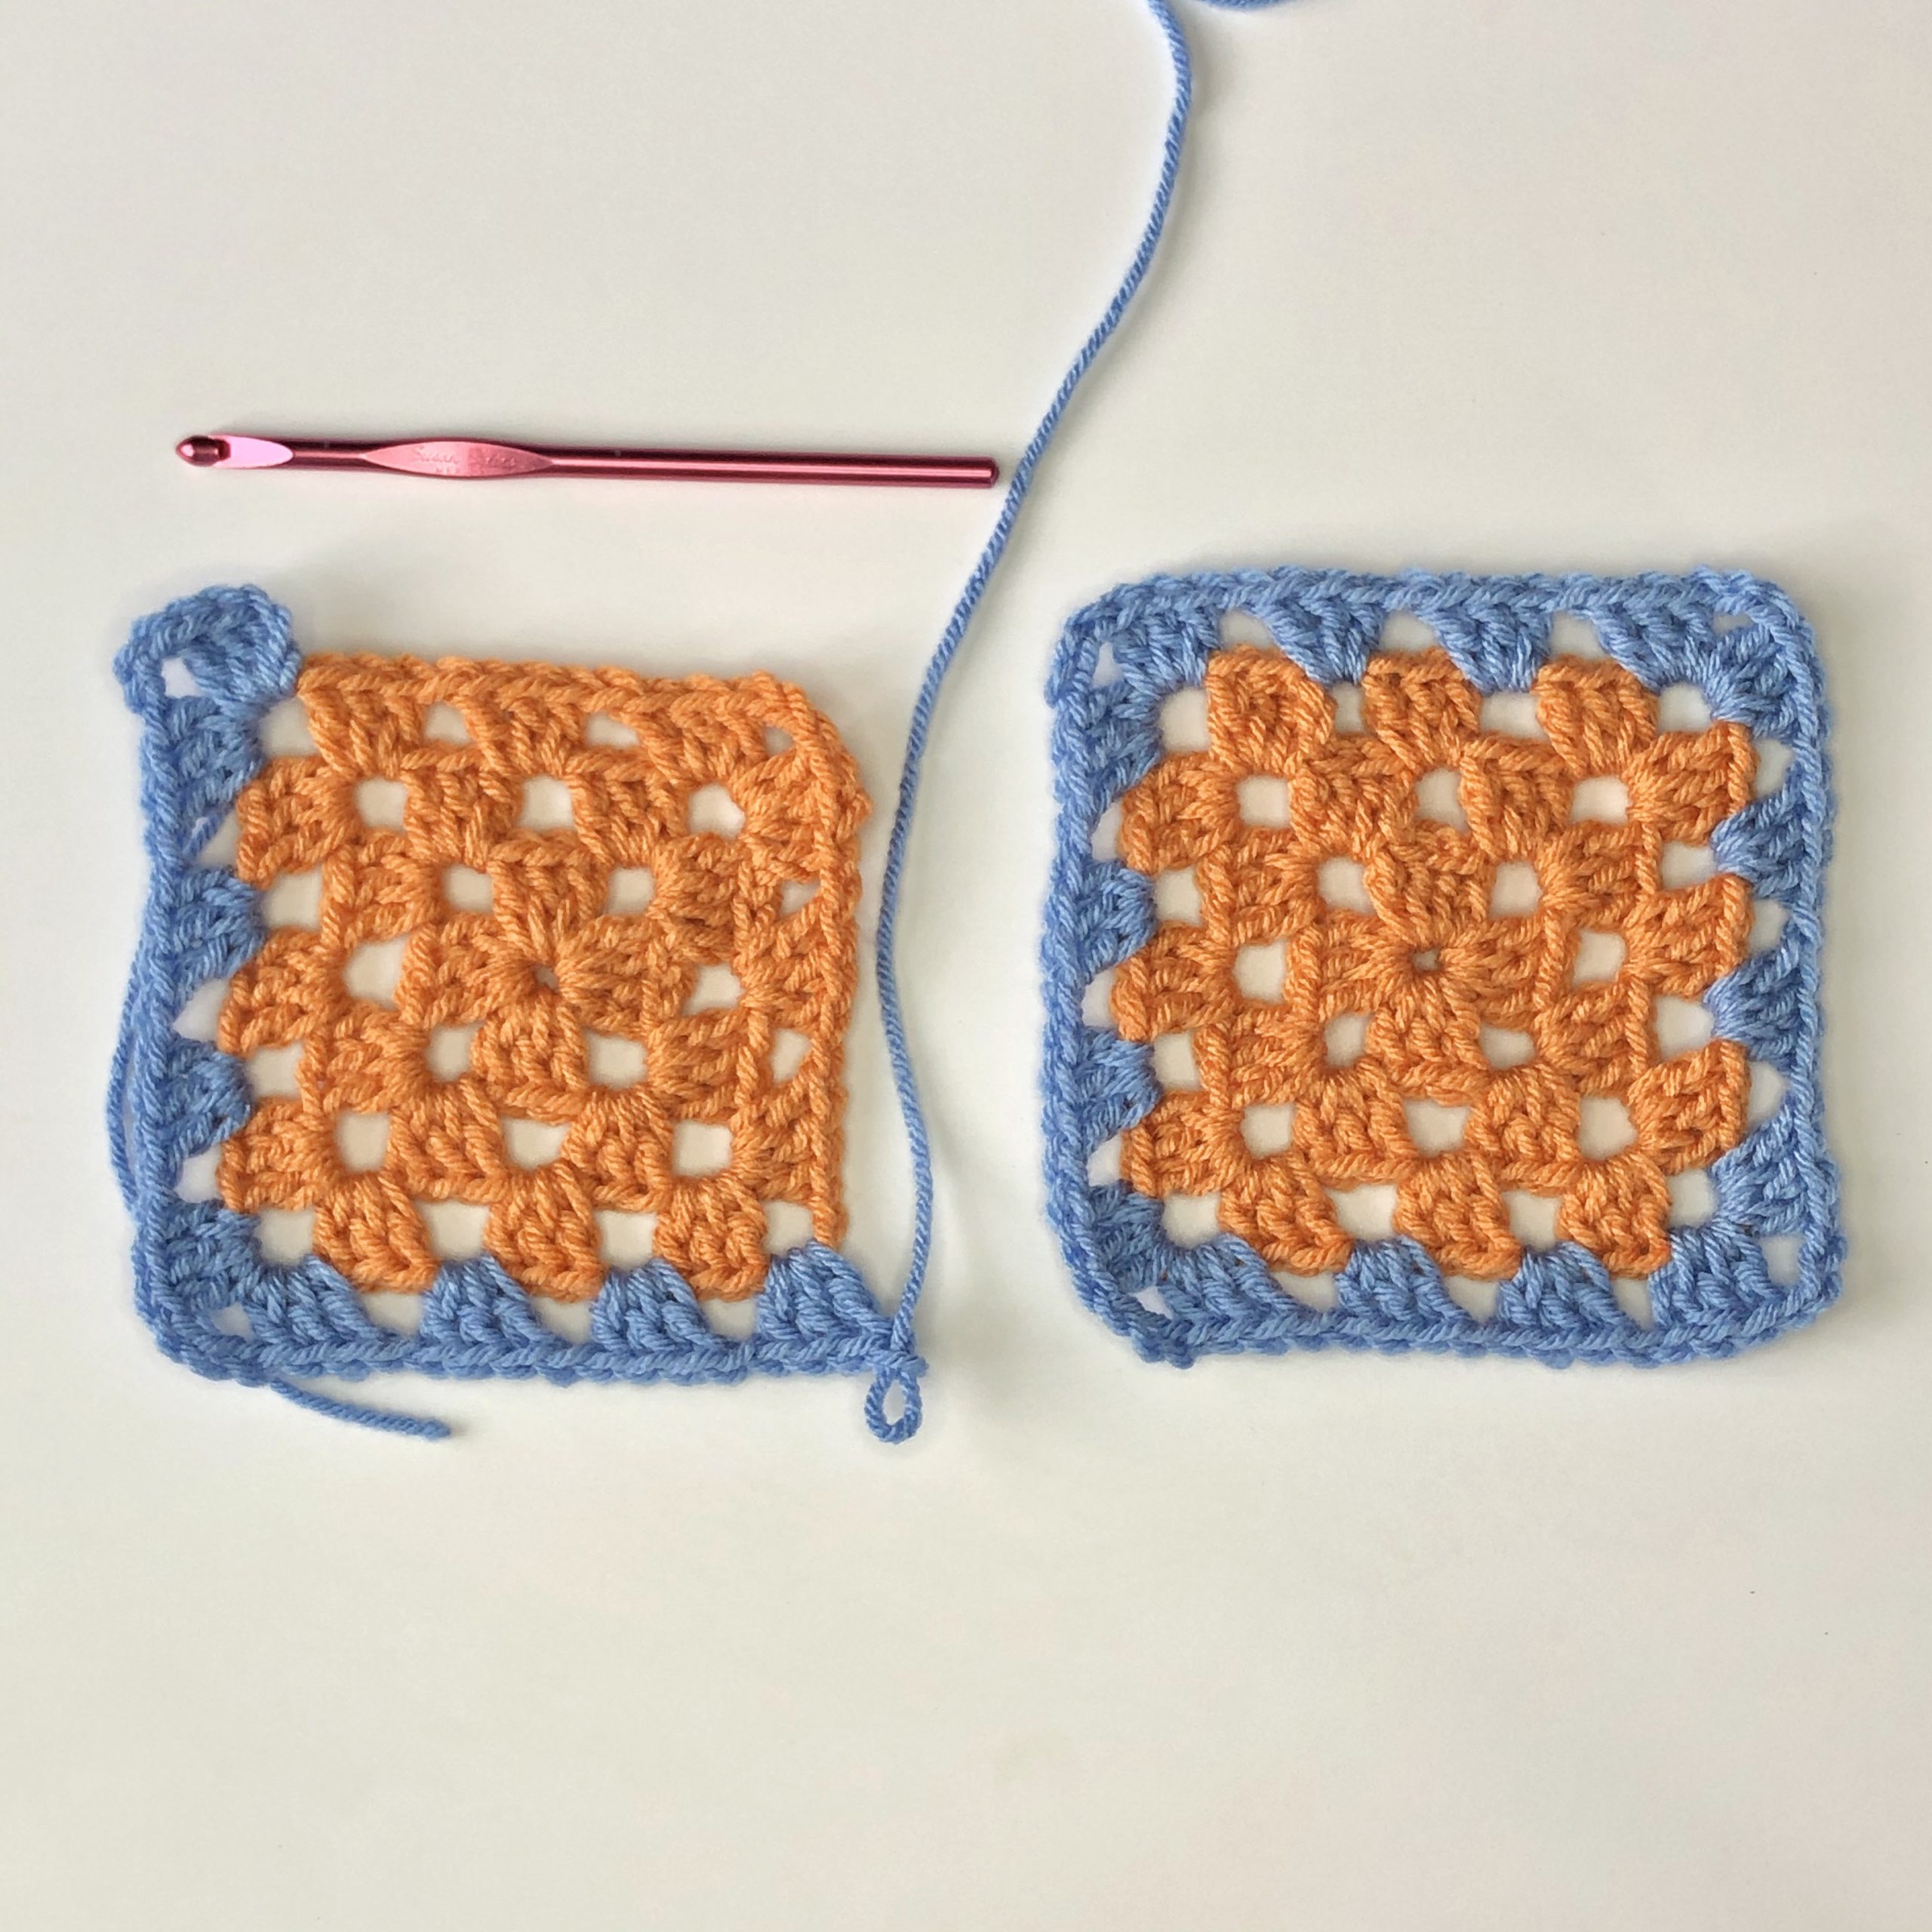
(This practice square is worked completely.) Work rounds 1-3 of the granny square in the MC. Fasten off. Attach the CC in any corner and work a complete 4th round. Fasten off.
Square 2
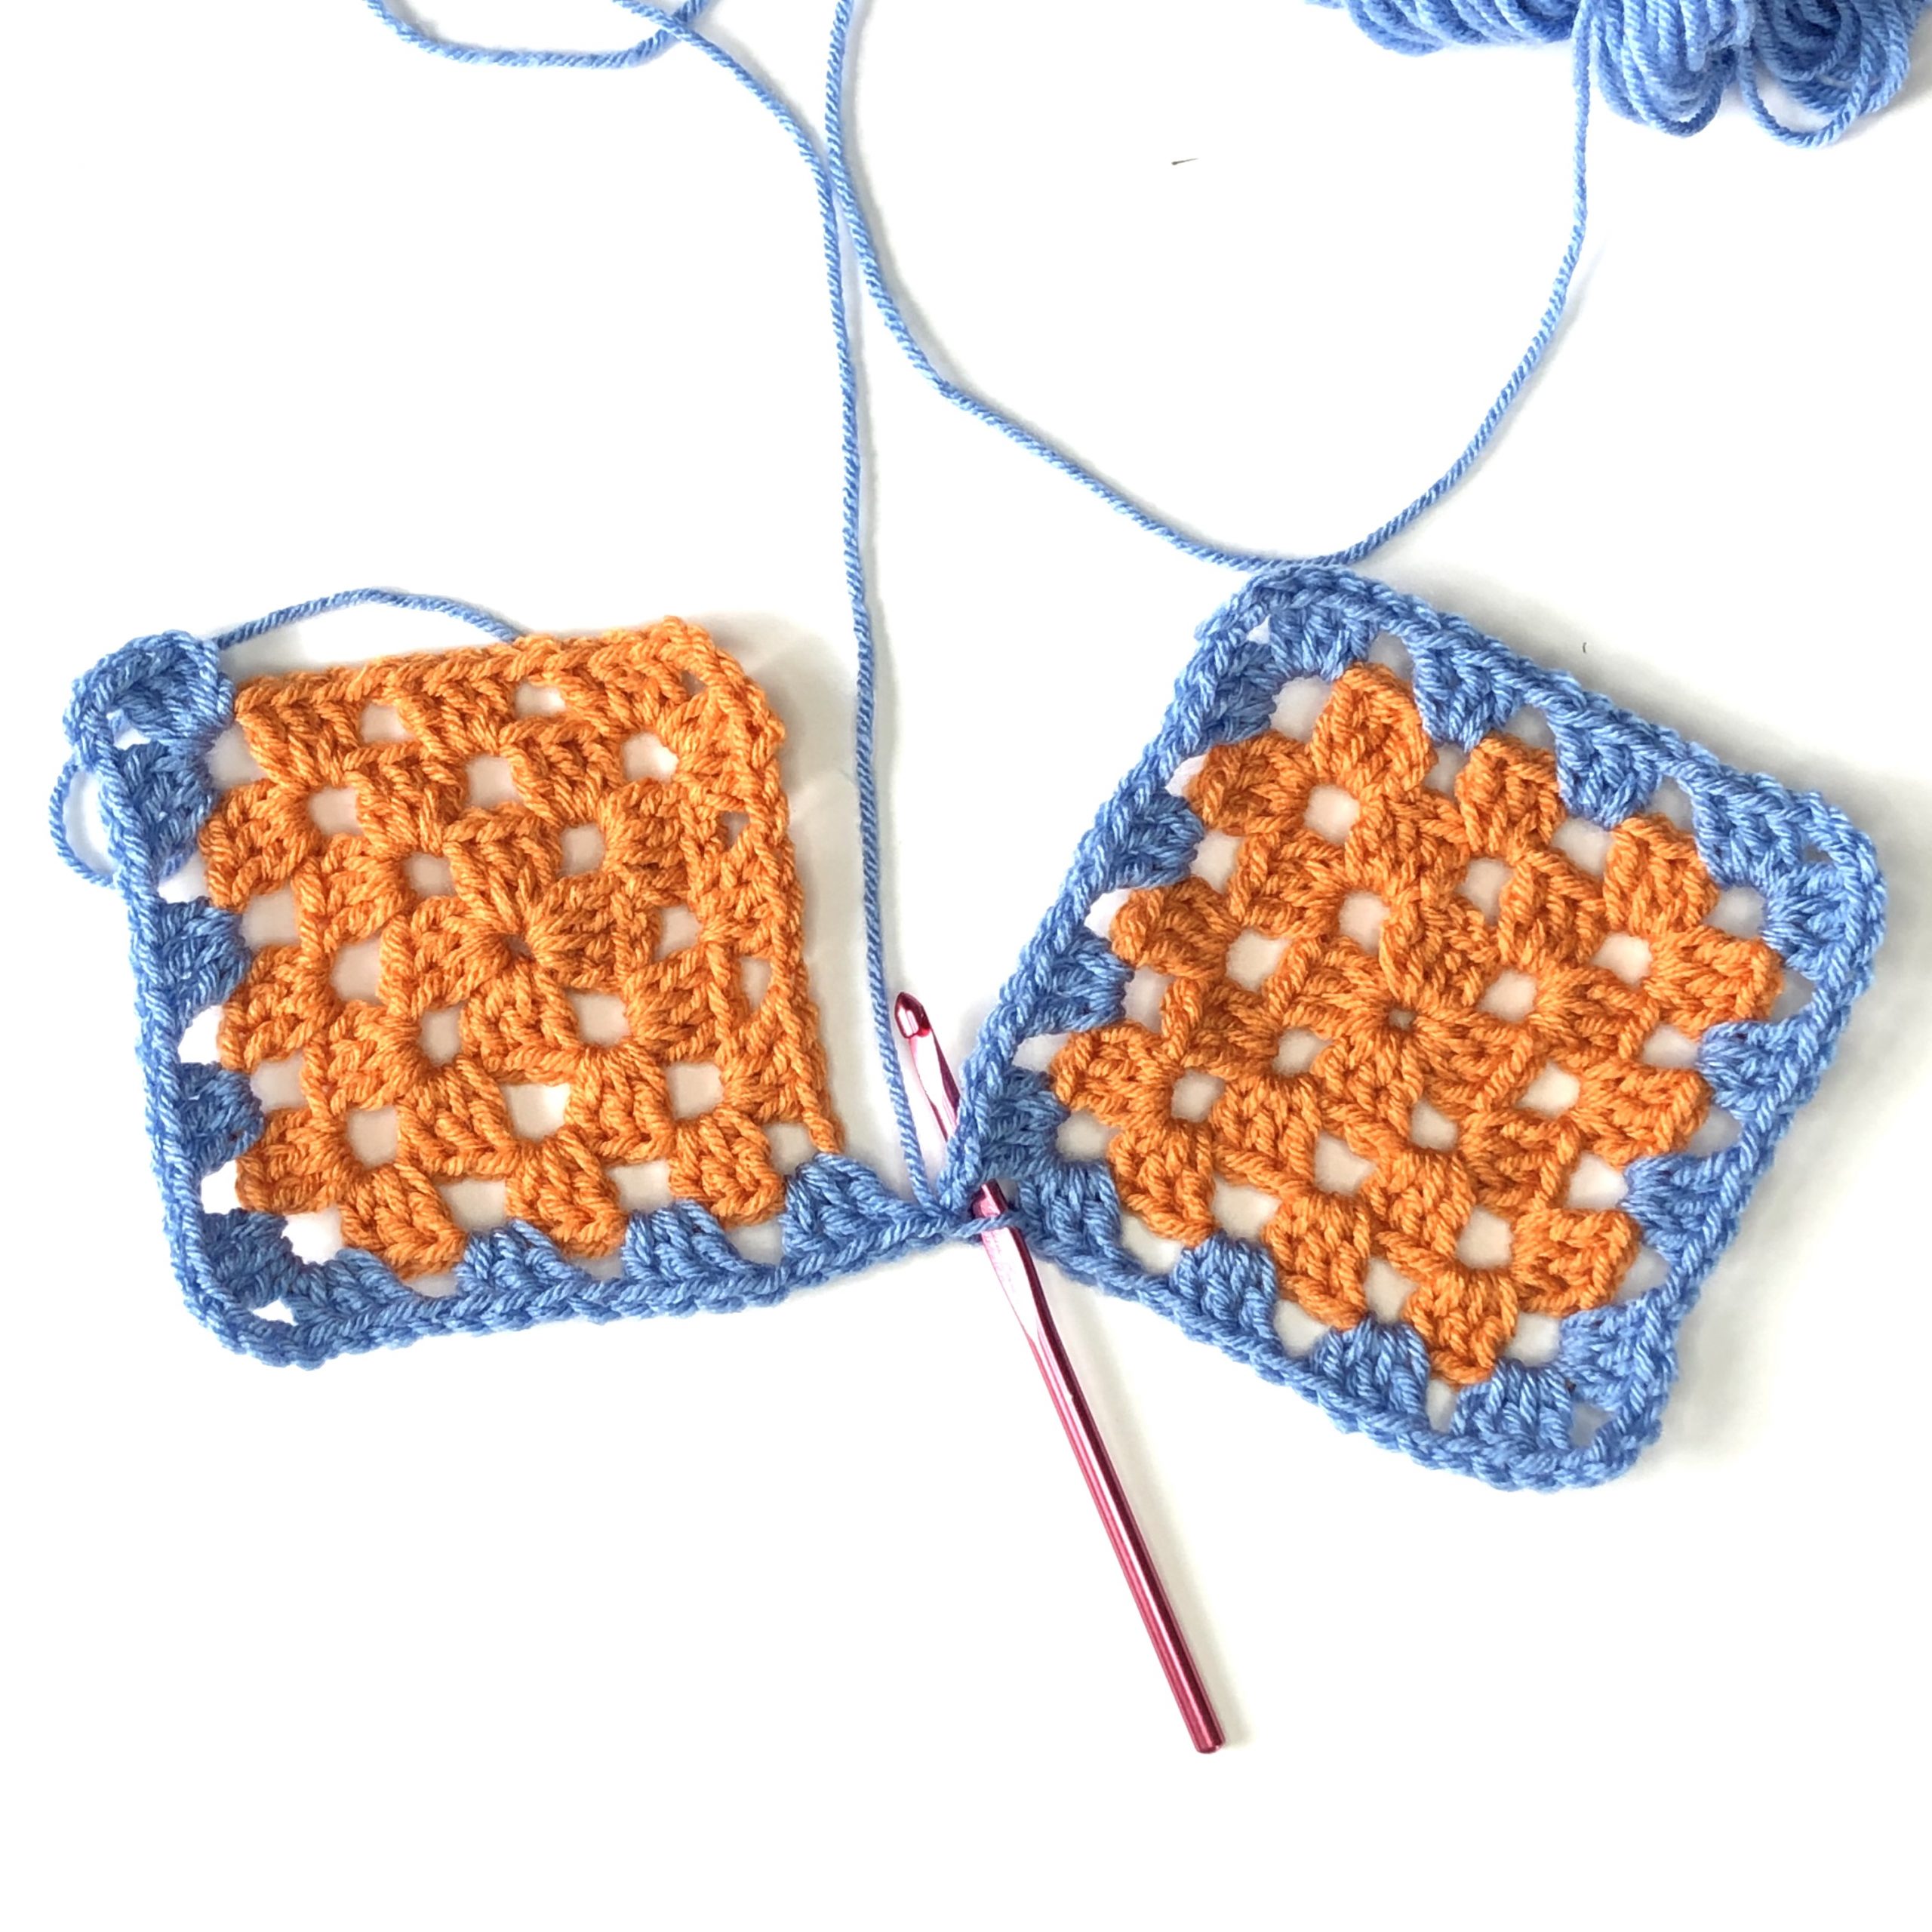
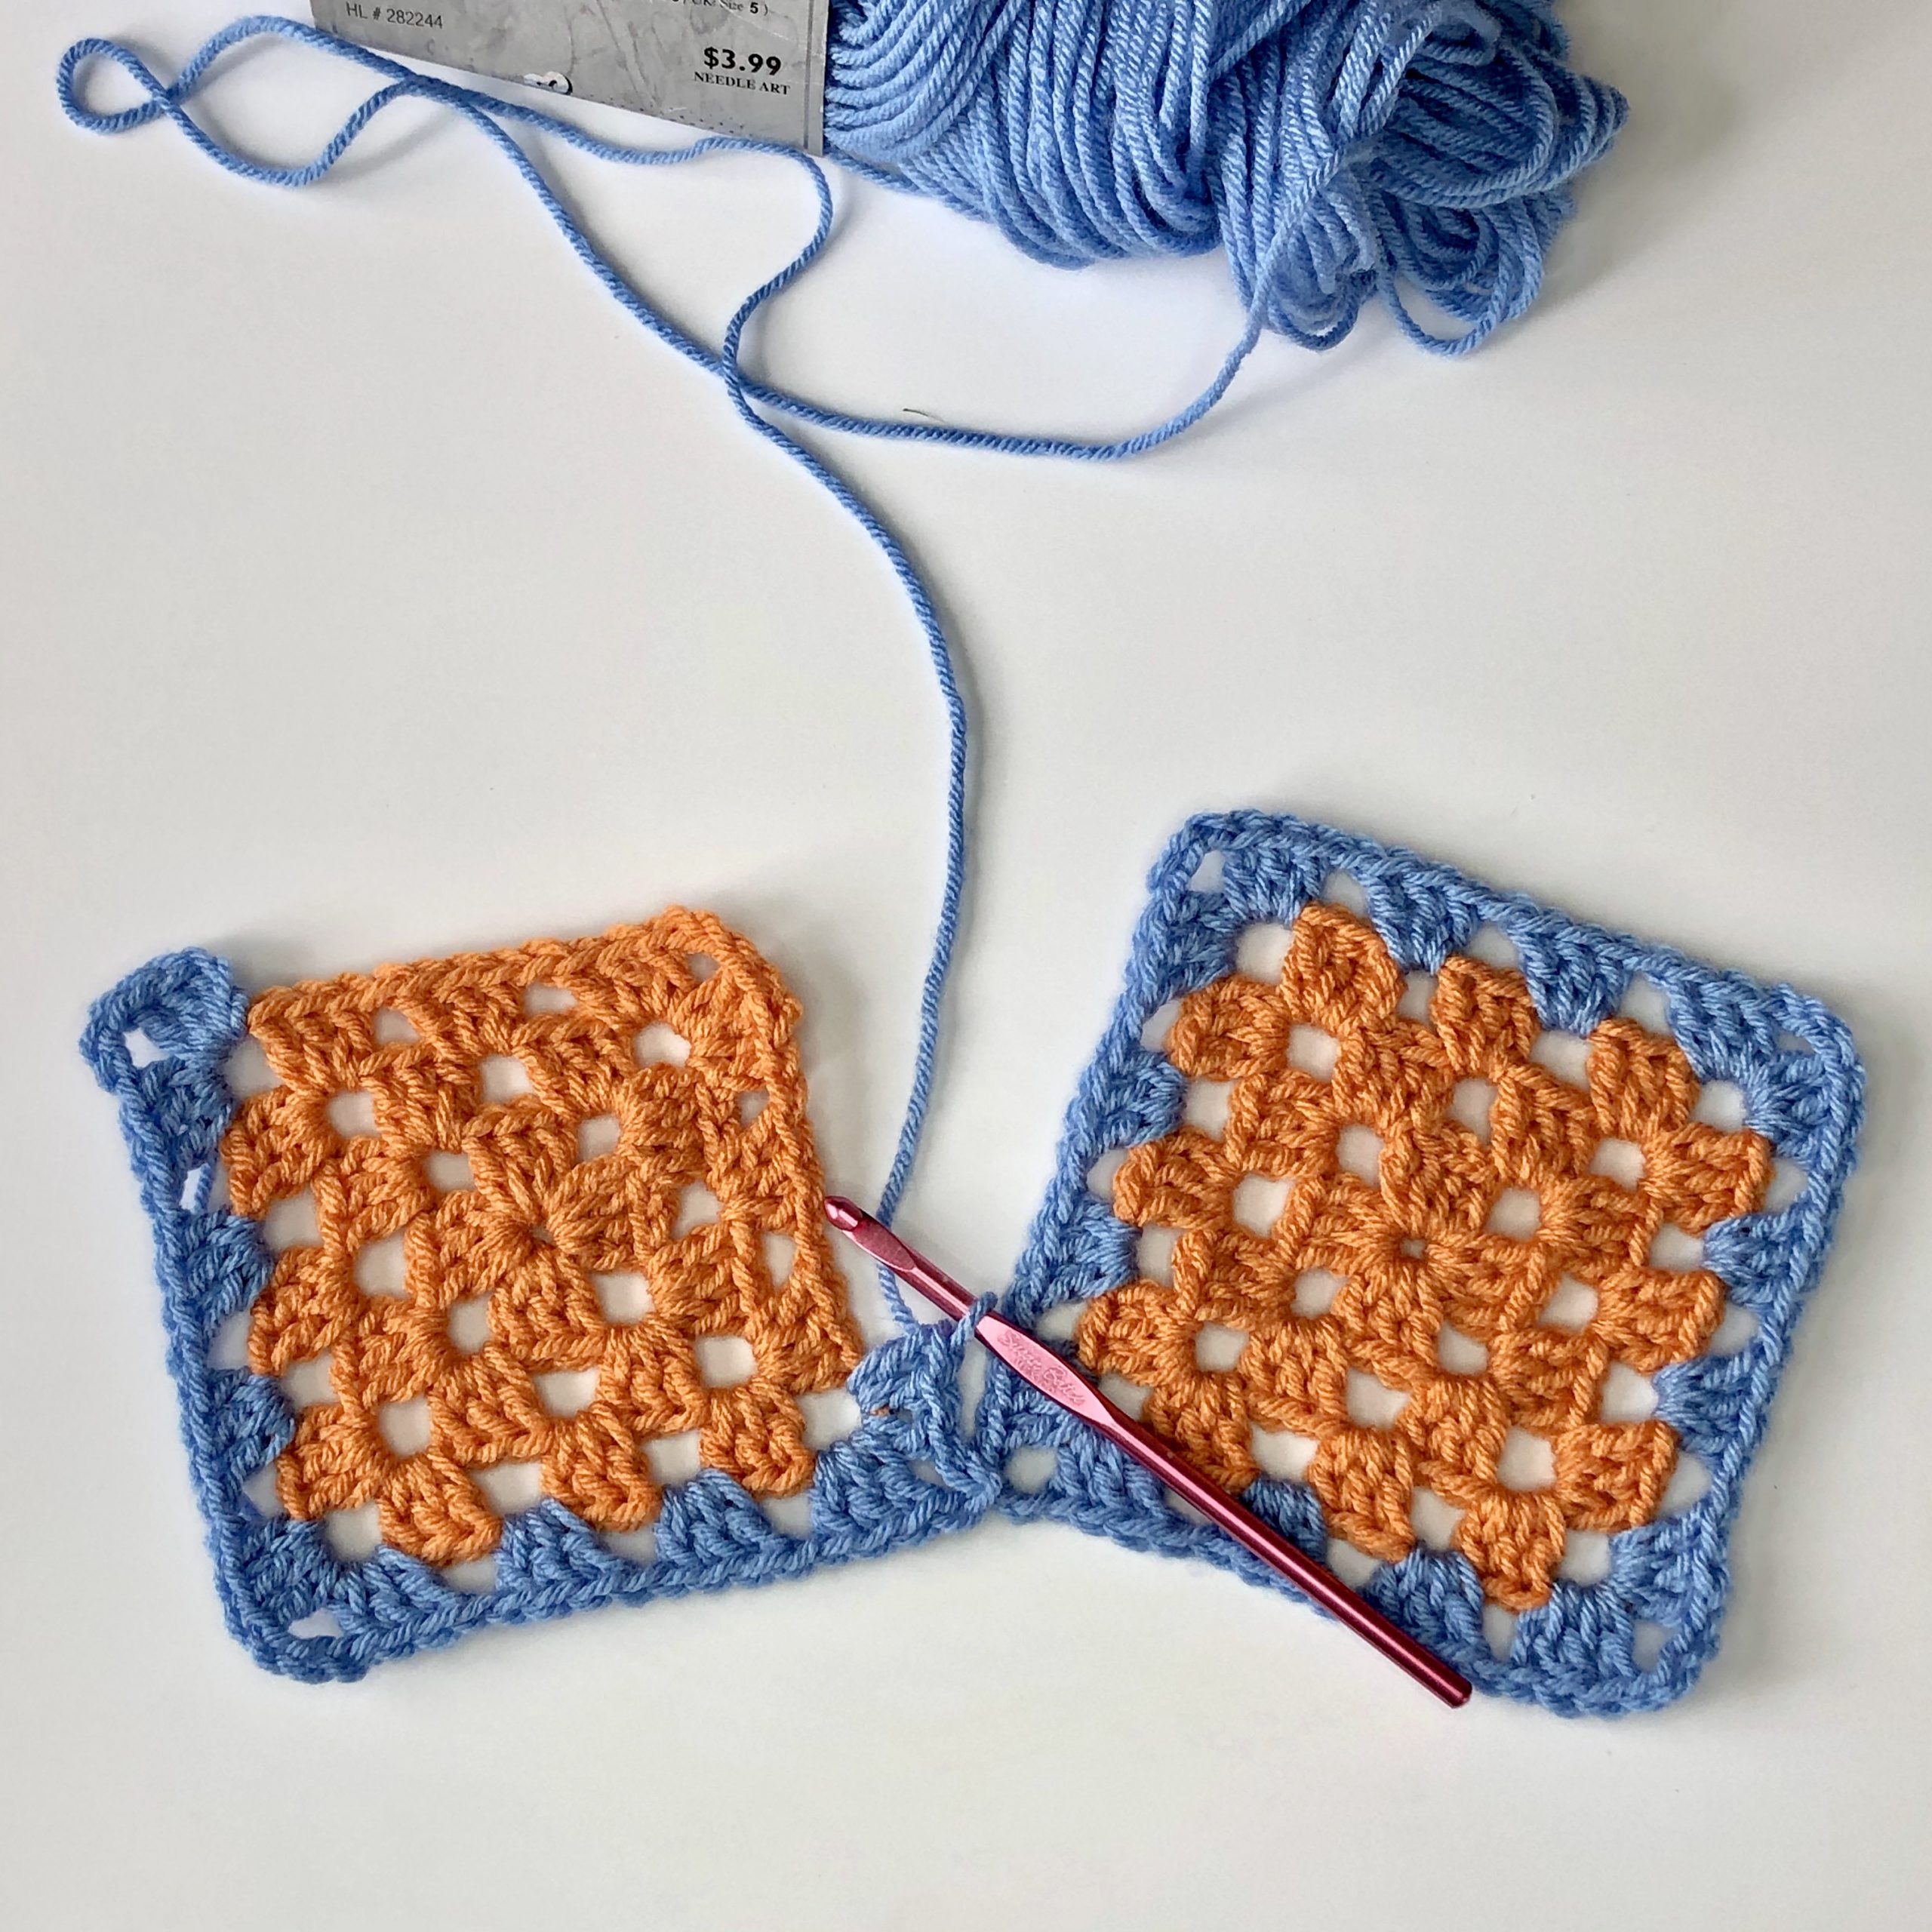
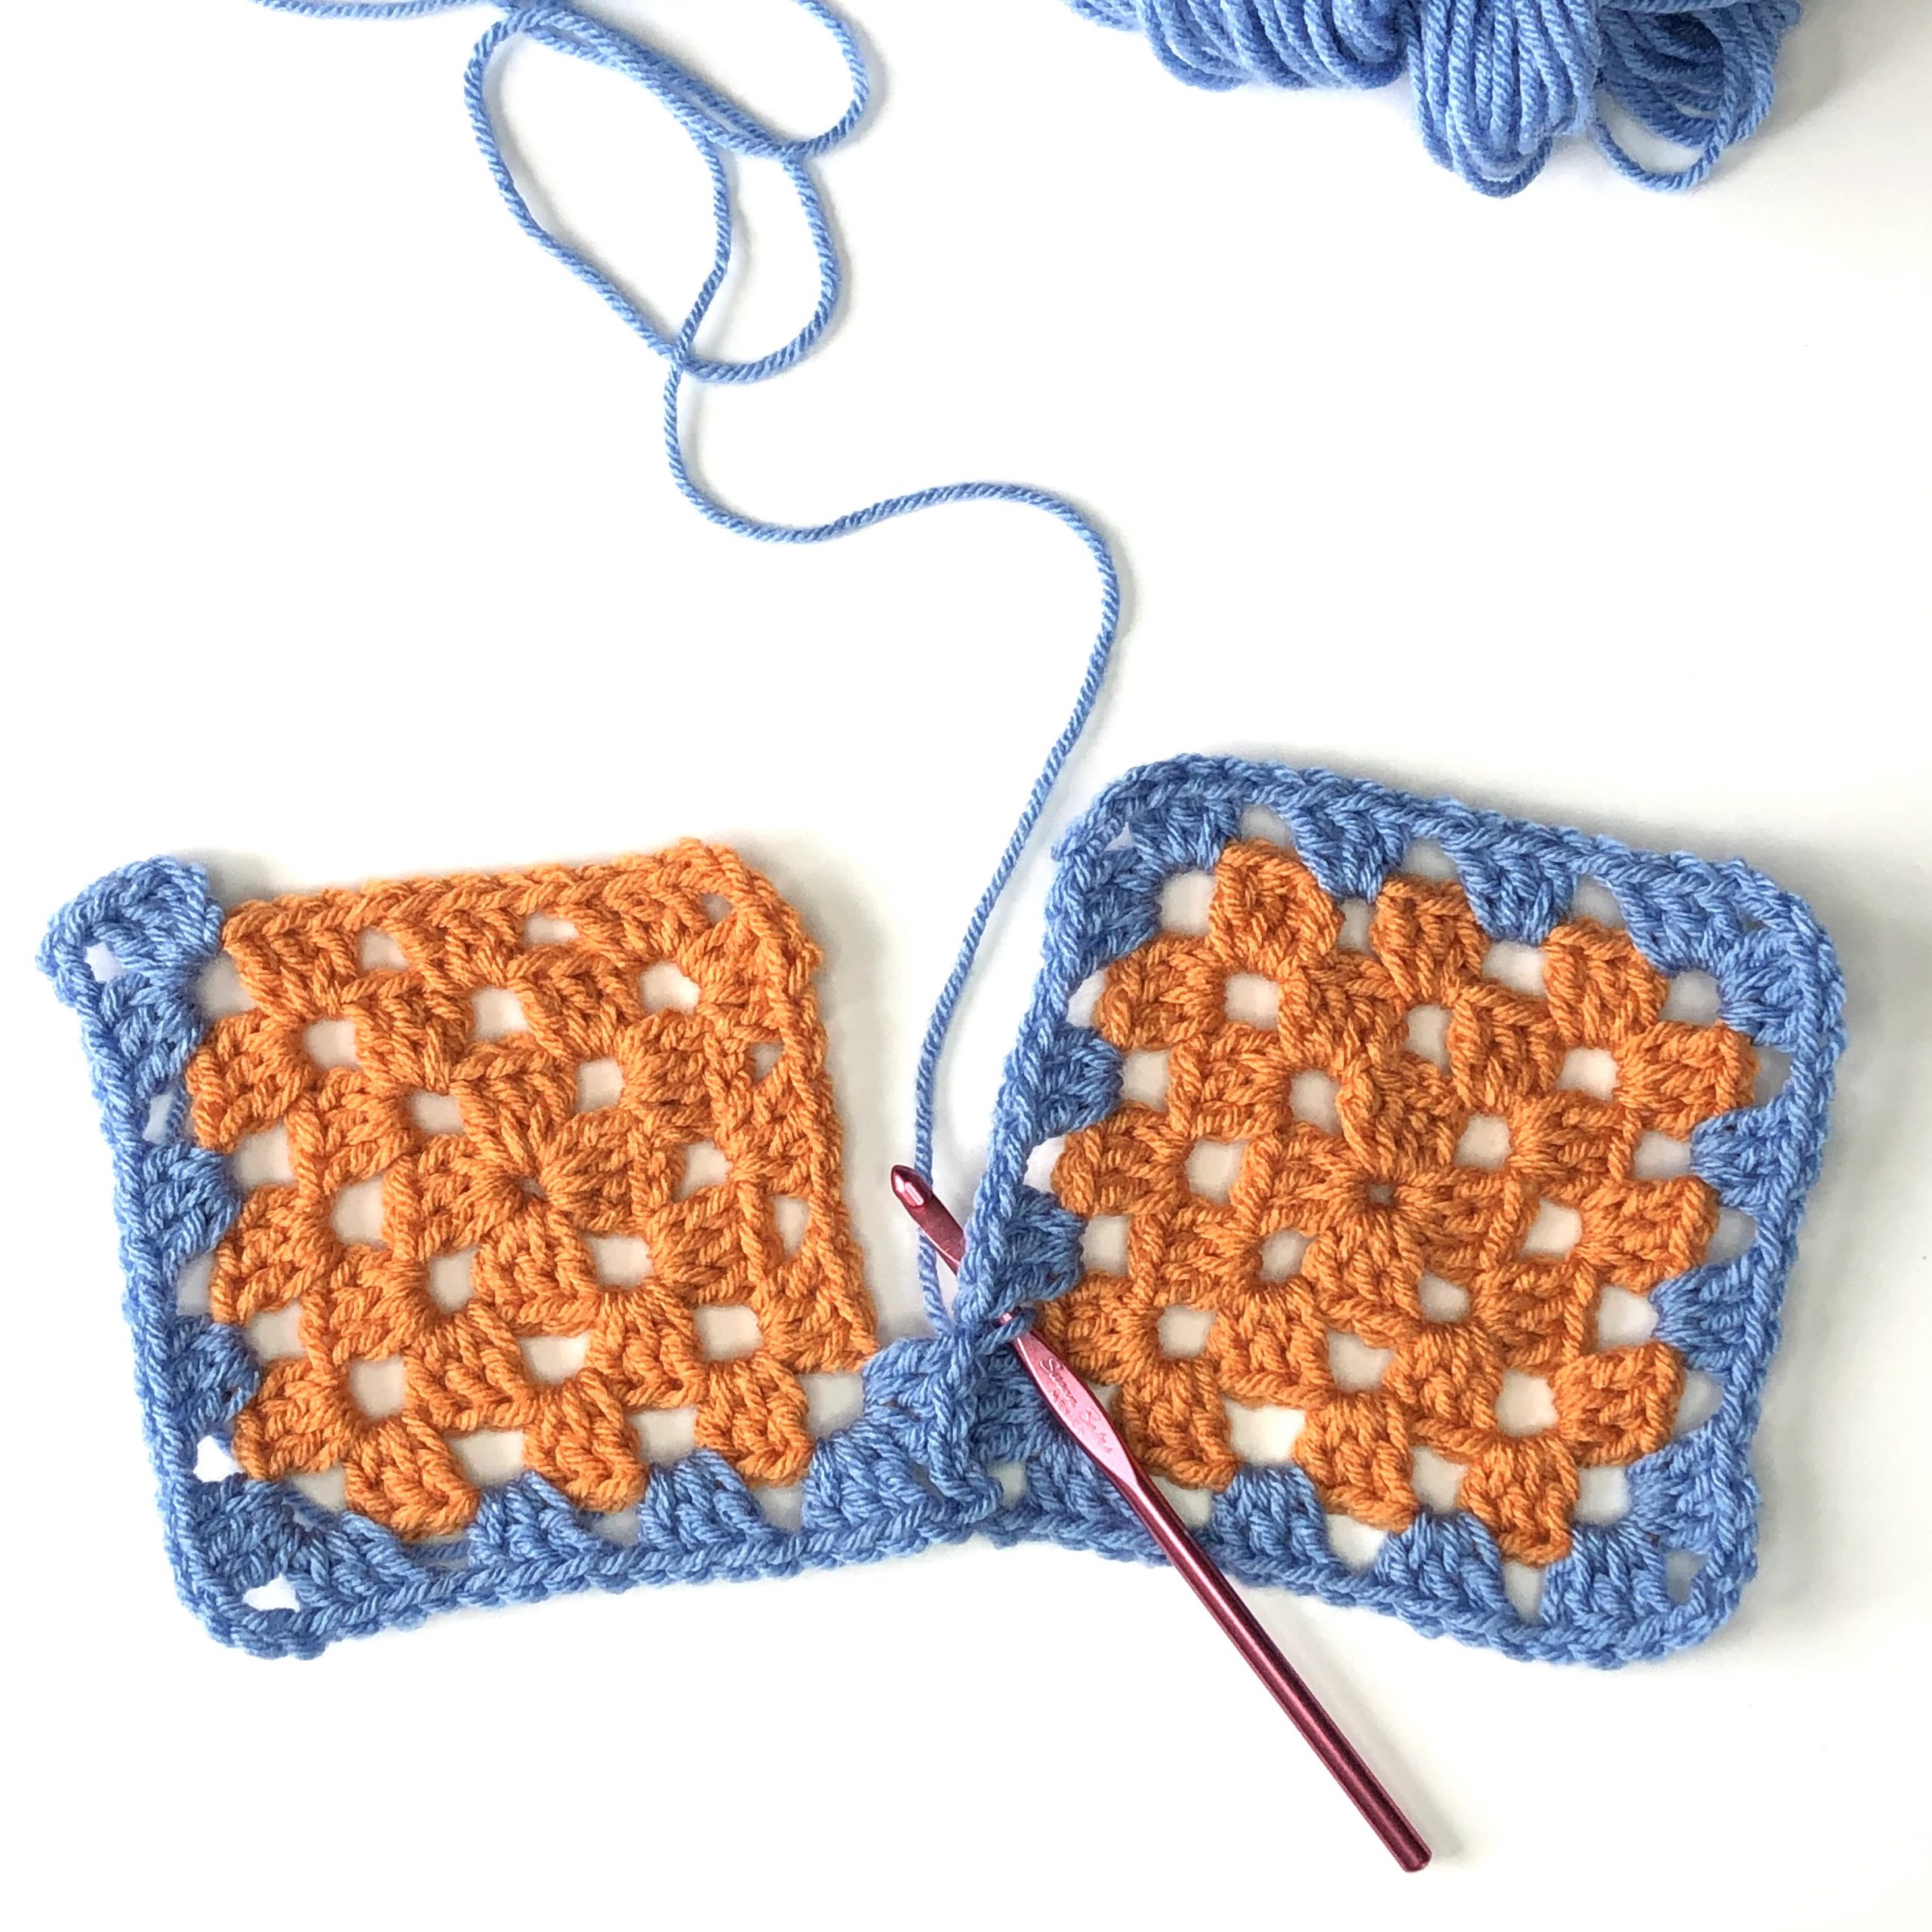
Square 3
Attach and finish as you did for square 2, using the numbered chart above for placement (square 3 is joined under square 1).
Square 4
This square will be joined to the other three squares along 2 sides.
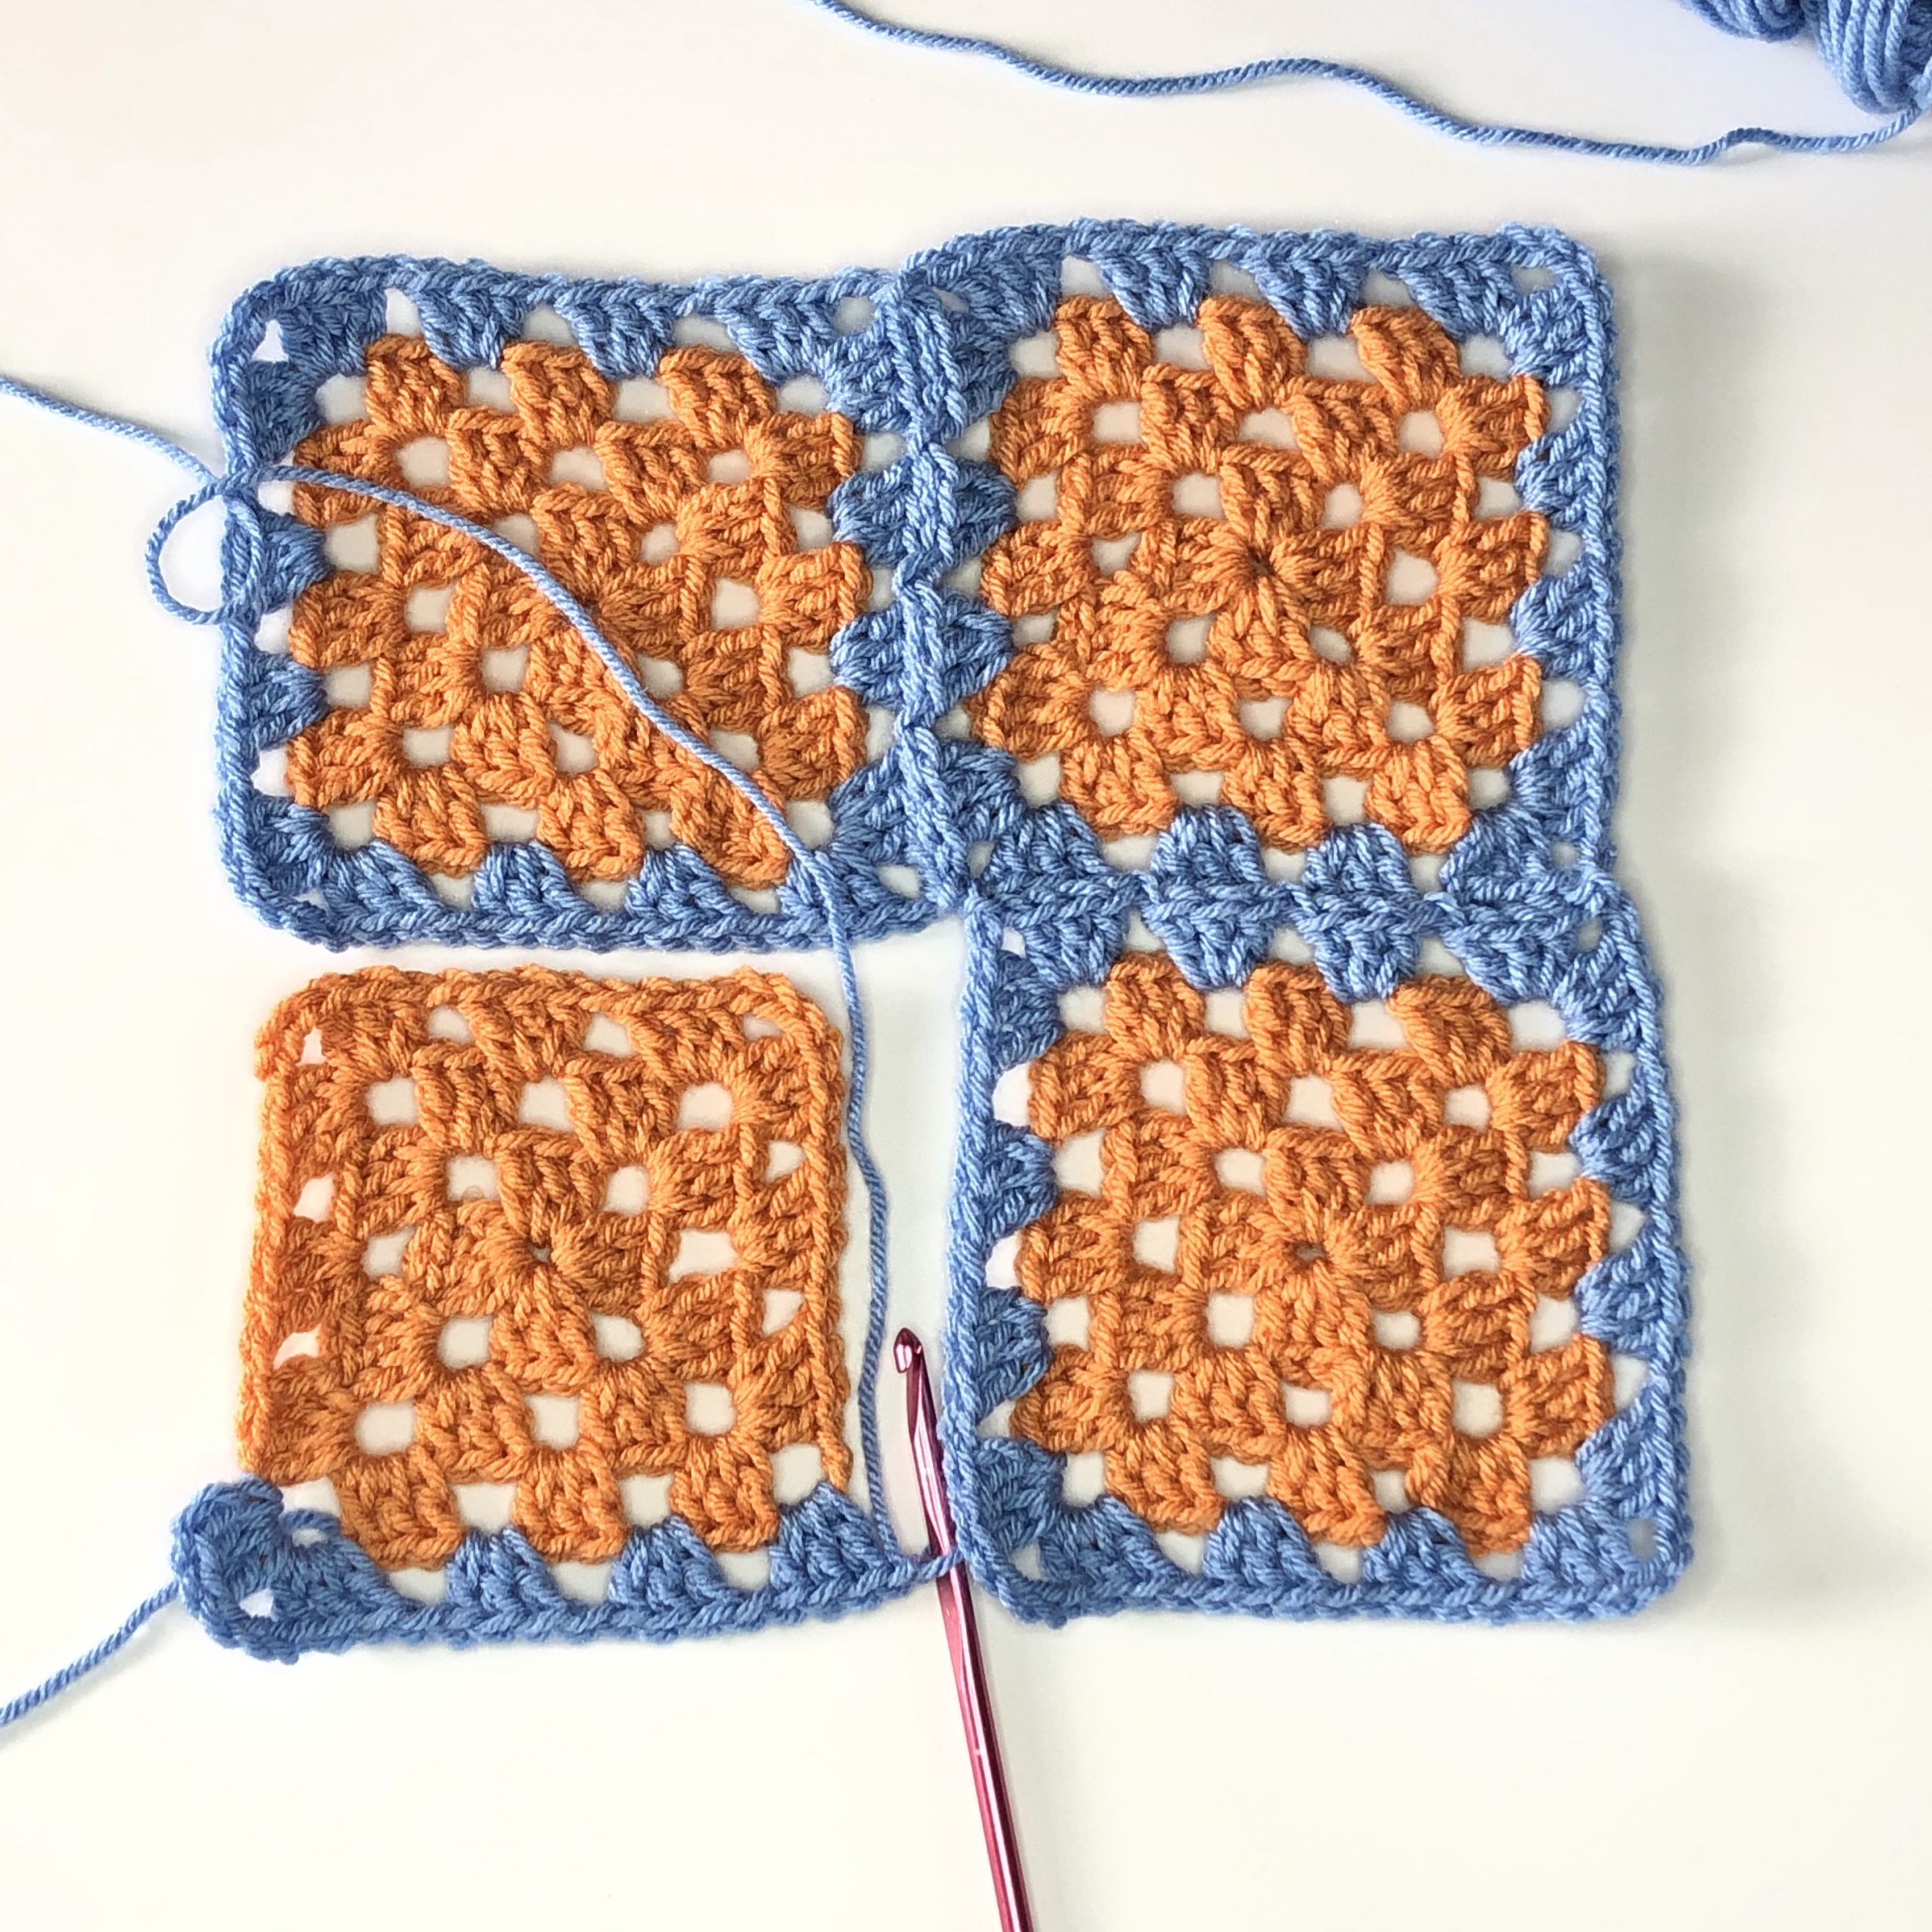
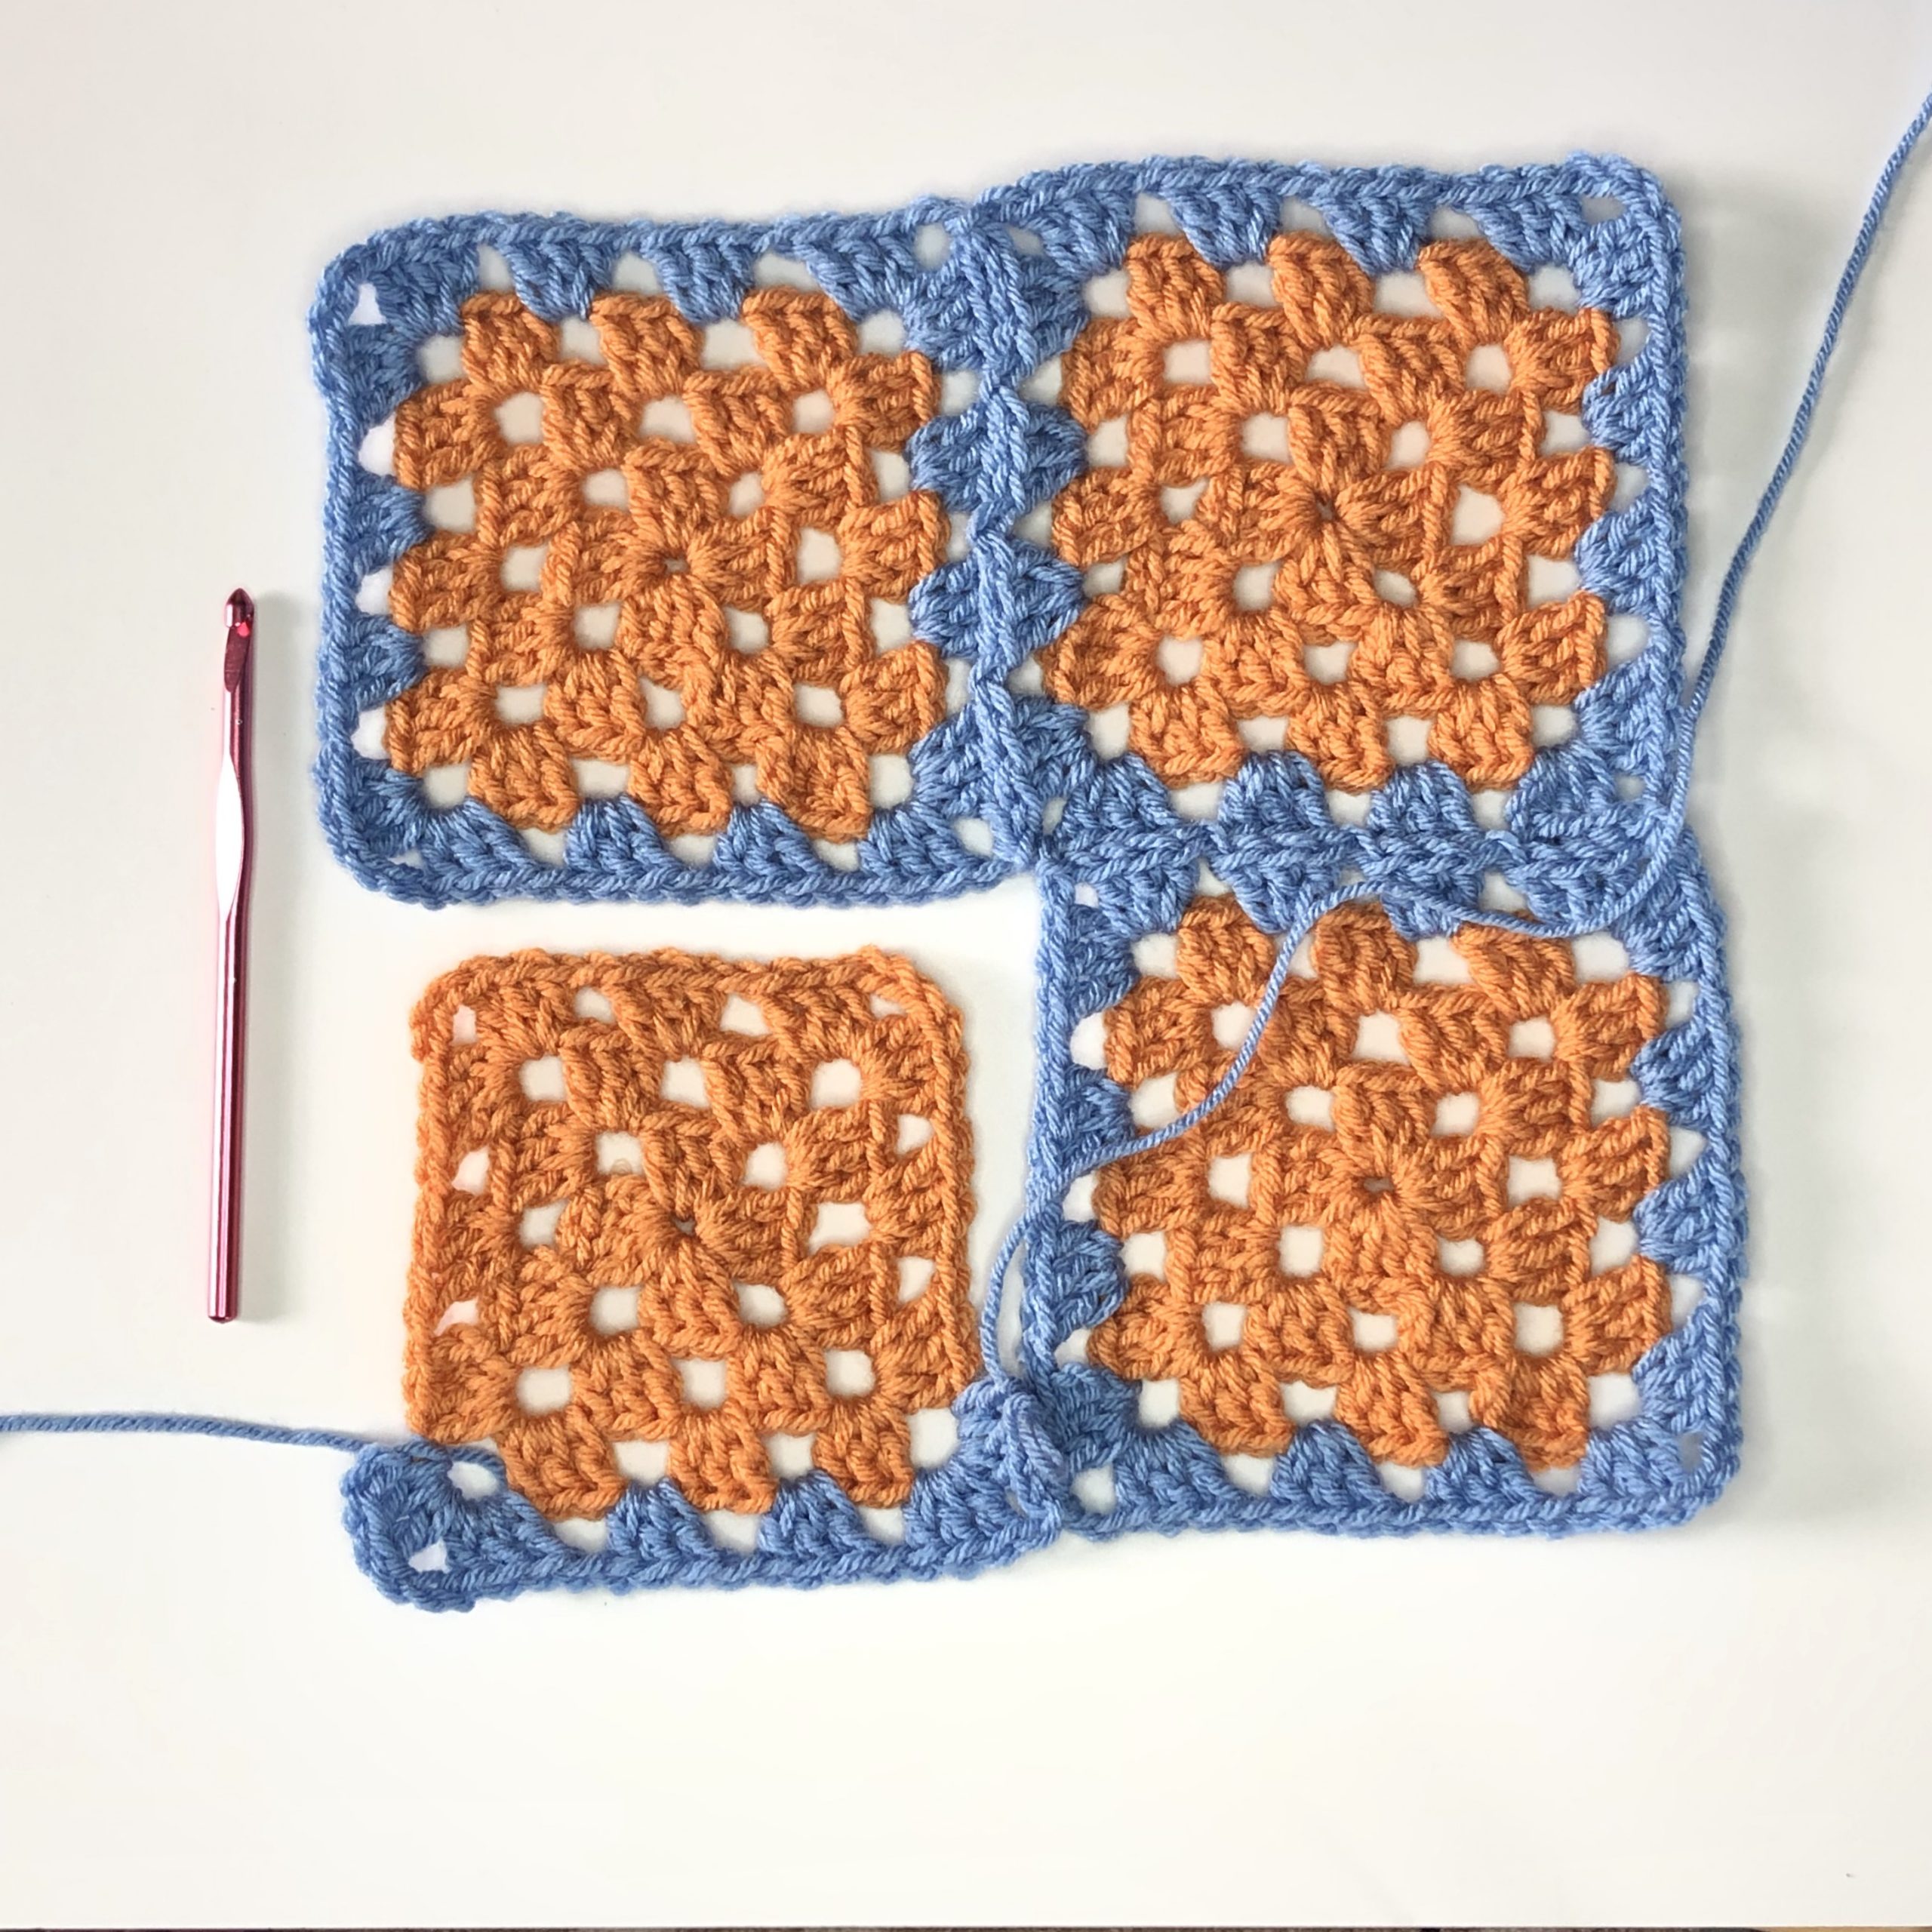
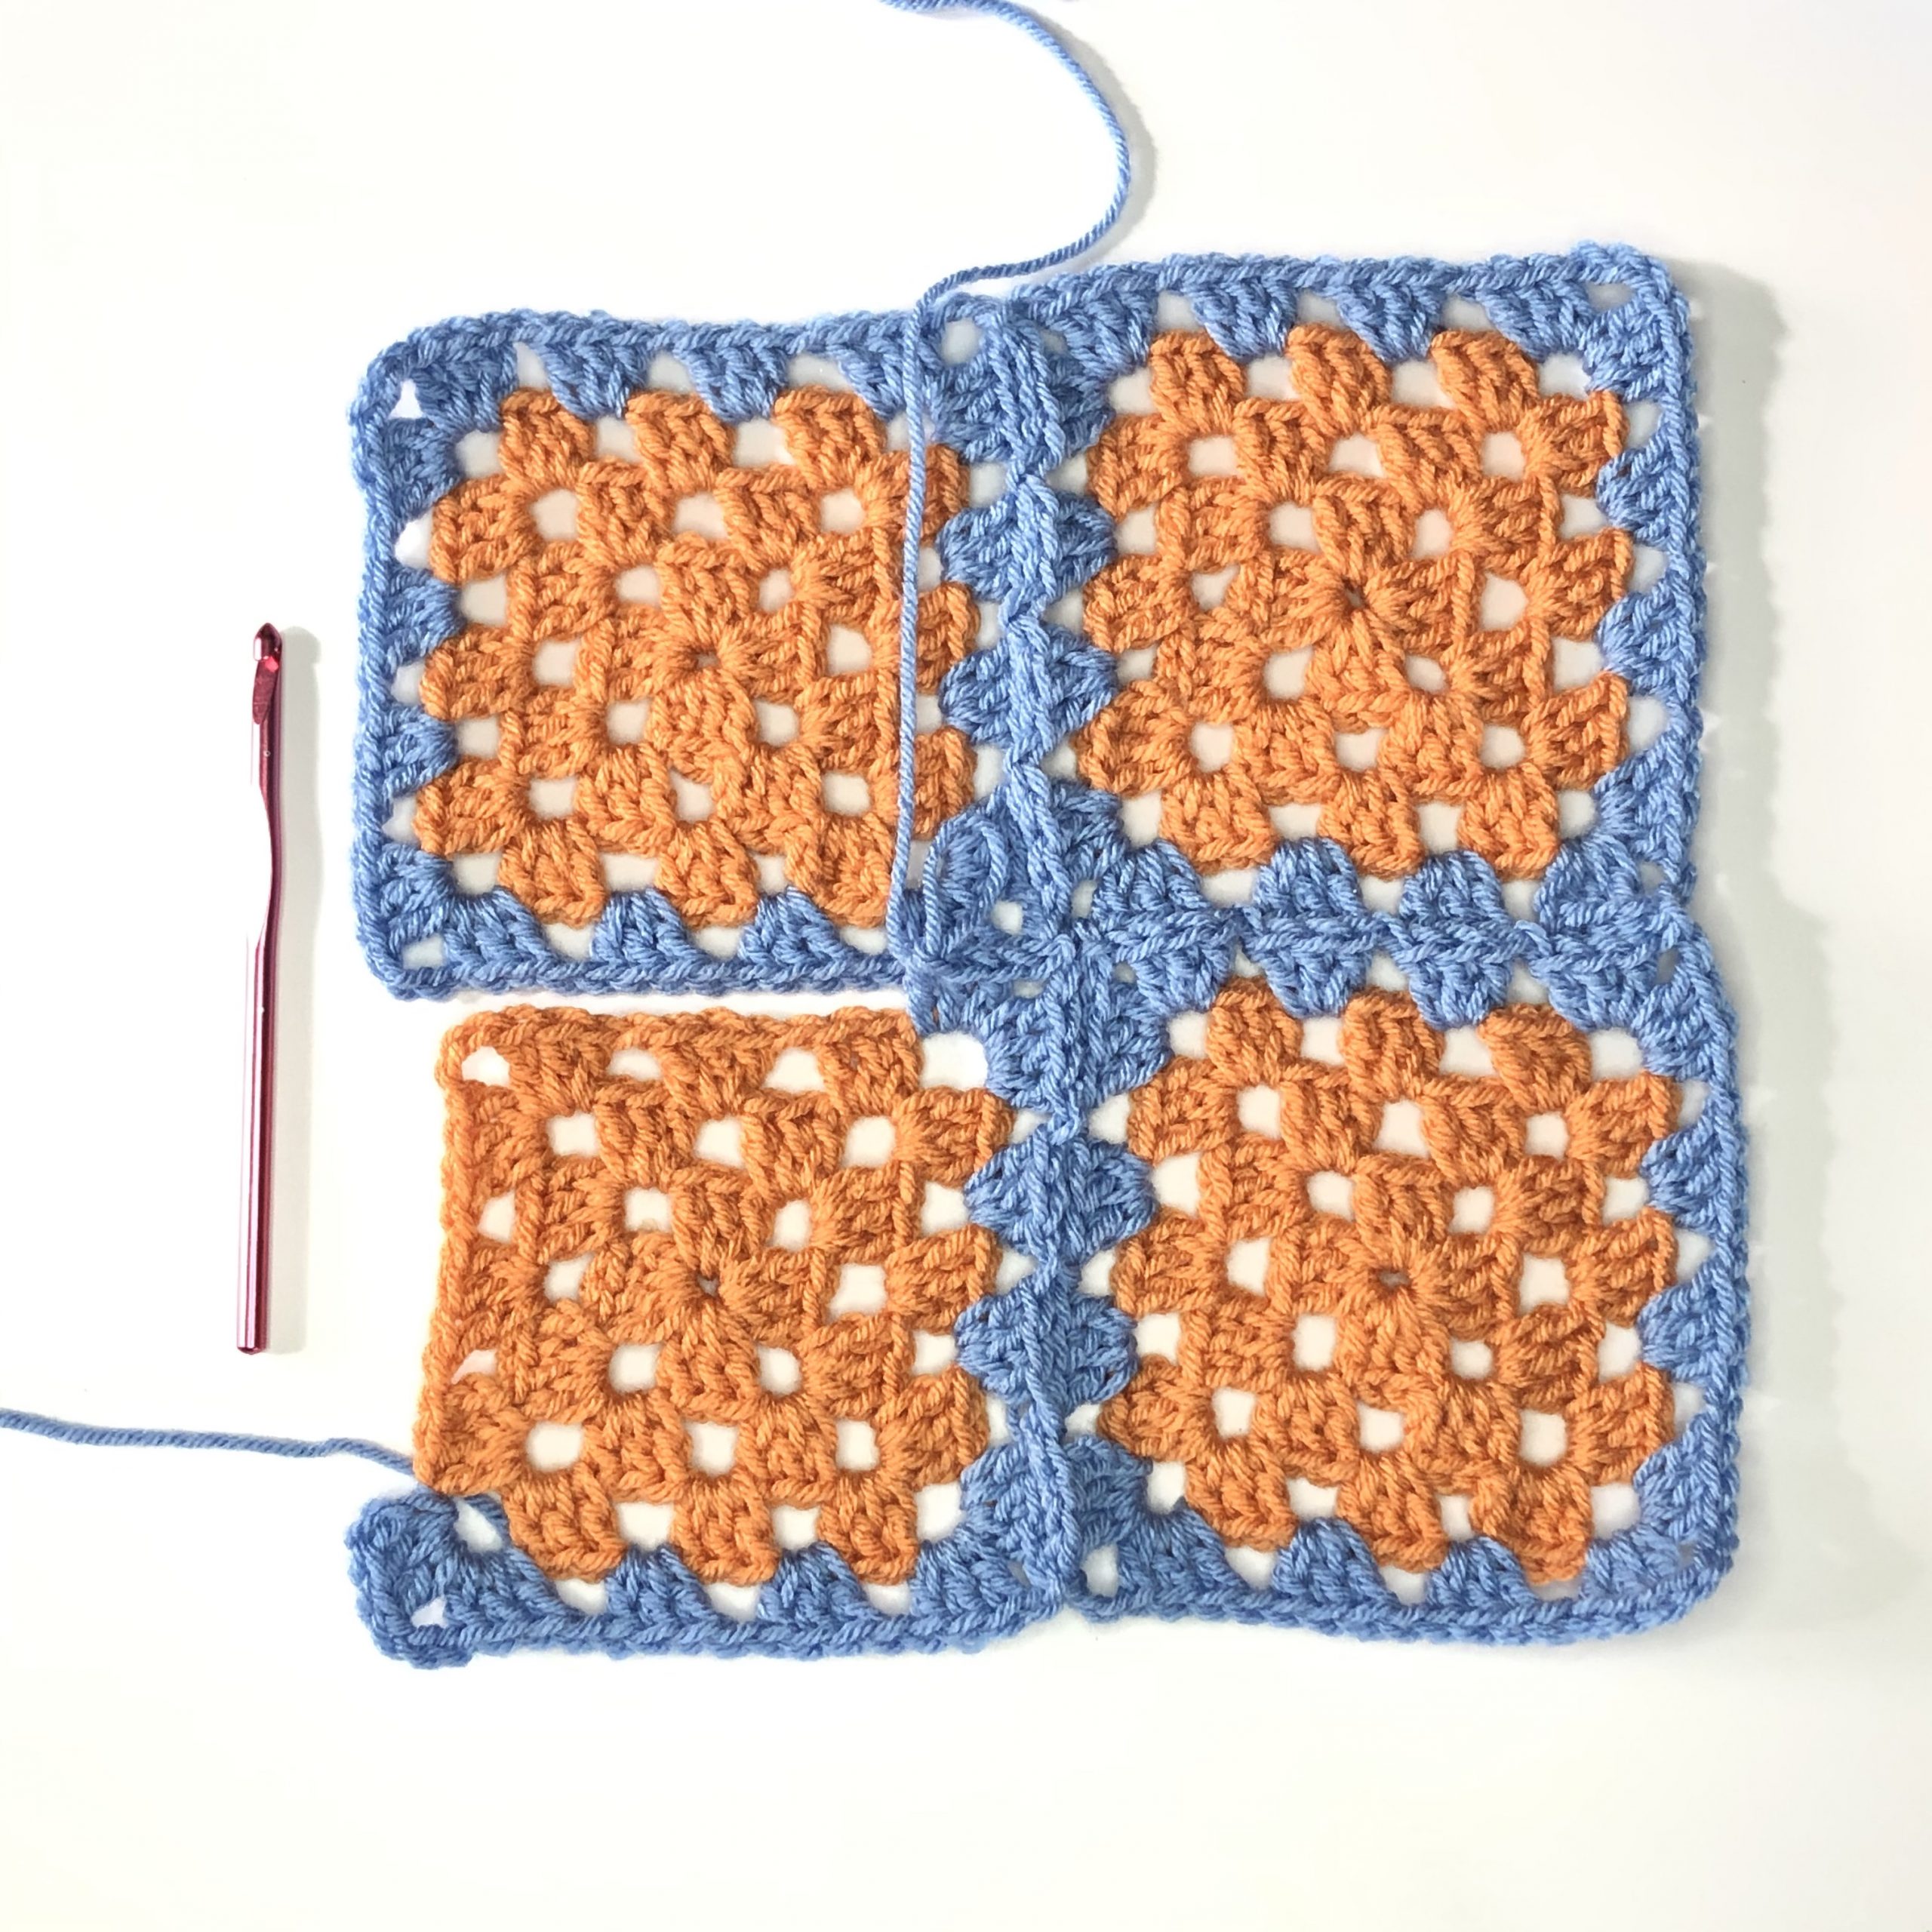
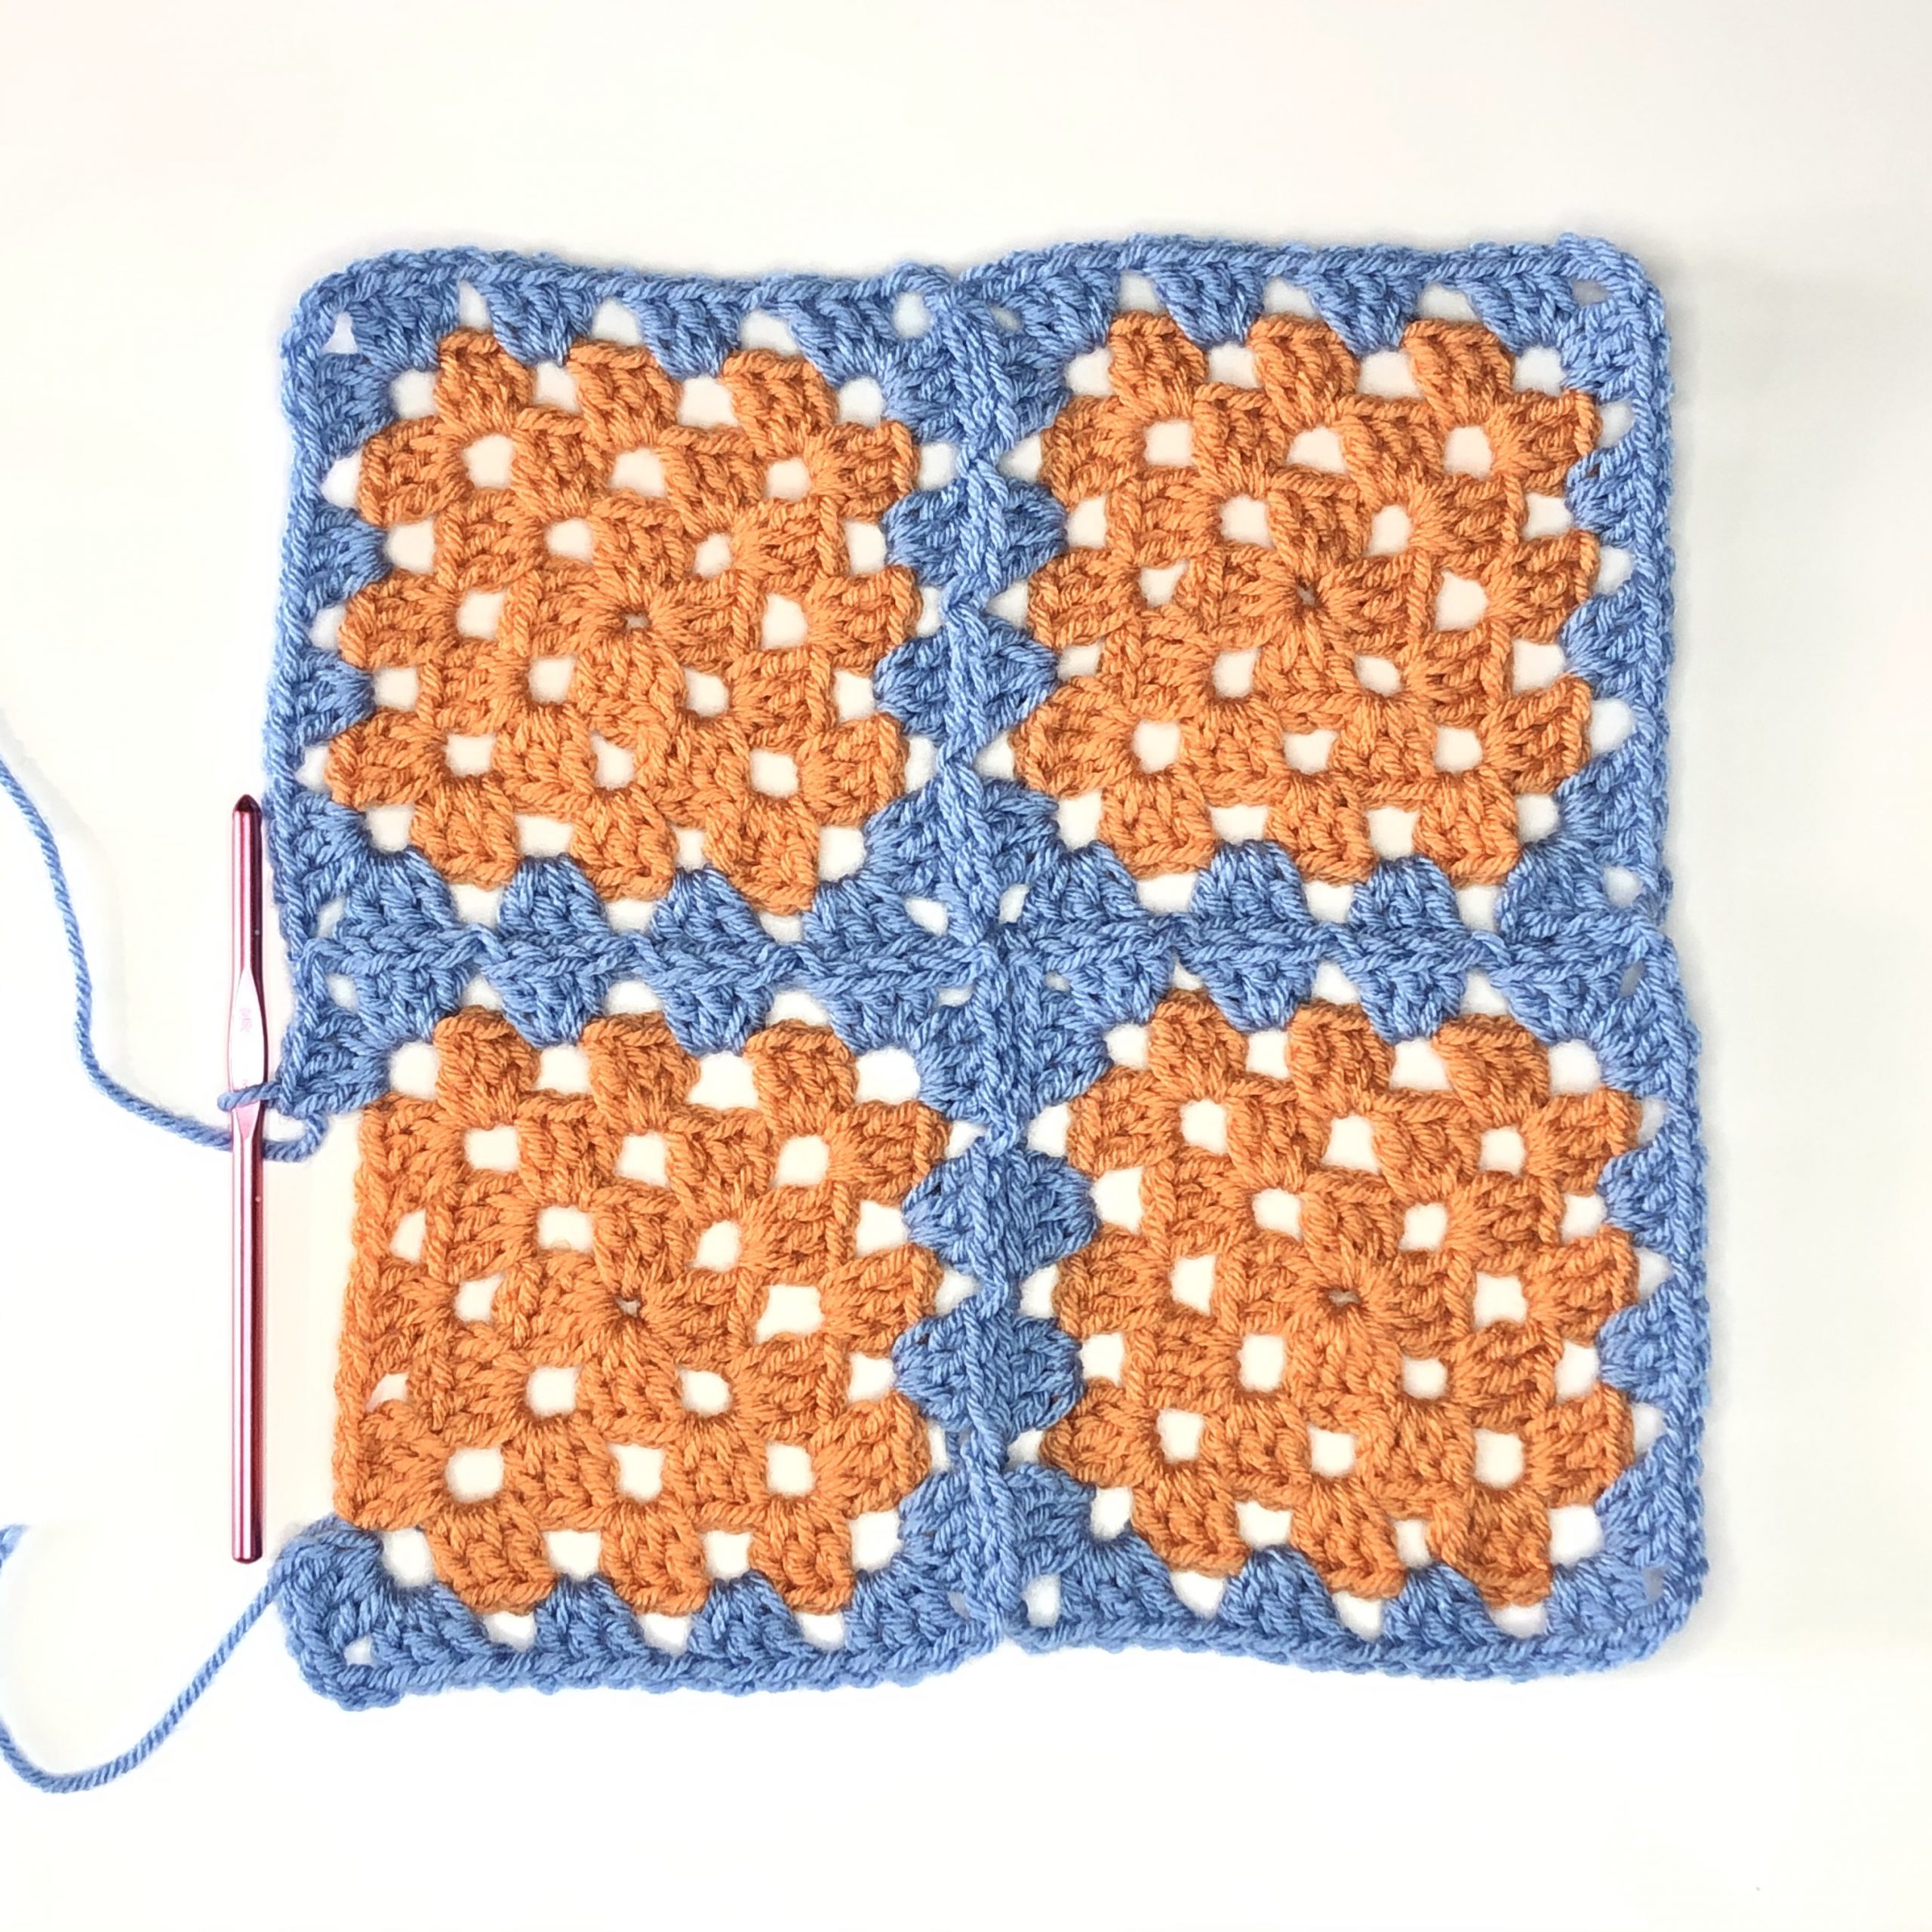
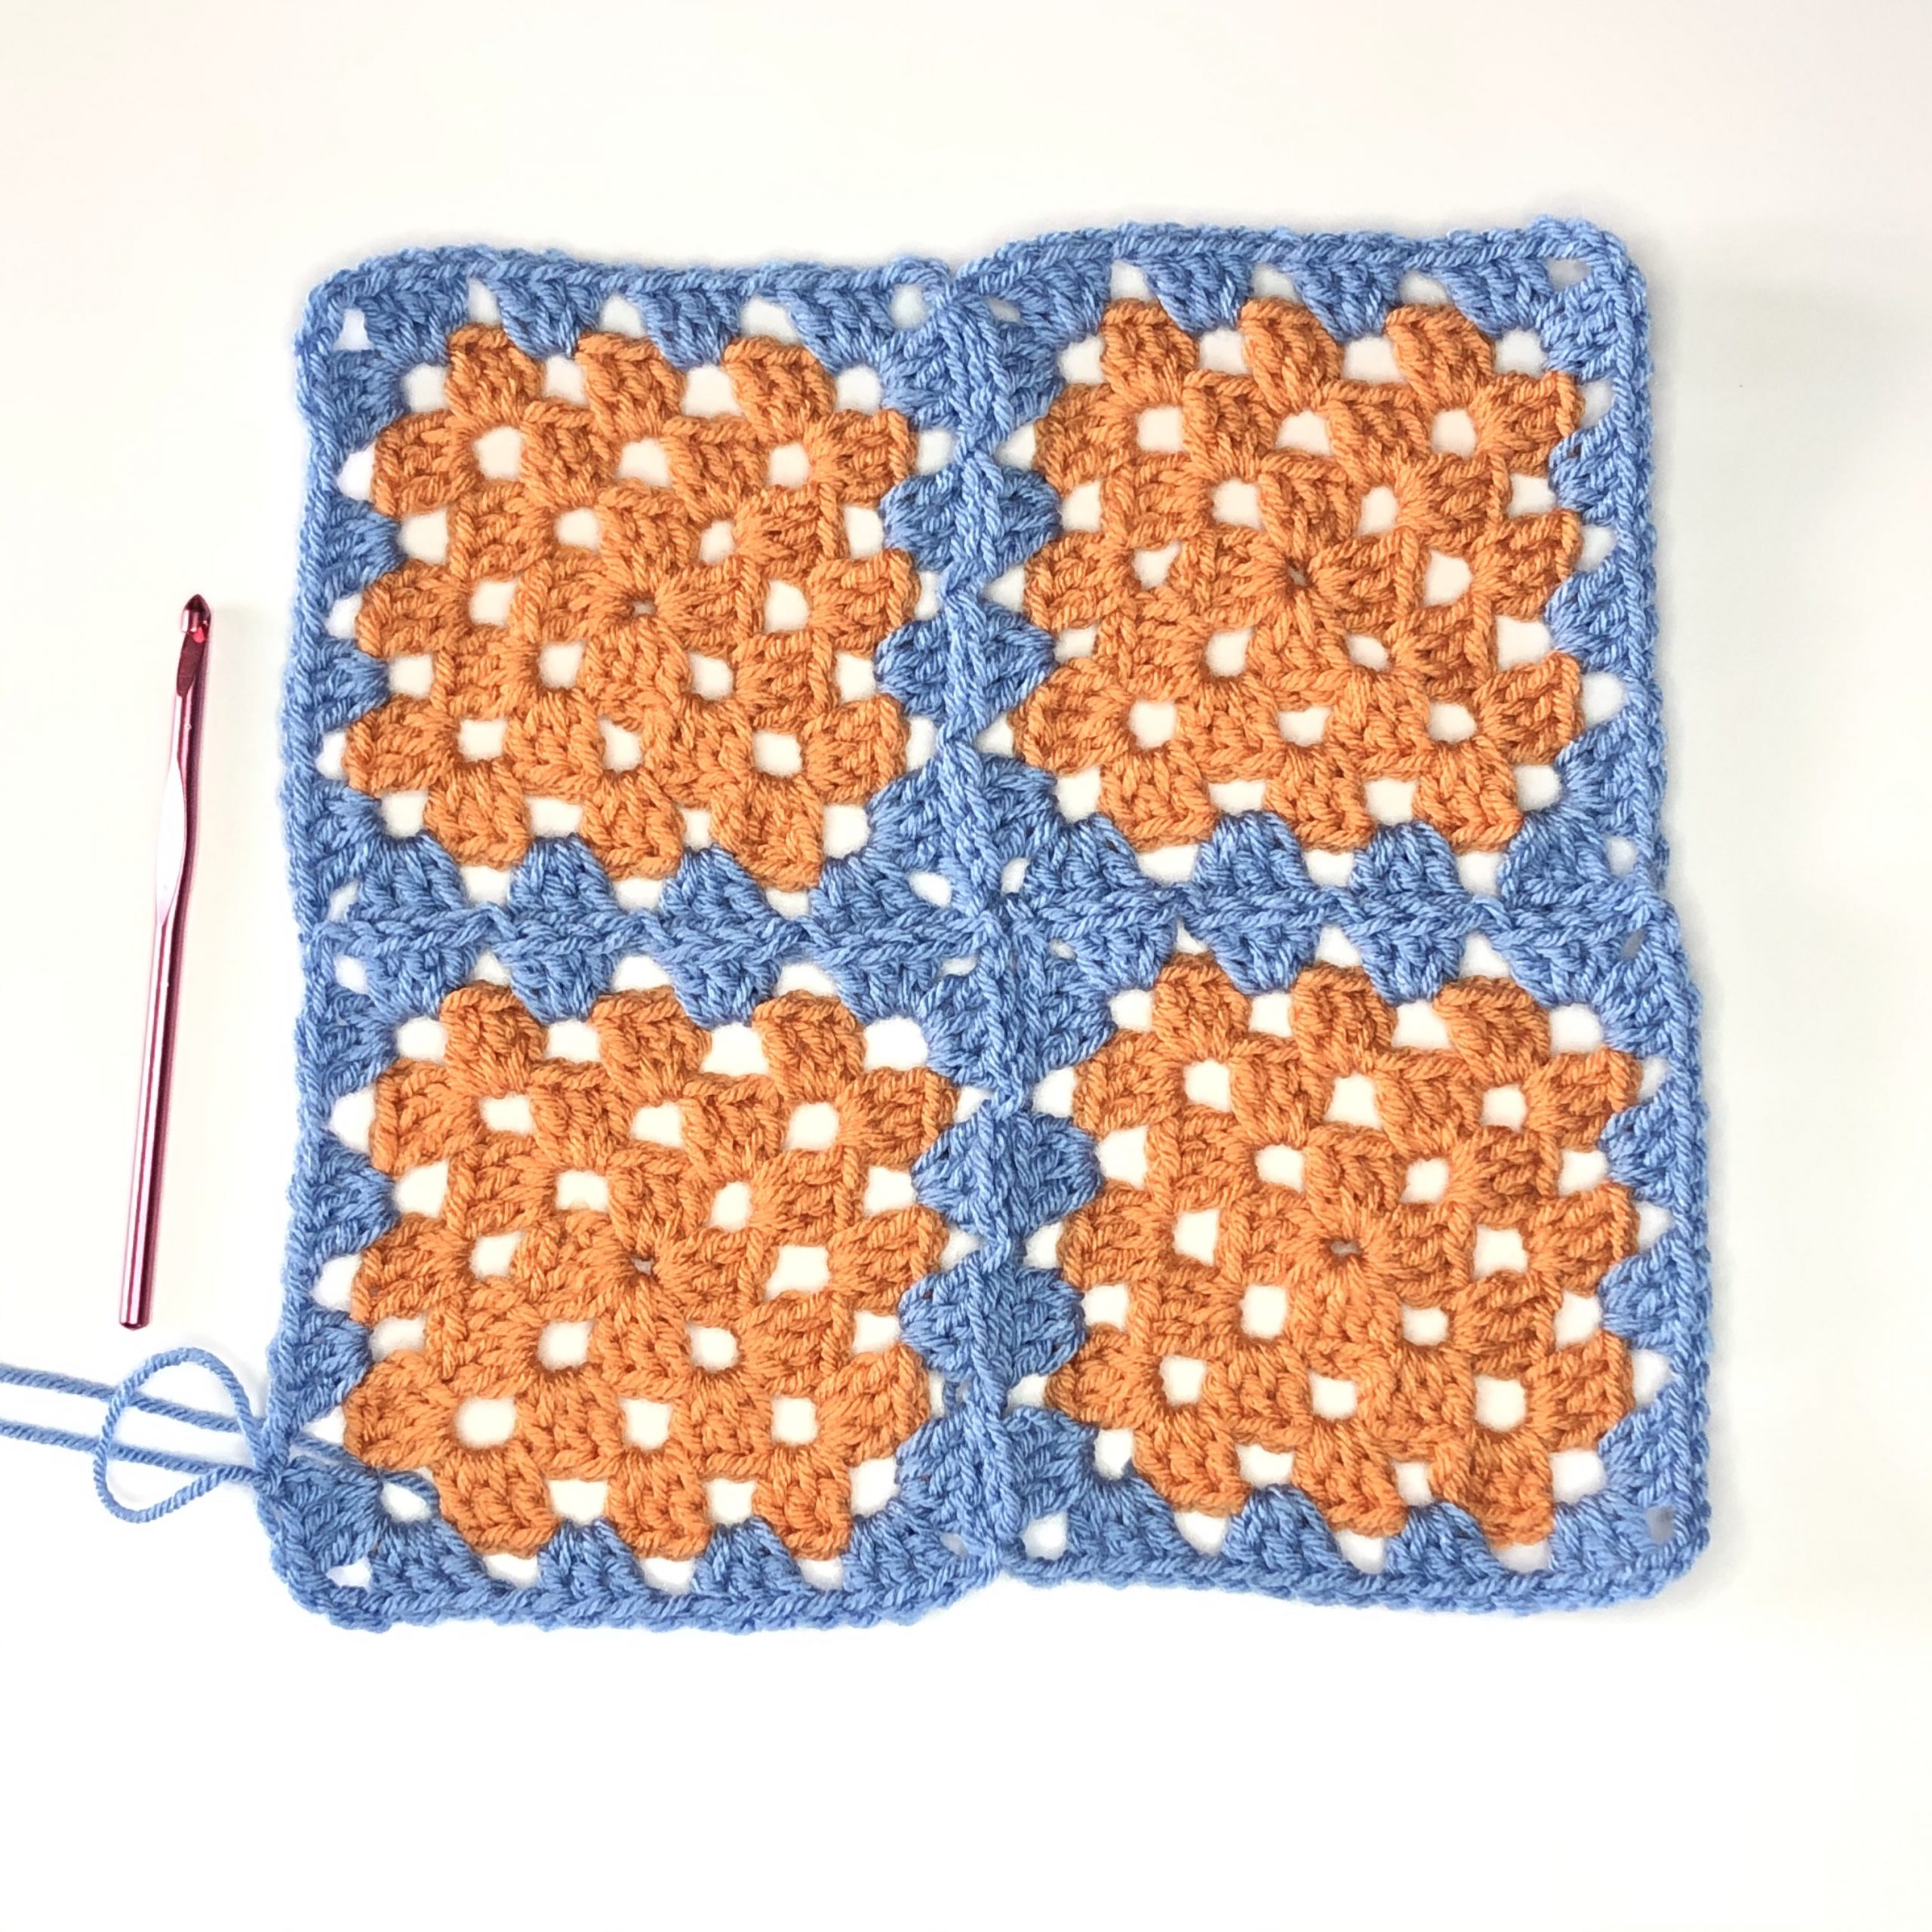
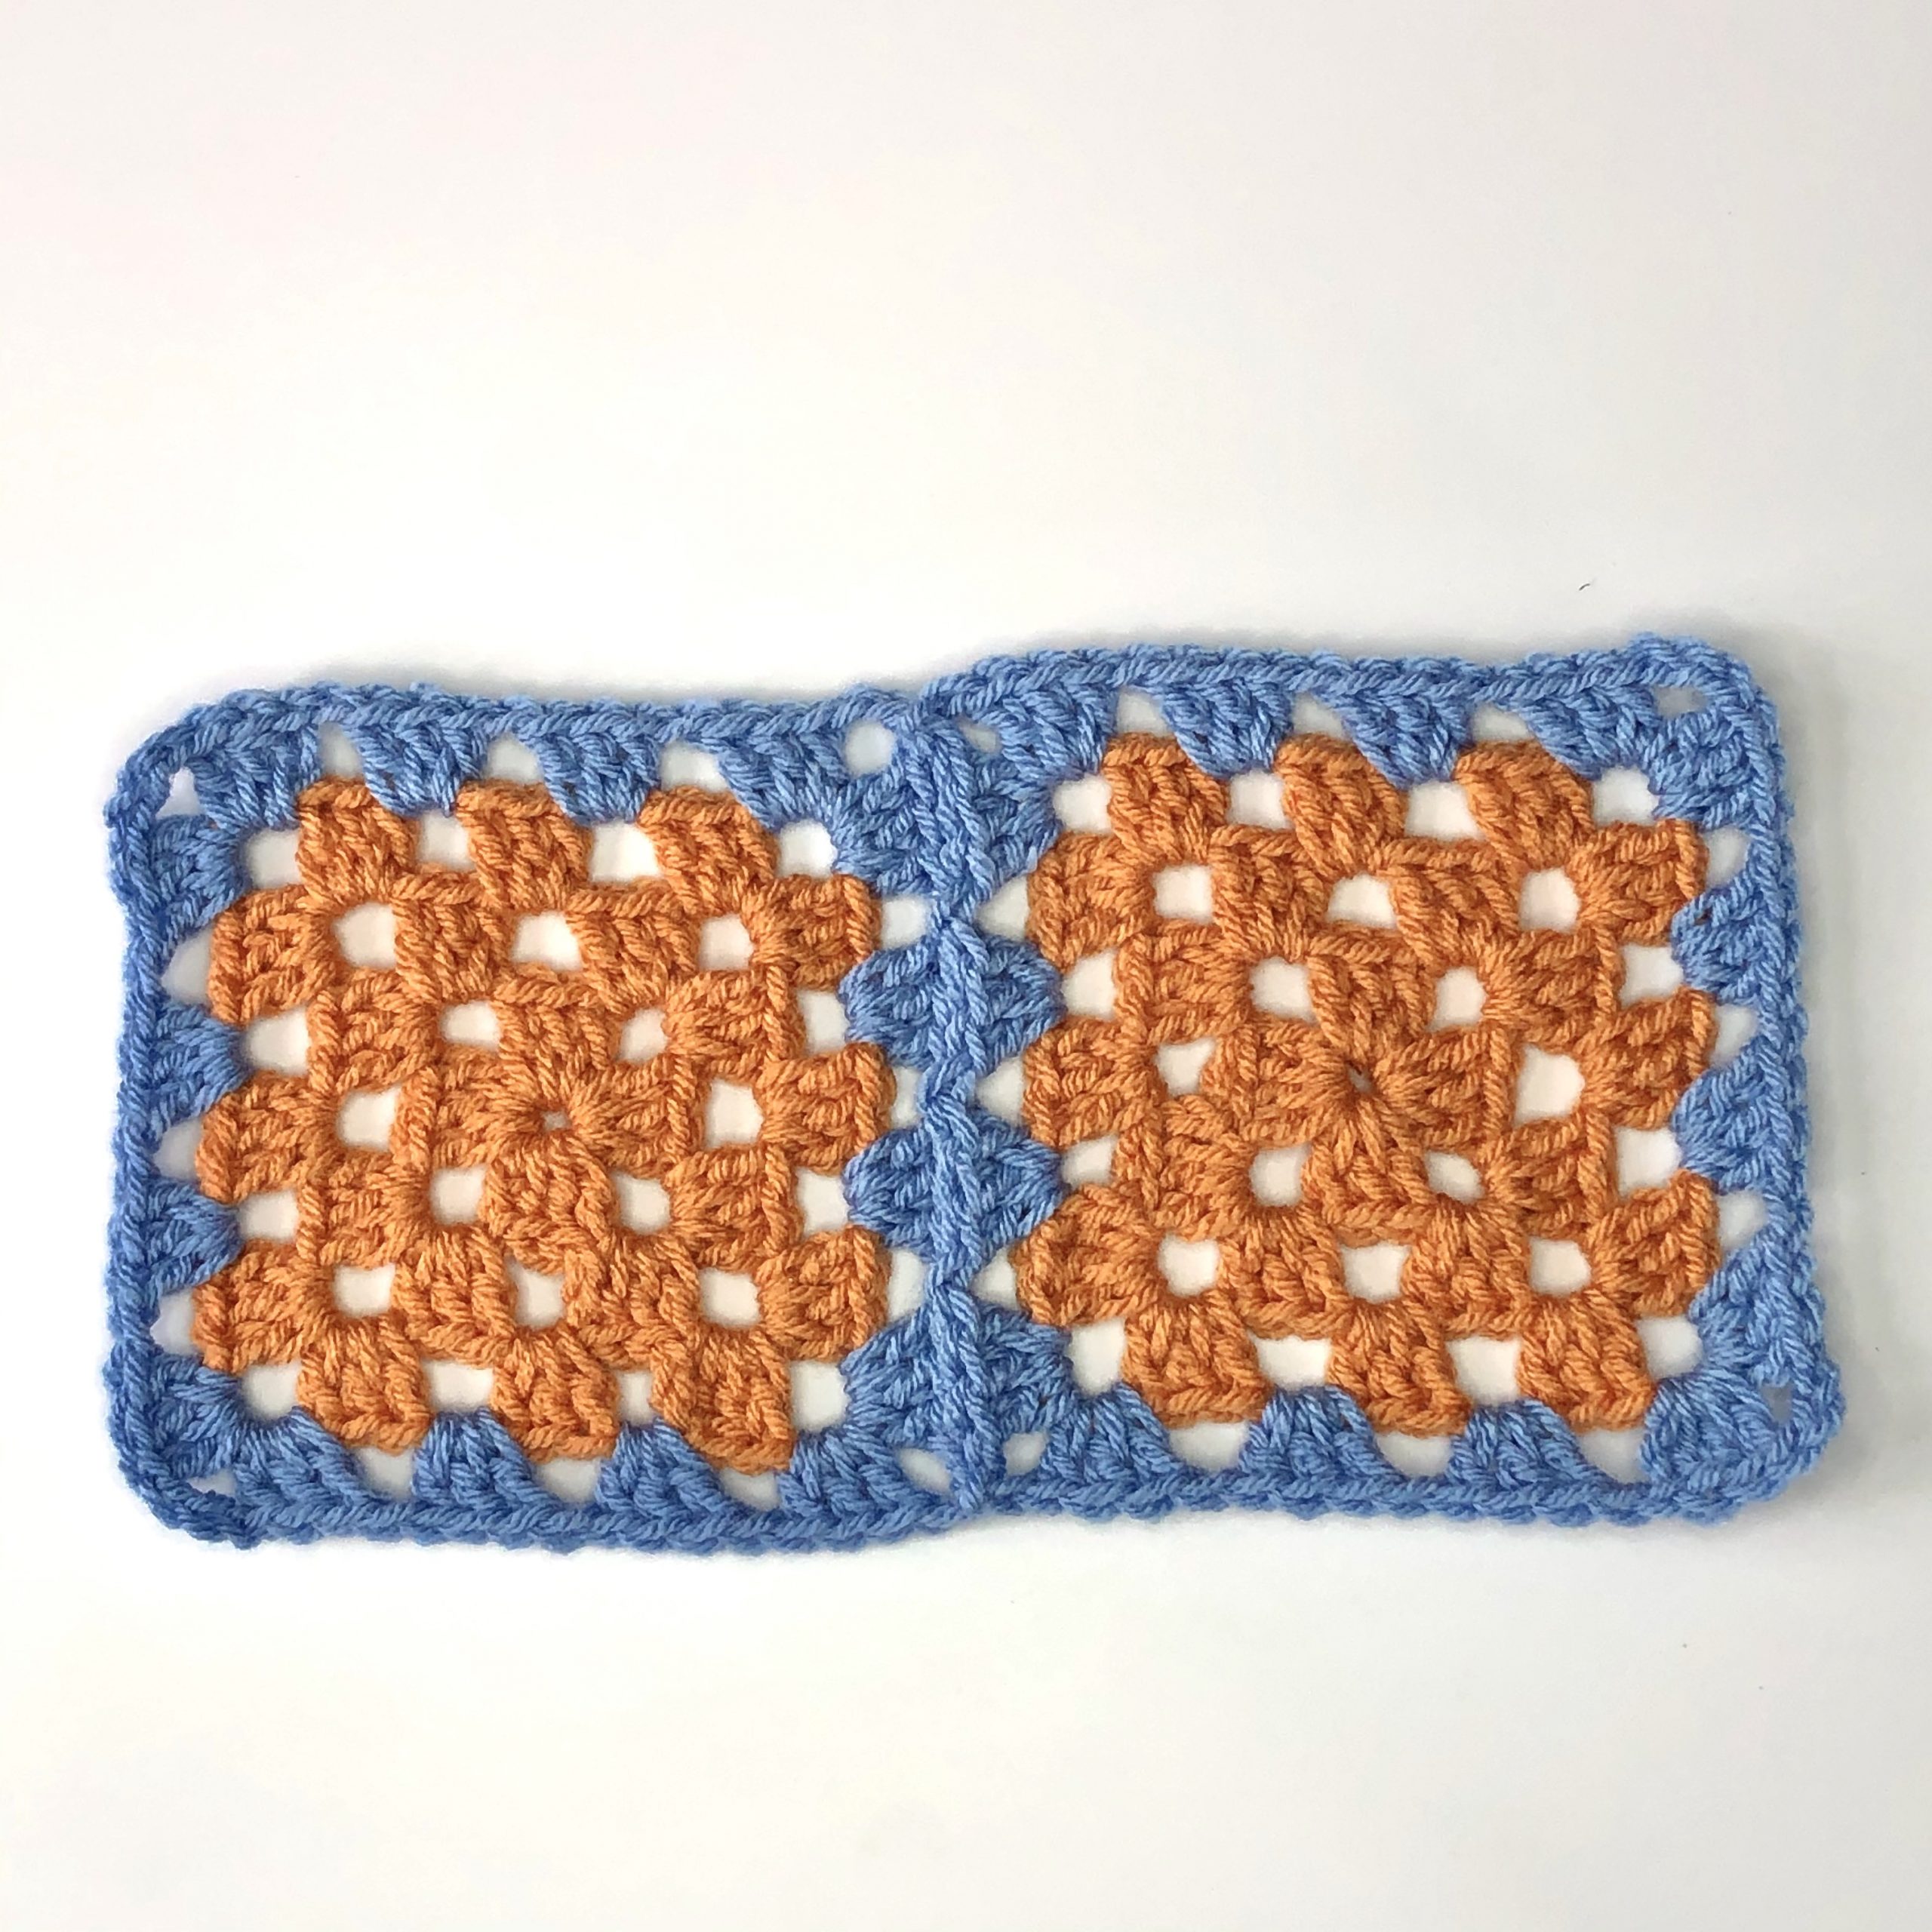
You’ve now successfully joined 4 squares without sewing a single seam!
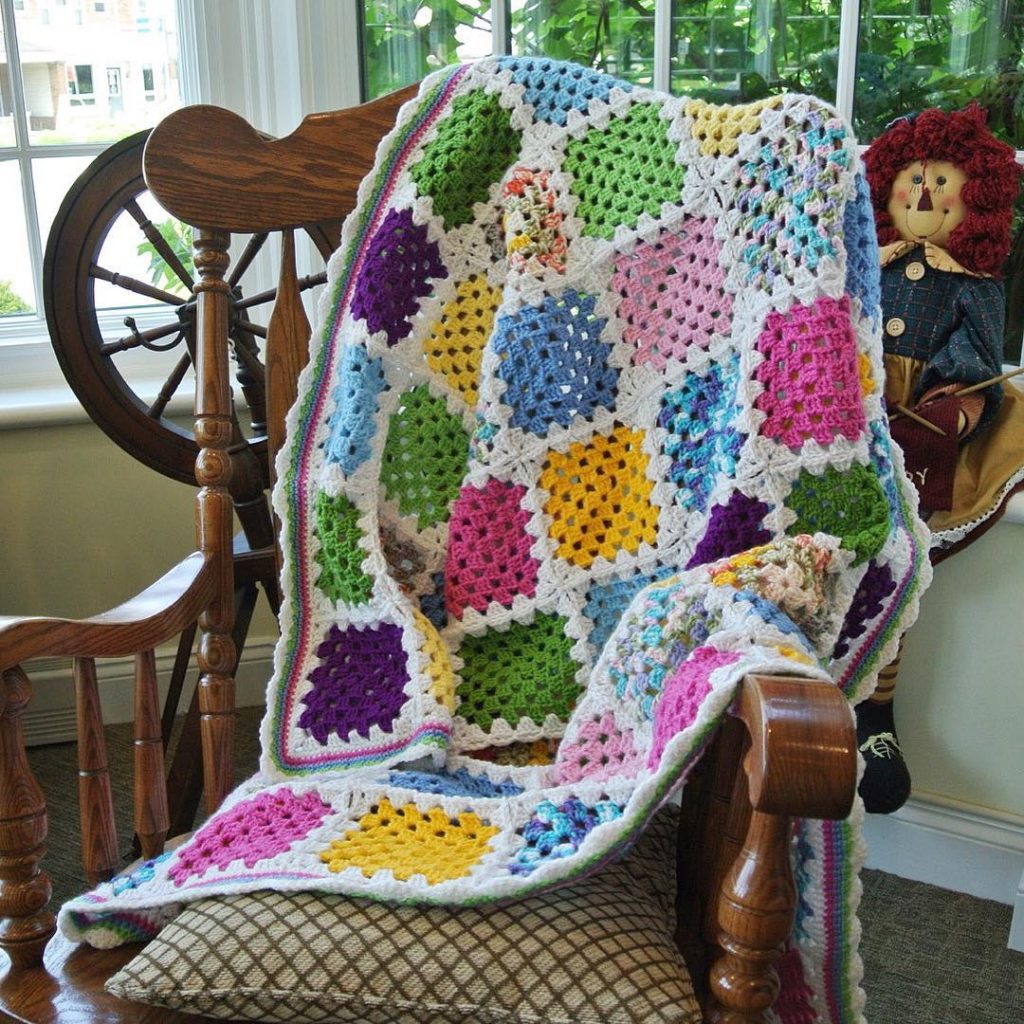
Try your hand at one of these!
Now that you’ve learned how to join squares along 2 sides, you’re ready to tackle a project that uses the slip stitch method. How about an afghan?
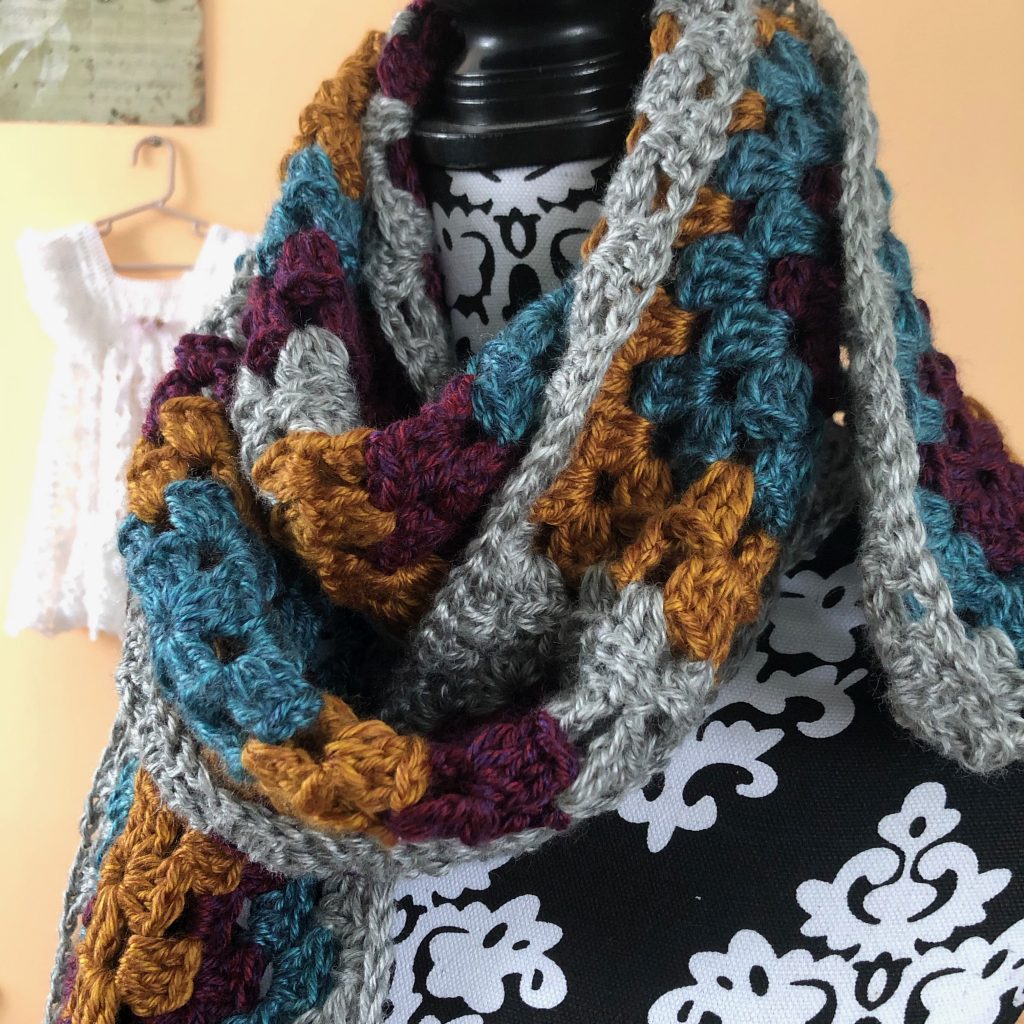
Or, try your hand at the gorgeous Heartland Granny Scarf!
All of my patterns are available on Ravelry and in my Etsy shop. Enjoy!

2 Comments