An easy basic granny square to learn to crochet
The traditional granny square is a staple in every crocheter’s toolbox. Learn how to crochet one using the stacked single crochet!
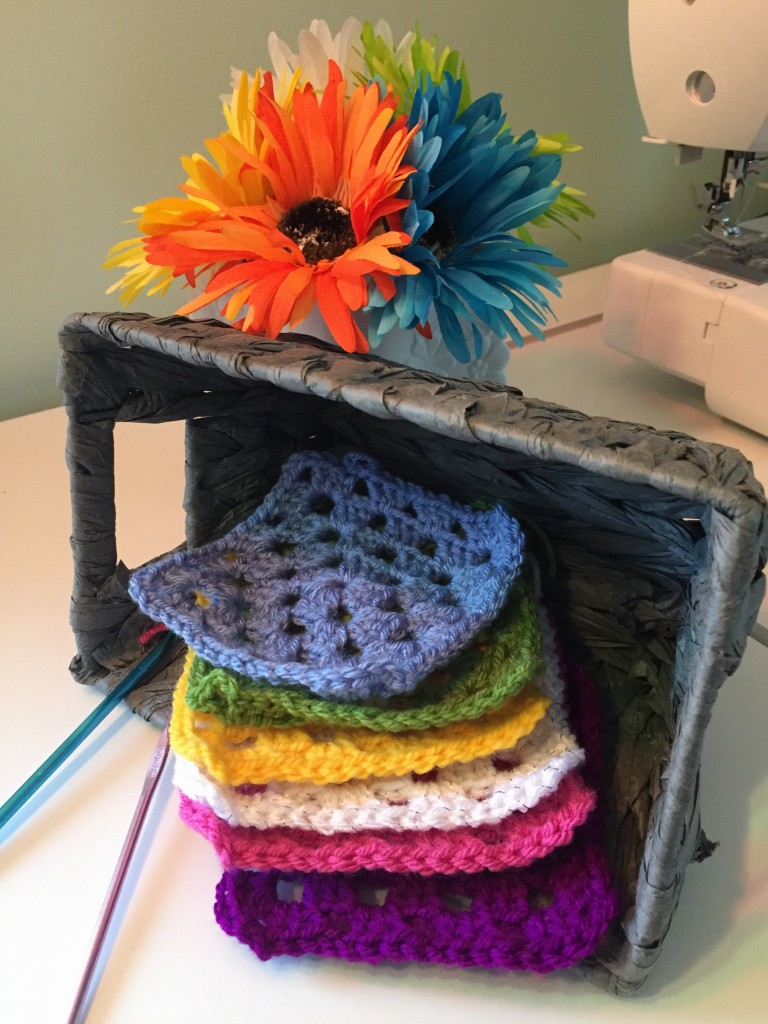
I am absolutely ga-ga over the traditional granny square! I can’t quite explain it. Maybe it has something to do with the portability and simplicity of the granny square. Or, it could be because my grandmother used it to teach me how to crochet.
I still own that first granny square scarf. It’s made with an ugly acrylic yarn from the early 70’s so you know how wonderful that must feel. Pretty sure, if I tried to wash it, the colors would run and the yarn would fall apart. But, I will never get rid of it because it represents the beginning of my crochet journey.
The Traditional Granny Square
Anyway, I know the granny square can have a dubious reputation, esp. if you remember back to the 70’s like I do. Granny square shorts for guys…I don’t think so! But that crazy little square can be one of the most satisfying projects for a busy crafter. It offers endless design possibilities, esp. with all the yarn and color choices we have available.
History of the granny square
I’ve tried to find definitive facts about the beginning of the granny square but apparently they simply don’t exist. It is, however, pretty well established that the granny square was devised to use scraps of yarn, perhaps in a time when yarn might have been scarce. By the time a reference to it appears in Weldon’s Practical Crochet, the granny square had been around for a while. Below are links to some of the sites I found that talk about granny square history.
Endless Possibilities
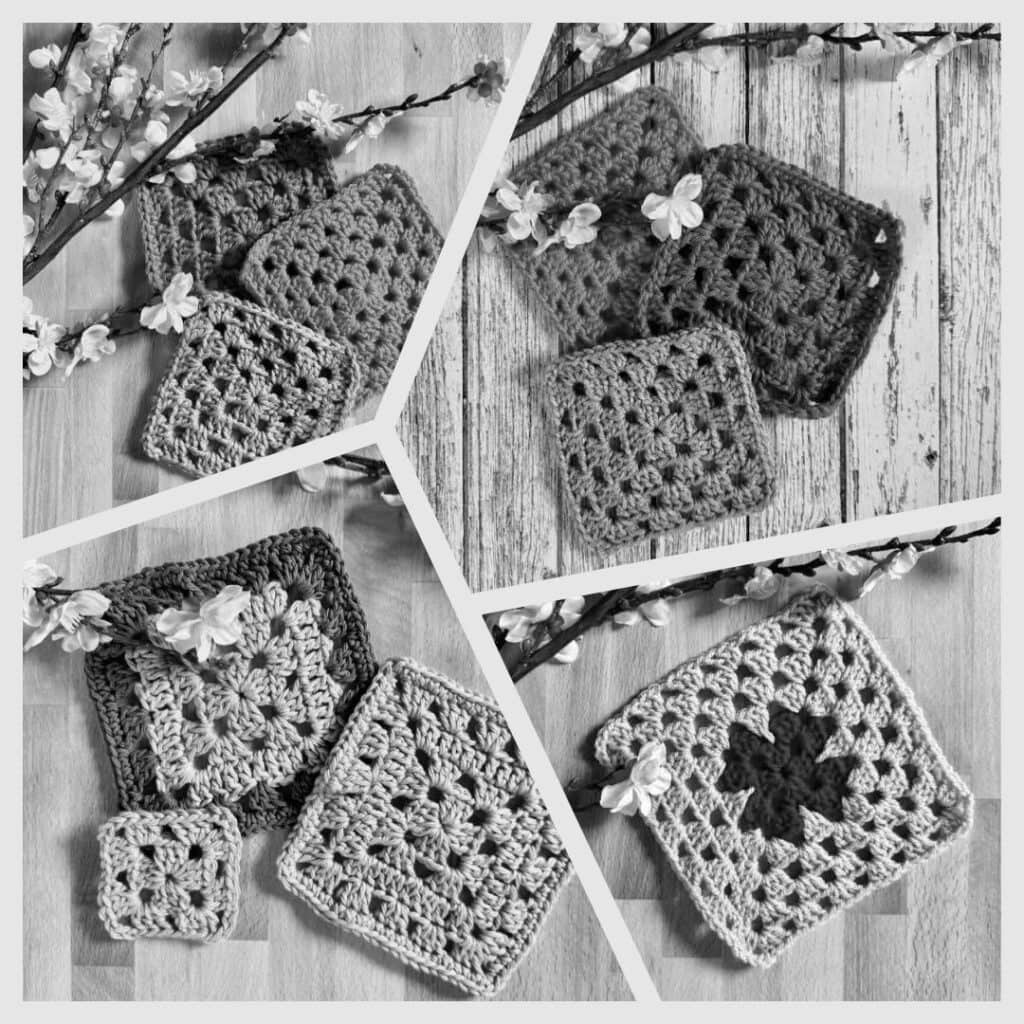
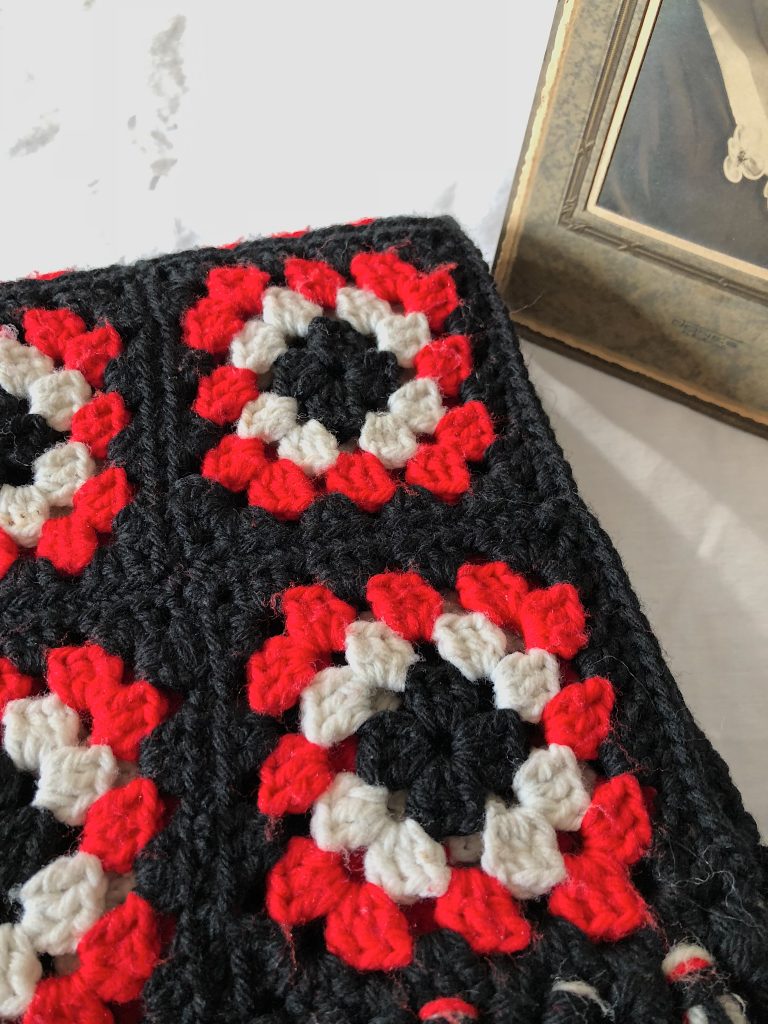
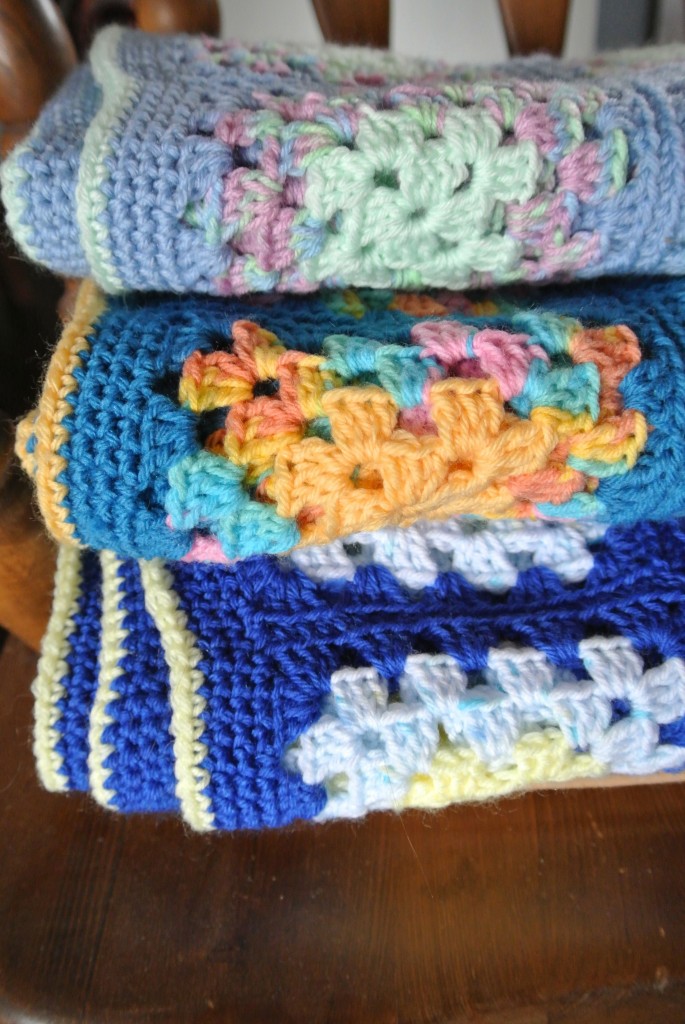
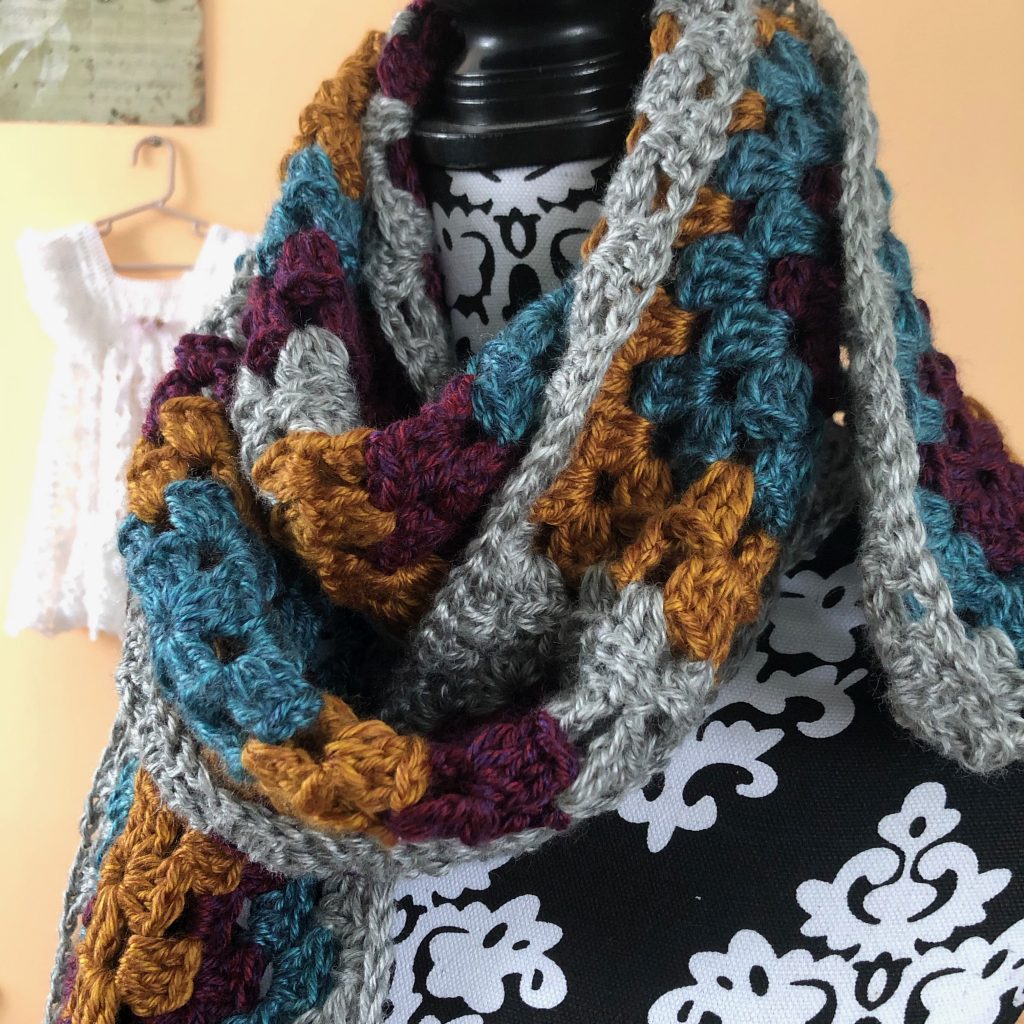
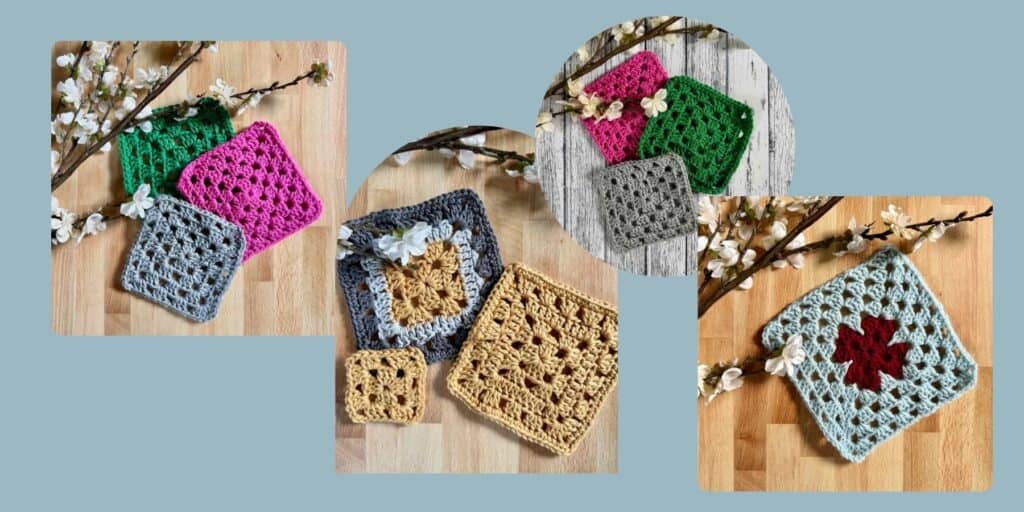
One of the qualities I love about the granny square is its versatility. There are so many ways it can be modified that give it a completely different look.
- Play around with color combinations within the square itself or in the project as a whole. Check out what I’ve done with my designs.
- Use lots of tiny squares or go for one GIANT square. (If you choose the giant square, be sure to check out my post on “Why Does My Granny Square Slant?”
- Change up the weight and texture of the yarn you’re using.
I could go on and on. All I can say is that I find myself coming back to my beloved granny square again and again. I can make them in my sleep!
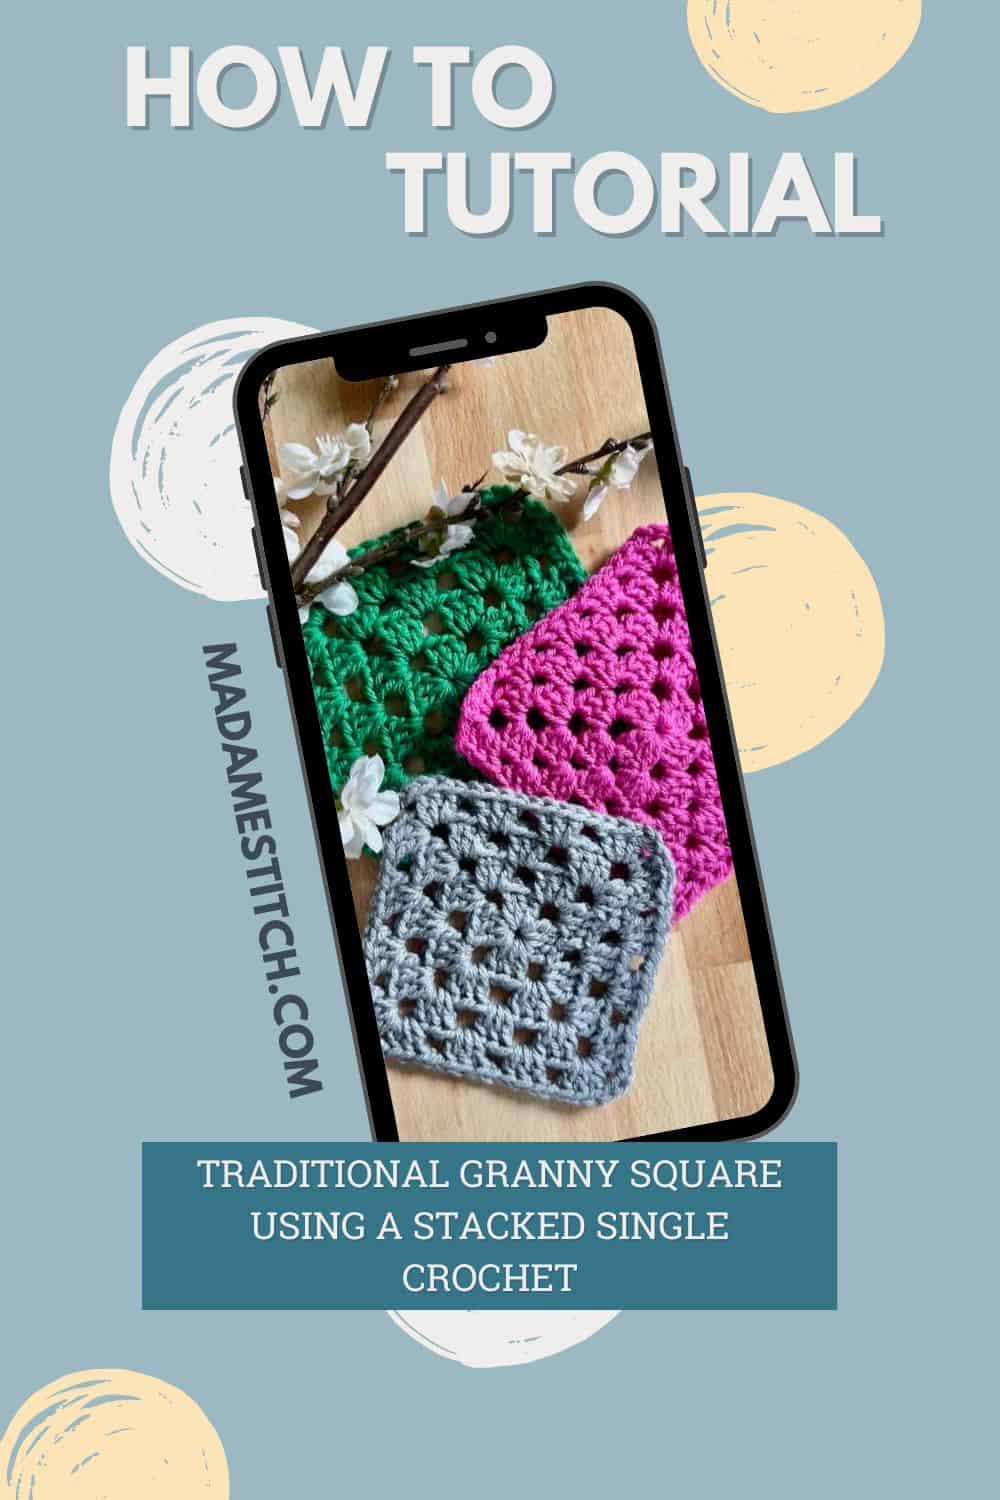
Why my version is a bit different
The typical granny square is made with turning chains. At the beginning of each round, a “ch 3” is worked, counting as the first double crochet.
I find that the turning chain creates a rather unsightly line up the middle of one side and makes it obvious where the join at the end of the round is. So, I’ve come up with an alternative I like a lot!
I’ve substituted the stacked single crochet for the initial “ch 3” and voilá, the join blends into the granny square. It’s a beautiful thing!
Below you’ll find my version of the traditional granny square. I’ve seen several different ways to make a granny square; none of them are right or wrong. This just happens to be the one that works the best for me.
Happy crocheting 🌸
Where to get the premium PDF for the Traditional Granny Square
The Traditional Granny Square is a free crochet pattern in this blog post. Scroll down to view the free version.
Upgrade to the premium PDF for a printer friendly and downloadable version of the PDF you can upload to your favorite mobile device. Take your granny squares with you whenever you’re out and about.
The PDF is easy to read and beautifully formatted without ads for a great experience. Included is a handy crochet chart for stitch placement.
Get your copy in Ravelry!
The Traditional Granny Square free pattern
Thank you for staying on this post and reading my patterns right here on the blog, without copy/pasting. When you stay here to follow the free version of my pattern, I am compensated for my time and energy. This is a great, free way to support a designer. If you would like to save this for later, bookmark the page to save it in your mobile browser.
General Information
Yarn
Worsted weight yarn: Approx. 20yds for a 4-rnd granny
Hook
US size H-8 (5mm) or size most appropriate for the yarn you’ve chosen
Tools
- Scissors
- Tapestry needle for weaving in ends
Finished Size
Approx. 5″ across
Skill Level: Beginner
Abbreviations – US crochet terminology
- beg – beginning
- ch – chain
- rep – repeat
- rnd(s) – round(s)
- sp – space
- st(s) – stitch(es)
- YO – yarn over
Repeats
- (…) – Work everything within the parentheses in the same st or sp.
- […] – Repeat everything within the brackets the indicated number of times.
- {…} – Repeat everything within the braces the indicated number of times.
Special Stitches
Granny stitch (GS) – 3 dc in the same st or sp.
Stacked single crochet (STsc) – (This stitch is used at the beginning of a round to replace the traditional turning ch-3. It has the appearance of a dc.) – Insert hook in the same st as the loop, YO, pull up a loop, YO, pull through 2 loops (bottom sc made), insert hook through the left vertical bar of the bottom sc, YO, pull up a loop, YO, pull through 2 loops (top sc made).
Pattern Notes
- You may substitute a magic ring for the initial ch-4. Be sure to tighten the ring at the end of Rnd 1.
- A ch-2 or ch-3 may be substituted for the STsc without altering the construction. However, the STsc blends into the texture and hides where the joins are.
- Do not turn after any rnd.
Video Tutorial
Are you a visual learner? Here’s a tutorial that may help!
Pattern Instructions
Ch 4; join with a slip st to form a ring.
Rnd 1: (STsc, 2 dc) in the ring (counts as 1st GS), ch 3, [GS in the ring, ch 3] 3 times, join with slip st to beg st. < 4 GS, 4 ch-3 corner sp >
Rnd 2: STsc in the ch-3 corner sp to the right of the hook, ch 1, [(GS, ch 3, GS) in the next ch-3 corner sp, ch 1] 3 times, (GS, ch 3, 2 dc) in the same sp as the STsc to complete the corner, join with slip st to beg st. < 8 GS, 4 ch-1 sp, 4 ch-3 corner sp >
Rnd 3: Slip st in the ch-1 sp, (STsc, 2 dc) in the same ch-1 sp (counts as 1st GS), ch 1, [(GS, ch 3, GS) in the next ch-3 corner sp, ch 1, GS in the ch-1 sp, ch 1] 3 times, (GS, ch 3, GS) in the next ch-3 corner sp, ch 1, join with slip st to beg st. < 12 GS, 8 ch-1 sp, 4 ch-3 corner sp >
Rnd 4: STsc in the ch-1 sp to the right of the hook, ch 1, GS in the next ch-1 sp, ch 1, {(GS, ch 3, GS) in the next ch-3 corner sp, [ch 1, GS in the next ch-1 sp] twice, ch 1} 3 times, (GS, ch 3, GS) in the next ch-3 corner sp, ch 1, 2 dc in the same sp as the STsc to complete the 1st GS, join with slip st to beg st. < 16 GS, 12 ch-1 sp, 4 ch-3 corner sp >
Fasten off and weave in ends.
To make your granny square larger, repeat Rnds 3 & 4.
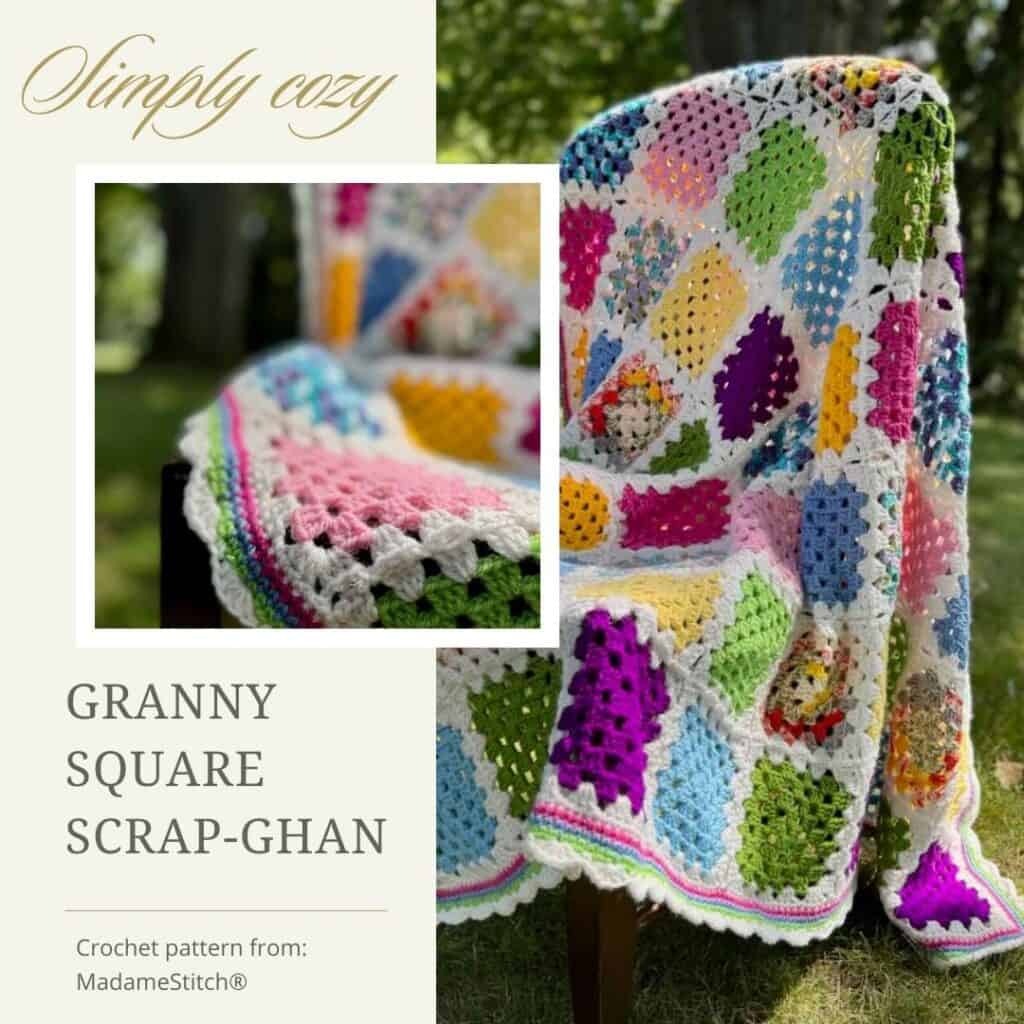
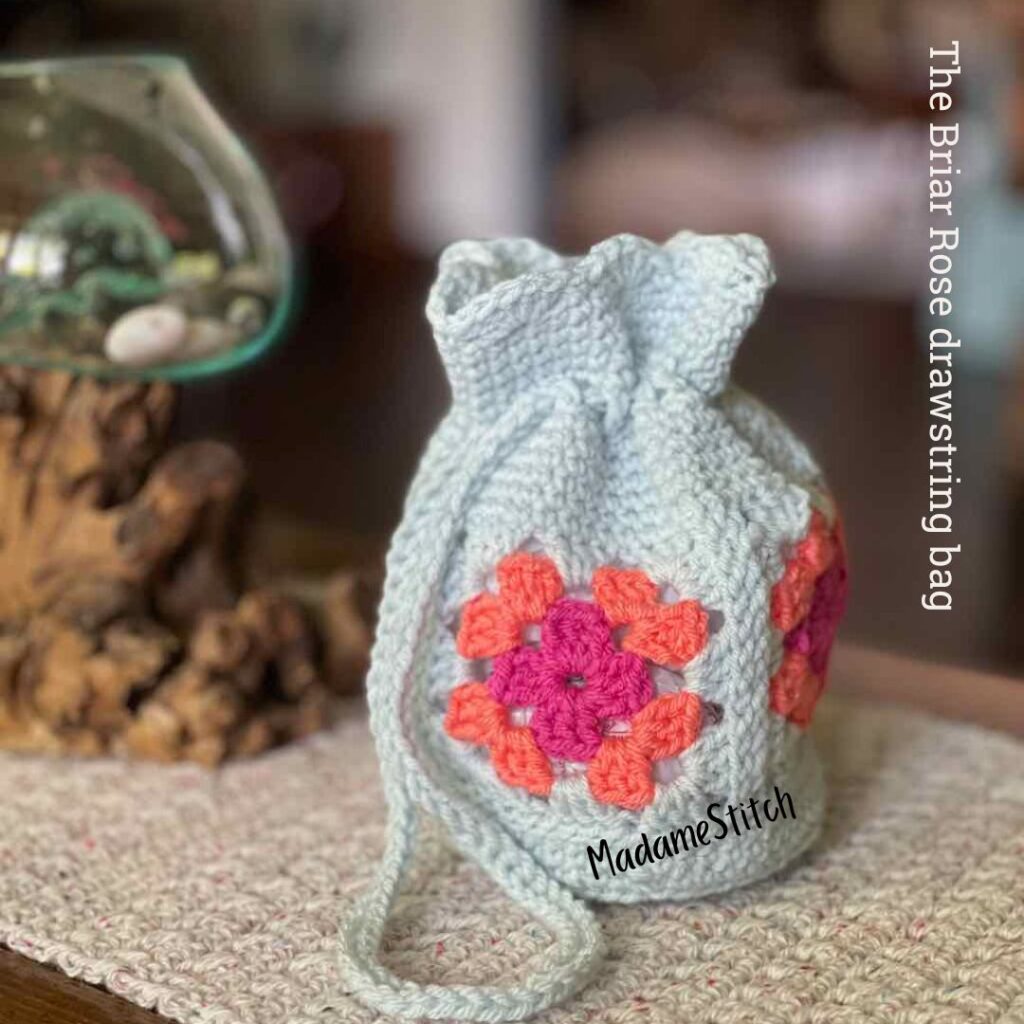
Want to make a project with granny squares?


6 Comments