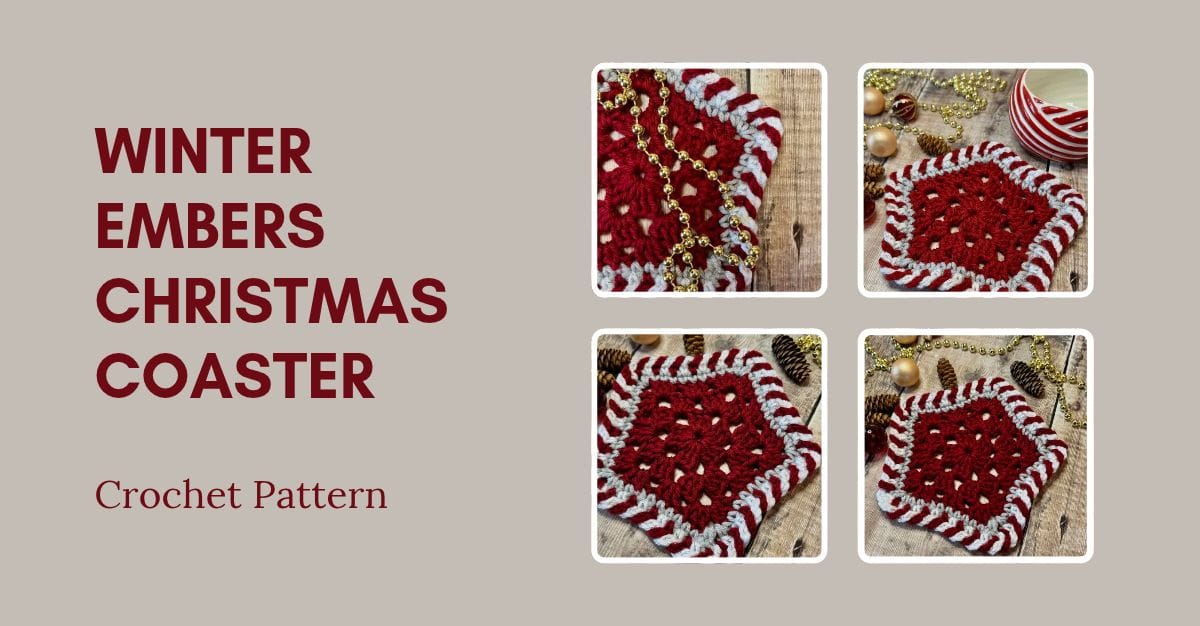
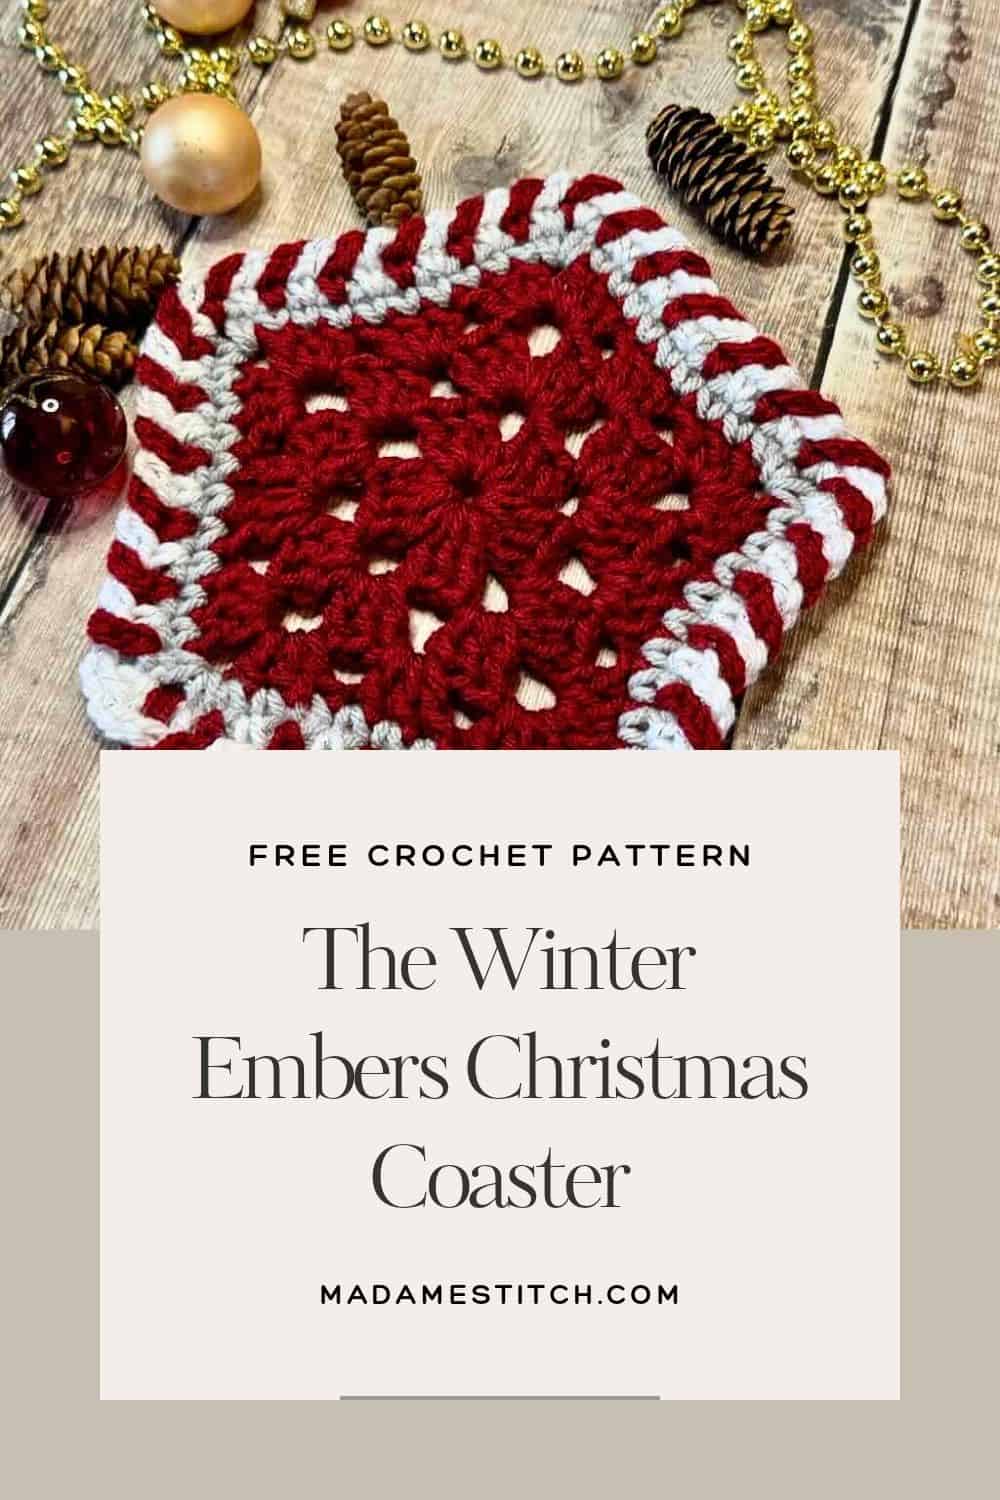
Protect your tabletop with this Christmas coaster full of whimsy and color
The Winter Embers Christmas Coaster is a quick make perfect for holiday decorating. Made with worsted weight yarn, it’s a budget-friendly option for dressing up your tabletops.
It’s time to pull out the Christmas decorations. Each piece comes out of storage with care and finds its special place in the room.
But are there coasters among your holiday décor?
We don’t often think about the everyday parts of our décor when we’re decorating for the holidays. Yet if family and friends will be stopping by this season, chances are you’ll be serving a warm drink or two. After all, you ARE a hospitable host!
One can never have enough coasters, especially during the holidays. Your tabletops deserve to be protected, so why not with coasters made just for the season?
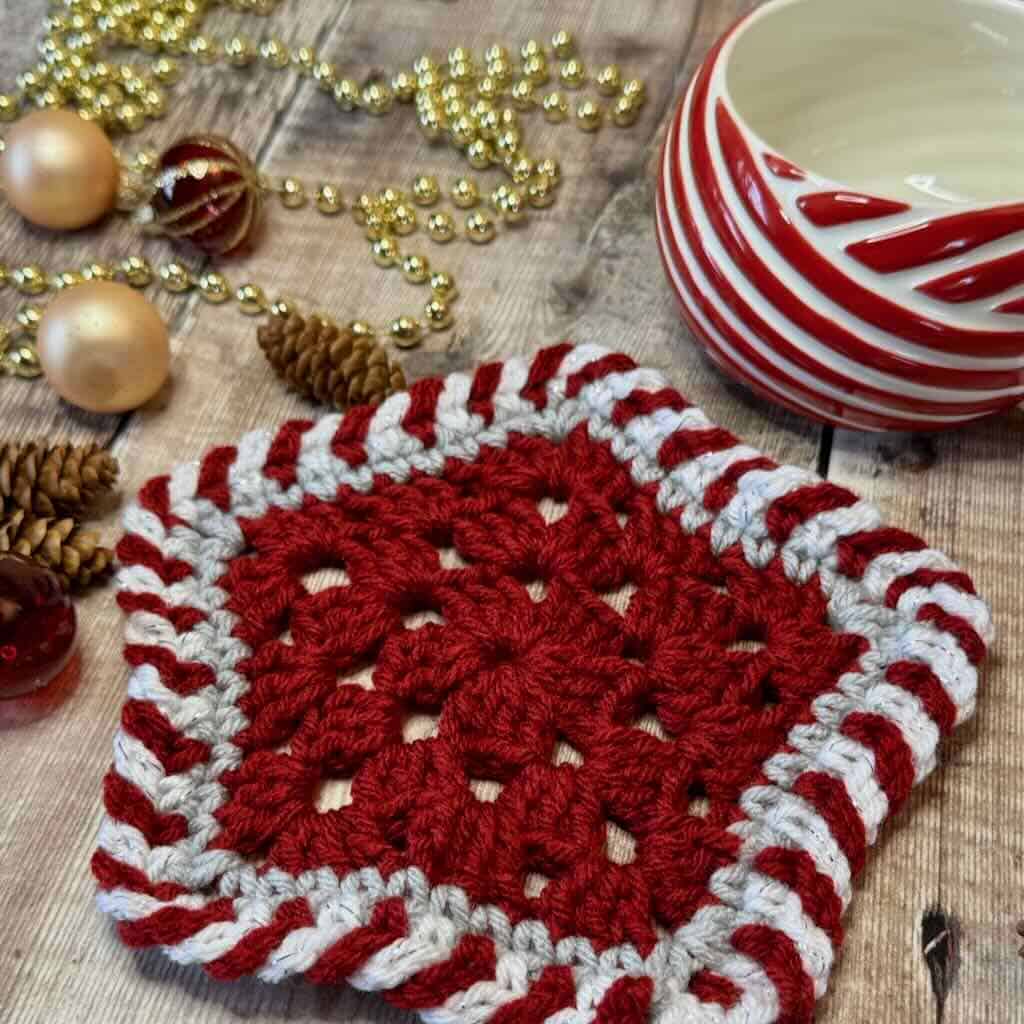
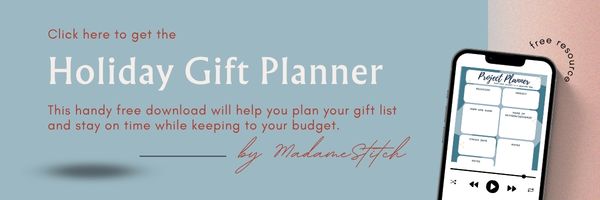
The Winter Embers Christmas Coaster brings a vintage Christmas color palette and a fun candy cane border to your table. Make a few and keep them handy for when guests come to visit. They’ll be talking about your coasters long after they’ve gone home.
Here’s a closer look at how this crochet Christmas coaster comes together.
Winter Embers Christmas Coaster
Pattern at a Glance
- Finished sizes: Small – 5.75″ across, Large – 7″ across
- Yarn: Premier Yarns “Basix” and “Basix Shimmer” (or the worsted weight of your choice)
- Yardage: Approx. 30yds for the Small, 40yds for the Large – in 3 colors
- Hook: US size I-9 (5.5mm)
- Skill Level: Advanced Beginner/Intermediate
- Video tutorial available
- Original publish date: November 19, 2026
Why You’ll Love This Pattern
- It’s a quick, beginner-friendly crochet project, easy to make in an evening.
- The unusual shape (a pentagon) and the beautiful candy cane border make this a conversation piece.
- Your tabletops will be protected from all the dreaded water rings!
- Have holiday colors in your stash? Use them to save a little money.
Design + Construction
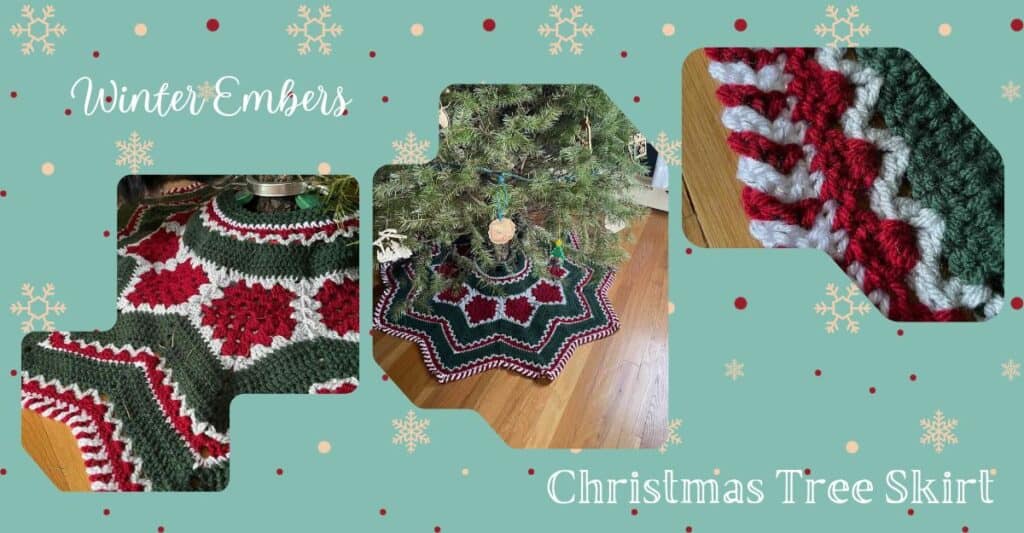
The Winter Embers Christmas Coaster takes its inspiration from the Winter Embers Christmas Tree Skirt, using the granny pentagon at the center of the tree skirt as its starting point.
A granny pentagon is a 5-sided version of the traditional granny square. It’s familiar territory for granny square lovers and an easy adaptation to pick up.
I designed the Christmas coaster in 2 sizes to accommodate mugs large and small. You can even use the larger size for a soup bowl. The only difference between the 2 sizes is an extra round on the pentagon. Everything else is the same for both sizes.
As always, I worked a round of single crochet around the pentagon. This ensures the edges are even and ready for the border.
The candy cane border looks complicated, but it’s actually very easy. It’s just a series of 3 chains worked in alternating colors, secured to the single crochet round with single crochets!
That candy cane border is what makes this crochet Christmas coaster such a fun conversation starter for your holiday décor. And those vintage Christmas colors? That all comes down to the yarn.
The Yarn
Worsted weight yarn is my go-to choice for a project like this Christmas coaster. It has more structure and weight than thinner yarns, but not so much bulk so that your mug sits securely on the table.
This Christmas coaster is perfect for shopping your stash. I had yarn left over from my Winter Embers Christmas Tree Skirt so I designed this coaster to complement the tree skirt.
I wanted these coasters to feel like something you’d find tucked in a box of vintage ornaments. So I skipped the traditional red and green colors and went with softer garnet and light gray. However, just to give them a little pizzazz, my choice for the white yarn is full of shimmer to tie in all those twinkling lights and sparkly ornaments.
Premier “Basix” has the color variations I’m looking for. As long as you choose yarn that’s absorbent and durable, it should work quite nicely for these Christmas coasters. Remember, the Christmas coasters are there not only to decorate but to protect surfaces from damage.
Yarn Substitution
You already have some worsted weight yarn but you’re not sure if it will work. No worries! Use my Yarn Substitution Worksheet to find out.
But, if you want to find a close match check out YarnSub.com for all the possibilities.

Frequently Asked Questions
What if I’ve never made a granny pentagon before?
Not a problem. If you’ve made a traditional granny square, the pentagon has 5 corners instead of 4. If you’re new to granny squares, the detailed instructions and the video tutorial should get you through.
Would this Christmas coaster look good in other colors?
Absolutely! In fact, be creative with your colors so your coaster will be personalized and unique.
Can this coaster be made even bigger?
Yes it can. Simply add more rounds following the established pattern until you get the size you want. Remember, the border will add an inch or so.
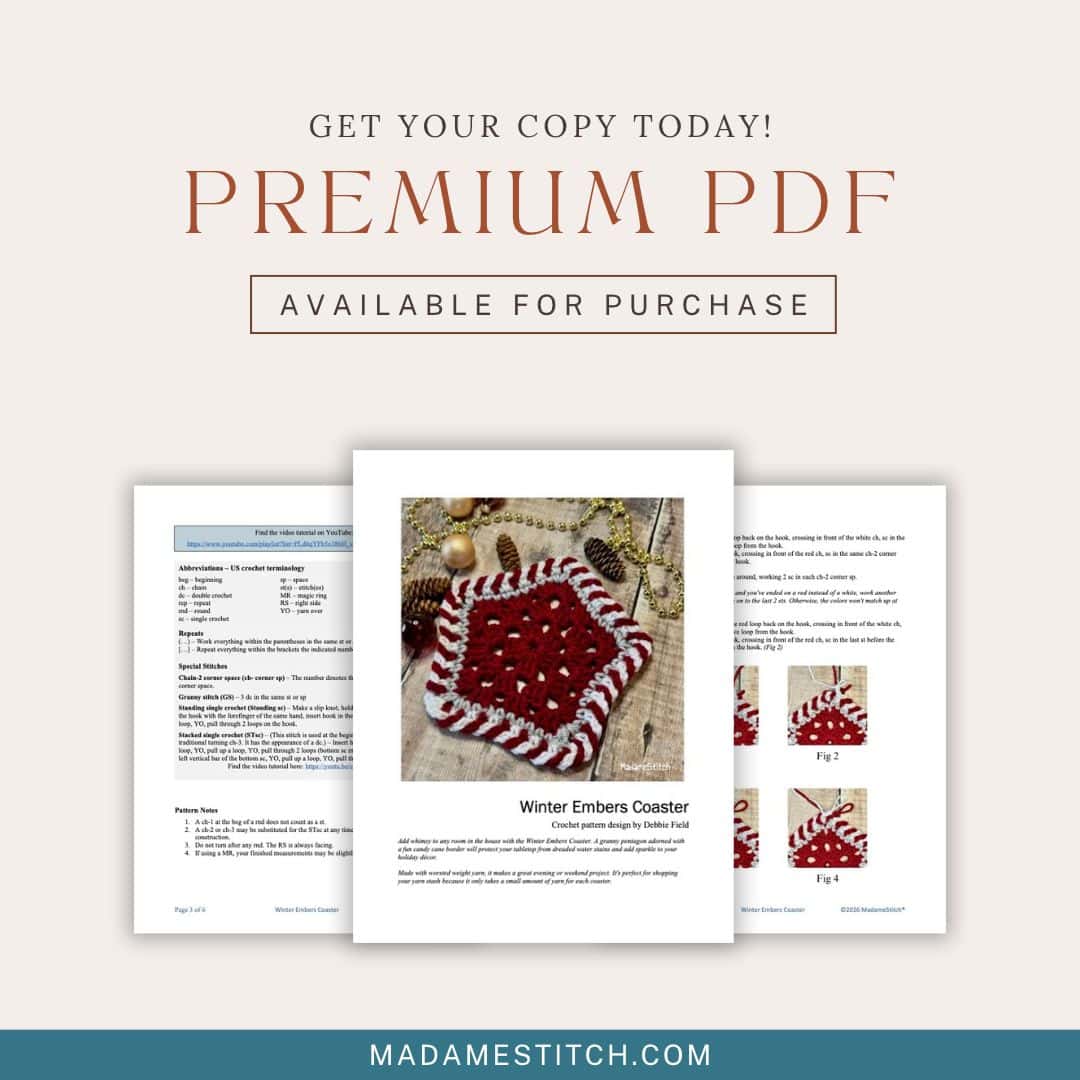
Where to get the PDF for the Winter Embers Christmas Coaster
The Winter Embers Christmas Coaster is a free crochet granny pentagon pattern in this blog post. Scroll down to find the free version.
Upgrade to the premium PDF for a printer friendly, downloadable version, available for purchase from one of my shops.
The premium PDF can be uploaded to your favorite mobile device so you can take your Winter Embers Christmas Coaster project with you to work on whenever you’re out and about.
The PDF is easy to read and beautifully formatted without ads for a great experience.
Get your copy today!



The Handmade Holiday Blog Hop
Throughout November, talented crochet designers are coming together to share a beautiful collection of free winter crochet patterns. You’ll discover cozy wearables, seasonal home décor, thoughtful handmade gifts, festive accessories, and plenty of inspiring winter crochet ideas.
This wonderful blog hop is hosted by RaeLynn of Itchin’ for Some Stitchin’.
Every day from November 1 through November 30, a brand-new featured crochet pattern will be available as a FREE PDF download for 24 hours only (12:00 AM to 11:59 PM Eastern).
On Friday, November 20, the Winter Embers Christmas Coaster is the featured download. Here’s how to get your copy while it’s available:
Click on the graphic below, fill out the information, and your PDF will appear. Be sure to download it and remember where it’s saved.

Visit the roundup post to see what other beautiful designs are being offered during the blog hop.
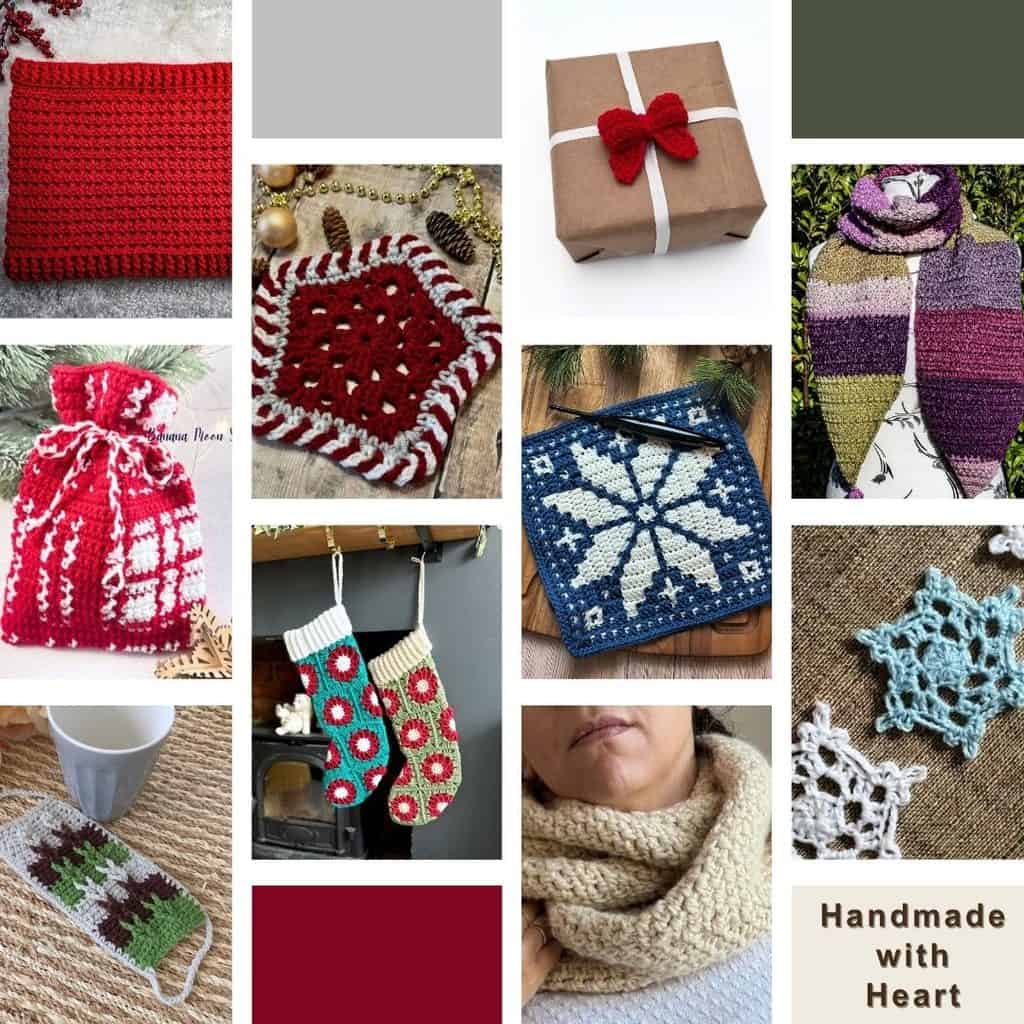
Grab the entire bundle, available only during the blog hop, that includes every design featured in the blog hop.
The Winter Embers Christmas Coaster Free Pattern
General Information
Yarn
Premier Yarns “Basix” 100% acrylic worsted weight (359yd/7oz; 328m/200g)
- Color A (CA) – Garnet
- Color B (CB) – Light Gray
Premier Yarns “Basix Shimmer” 97% acrylic, 3% metallic polyester worsted weight (216yd/4.23oz; 198m/120g)
- Color C (CC) – White Shimmer
Yardage needed
- Small: Approx. 30 yds total
- Large: Approx. 40 yds total
Hook
US size I-9 (5.5mm)
Finished Sizes
- Small – Approx. 5.75” across
- Large – Approx. 7” across
Gauge
Rnds 1-2 of the pentagon – measuring from a corner across to the middle of the opposite side is approx. 4”
Skill Level: Advanced Beginner/Intermediate
Abbreviations – US crochet terminology
- beg – beginning
- ch – chain
- dc – double crochet
- rep – repeat
- rnd – round
- sc – single crocheet
- sp – space
- st(s) – stitch(es)
- MR – magic ring
- RS – right side
- YO – yarn over
Repeats
- (…) – Work everything within the parentheses in the same st or sp.
- […] – Repeat everything within the brackets the indicated number of times.
Special Stitches
Chain-2 corner space (ch-2 corner sp) – The number denotes the number of chains made in a corner space.
Granny stitch (GS) – 3 dc in the same st or sp
Standing single crochet (Standing sc) – Make a slip knot, hold the slip knot firmly against the hook with the forefinger of the same hand, insert hook in the indicated st, YO, pull up a loop, YO, pull through 2 loops on the hook.
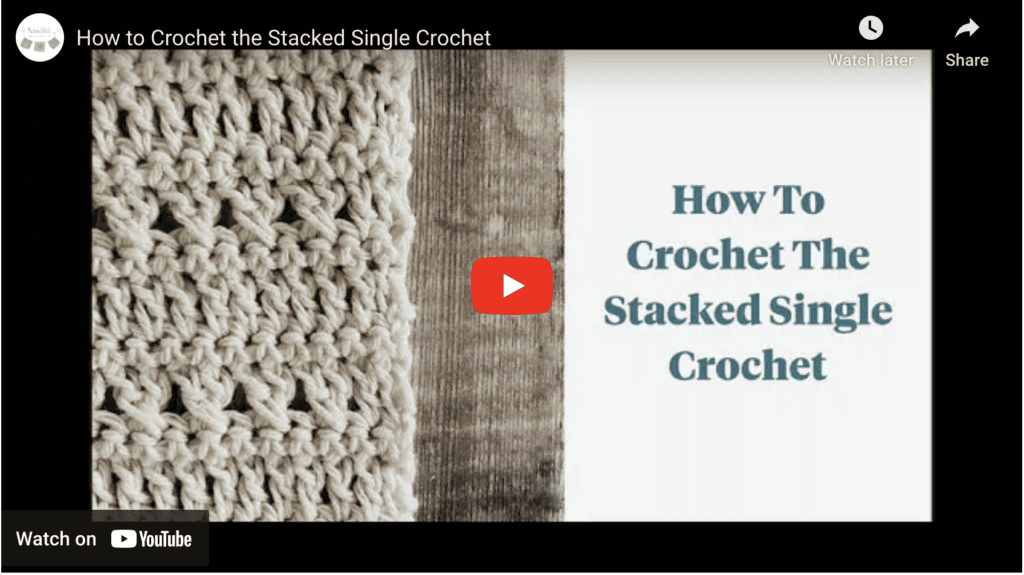
Stacked single crochet (STsc) – (This stitch is used at the beginning of a round to replace the traditional turning ch-3. It has the appearance of a dc.) – Insert hook in the same st as the loop, YO, pull up a loop, YO, pull through 2 loops (bottom sc made), insert hook through the left vertical bar of the bottom sc, YO, pull up a loop, YO, pull through 2 loops (top sc made).
Pattern Notes
- A ch-1 at the beg of a rnd does not count as a st.
- A ch-2 or ch-3 may be substituted for the STsc at any time without altering the construction.
- Do not turn after any rnd. The RS is always facing.
- If using a MR, your finished measurements may be slightly smaller.
Pattern Instructions
With CA, ch 5, join with slip st to beg st to form a ring, OR use a MR, pulling the ring closed after Rnd 1.
Rnd 1 (RS): (STsc, 2 dc) in the ring, ch 2, [(GS in the ring, ch 2] 4 times, join with slip st to beg st. < 5 GS, 5 ch-2 corner sp >
Rnd 2 (RS): STsc in the sp to the right of the hook, [(GS, ch 2, GS) in the next ch-2 corner sp] 4 times, (GS, ch 2, 2 dc) in the same sp as the beg STsc to complete the 1st corner, join with slip st to beg st. < 10 GS, 5 ch-2 corner sp >
For the Small coaster, fasten off CA and proceed to Rnd 4.
For Large coaster only:
Rnd 3: Slip st in the next sp, (STsc, 2 dc) in the same sp, [(GS, ch 2, GS) in the next ch-2 corner sp, GS in the next sp] 4 times, (GS, ch 2, GS) in the next ch-2 corner sp, join with slip st to beg st. Fasten off CA. < 15 GS, 5 ch-2 corner sp >
For both sizes:
Rnd 4: With CB, ch 1, (sc, ch 2, sc) in any ch-2 corner sp, sc in the next st and in each st across to the next ch-2 corner sp, [(sc, ch 2, sc) in the ch-2 corner sp, sc in the next st and in each st across to the next ch-2 corner sp] 4 times, join with slip st to beg st. Fasten off CB. < 40 (55) sc, 5 ch-2 corner sp >
Candy Cane Border
Notes:
- The candy cane border is worked around the outer edge of the coaster, beginning and ending in the same ch-2 corner sp.
- The skeins (or bobbins) will become tangled because of how the chains cross each other as you work. Untangle the yarn by rotating the coaster.
- The instructions here are written for red and white. If you’ve chosen different colors, simply substitute them for what’s included.
- The border is worked with the RS facing.
Step 1:
- With red yarn, standing sc in any ch-2 corner sp, ch 2, remove the loop from the hook.
- With white yarn, standing sc in the same corner sp, ch 2, remove the loop from the hook.
Step 2:
- Put the red loop back on the hook, crossing in front of the white ch, sc in the next st, ch 2, remove the loop from the hook.
- Put the white loop back on the hook, crossing in front of the red ch, sc in the next st, ch 2, remove the loop from the hook.
Rep Step 2 to the next ch-2 corner sp.
Note: In the Large coaster, the last color worked before the corner may not be white. Continue to alternate the colors across the corner as established.
Step 3 (Corner sp):
- Put the red loop back on the hook, crossing in front of the white ch, sc in the ch-2 corner sp, ch 2, remove the loop from the hook.
- Put the white loop back on the hook, crossing in front of the red ch, sc in the same ch-2 corner sp, ch 2, remove the loop from the hook.
Continue in the established pattern around, working 2 sc in each ch-2 corner sp.
Note: If you arrive at the last 2 sts and you’ve ended on a red instead of a white, work another white in the same st before moving on to the last 2 sts. Otherwise, the colors won’t match up at the end.
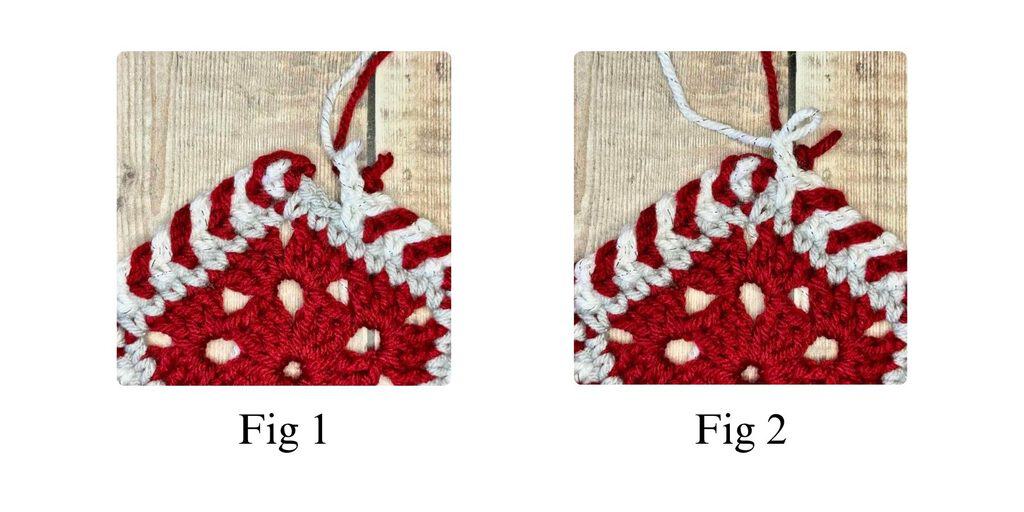
When 2 sts remain (Fig 1):
- Put the red loop back on the hook, crossing in front of the white ch, sc in the next to last st, ch 2, remove loop from the hook.
- Put the white loop back on the hook, crossing in front of the red ch, sc in the last st before the corner, ch 2, remove the loop from the hook. (Fig 2)
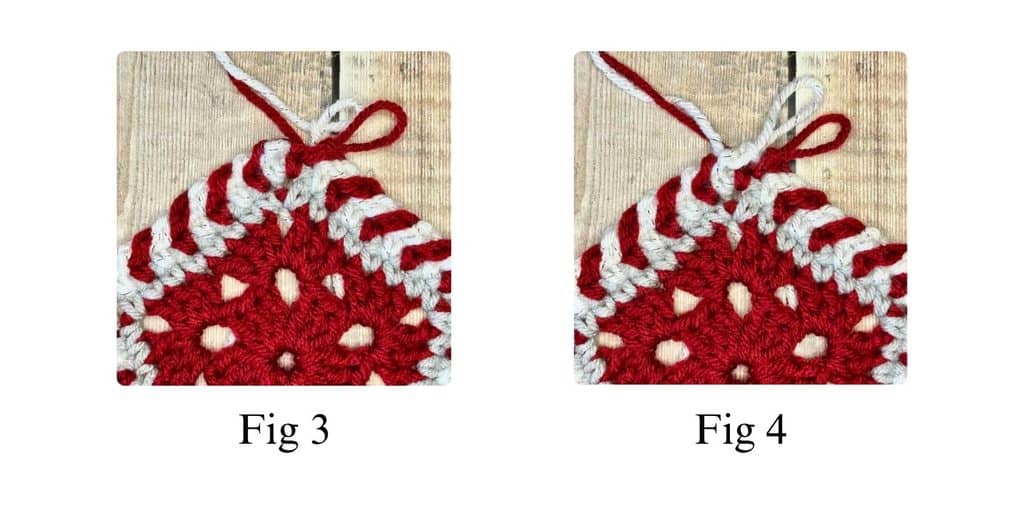
To fasten off:
- Put the red loop back on the hook, crossing in front of the white ch, slip st in the top of the beg red sc. (Fig 3)
- Put the white loop back on the hook, crossing in front of the red ch, slip st in the top of the beg white sc. (Fig 4)
Weave in ends.
Pair this with the Winter Embers Christmas Tree Skirt