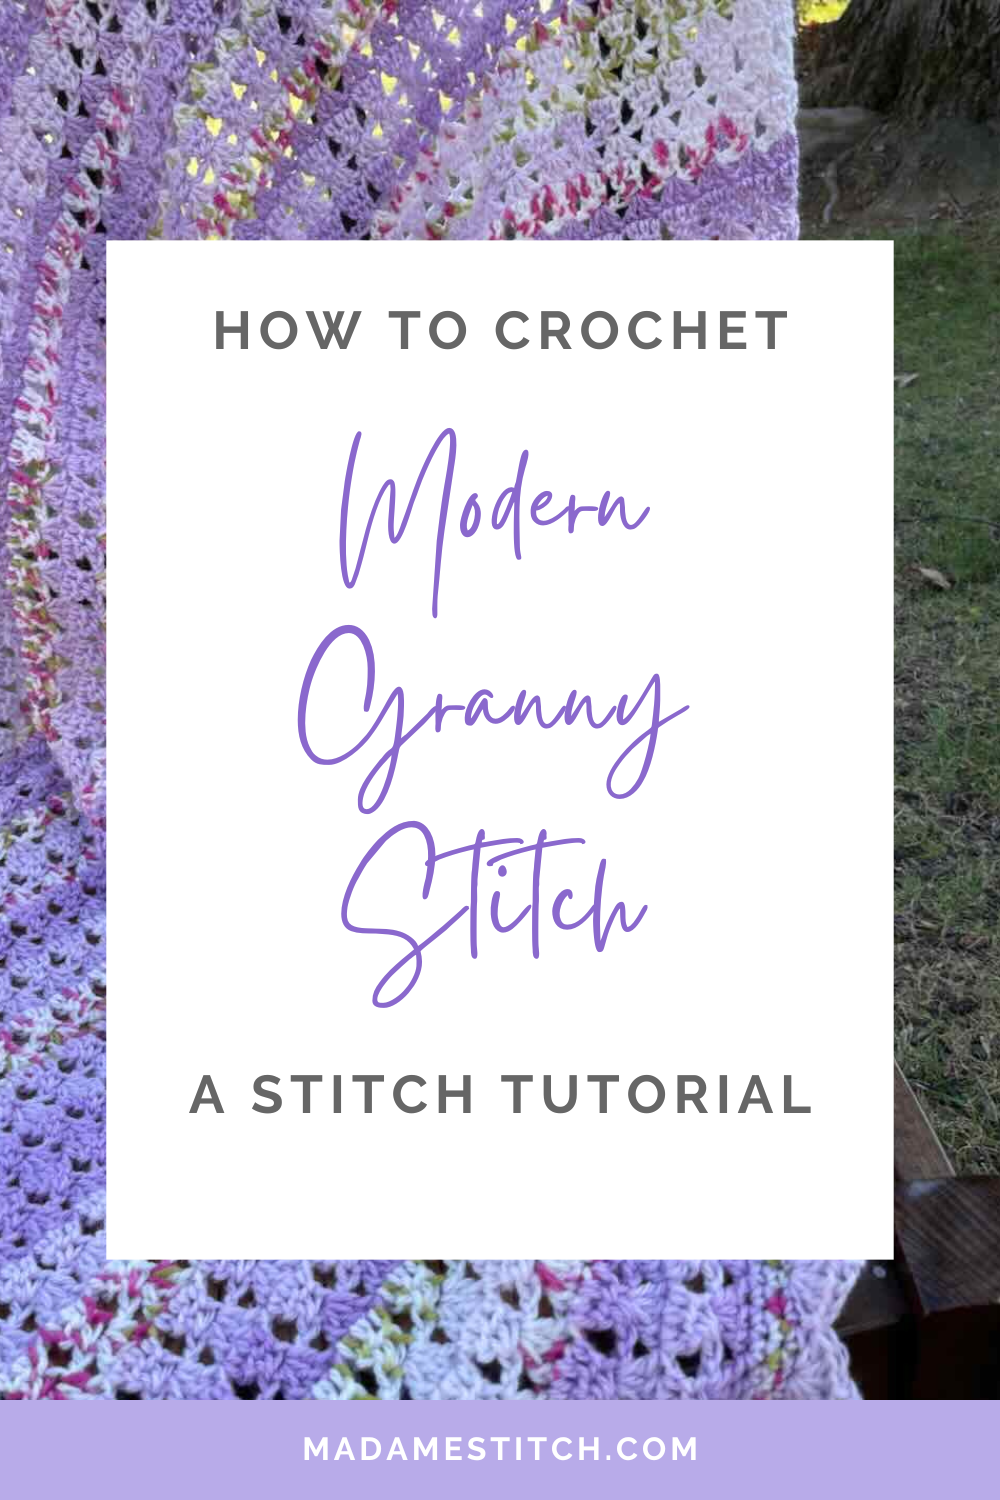
How to Crochet the Modern Granny Stitch
Learn how to crochet the modern granny stitch is this handy photo tutorial.
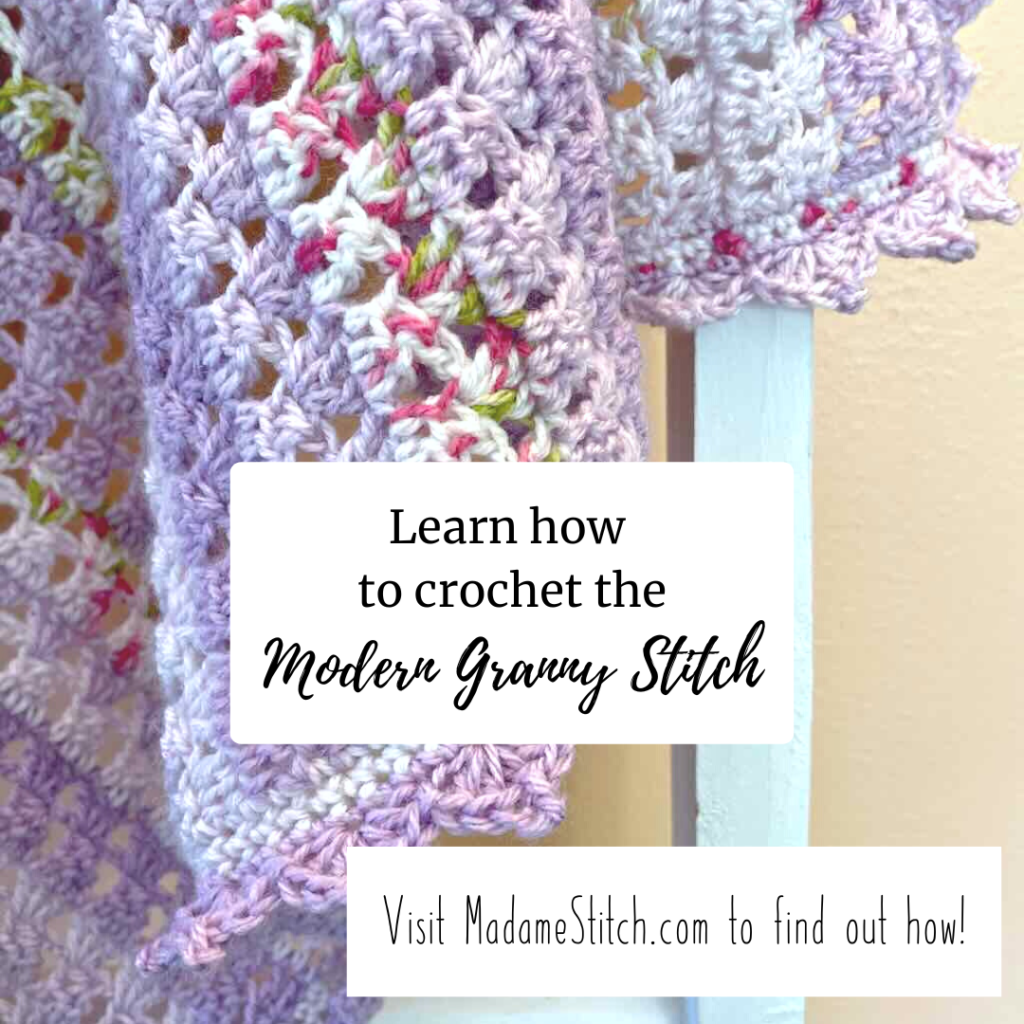
What is the modern granny stitch?
The modern granny stitch is an easy to remember and easy to work two-row repeat. Once the foundation row is set up, the stitches of one row simply work logically into the stitches of the row before.
The first row of the stitch pattern is the traditional granny stitch. If you aren’t familiar with the granny stitch, you’ve certainly seen it. The traditional granny square is round after round of 3 dc worked into the same space. That’s it!
The second row of the stitch pattern is a dc3tog worked into the tops of the 3dc of the granny stitch. It becomes the mirror image of the granny stitch row.
I’ve seen the modern granny stitch worked into spaces like the traditional granny square. But I modified it, working the granny stitches directly into the tops of the dc3tog for a more open, delicate look.
If you prefer a video tutorial, here’s a great one!

Modern Granny Stitch Photo Tutorial
In this tutorial, I’ll show you the basic structure of the modern granny stitch.
Your pattern will tell you how to set up the foundation for your modern granny stitch. These steps show you the two-row repeat of the actual modern granny stitch.
Abbreviations used in this tutorial – US crochet terminology
- ch – chain
- dc – double crochet
- Double crochet 3 together (dc3tog) – (YO, draw up a loop, YO, pull through 2 loops) 3 times, YO, pull through all 4 loops on hook. This is worked in the 3 dc of the GS.
- Granny Stitch (GS) – 3 dc in the same st or sp
- sp – space
- st(s) – stitch(es)
- STsc – Stacked single crochet (see video)
- YO – yarn over

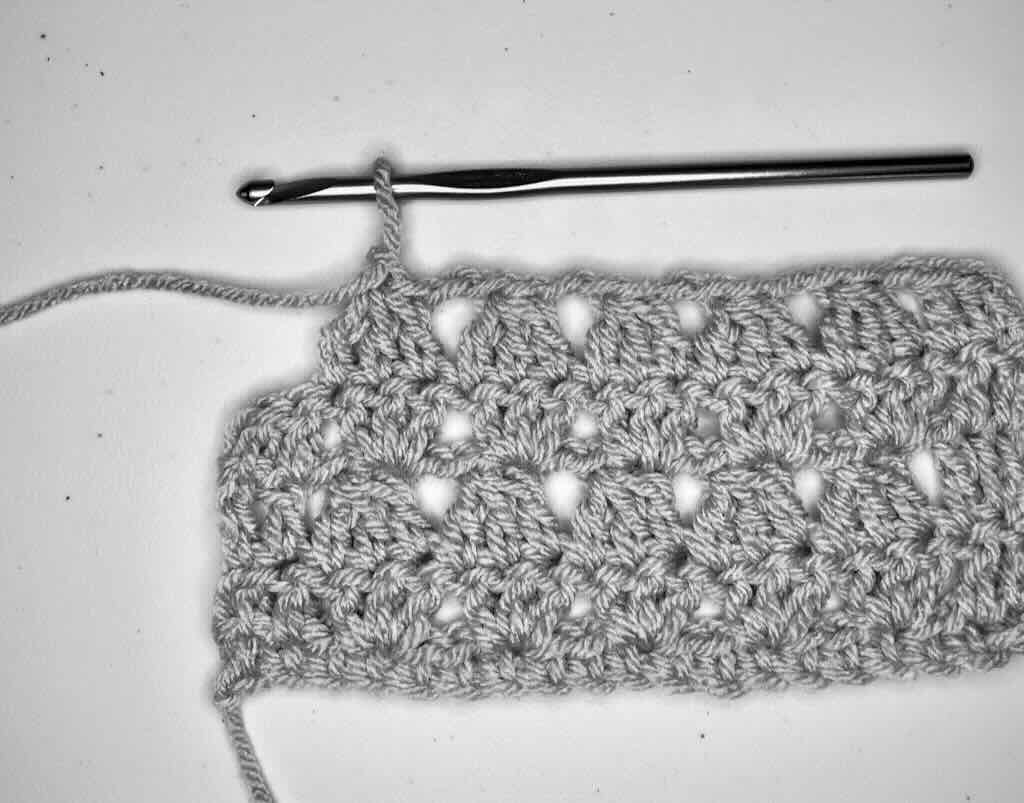
Step 1: After turning to start the new row, STsc, dc in the next st.
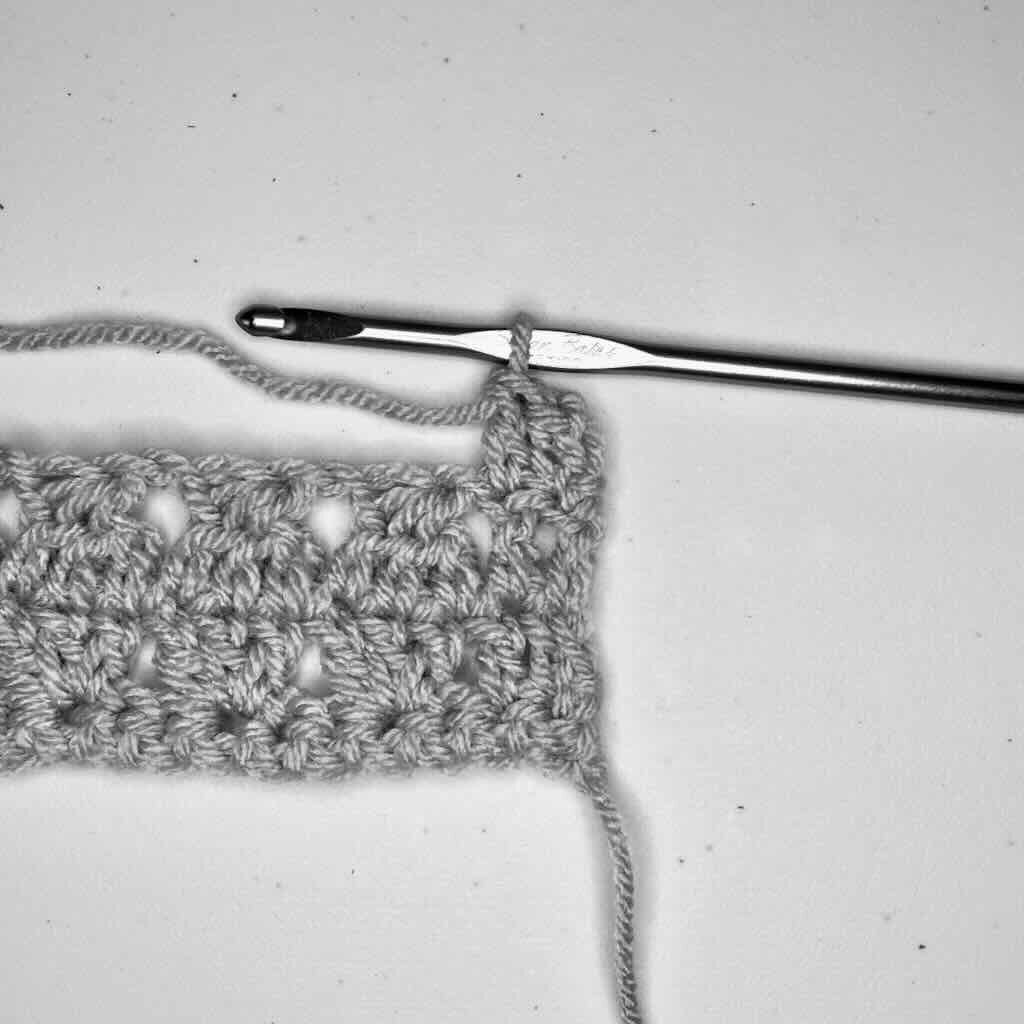
Step 2: GS in the top of the next dc3tog (it will look like it’s to the left side of the dc3tog).
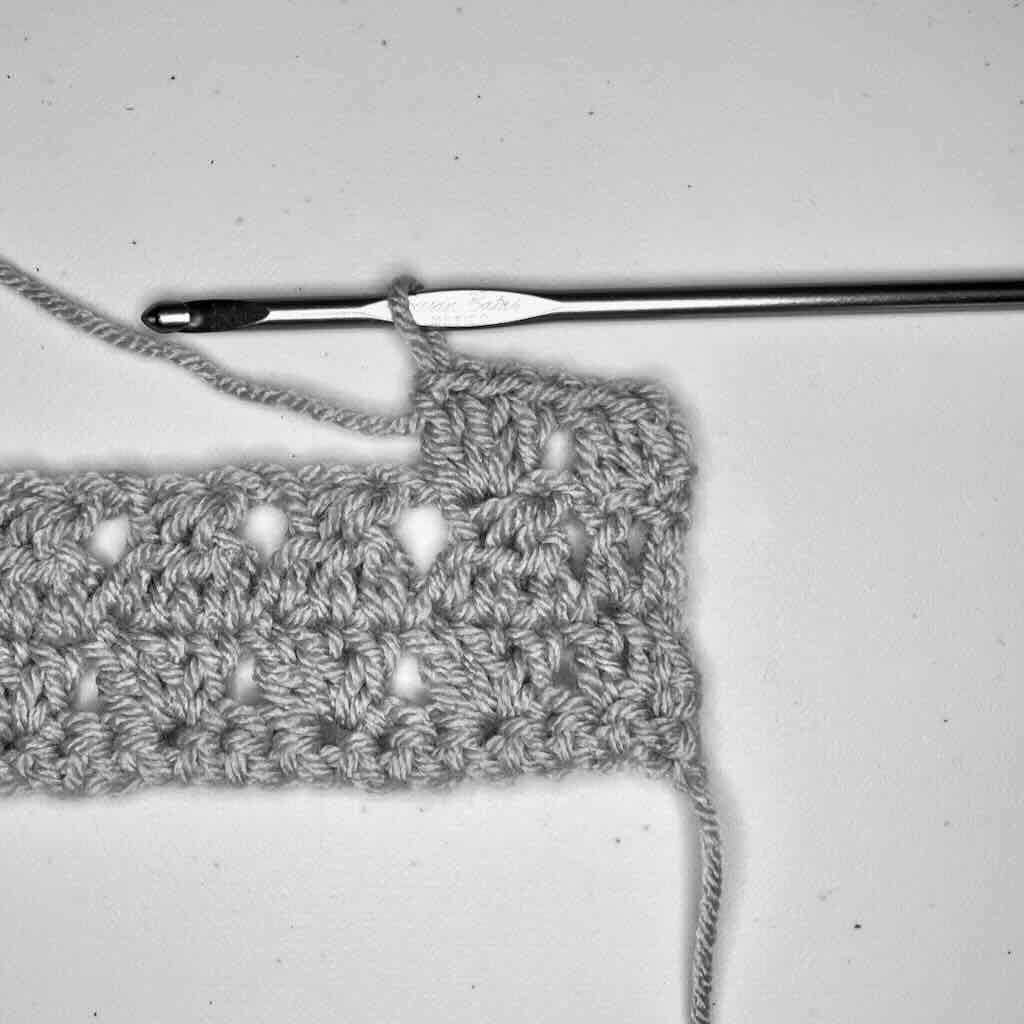
Step 3: GS in each dc3tog across, dc in last 2 sts.
Step 4: After turning to start the 2nd row of the pattern, STsc, dc in the next st.
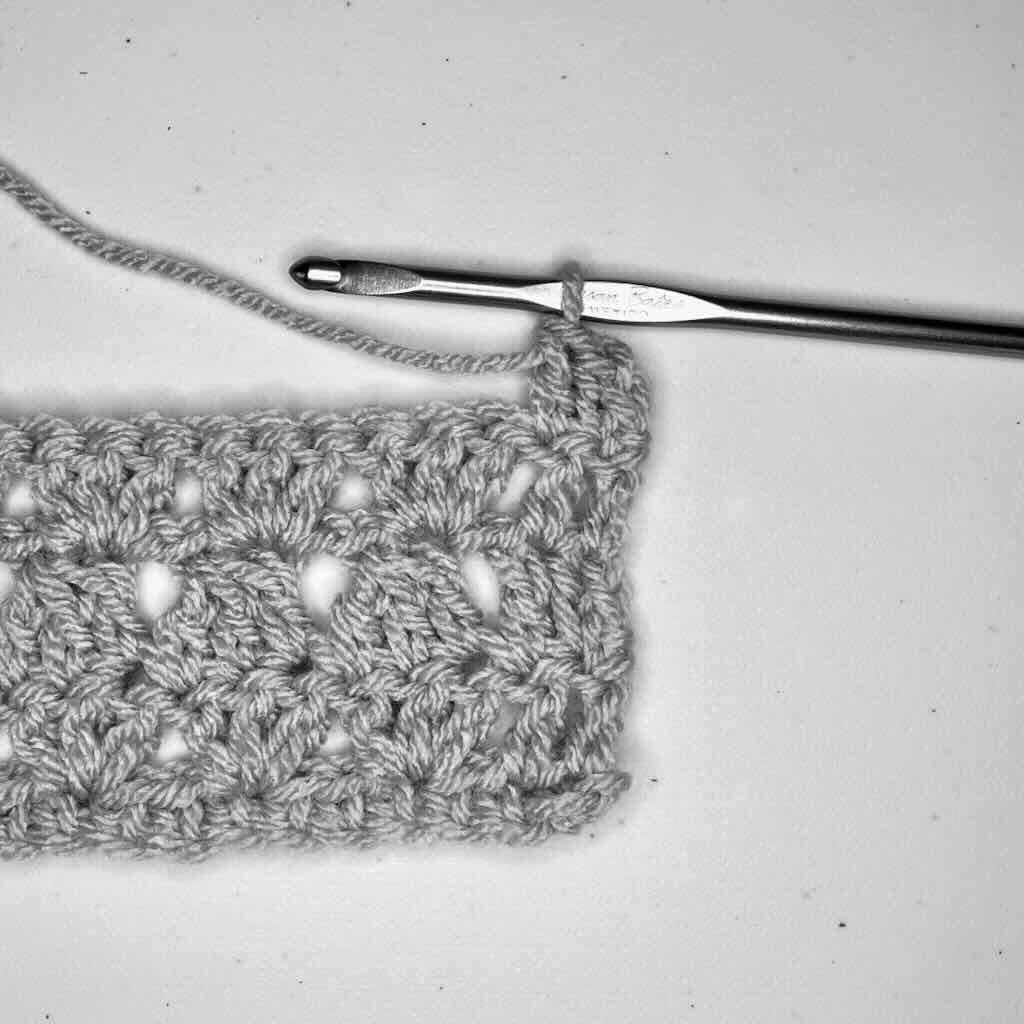
Step 5: Ch 1.

Step 6: Dc3tog in the 3 dc of the next GS.
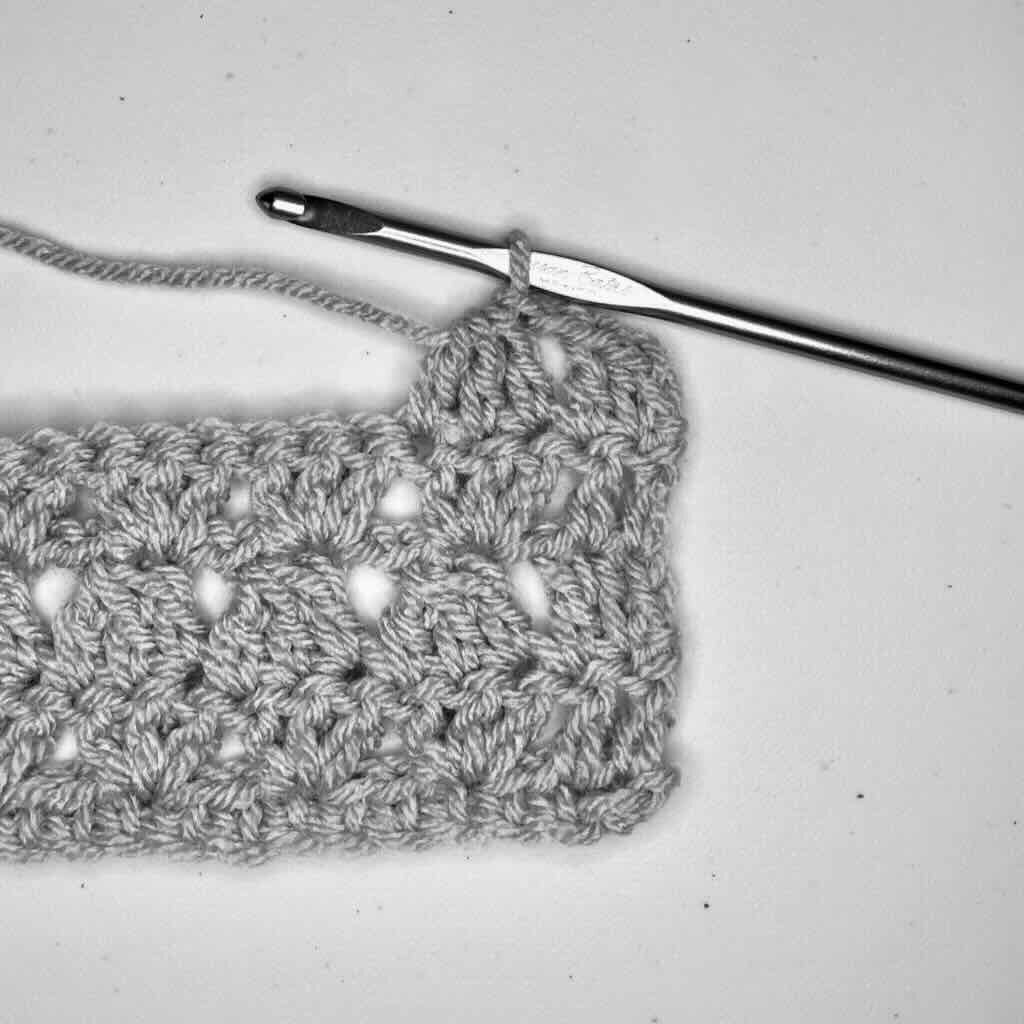
Step 7: [Ch 2, dc3tog in the 3 dc of the next GS] across.
Step 8: Ch 1, dc in the last 2 sts.
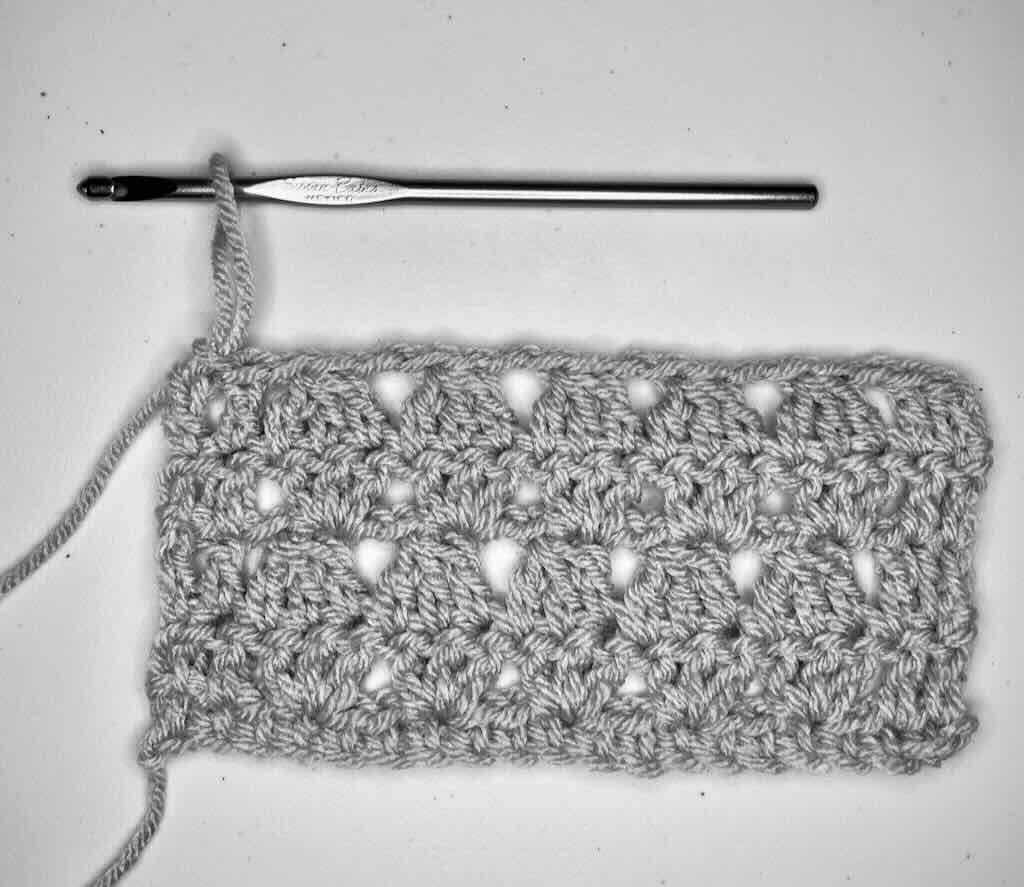
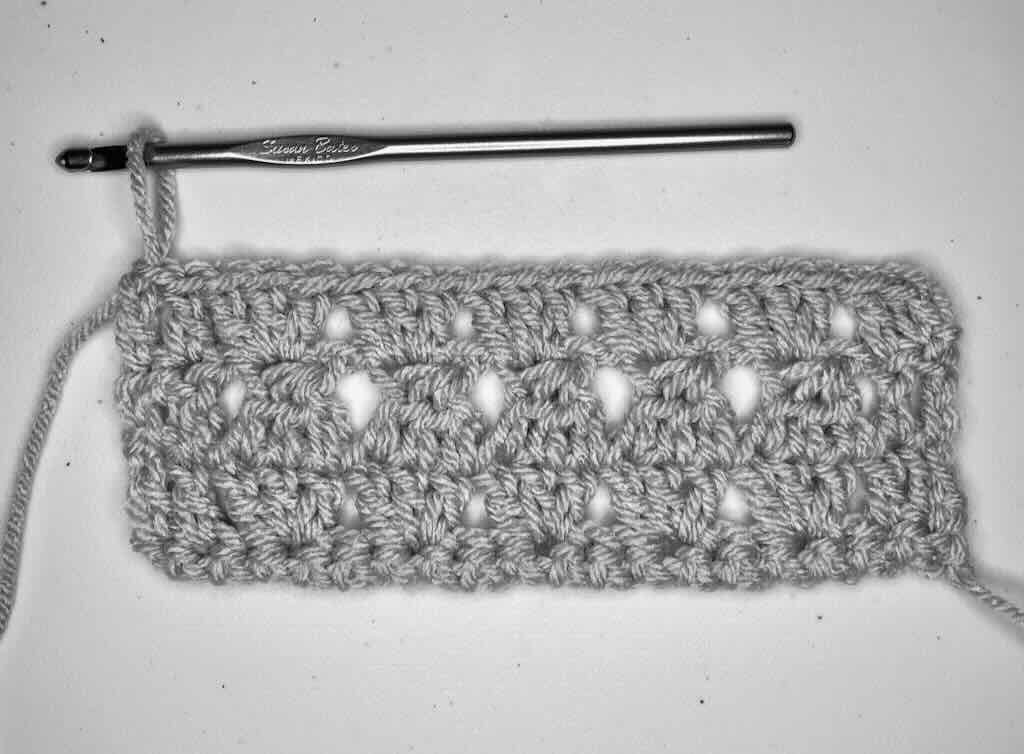
That’s the two-row repeat.
Now, let’s make a swatch!
Ch 20.
Row 1: Sc in 2nd ch from hook and in each ch across, turn. (19 sc)
Row 2: STsc, dc in next st, sk 1 st, GS in the next st, (sk 2 sts, GS in next st) 4 times, sk 1 st, dc in last 2 sts, turn. (5 GS, 4 dc)
Row 3: STsc, dc in next st, ch 1, dc3tog in the 3 dc of the next GS,( ch 2, dc3tog in the 3 dc of the next GS) 4 times, ch 1, dc in last 2 sts, turn. (5 dc3tog, 4 ch-2 sp, 2 ch-1 sp, 4 dc)
Row 4: STsc, dc in next st, GS in top of dc3tog 5 times, dc in last 2 sts, turn. (5 GS, 4 dc)
Rows 5-6: Rep Rows 3-4.
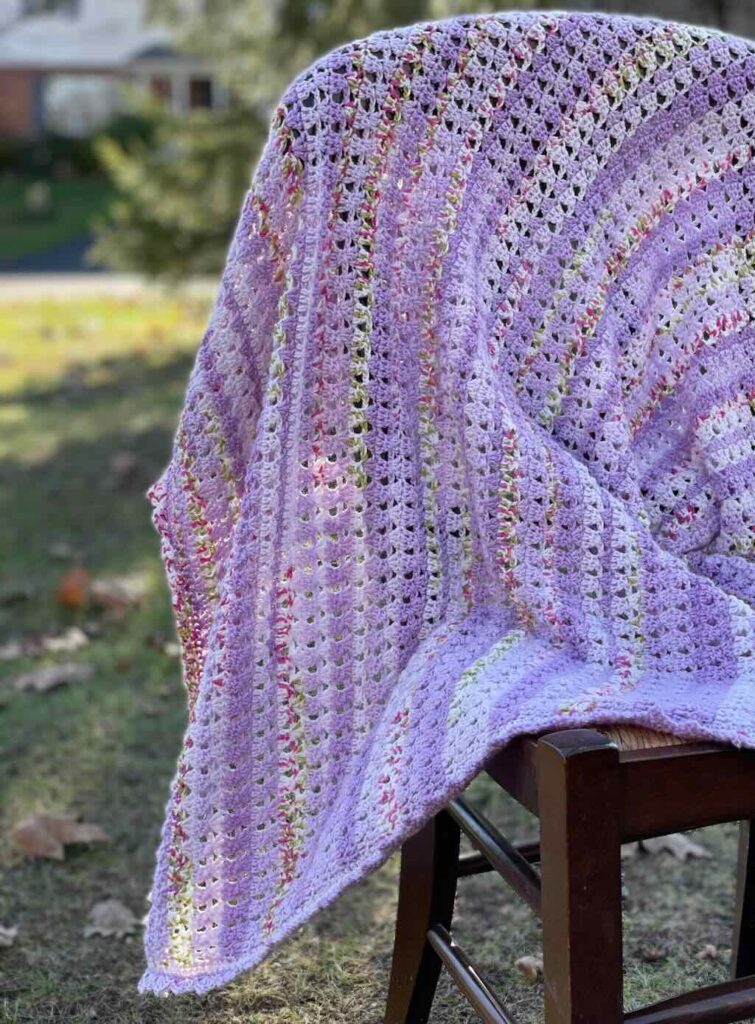
Here’s a great pattern for you.
Now that you’re a pro at the modern granny stitch, it’s time to put your new crochet skills to work. The Floryn Baby Blanket is a beautiful iteration of the modern granny stitch with a border of picot shells that look like little petals. This mindful make is perfect for a baby shower gift you want to be special. It’s free on the blog!
Crochet is truly a multi-generational craft! 37% of yarn crafters know a child who knits or crochets and reported that they observed a positive influence on children who participate in the craft.
Click on the graphic. If the entry form pops up, fill it out to enter the Day 6 drawing.
If not, return to the event post and try another link.


2 Comments