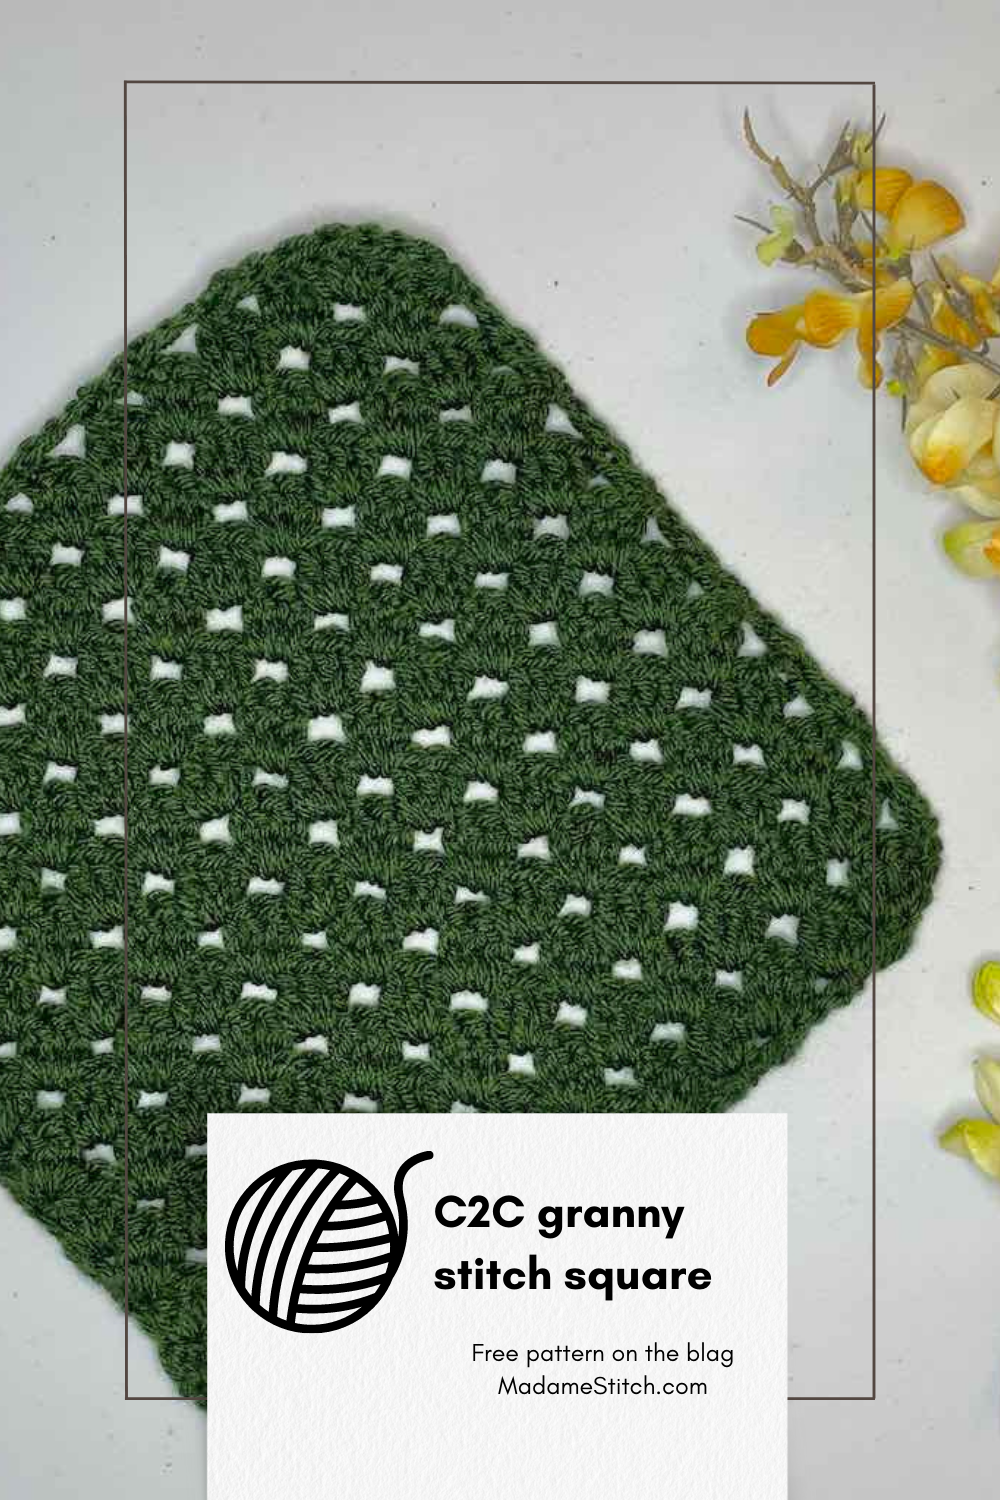
Learn how to crochet a C2C granny stitch square
Make a fun C2C granny stitch square and learn this new take on the traditional granny square.
This post contains affiliate links. That means, if you purchase something using the link, I receive a small commission. You don’t pay any extra and your information is safe. Thanks for supporting my small business.
If you’ve ever worked a traditional C2C project, the C2C granny stitch will be no problem for you at all. The concept is much the same.
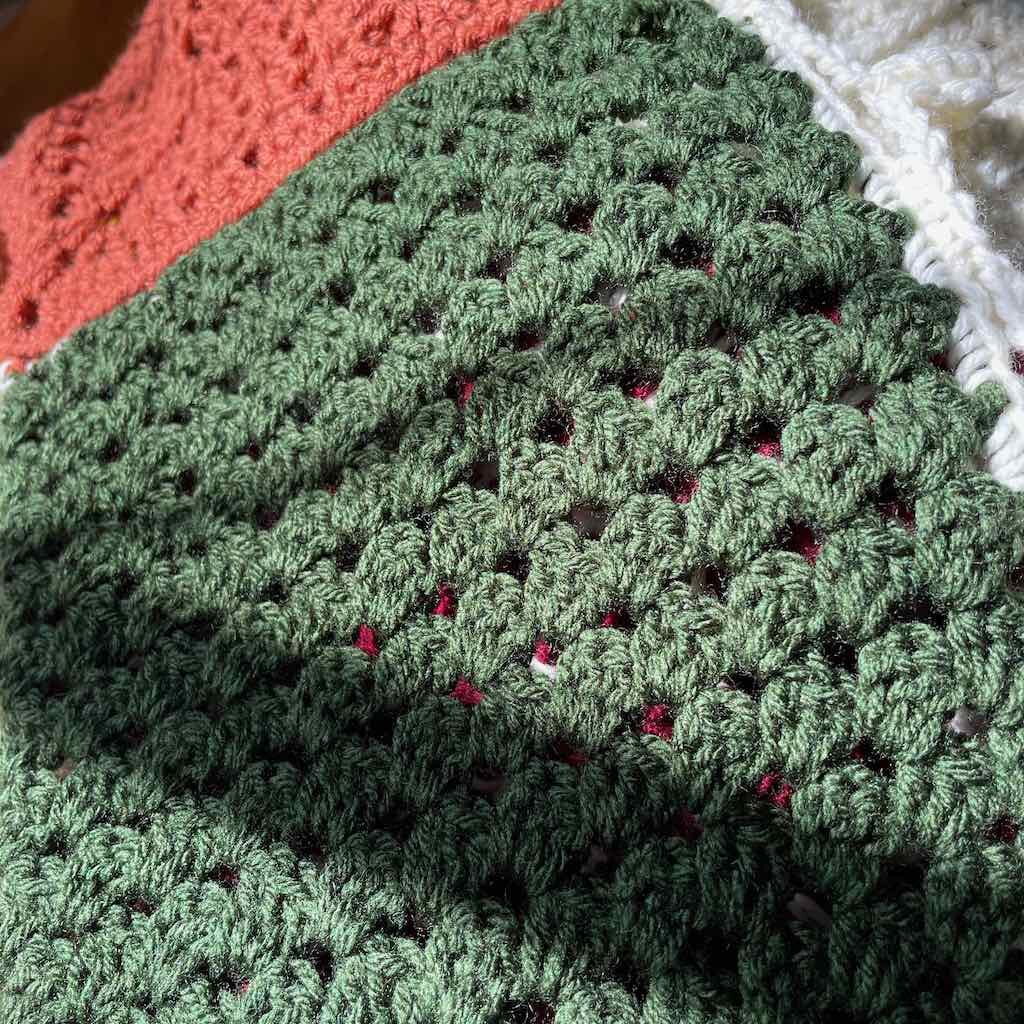
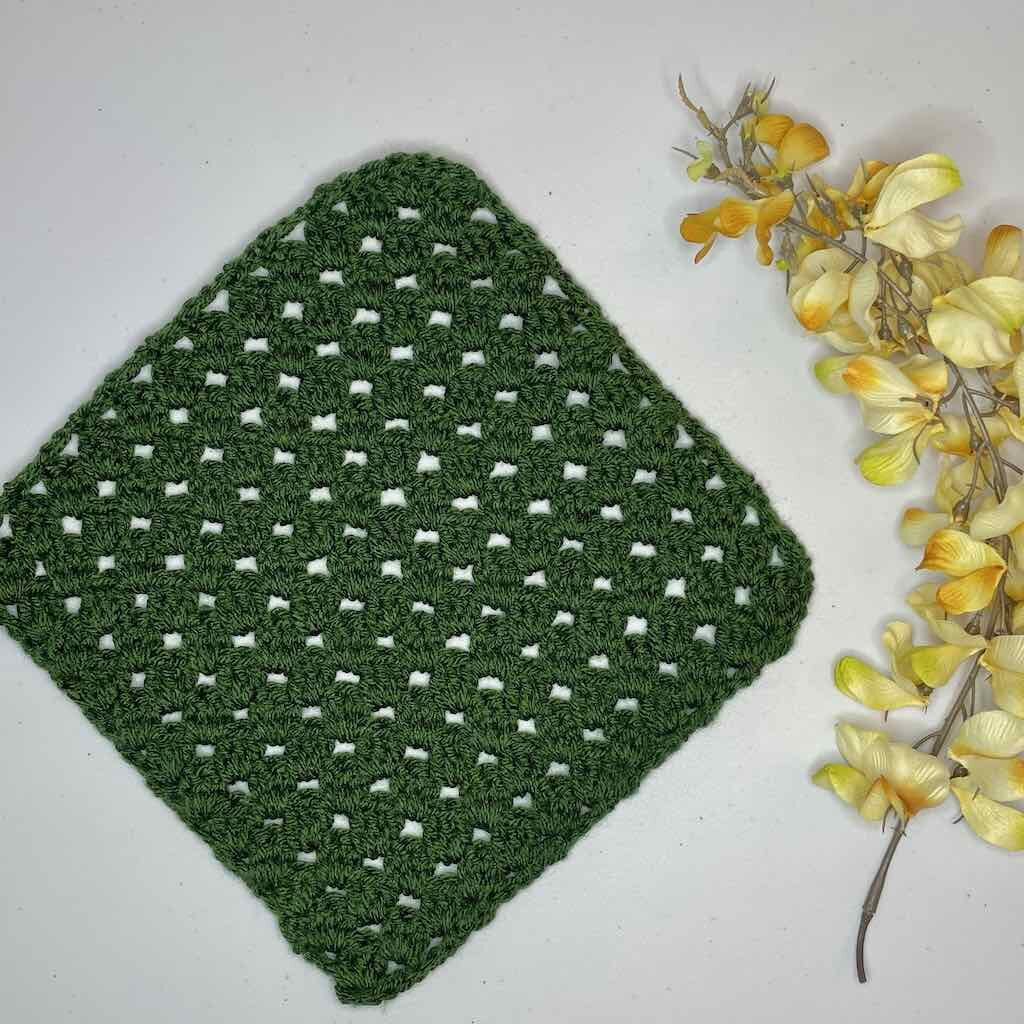
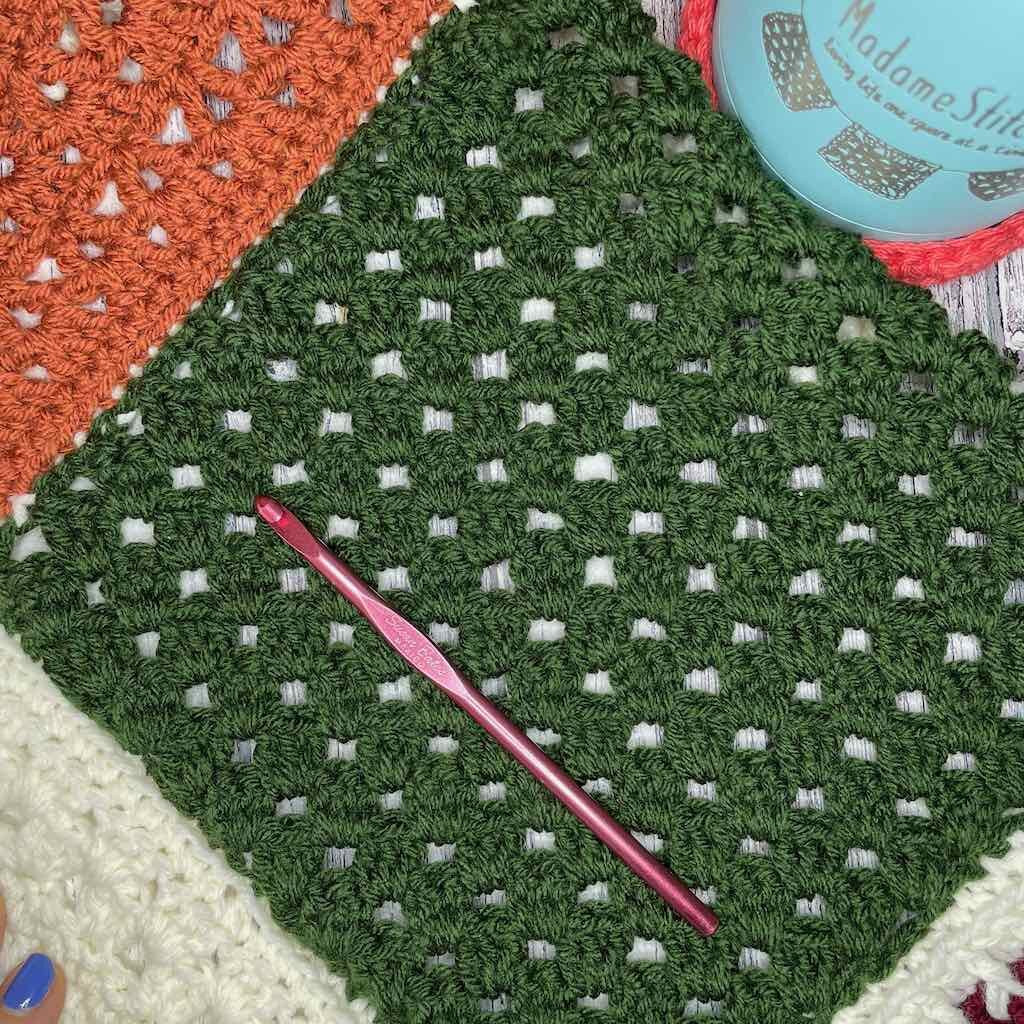
C2C granny stitch is a fun take on the traditional granny square, except you work the granny stitch in a diagonal pattern, from corner to corner. It’s an easy to remember repeating stitch pattern, perfect for mindful crochet or binge-watching your favorite show.
What is the granny stitch?
In a traditional granny square, the groups of 3 double crochet typically worked in the chain-1 spaces are referred to as the ‘granny stitch’. In C2C granny stitch, those groups of 3 double crochet become the cornerstone stitch group that create the diagonal rows.
Not every group of 3 double crochets worked in the same space or stitch are called granny stitch. It also has to do with the repetition of the groups across a row or in a round. In that way, the groups will remind you of the basic granny square.
What is corner to corner?
If you’ve never done corner to corner (C2C), you’ll find the concept isn’t difficult.
Corner to corner simply means that you’ll be working your project (or in this case the C2C granny stitch square) starting at one corner and working across to the opposite corner. In a traditional C2C project, tiles or blocks are worked across the row and the entire project is usually written as a chart graph. In this C2C granny stitch square, the tiles are replaced by the granny stitch to create the diagonal rows.
As it turns out, just about any stitch can be worked C2C. It’s all about how the row ends are worked to get the increases and decreases needed to create a square or rectangle. I’m anxious to try some of my favorites in C2C.
Uses for C2C granny stitch
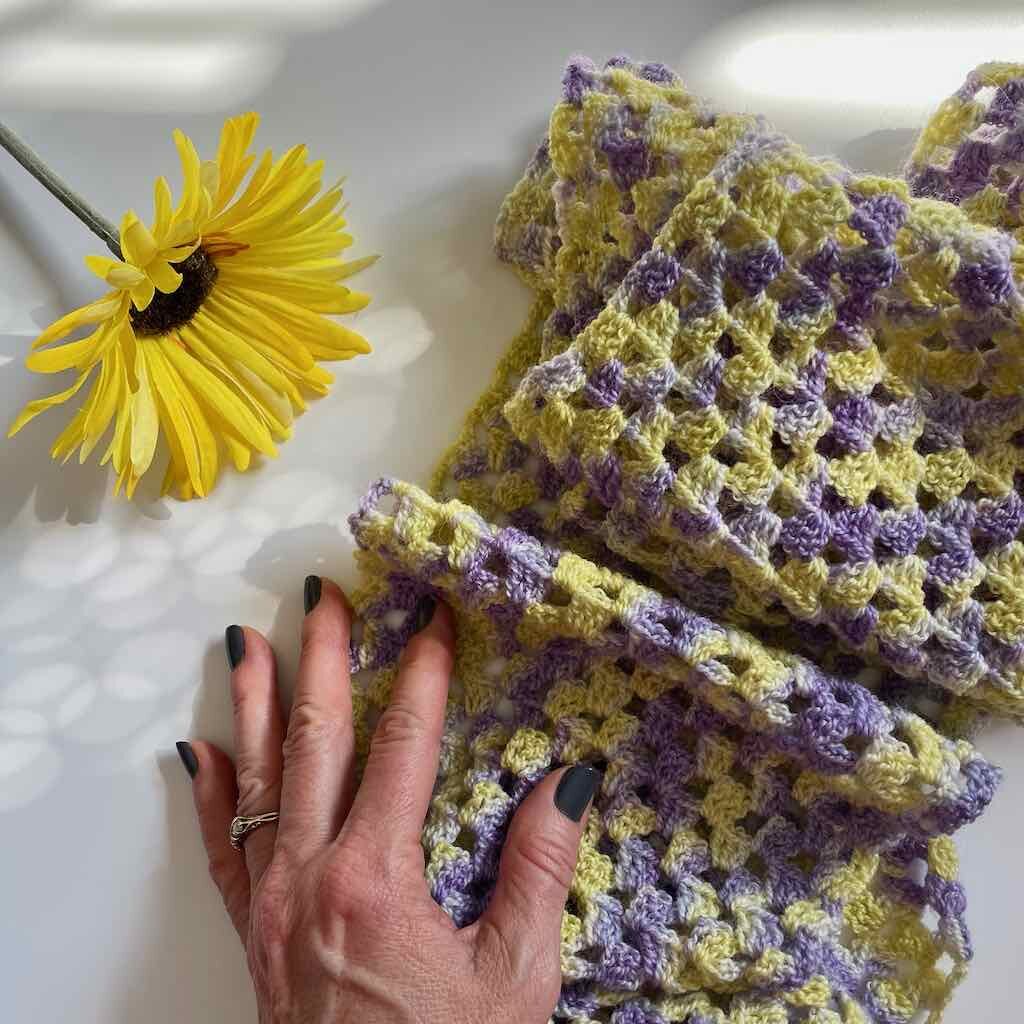
C2C granny stitch isn’t quite as prevalent as other stitches so it might just be catching on. I recommend using the C2C granny stitch for projects such as blankets (particularly baby blankets) and I may try my hand at designing some women’s accessories like scarves and wraps.
About this square
This C2C granny stitch square is worked by increasing at both ends of the row until the sides measure 8”. Once they do, you’ll begin decreasing at both ends of the row to create a square shape. The decreases will continue until only one granny stitch remains.
I omitted the chain-1 spaces normally present when granny stitch is worked because I found the rows were too wide. Eliminating those spaces created a denser fabric (although it’s still very light and drape-y) and a cleaner look.
I worked this square in one color because it’s included in a crochet-along. But, I can’t wait to try using more than one color and see how those diagonal stripes start to play out.
Why buy the PDF
- It’s beautifully formatted, without ads.
- It includes a crochet chart.
- You won’t have to bookmark or keep refreshing this page.
You can get the PDF in my Ravelry store just by clicking on the button below.
[mailerlite_form form_id=6]
C2C Granny Stitch Square
Thank you for staying on this post and reading my patterns right here on the blog, without copy/pasting. When you stay here to follow the free version of my pattern, I am compensated for my time and energy. This is a great, free way to support a designer. If you would like to save this for later, bookmark the page to save it in your mobile browser.
Yarn
WeCrochet “Brava” 100% acrylic worsted (3.5oz/218 yds; 100g/201m) – you’ll need approx. 1oz for each square – Color #28429 (Dublin)
Any worsted weight yarn will work – use something from your stash!
Hook + Tools
- US size H-8 (5mm)
- Tapestry needle for weaving in ends
Finished size: Approx. 8″ square (This square can easily be adjusted to your preferred size.)
Written in English using US crochet terminology
Skill level: Confident Beginner
Abbreviations
- ch – chain
- C2C – corner to corner
- dc – double crochet
- sc – single crochet
- sp – space
- st(s) stitch(es)
- YO – yarn over
Special Stitches
Granny Stitch (GS) – 3 dc in the same sp or st.
Stacked single crochet (STsc) – (This stitch is used at the beginning of a row or round to replace the traditional turning ch-3. It has the appearance of a dc.) – Insert hook in same st as loop, YO, draw up loop, YO, pull through 2 loops (bottom sc made), insert hook in left vertical bar of bottom sc, YO, draw up loop, YO, pull through 2 loops (top sc made).

C2C Granny Stitch Square Written Instructions
Pattern Notes
- A ch 3 may be substituted for the STsc at the beg of each row without altering the construction or look of the square.
- Beginning with Row 2, the first GS of the row is worked in the sp immediately following the STsc and the last GS is worked in the sp immediately before the last st.
- Pull up the first and last st of each row taller to prevent the edge from curling.
- As is typical in any square C2C project, you’ll increase at both ends of the row through Row 12. Beginning with Row 13, you will be decreasing at both ends of the row.
- To adjust the size of the square, measure the length of one side after Row 12. If it’s too large, frog until you have the measurement you prefer. Then begin the decrease. If it’s too small, rep Row 12 to desired length, then continue to Row 13.
Square Instructions
Thank you for staying on this post and reading my patterns right here on the blog, without copy/pasting. When you stay here to follow the free version of my pattern, I am compensated for my time and energy. This is a great, free way to support a designer. If you would like to save this for later, bookmark the page to save it in your mobile browser.
Ch 4, join with slip st to form ring.
Note: In this section you will increase at both ends of the row. Beginning with Row 2, the first GS of the row is worked in the sp immediately following the STsc and the last GS is worked in the sp immediately before the last st.
Row 1: STsc, ch 1, GS in ring, ch 1, dc in ring, turn. (1 GS, 2 dc)
Row 2: STsc, GS in sp immediately following, GS in sp before last st, dc in last st, turn. (2 GS 2 dc)
Row 3: STsc, GS in sp immediately following, GS in next sp (between GS groups in previous row), GS in sp before last st, dc in last st, turn. (3 GS, 2 dc)
Row 4: STsc, GS in sp immediately following, GS in each sp across to last st, GS in sp before last st, dc in last st, turn. (4 GS, 2 dc)
Rows 5-12: Rep Row 4. (12 GS, 2 dc)
Before proceeding to the decrease section, measure the side edge. See Note 6 if you need to make an adjustment to the size of your square.
Note: In this section you will decrease at both ends of the row. To decrease, the 1st GS block will be worked AFTER the first GS of the row below. The last GS block will be worked BEFORE the last GS of the previous row.
Row 13: STsc, GS in the sp following the first GS of the previous row, GS in next sp and in each sp across, ending with the sp before the last GS of the previous row, dc in last st, turn. (11 GS, 2 dc)
Rows 14-22: Rep Row 13. (2 GS, 2 dc)
Row 23: STsc, GS in sp between the two GS of the previous row, dc in last st. (1 GS, 2 dc)
Fasten off and weave in ends.
Here are some of my favorite designs that include the granny stitch.
[mailerlite_form form_id=3]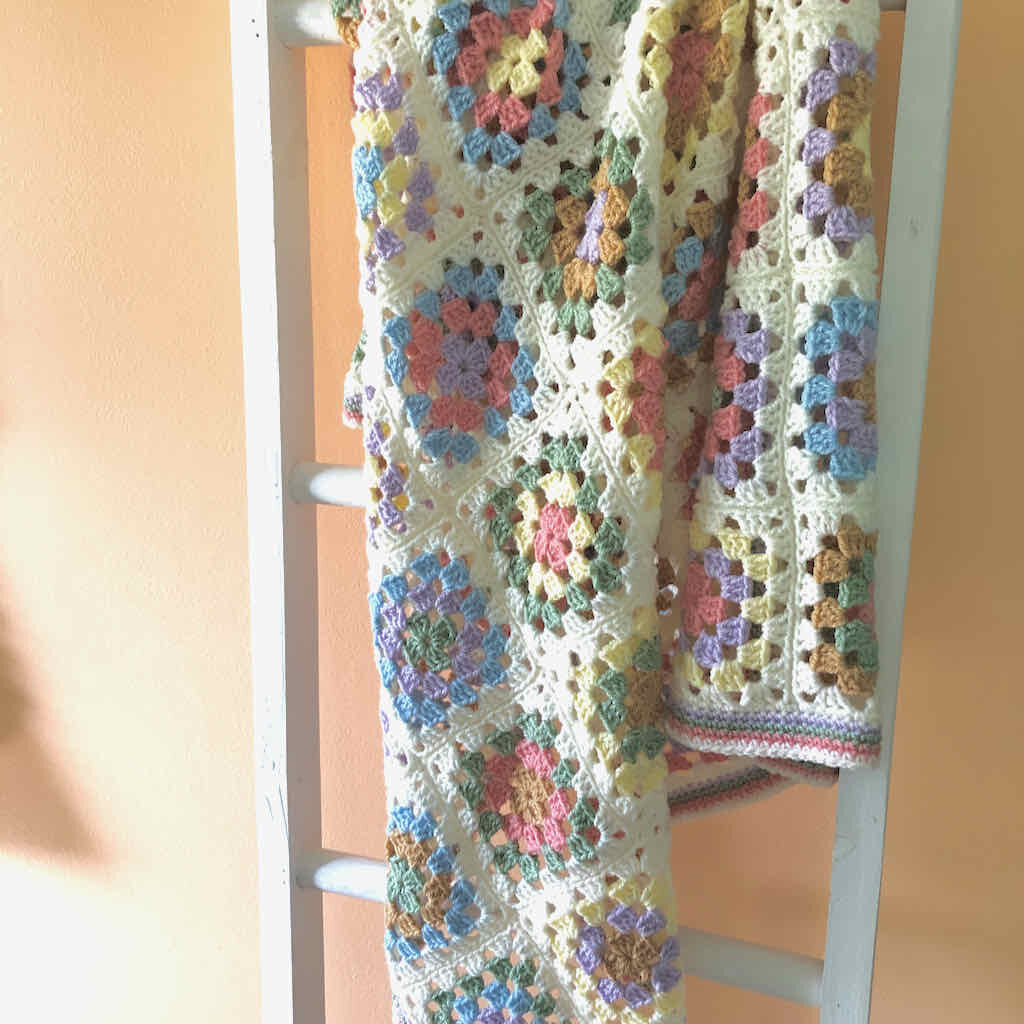


2 Comments