How to Easily Crochet a Flat Slip Stitch Seam
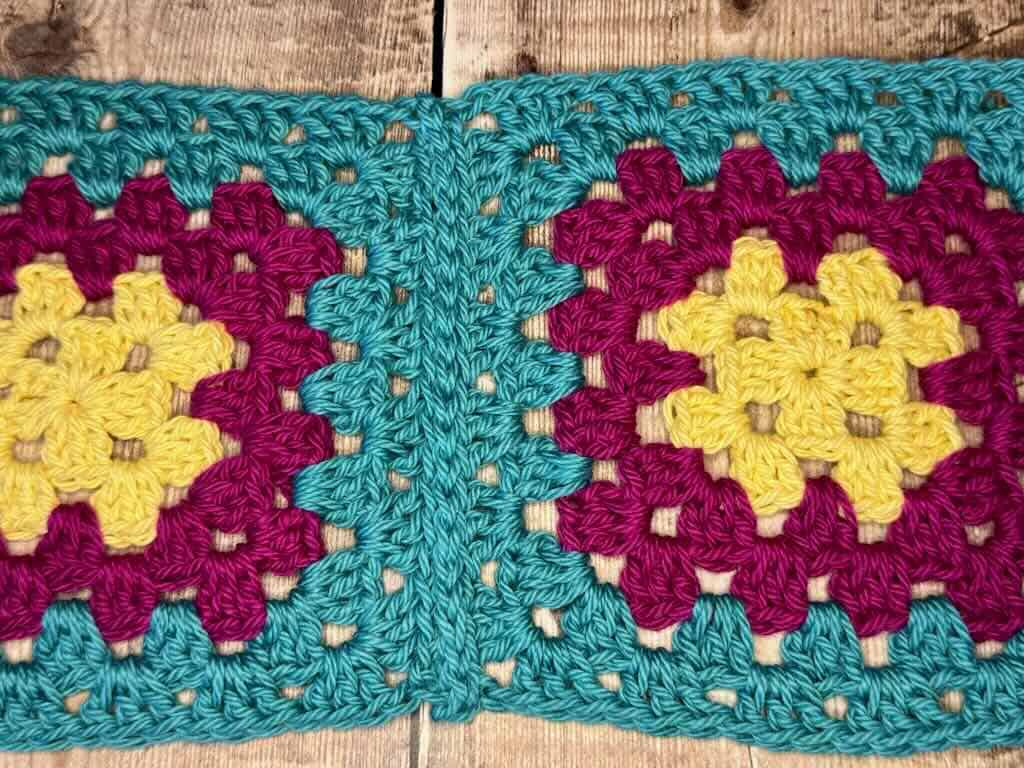
Learn to join granny squares using the flat slip stitch seam. It creates a nearly invisible, flat seam, perfect for blankets and other granny square projects.
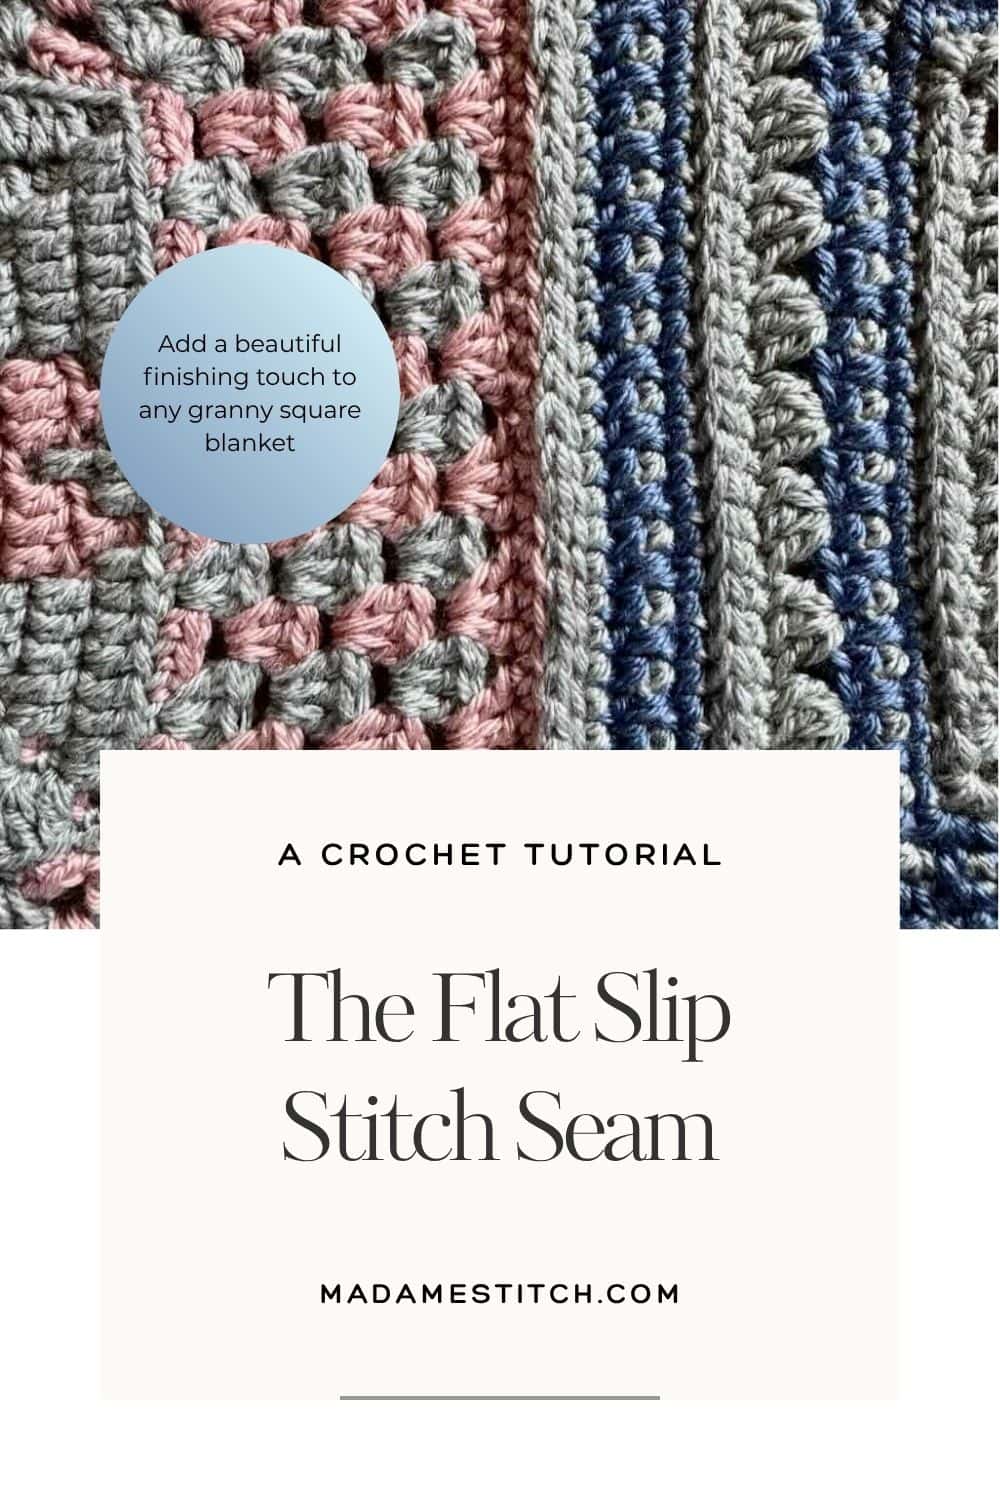
The Flat Slip Stitch Seam in Crochet
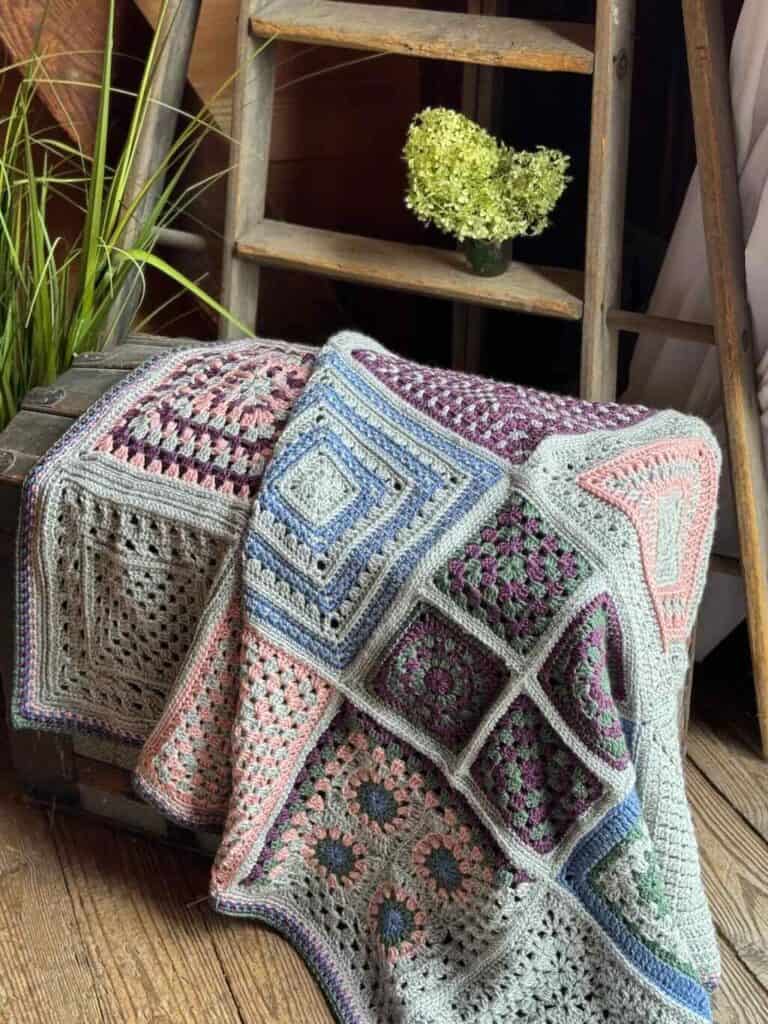
I make a lot of granny square blankets and projects that require joining granny squares. I’m always looking for beautiful yet easy-to-work seaming methods.
I’ve been in love with a crochet slip stitch seam ever since I discovered it could be crocheted rather than hand sewn. I find it so fiddly to cut an extra long piece of yarn, then fight with it the length of a blanket seam. It curls, tangles and loses its integrity after all that pulling.
A slip stitch seam is the perfect solution because it’s crocheted rather than hand sewn. While I’m a big fan of the regular slip stitch seam, I absolutely adore the look of the flat slip stitch seam.
I discovered the flat slip stitch seam while working on a collaborative crochet along. One of the designers used it and I knew right away I needed to learn it.
Where to use the Flat Slip Stitch Seam
The perfect place to use a flat slip stitch seam is in a large project like a blanket. You can easily crochet from one end of a long seam to the other without ever cutting your yarn.
The flat slip stitch seam is a great alternative to the regular slip stitch seam when you want a seam that doesn’t add bulk to the fabric. The goal of the slip stitch seam is to allow the seam to drape as part of the general fabric of the blanket or garment.
Why a Flat Slip Stitch Seam
My favorite benefit of the flat slip stitch seam is that you can crochet it rather than hand sewing a seam. If you don’t like to sew, or have a super long string of yarn to contend with, this method is for you!
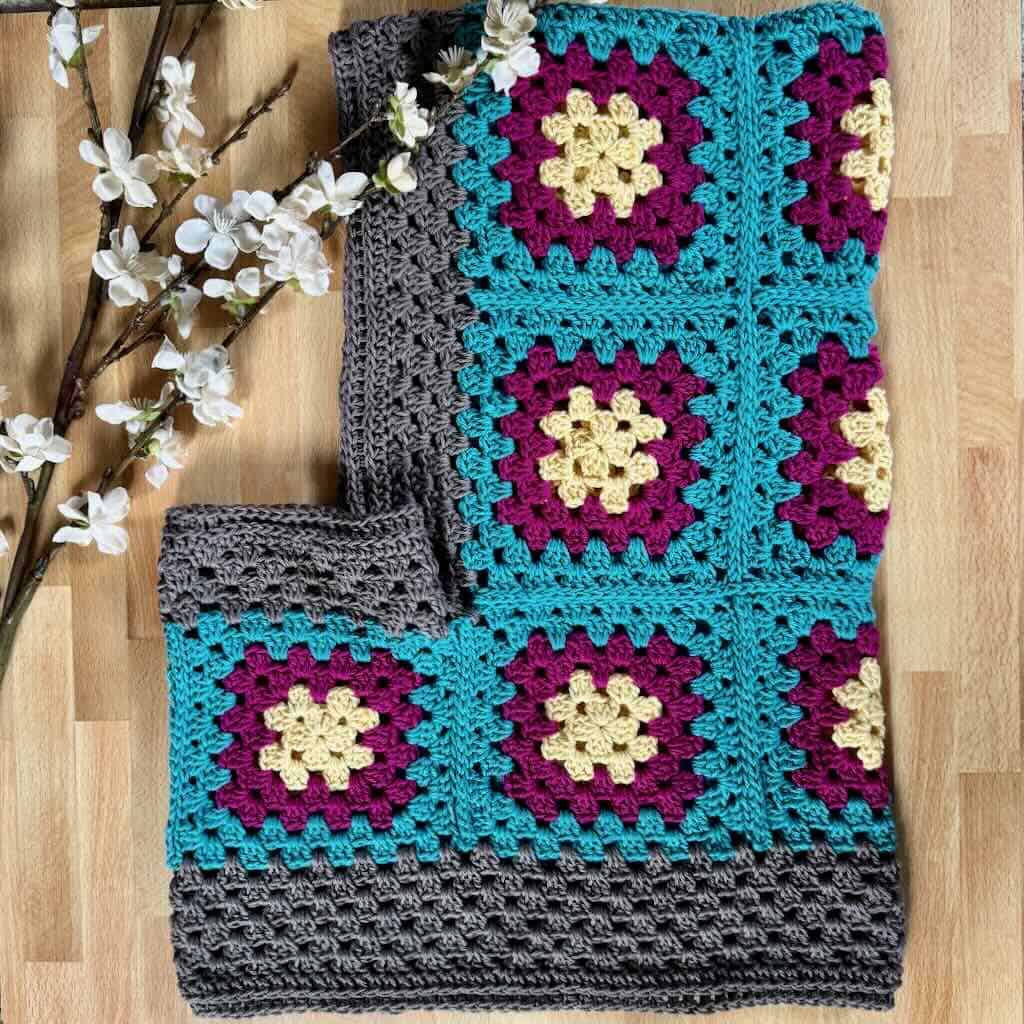
A flat slip stitch seam is perfect for joining a large number of motifs or granny squares in a blanket or other project. It doesn’t work so well for joining pieces like adding sleeves to a sweater because both pieces need stitches worked along the edges. But, for squares, it’s ideal.
The interlocking loops of the flat slip stitch seam are much more elastic, and move and drape well within the whole blanket or garment. When worked in the same color, the seam becomes nearly invisible, blending into the texture of the project.
Tips for the Perfect Flat Slip Stitch Seam
Even though the flat slip stitch seam is a relatively easy technique to learn, It may take a little practice to keep the slip stitches even. Once you get the hang of it, though, you’ll want to use it for everything.
Here are some tips that will make your seam perfect:
- Use removable stitch markers to hold the pieces together and ensure that all of the stitches will be lined up by the time you reach the end.
- The tension of the slip stitches should match that of the edging stitches it’s being worked into.
- Keep the slip stitches loose and even. Making them too tight will cause the fabric to cinch inward.
- Keep the yarn between the pieces and at the back of your work at all times.
Video Tutorial
What follows is a step-by-step photo tutorial. If you prefer video instead, click on the image below and head to YouTube.
The Flat Slip Stitch Seam Tutorial Begins Here
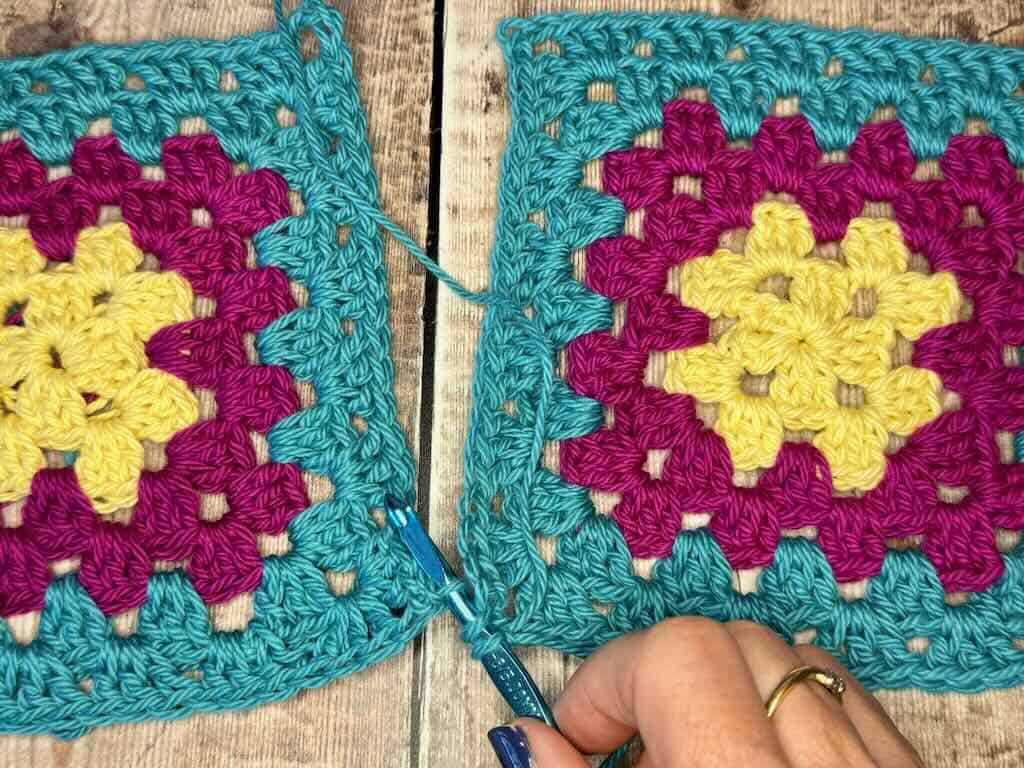
Step 1: Make a slip knot and put it on the hook.
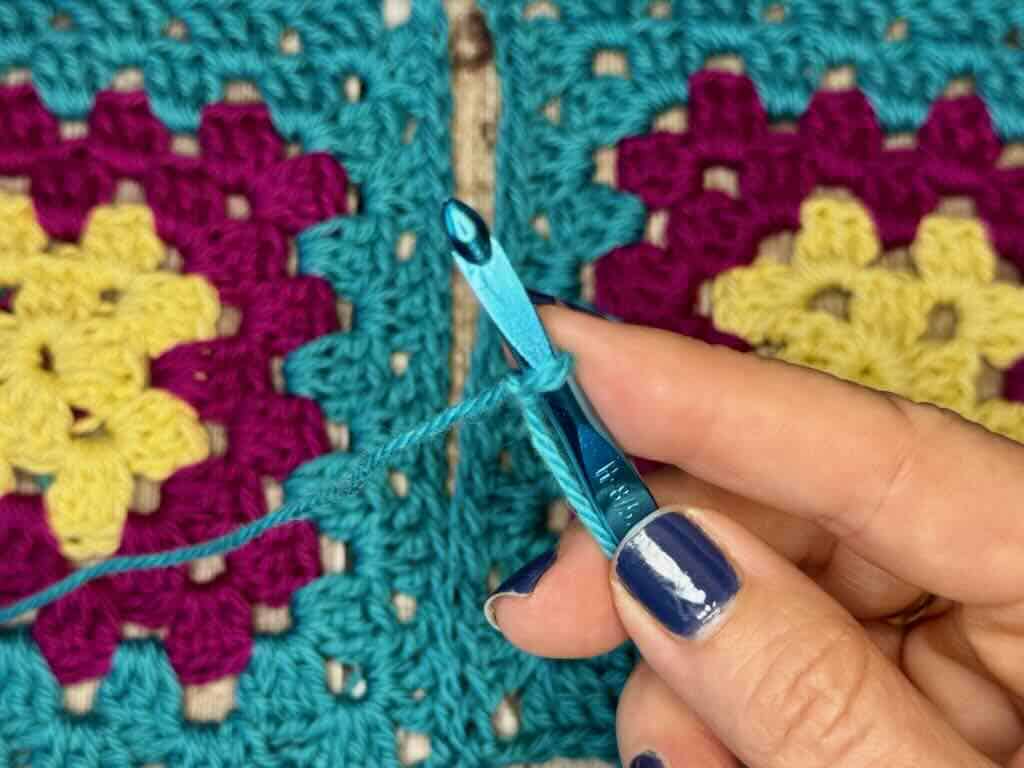
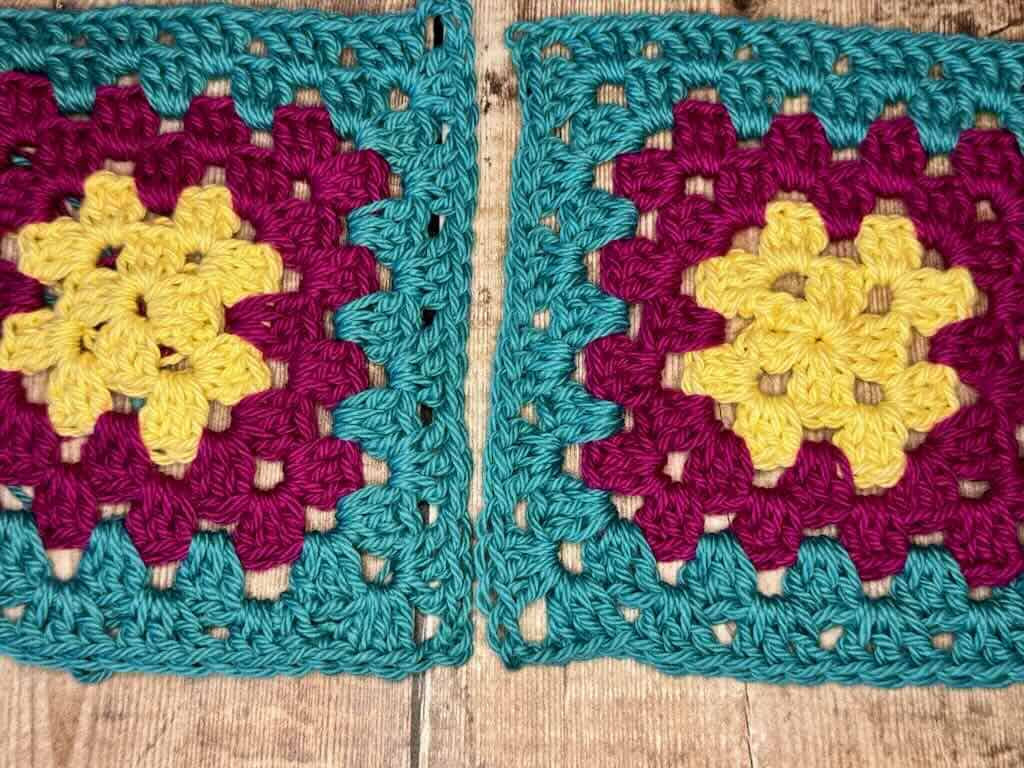
Step 2: Lay the squares side by side with right sides up.
Step 3: Insert hook in the middle chain of the ch-3 corner space of the right-hand square.
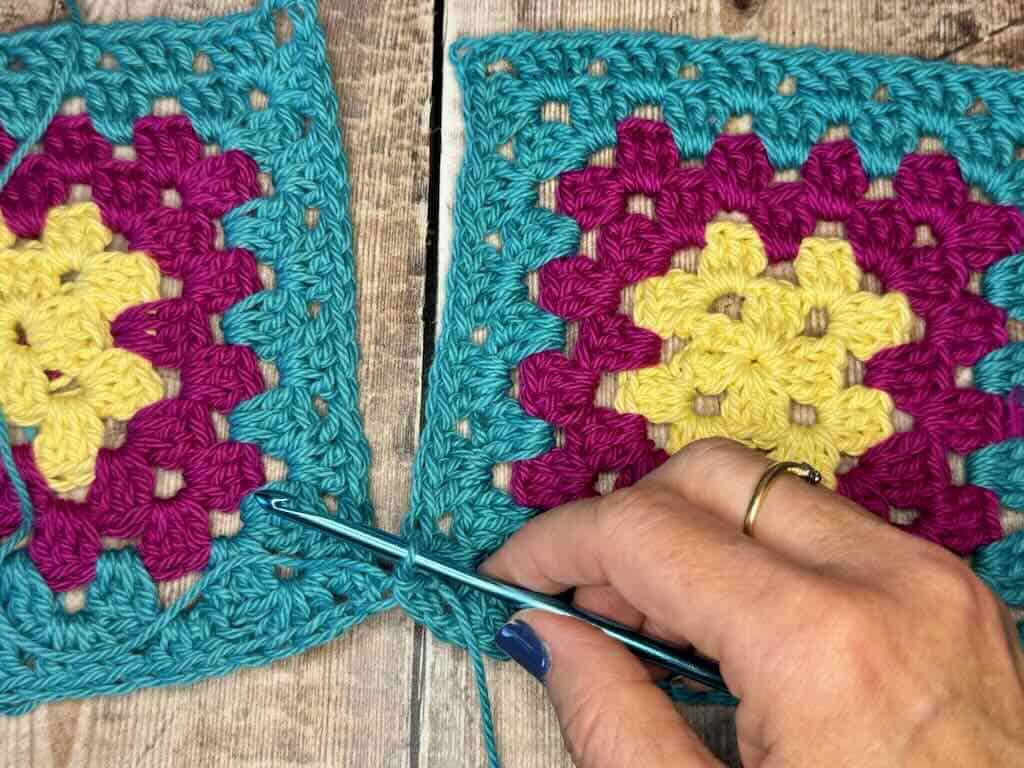
Step 4: Insert hook in the middle chain of the corresponding ch-3 corner space of the left-hand square.
Step 5: Yarn over and pull through all 3 loops on the hook – the 1st slip stitch made.
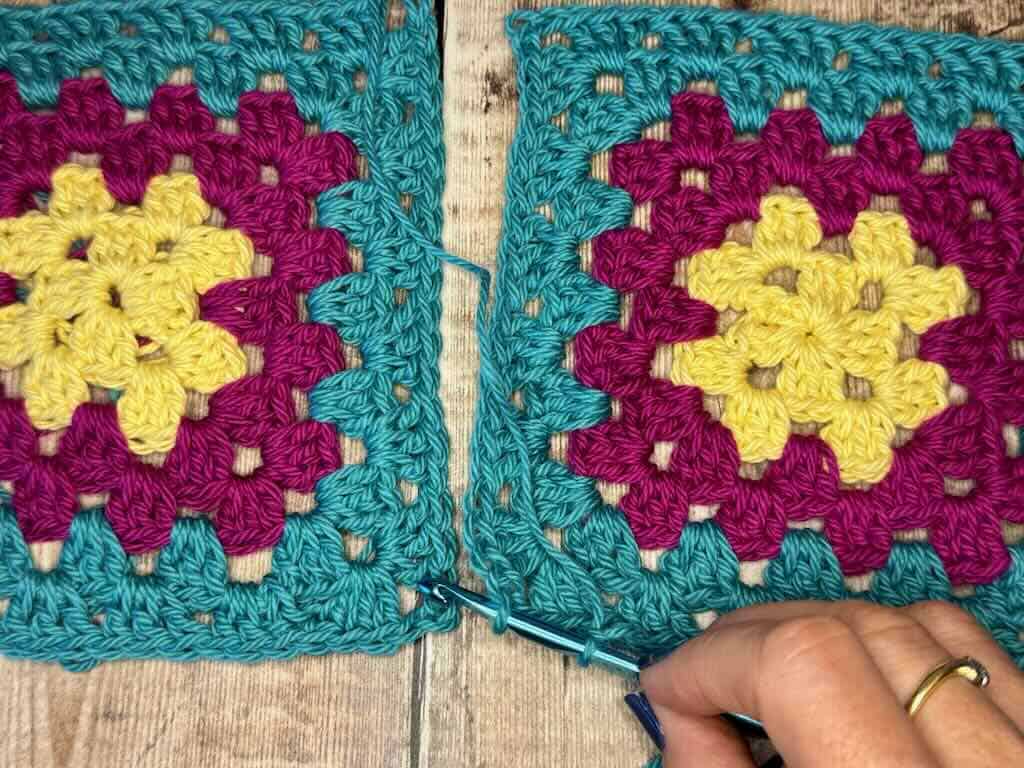
Step 6: Insert hook in the next stitch in the right hand square and in the next stitch of the left hand square; yarn over and pull through all 3 loops.
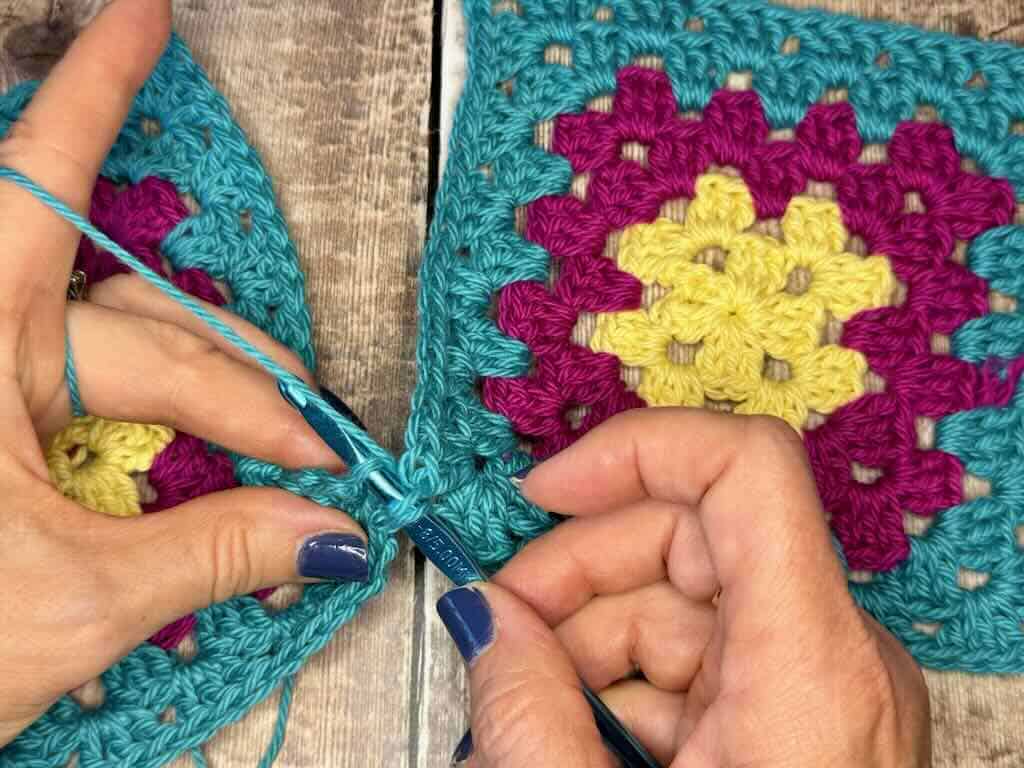
Continue until the seam is complete.