Mason Jar Crochet Cover Doily | A Home Décor Crochet Pattern
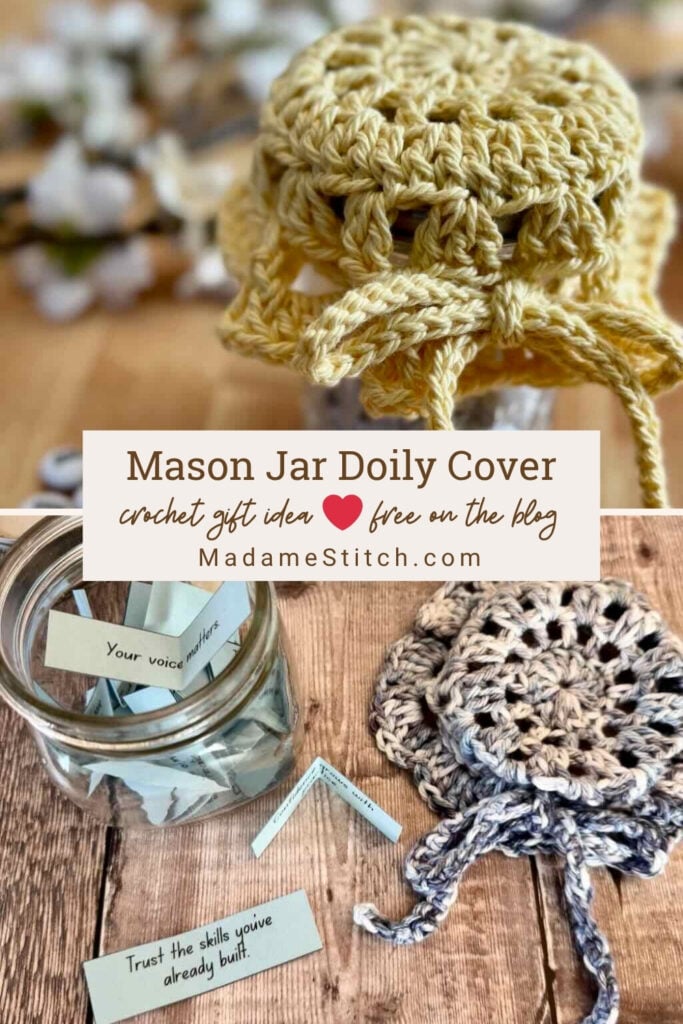
A quick and easy mason jar crochet cover made with a small amount of yarn. Fill the jar with your favorite candy, words of wisdom or decorative stones for the perfect gift.
The Mason Jar Crochet Cover Doily
Have you ever needed a quick, last minute housewarming or hostess gift? Do you keep empty mason jars in your kitchen cabinets? If you answered ‘yes’ to both of those questions, then the Mason Jar Crochet Cover Doily is perfect for you! This free pattern is a beginner-friendly introduction to a simple mandala shape. You’ll be able to find enough yarn in your stash to complete the look in no time.
I designed this quick mason jar crochet topper one year when traveling to visit family. I wanted to make a hostess gift – one for my brother and one for my sister. I grabbed some worsted weight cotton, worked up this cute doily and filled each mason jar with my favorite trail mix.
Pattern at a Glance
- Skill Level: Advanced Beginner
- Yarn: Approx. 30yds of DK or worsted weight
- Hooks: 5mm for DK, 5.5mm for worsted
- Fits either a 2 3/4″ or 3 3/8″ wide mason jar
![]()
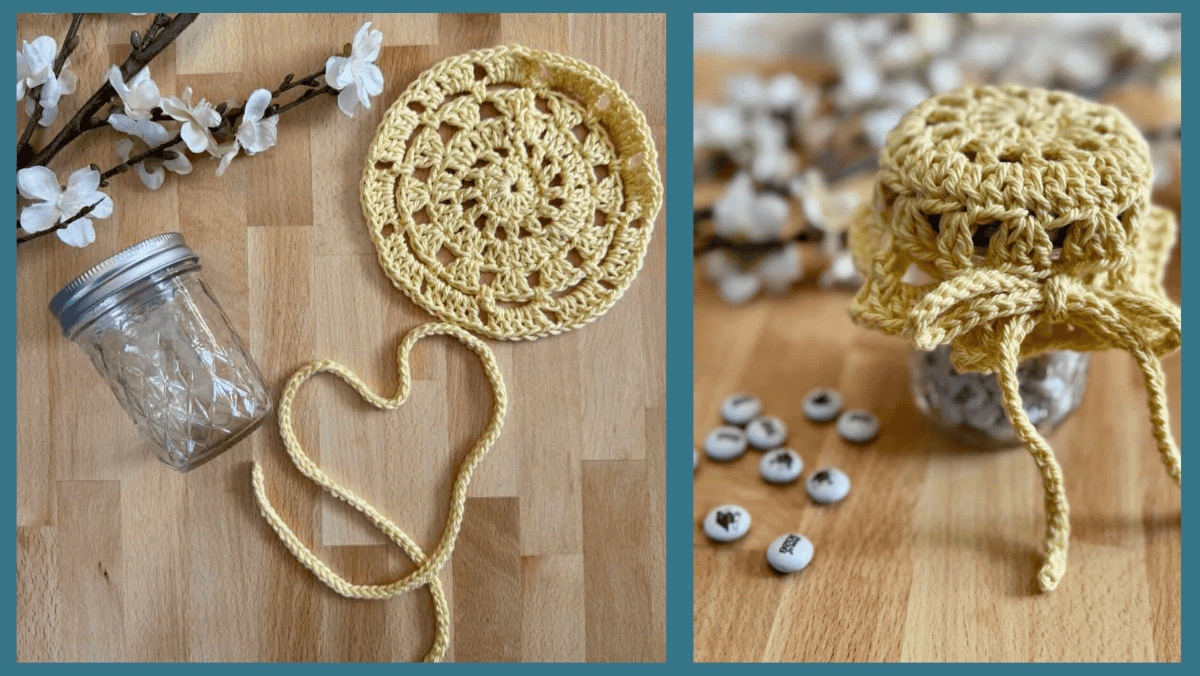
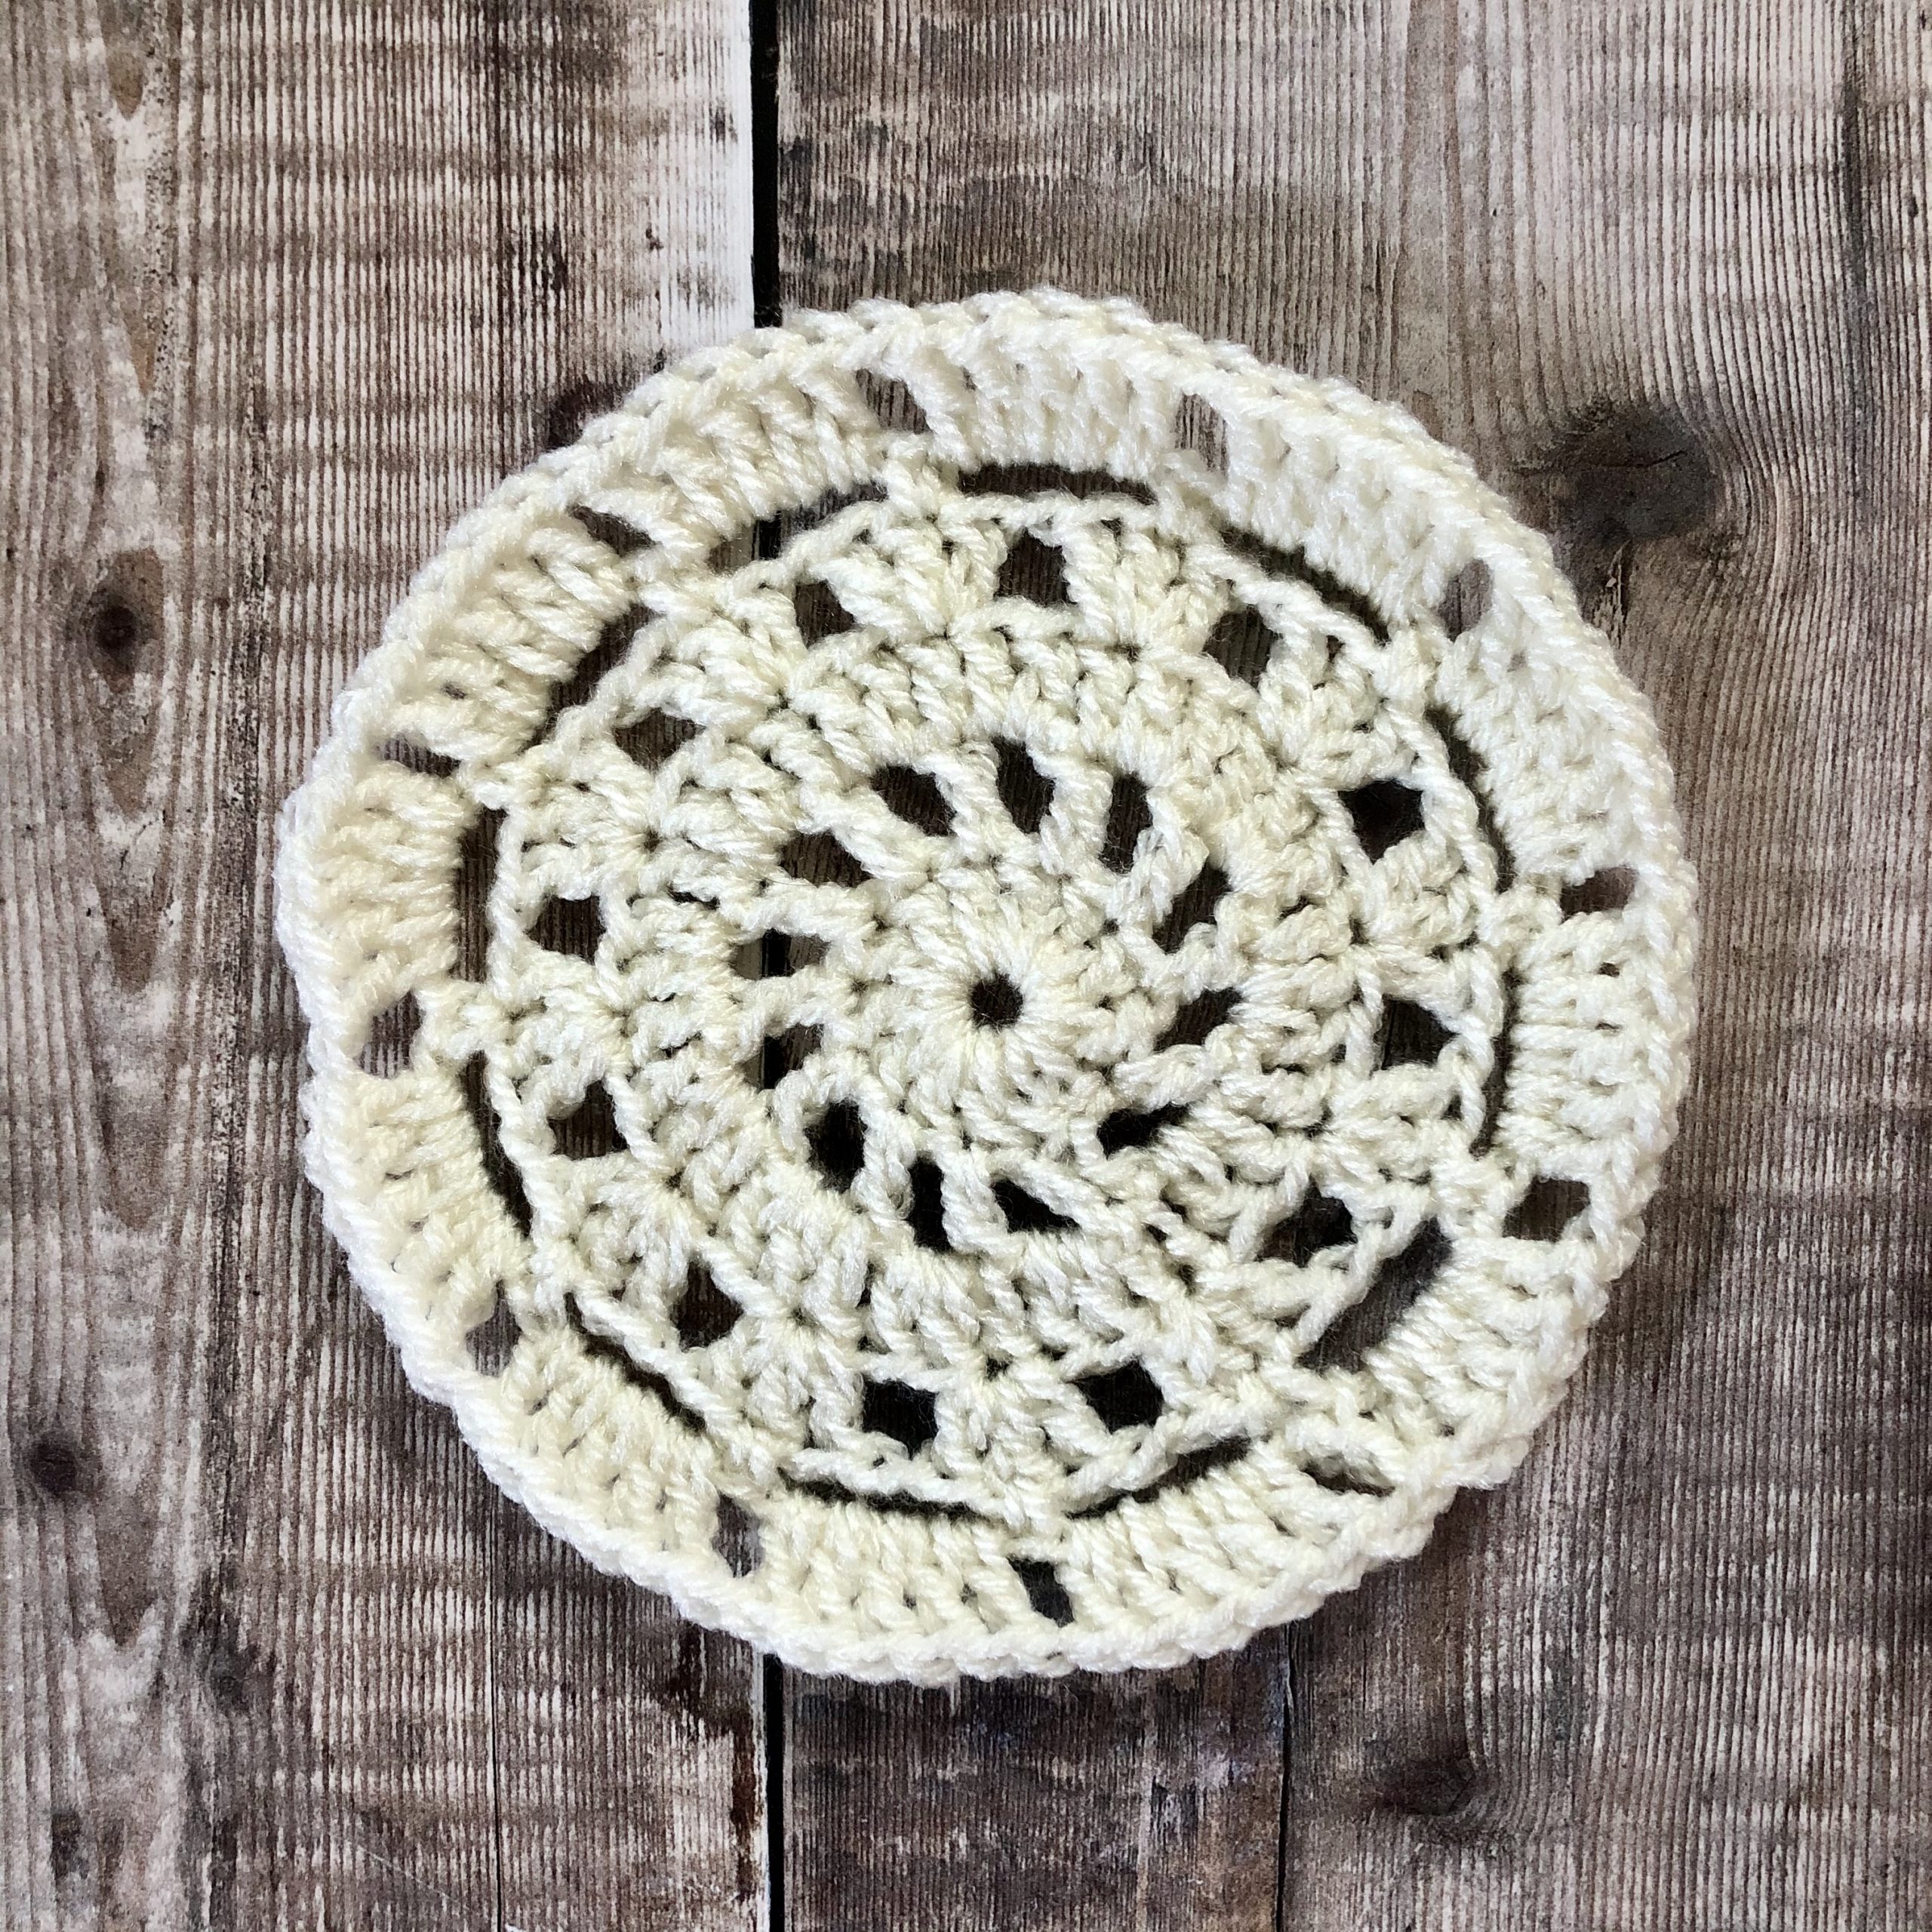
Design + Construction
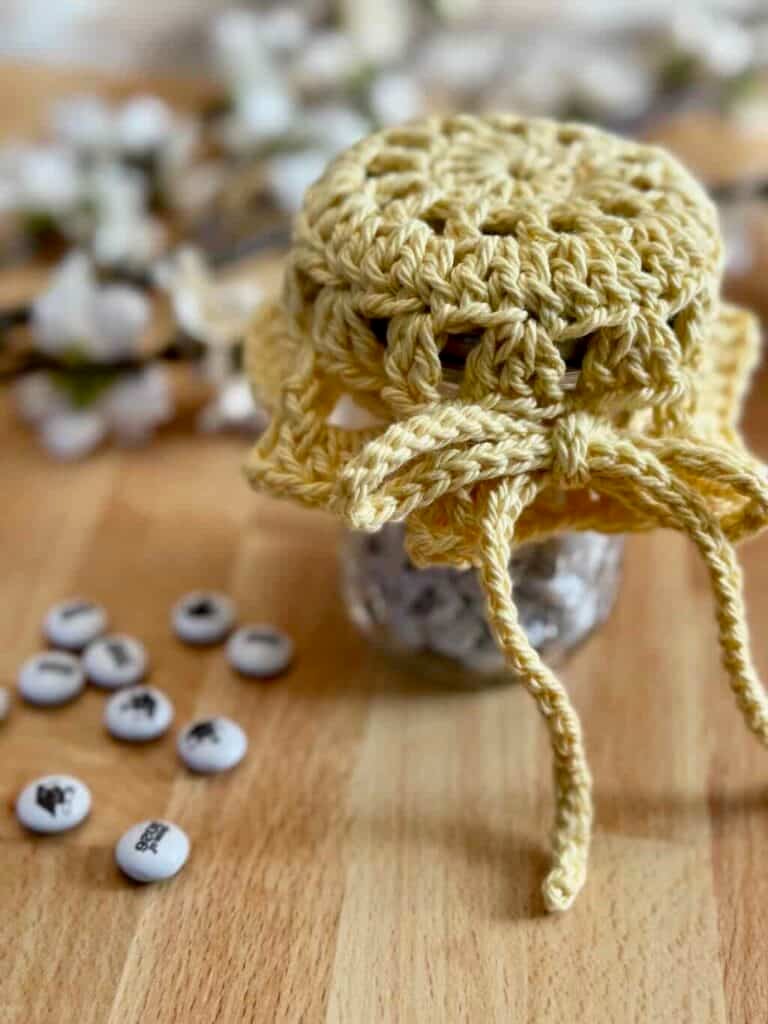
This mason jar crochet cover is a 6-round flat circle worked in a beautiful combination of single and double crochet that feels approachable yet yields a visually stunning result.
The design also incorporates the beloved granny stitch, that iconic element of the traditional granny square, giving this little topper a satisfying nod to its square cousin.
Finishing is as simple and personal as the gift itself. Secure the doily to your mason jar with a length of twine, rope, or ribbon, or tie it off with one you crochet yourself.
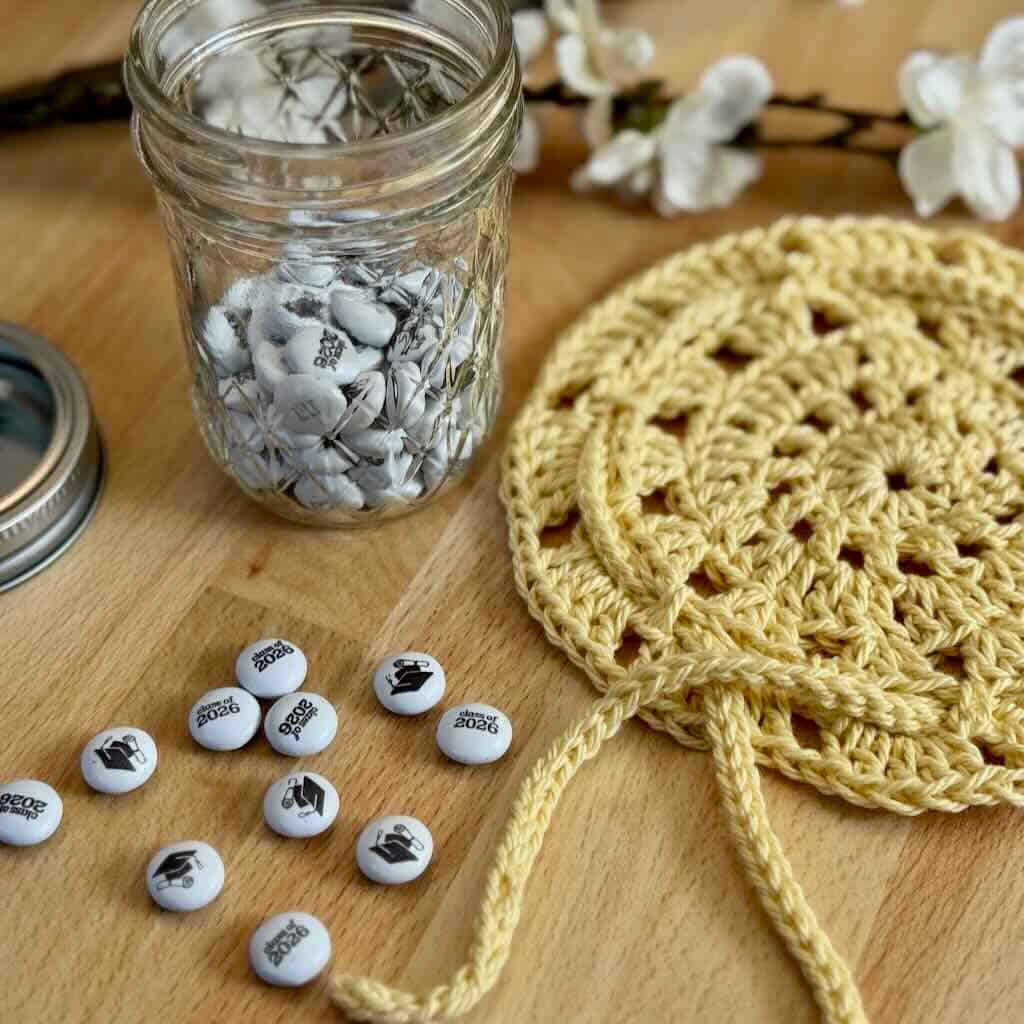
Then fill the jar with whatever speaks to the recipient: their favorite candy, tiny shells or decorative stones, or strips of paper inscribed with words of wisdom and cherished memories.
It’s a small, handmade gesture that carries a whole lot of heart.
Here’s What to Love About the Mason Jar Crochet Cover Doily!
- It’s quick and easy, made in just an evening.
- Adding it to a mason jar makes this a thoughtful gift option from graduates to housewarming gifts.
- It’s great for busting your yarn stash. Choose either worsted or DK weight yarn.
- You can add a dash of elegance to any space in your home.
Where to Get the Premium PDF for the Mason Jar Doily
The Mason Jar Crochet Cover Doily is a free pattern here in this blog post. Scroll down to view the free version.
Upgrade to the premium PDF to get a printer friendly, downloadable version of the pattern, available from any of my shops.
The premium PDF can be uploaded to your favorite mobile device so you can take your crochet doily project with you to work on whenever you’re out and about.
The PDF includes detailed written instructions, photos for visual aid and a crochet chart for stitch placement. It’s easy to read and beautifully formatted without ads for a great experience.
Get your copy today!


Granny & Me: College Edition
From cozy makes that brighten up move-in day, to quick stress-busting projects during finals, to heartfelt gifts for friends and family, each design is crafted to fit the moment. It’s a book that pulls you in with heartfelt letters and thoughtful moments.
The Mason Jar Doily pattern is just one of the designs included in the book.
Free Pattern for the Mason Jar Doily
General Information
Yarn
Any DK or worsted weight yarn – approx. 30 yds.
Hooks
- US size I-9 (5.5mm) for worsted weight
- US size H-8 (5mm) for dk weight
Tools + Materials
- A 30” length of twine, ribbon or rope to fit around mouth of the Mason jar plus enough to tie a bow
- Mason jar: For DK weight, choose a regular size lid (measuring 2 3/4″ across). For worsted weight, choose a wide mouth lid (measuring 3 3/8″ across). Choose whatever height jar fits your purpose and definitely use what you have!
- Tapestry needle
Finished Sizes
- 3 3/8” wide mouth cap + worsted weight yarn: approx. 7” in diameter
- 2 3/4” regular mouth cap + dk weight yarn: approx. 6” in diameter
Gauge
Not important for this project
Skill Level: Advanced Beginner
Abbreviations – US crochet terminology
- beg – beginning
- ch – chain
- dc – double crochet
- rnd – round
- RS – right side
- sc – single crochet
- sk – skip
- sp – space
- st(s) – stitch(es)
- YO – yarn over
Repeats
- (…) – Work everything within the parentheses in the same st or sp.
- […] – Repeat everything within the brackets the indicated number of times.
Special Stitches
- Chain-1 space (ch-1 sp) – the number indicates the number of chains worked to create the space.
- Foundation single crochet (Fsc) – To start the row, ch 2, insert hook in the 2nd ch from the hook, YO, pull up a loop, YO, pull through 1 loop (this forms the chain along the bottom), YO, pull through both loops on the hook (sc made).
- All other Fsc in the row: Insert hook under both loops of the chain at the bottom of the previous st, YO, pull up a loop, YO, pull through 1 loop (this forms the chain along the bottom), YO, pull through both loops on the hook (sc made).
- Granny stitch (GS) – 3 dc in the same st or sp
- Stacked single crochet (STsc) – (This stitch is used at the beginning of a round to replace the traditional turning ch-3. It has the appearance of a dc.) – Insert hook in the same st as the loop, YO, pull up a loop, YO, pull through 2 loops (bottom sc made), insert hook through the left vertical bar of the bottom sc, YO, pull up a loop, YO, pull through 2 loops (top sc made).
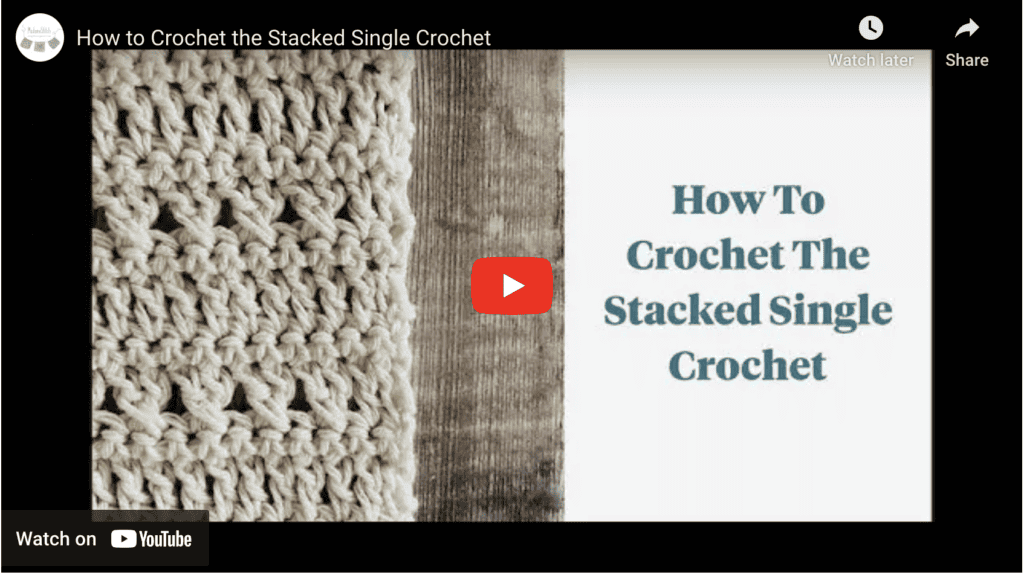
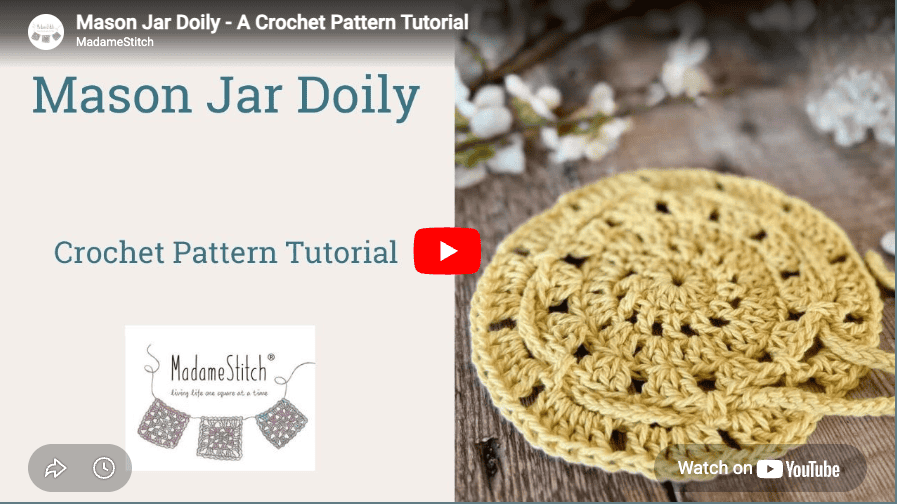
Video Tutorial
Find the video tutorial for the Mason Jar Crochet Cover Doily on my YouTube channel.
Pattern Notes
- A “ch-2” or “ch-3” may be substituted for the STsc at any time if you prefer.
- Do not turn after each round. The RS is always facing you.
- Your circle will curl slightly after rnd 3 so that the doily will better fit around the lid. However, if it curls too much, try not to crochet too tightly. If necessary, increase the hook size after rnd 3.
Pattern Instructions
Ch 5, join with slip st to form ring.
Rnd 1 (RS): (STsc, 11 dc) in ring, join with slip st to beg ch-2. < 12 dc >
Rnd 2 (RS): (STsc, ch 1) in the same st as the join, (dc, ch 1) in the next st and in each st around, join with slip st to beg st. < 12 dc, 12 ch-1 sp >
Rnd 3: STsc, 2 dc in the ch-1 sp, [dc in the next st, 2 dc in the ch-1 sp] around, join with slip st to beg st. < 36 dc >
Rnd 4: (STsc, 2 dc) in the same st (counts as 1st GS), [ch 1, sk 2 sts, GS in the next st] around, ch 1, sk 2 sts, join with slip st to beg st. < 12 GS, 12 ch-1 sp >
Rnd 5: [Ch 4, sc in the next ch-1 sp] around, join with slip st to the bottom of the 1st ch made. < 12 sc, 12 ch-4 sp >
Rnd 6: Slip st into the ch-4 sp, (STsc, 4 dc) in same ch-4 sp, ch 1, [5 dc in next ch-4 sp, ch 1] around, join with slip st to beg st. < 60 dc, ch-1 sp >
Fasten off. Weave in ends.
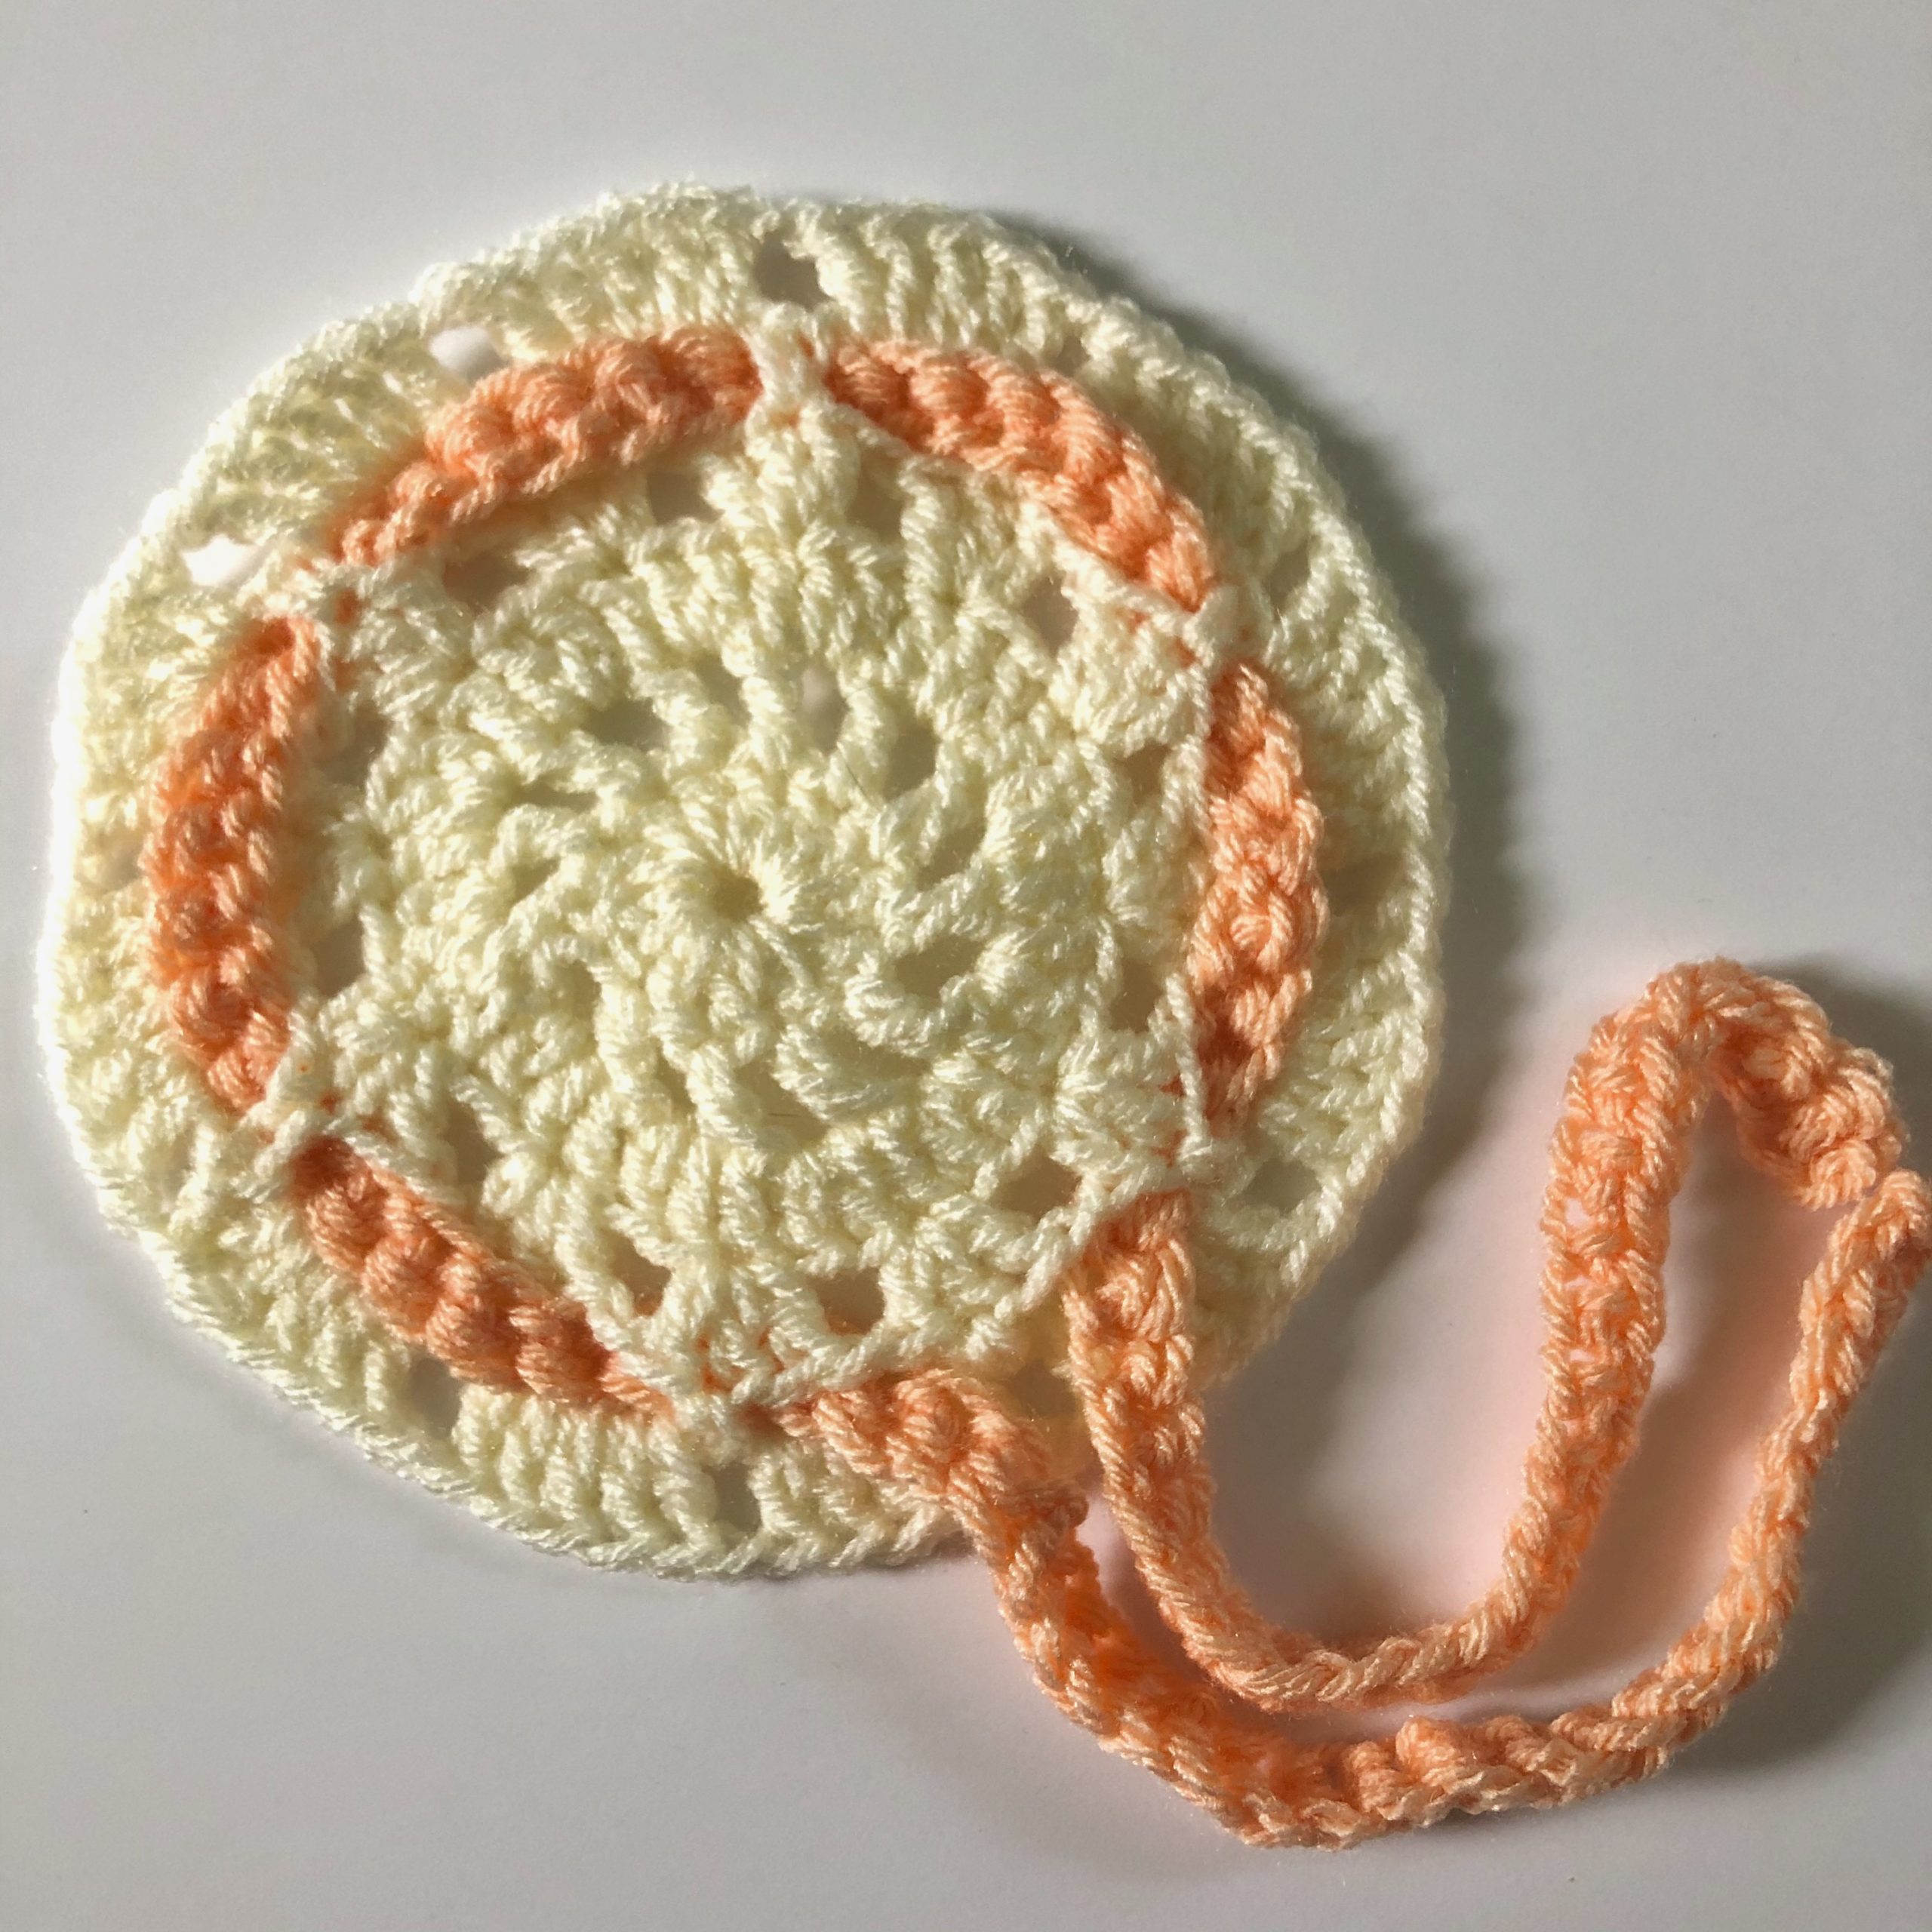
Tie
You may use a 30” length of ribbon or twine. Or make your own, using one of these options!
Option 1: With smaller hook, make a ch approx. 30” long. Sc in 2nd ch from hook and in every ch across.
Option 2: With smaller hook, fsc until the piece measures approx. 30” long.
Assembly
Before placing the lid on the jar, fill the jar with whatever you like, perhaps decorative stones, potpourri, or your favorite snack.
Once your tie has been cut or made, it’s time to thread it through the doily. You’ll be threading the tie through Rnd 5, weaving the tie under and over the sc.
Starting at any sc, thread approx. 2/3 of the length under the sc. At the next sc, pass over. Continue weaving under and over the sc until you reach the first sc. Place the doily over the lid, adjust the ends of the tie so that they’re even, and tie in a bow.