How to Crochet the Single Crochet Thermal Stitch | A Comprehensive Tutorial
Learn how to crochet the single crochet thermal stitch step-by-step for a sturdy, structured fabric—perfect for bag straps. Beginner-friendly guide!
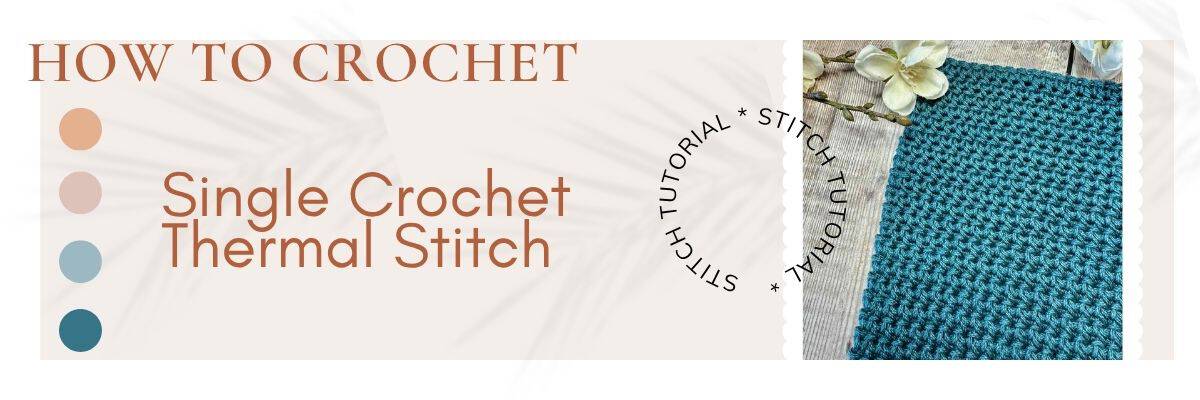
The Single Crochet Thermal Stitch
I recently discovered the single crochet thermal stitch when I was researching for ways to minimize the stretch in straps for crochet bags and totes.
I experimented with the stitch and instantly fell in love with it!
The single crochet thermal stitch creates a dense, sturdy fabric with almost no stretch, which is exactly why it’s become a go-to for projects that need to hold their shape. It’s ideal for anything that needs to stay put rather than stretch out over time.
In this tutorial, you’ll learn how to work the foundation rows, work the repeat, and — just as importantly — how to finish off cleanly for a professional-looking edge every time.
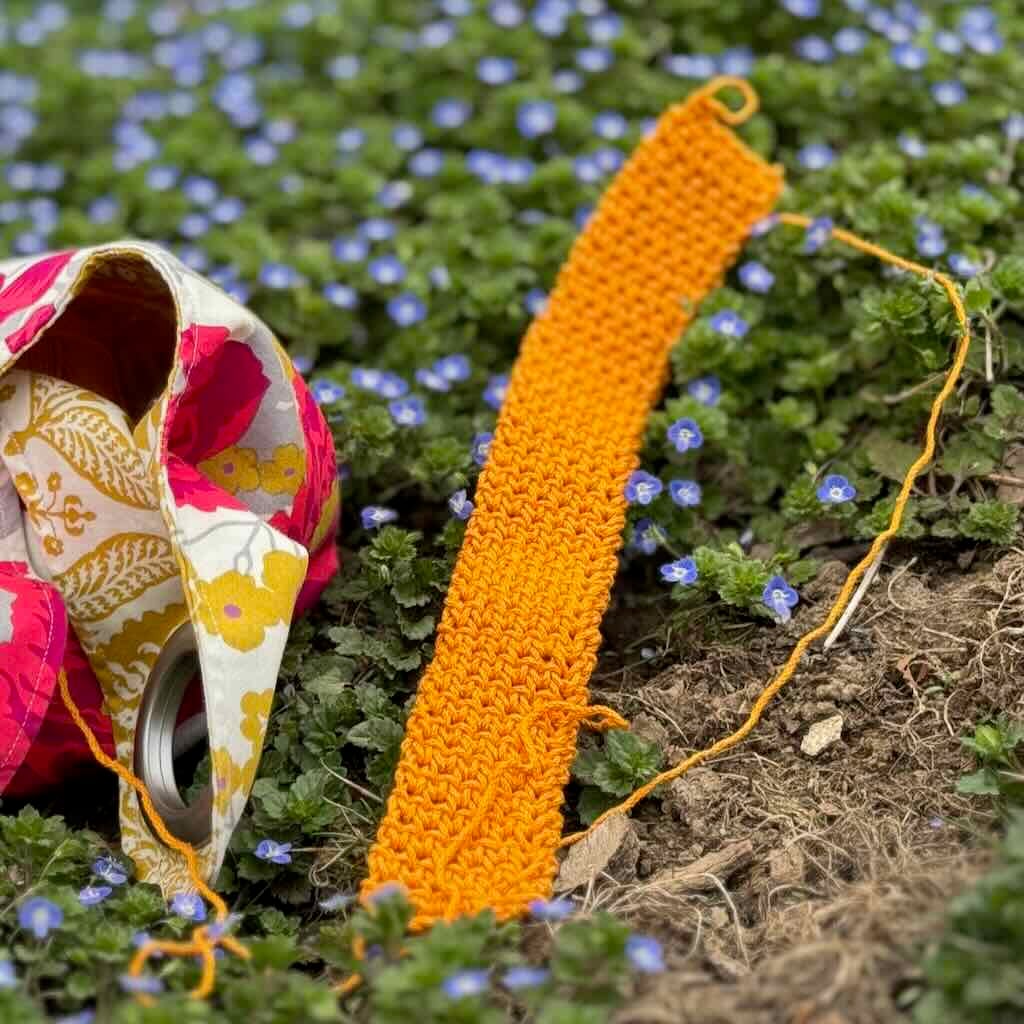
Why You’ll Love This Stitch
Once you’ve set up the two-row foundation, the stitch itself is just a simple one-row repeat. That initial setup does the heavy lifting, and after that, you’re just repeating your way to fabric that’s both strong and polished.
One of the reasons I fell in love with the single crochet thermal stitch is because of the simple repetition. I crochet for it’s ability to calm my hands and mind. This stitch is the perfect mindful crochet project!
And, the single crochet thermal stitch creates a fabric that looks professional and polished, not handmade. It’s easy to keep the stitches even and consistent for a finished look you’ll love.
What the Single Crochet Thermal Stitch is Used For
The single crochet thermal stitch can be worked in any project that requires stability and durability. The resulting fabric is dense enough to hold it’s shape, provide insulation, and keep moisture away.
Here are just a few possibilities:
- Straps that don’t stretch out or lose shape over time
- Bowl cozies to insulate hot bowls
- Cup cozies and can coolers that are snug and keep your drink hot or cold
- Hot pads and potholders for keeping tabletops and hands safe from the heat
The single crochet thermal stitch is a crochet workhorse, perfect for so many things!
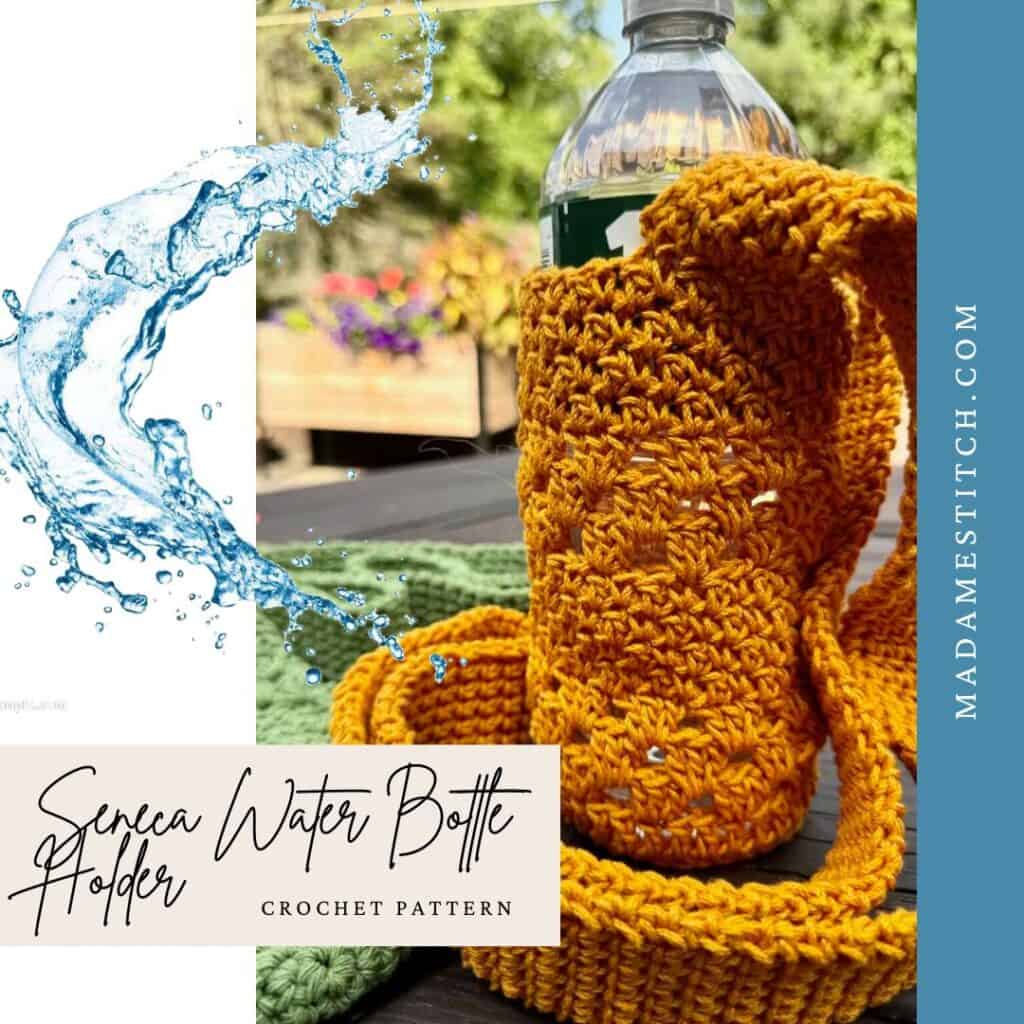
Try your hand at the thermal stitch with this MadameStitch design!
The Seneca Water Bottle Holder is a quick, easy make that employs a variety of basic stitches in the body. The best part is the strap which is crocheted using the single crochet thermal stitch.
You can find the pattern either free on the blog for Grow subscribers or for purchase in my Ravelry and Etsy shops.
Skill Level Explained
While the single crochet thermal stitch uses just the single crochet, a beginner level stitch, it takes a little experience and skill to find the proper places to insert your hook as you go.
That’s why I’ve classified it as an Advanced Beginner stitch.
Most important is knowing how to work into the front or back loops of a stitch. While this stitch goes a step further by working into the stitches 1 and 2 rows below, it’s still a relatively easy stitch to acquire.
Tips for Success
Yarn weight
While any yarn weight will work with the single crochet thermal stitch, worsted weight creates the most balanced fabric without being stiff or too heavy. Lion Brand “24/7 Cotton” is my favorite!
Lion Brand “24/7 Cotton” 100% cotton worsted weight (3.5oz/185yd; 100g/170m)
Fiber content
The most successful fiber content is cotton or cotton blend because it enhances the absorbency and insulation properties of the stitch itself. Mercerized cotton won’t stretch, adding more stability to the single crochet thermal stitch.
However, the fiber content you choose will depend on the project itself. For instance, mittens work best with animal fibers where comfort is key and warmth is paramount.
Choose a yarn weight and fiber content that fits your project.
Hook
I recommend using a size smaller hook than called for by the yarn for a tighter stitch. Remember, the size of the hook you choose will determine the density of the resulting fabric.

Frequently Asked Questions
Can I use this stitch for anything else besides straps?
There are so many projects that are perfect for the single crochet thermal stitch – anything that requires a sturdy fabric that’s absorbent and insulates from extreme temperatures.
Think baskets, potholders, coasters and more!
Why does my fabric look different from the photo?
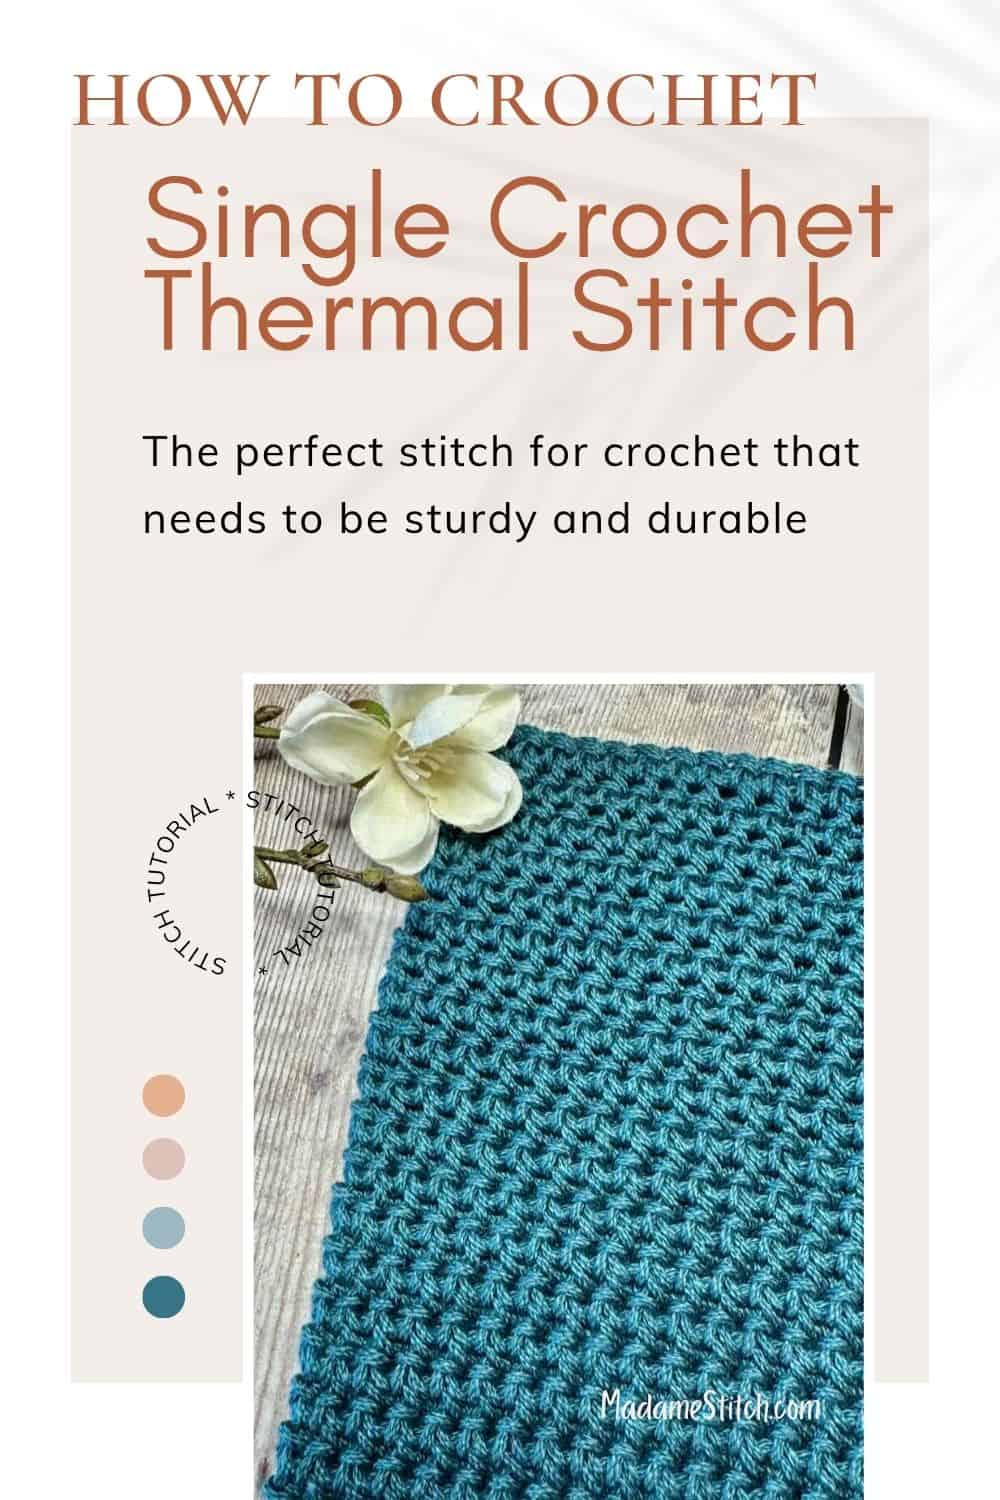
Fiber content and yarn weight affect how your fabric looks and behaves. Also, check to be sure you’ve inserted your hook through both the back loop of the row below AND the front loop 2 rows below to create that double thick fabric.
How do I count the rows?
You really can’t count the rows by looking at them because the nature of the fabric means everything blends together.
If you do need to count the rows, have pencil and paper handy to mark when you’ve completed a row.
Instead of counting rows, simply work until just before you get to your desired finished height. Then, work the final row to finish off.
Video Tutorial
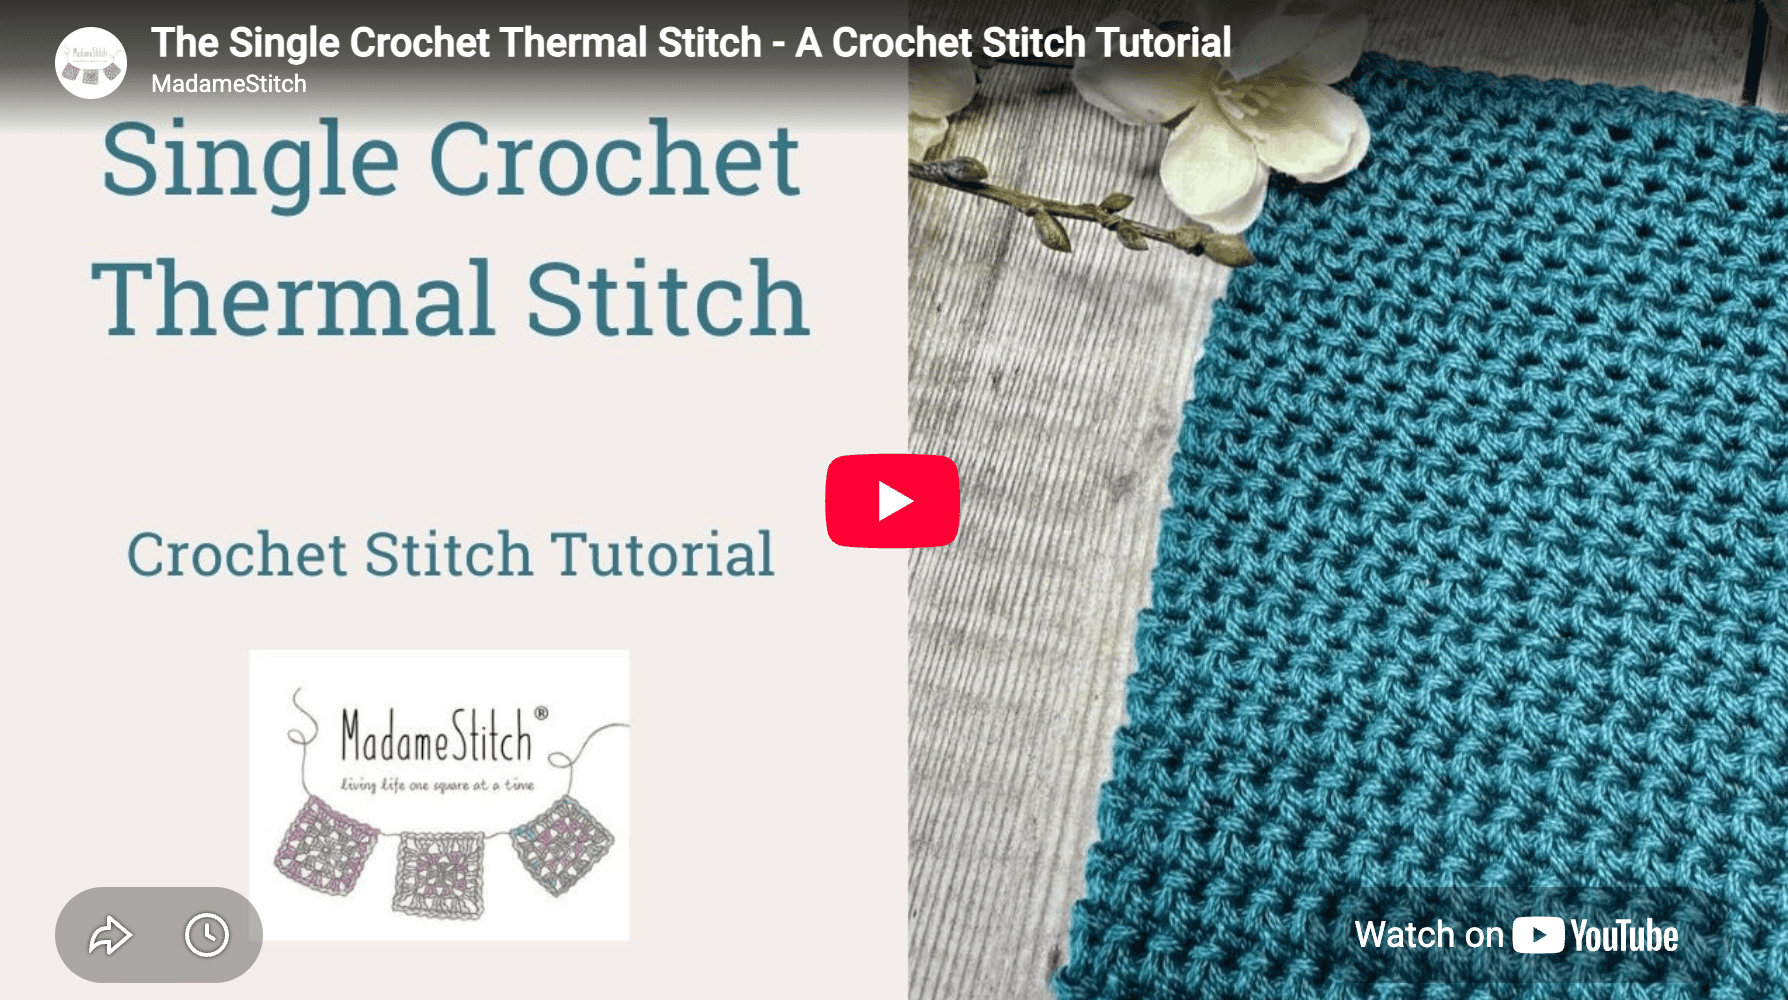
Do you prefer a video tutorial? Click below to watch my step by step tutorial on YouTube
The Step by Step Tutorial Begins Here
Here’s what you’ll need for this tutorial:
Yarn
Any worsted weight (#4) mercerized cotton or similar yarn
Hook
US size 7 (4.5mm) – the smaller hook produces a sturdier fabric; Use a 5mm (H-8) if you prefer.
Abbreviations – US crochet terminology
- BLO – back loop only
- ch – chain
- FLO – front loop only
- sc – single crochet
Tutorial Notes
- The ch-1 at the beginning of each row does not count as a stitch.
- You will be exclusively working single crochets. The difference will be where you insert your hook to make the stitch (explained in the tutorial).
- A word about gauge: For this tutorial, gauge is not terribly important. The width of the sample is 1.5″. That works out to 4 sc per 1″.
Set up a foundation for the single crochet thermal stitch
Two rows precede the beginning of the actual thermal stitch. These rows provide the foundation and position the stitches for what’s to come.
Row 1: Ch 7, sc in the 2nd ch from the hook and in each st across, turn. < 6 sc >
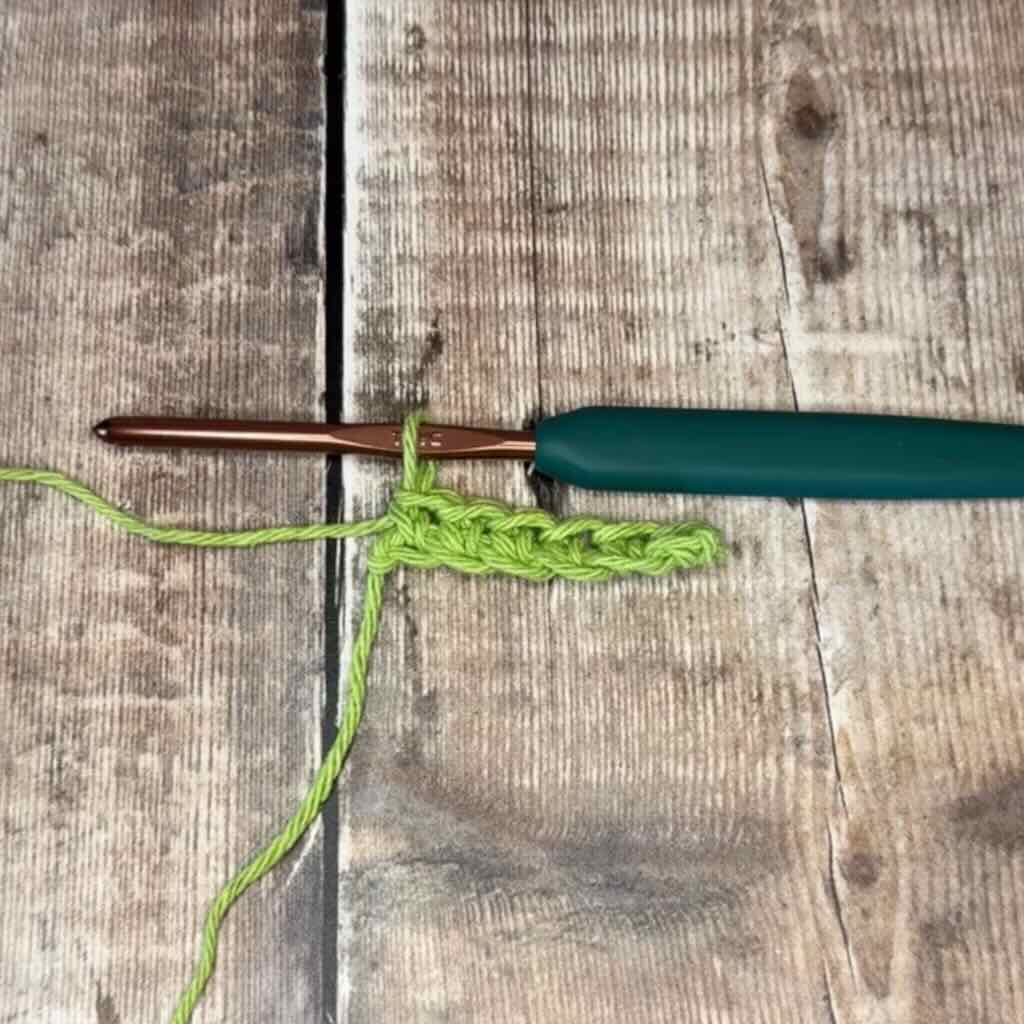
Row 2: Ch 1, sc BLO in the same st and in each st across, turn.
The Single Crochet Thermal Stitch
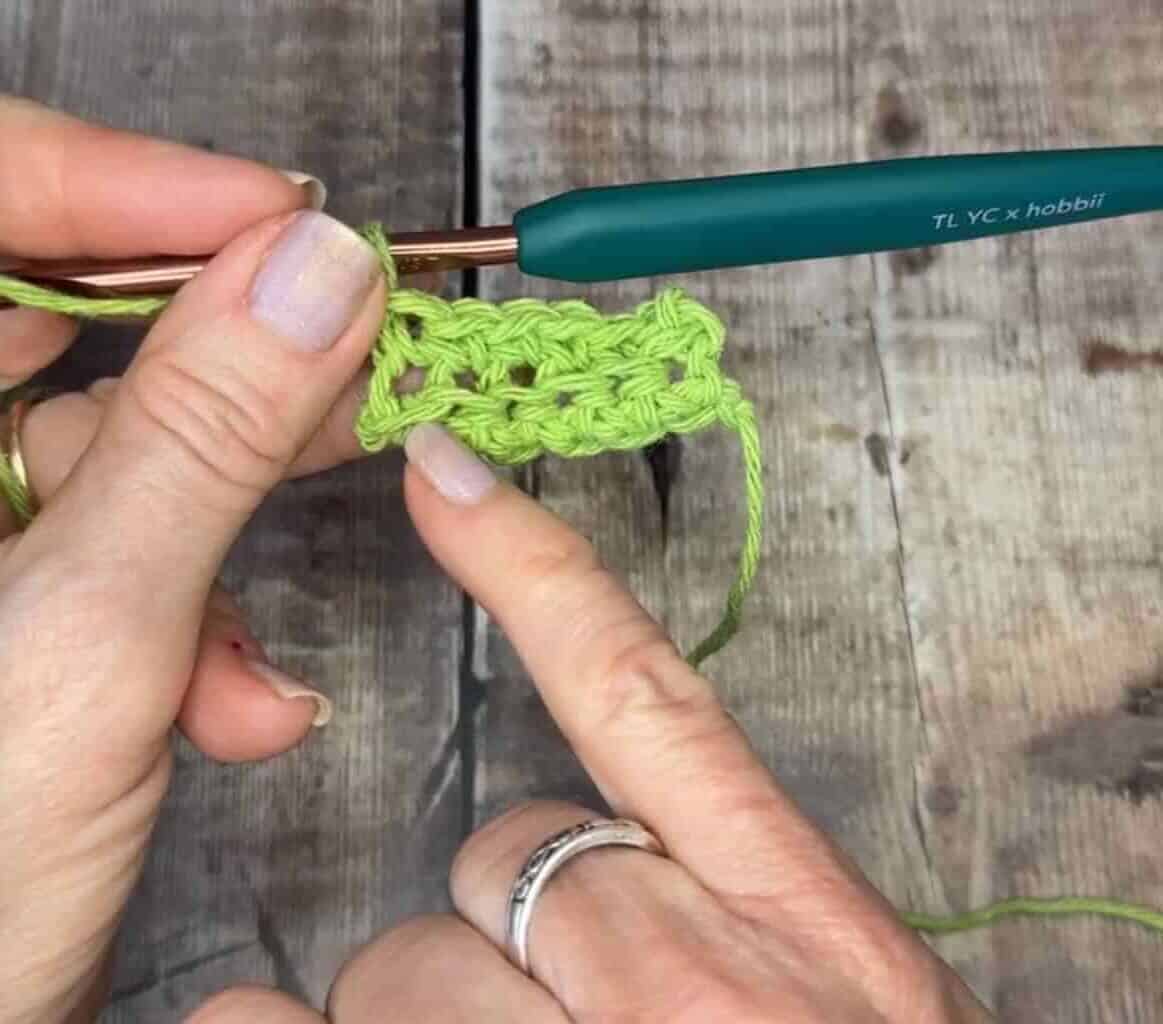
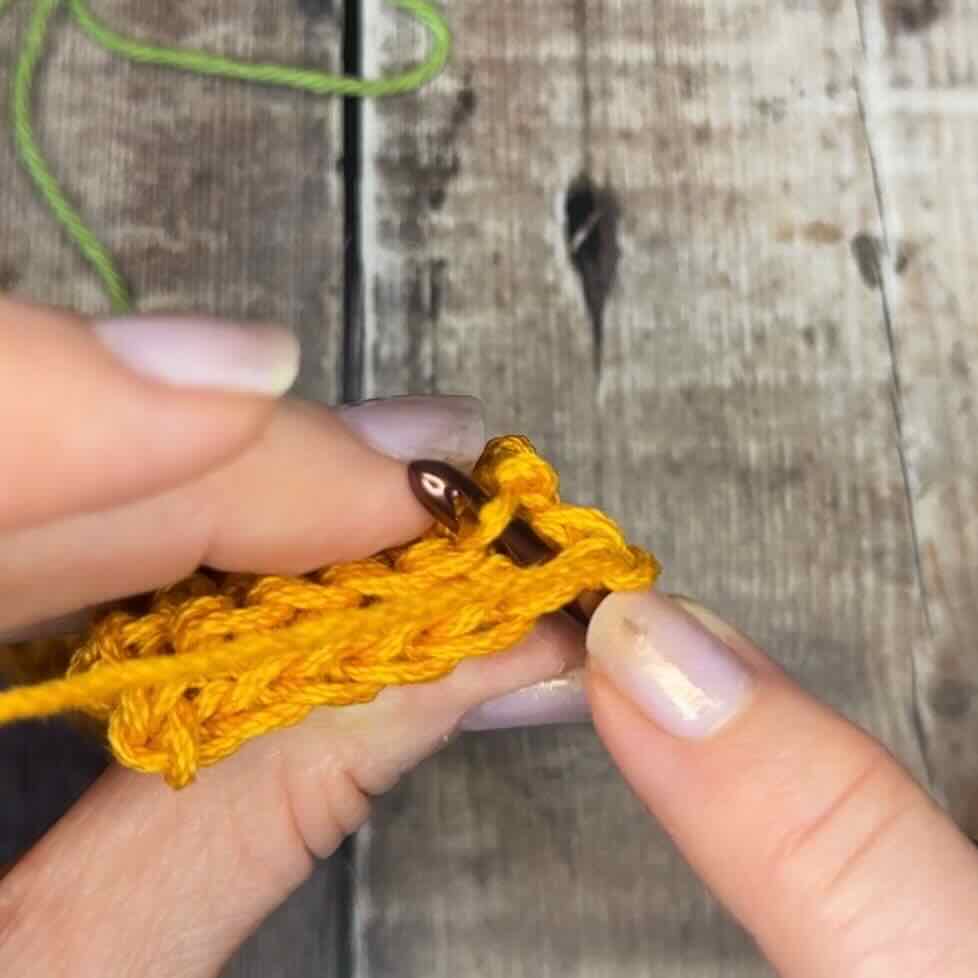
Row 3: Ch 1, sc through BLO of row below AND FLO of 2 rows below, continue in the same fashion for each stitch across.
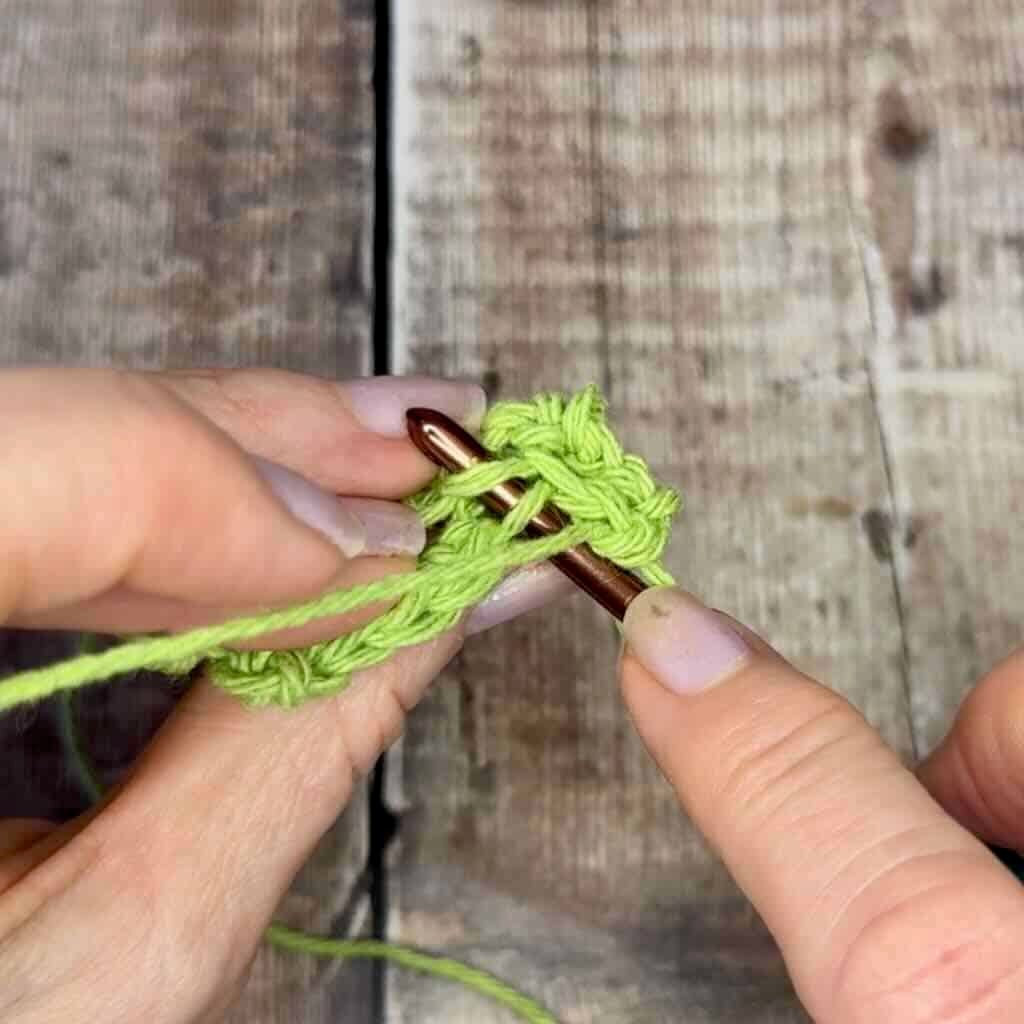
Repeat Row 3 to desired length.
Finish it off
Final row: Ch 1, insert hook under both loops of the row below AND FLO of 2 rows below, continue in the same fashion for each stitch across.
Fasten off
Want a different size? Here’s how!
Width
- Determine the finished width you want.
- Multiply the finished width by 4. This will determine the number of single crochets you need to work across each row.
- Add 1 for the foundation chain.
- Example: 7″ (finished width) x 4 (number of single crochets per inch) + 1 (for the foundation chain) = 29 (the number of chains to begin.
Length
Simply work your piece until you arrive at the length you want.