The Seneca Water Bottle Holder | The Ultimate in Walking Gear
A water bottle holder is the perfect hands-free solution for your hiking experience. Made with cotton yarn and employing basic stitches, it’s a quick project.
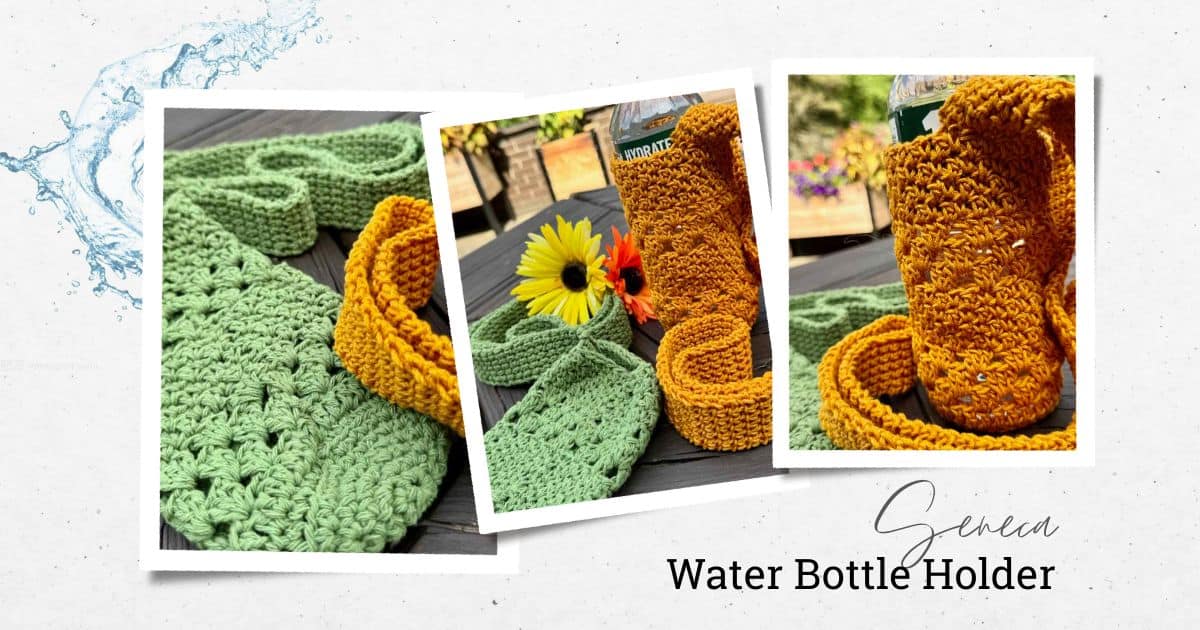
The Seneca Water Bottle Holder
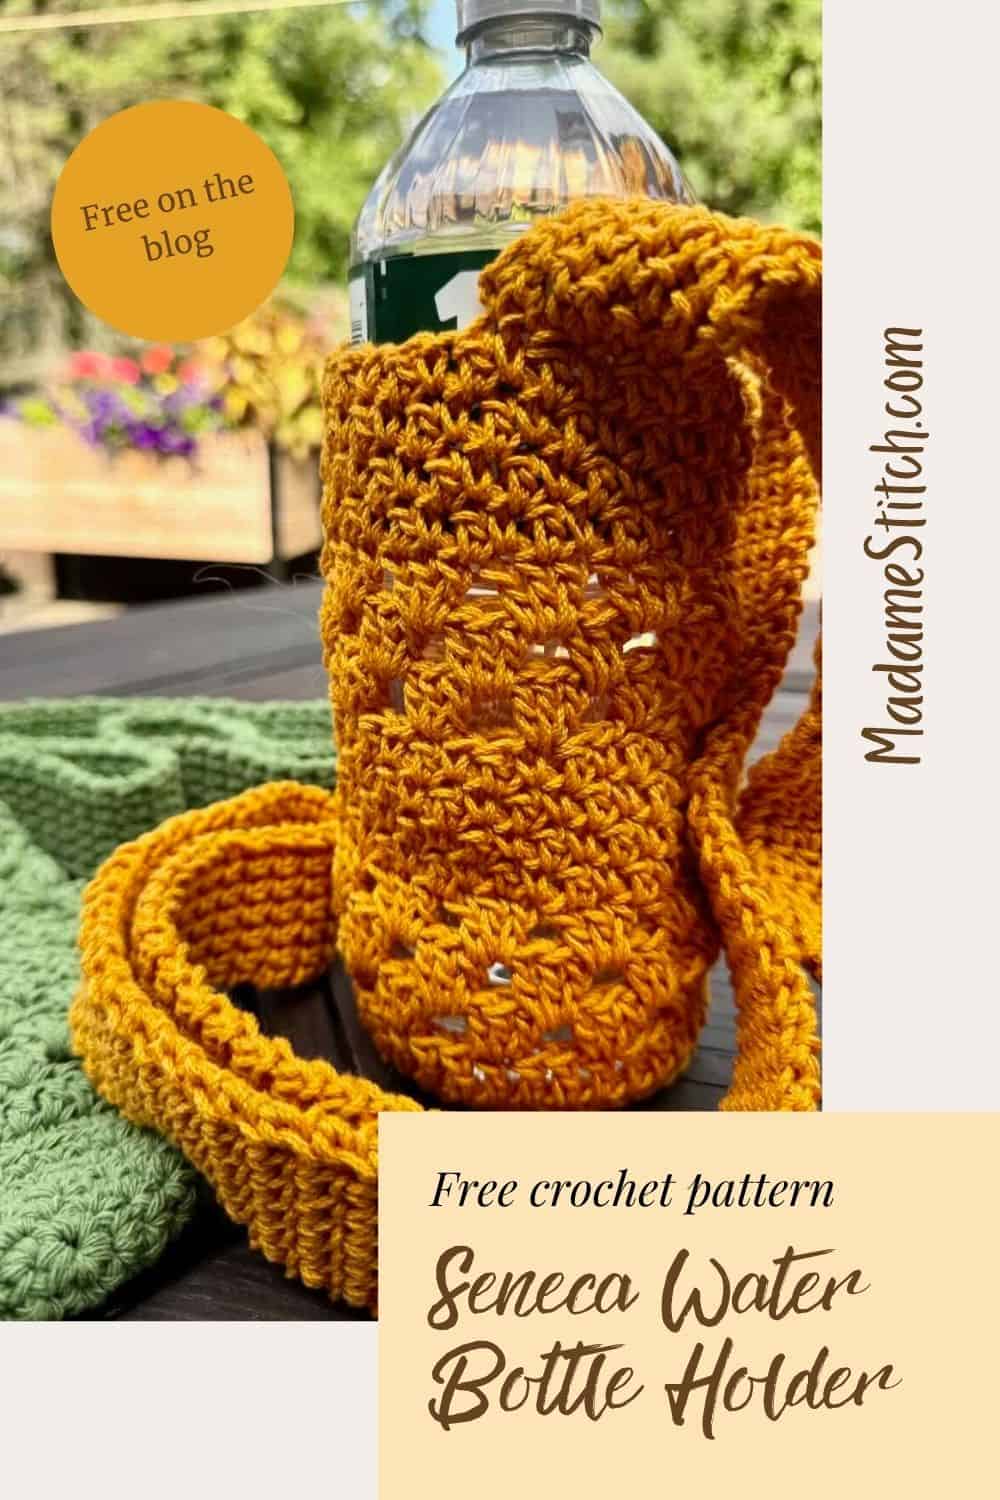
Every time I set out on a hike, I take a bottle of water. Holding that bottle of water for an entire multi-mile hike can become difficult. So I designed the Seneca Water Bottle Holder to solve the problem!
It’s perfect for those hikes where water breaks are not optional. It keeps your hands free without the weight of the water bottle constantly pulling on your arms and cramping your hands.
Be the envy of your fellow walkers with this stylish crochet water bottle holder. The Seneca Water Bottle Holder is the solution you’ve been looking for, keeping your hands free and your water bottle protected on every walk.
An extra long strap means you can wear this crossbody, keeping your water bottle out of the way and your stride uninterrupted. And with familiar stitches and techniques, it’s a quick make, perfect for a fun evening or weekend of crochet.
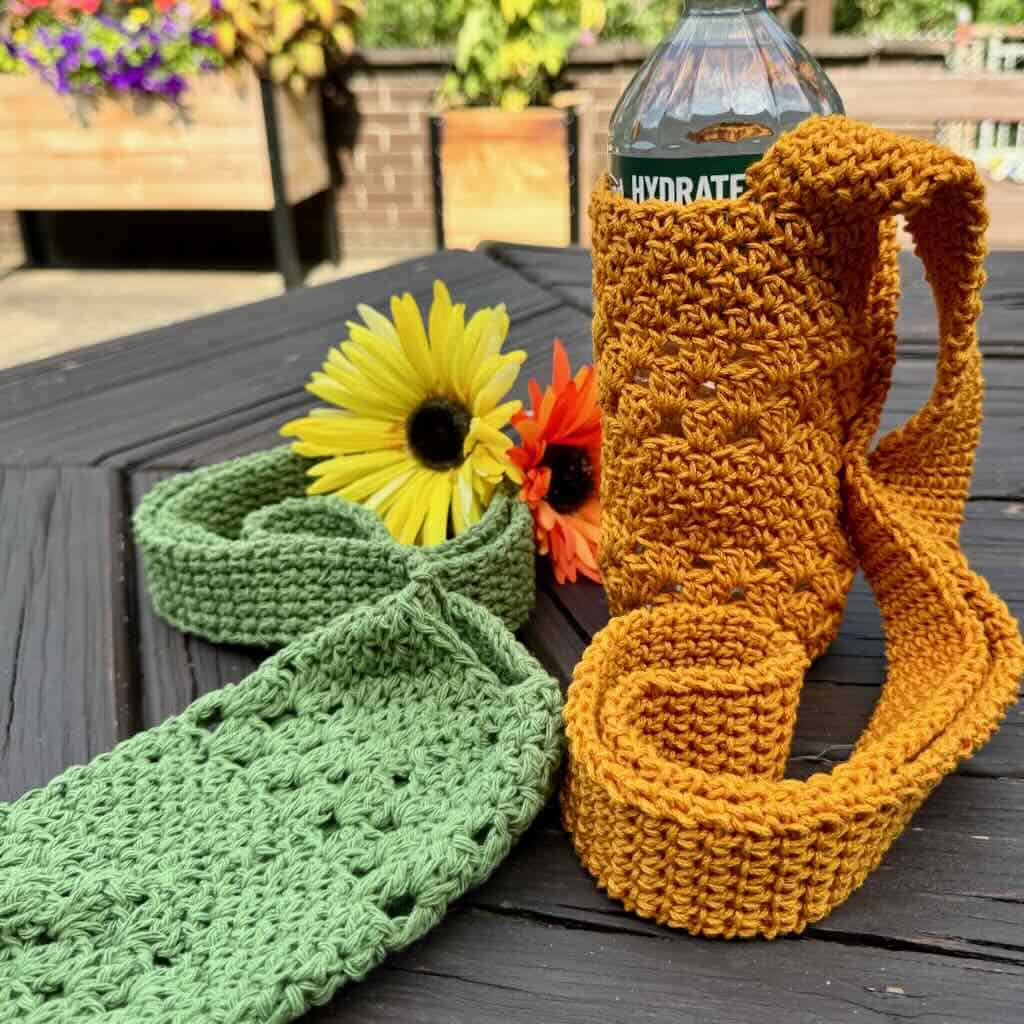
Pattern at a Glance
- Skill level – Advanced Beginner
- Yarn – Any mercerized cotton or cotton blend
- Yardage – Approx. 175 yds
- Hooks – US size H-8 (5mm) and size 7 (4.5mm)
- Finished Size – Approx. 7.5″ high x 5.25″ across laid flat with a 42″ long strap
- Originally published – July 24, 2026
Design + Construction
The Seneca Water Bottle Holder is a quick, mindful make, perfect for an evening of relaxing crochet. Incorporating a variety of basic stitches, it’s easy to memorize the instructions and let your hook do all the work.
The bottom of the water bottle holder is a flat circle worked in continuous rounds. The flat circle bottom provides a solid base for those heavy water bottles. And, the combination of the granny stitches and the seed stitch creates a sturdy body with a thermal stitch strap that retains its shape.
The longer strap is worked in thermal stitch, a strong single crochet stitch pattern that creates a dense, non-stretchy fabric, perfect for carrying a heavy weight.
The water bottle holder is designed to hold a 20oz water bottle, although something slightly smaller or larger would fit as well.
You’ll love crocheting this hiking accessory so much you’ll find yourself wanting to make more!
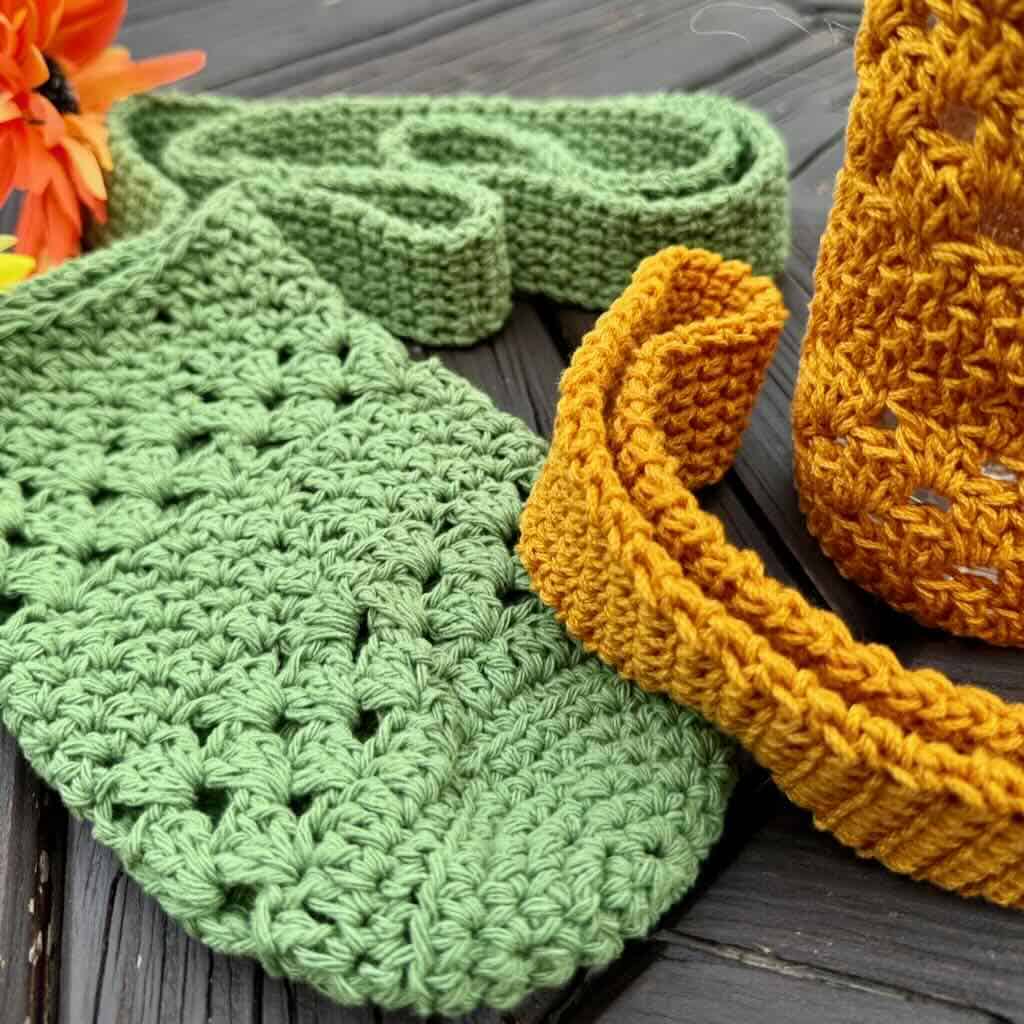
The Yarn
When they’re full, water bottles can be heavy. That’s why your water bottle holder must be sturdy with minimal stretch.
I chose mercerized cotton – Lion Brand’s “24/7 Cotton” – because the yarn itself has no stretch. However, that doesn’t mean your water bottle holder won’t still stretch. Any stretch you experience will come from the stitches themselves.
This project lends itself to shopping your yarn collection, an ideal stash buster. So, if you have some worsted weight mercerized cotton, by all means consider using it.
Work the water bottle holder in one color like the sample. Or mix and match colors from your yarn stash to create a truly unique walking companion.
Yarn Substitute
You may want to use a yarn other than Lion Brand’s “24/7 Cotton”. You may even have something in your stash that works. Be sure that whatever you choose for your water bottle holder is sturdy, easy to care for and non-stretchy.
Not sure if what you have will work? Use my Yarn Substitution Worksheet to walk you through the steps to an informed decision.
You can also check out YarnSub for other great options.
Here’s what to love about the pattern
- Whether you’re a beginner or have been crocheting for a long time, you’ll find this an easy, satisfying make.
- The water bottle holder is a stylish way to keep your water handy.
- It’s the kind of project that can be made up in an evening or weekend. Make it now and use it tomorrow!
Frequently Asked Questions
What skill level is this pattern?
I’ve listed this project as Advanced Beginner. You’ll be working basic stitches but in easy techniques you may not yet be familiar with.
What size bottle fits in this water bottle holder?
I used a 20 oz bottle of water to design this water bottle holder. However, it can easily hold smaller bottles. I wouldn’t recommend anything larger to prevent excessive stress on the yarn.
Is there a video tutorial?
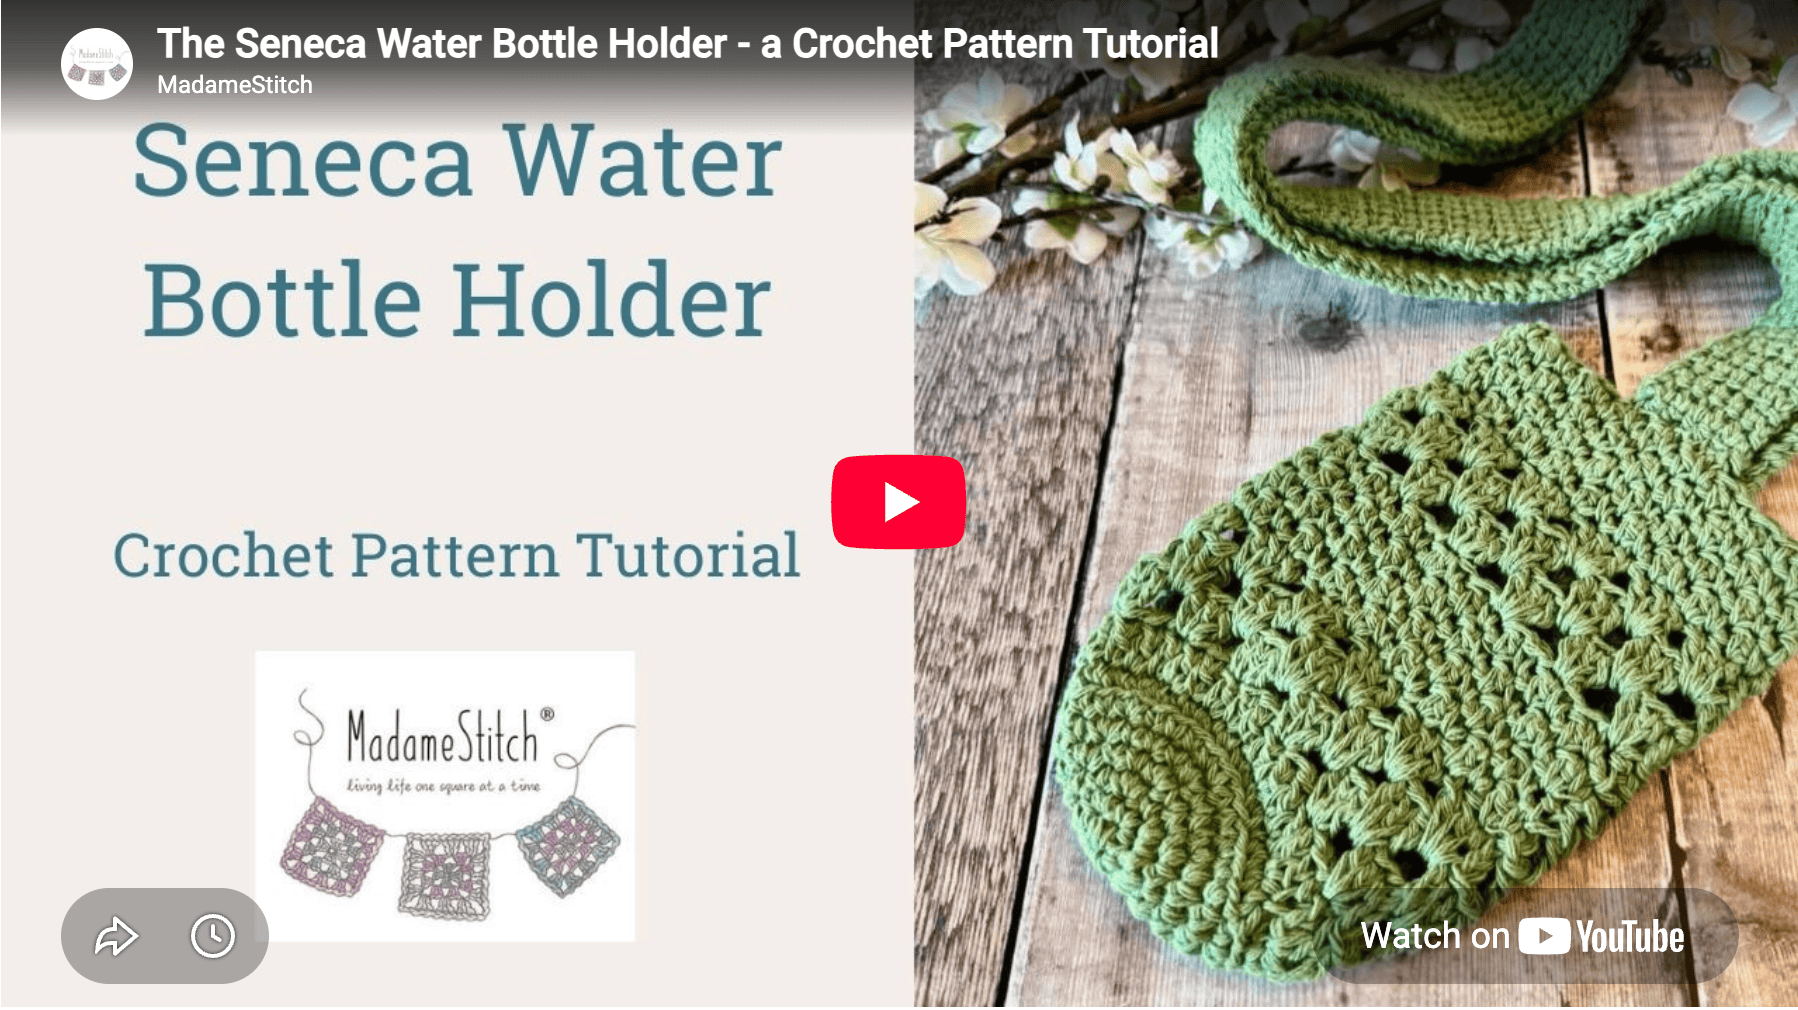
Yes, it’s available on YouTube. In it, I walk you through every step, although you’ll still need the written instructions to complete the project.
Is the thermal stitch difficult?
Not at all. The hardest part is knowing where to insert your hook which I show you in the video tutorial and explain in the pattern. Once you get the hang of it, the thermal stitch will provide some mindful crochet time.
Where to Get the PDF for the Seneca Water Bottle Holder
The Seneca Water Bottle Holder is a free crochet pattern available in this blog post to Grow subscribers (the account is free). Scroll down to view the free version.
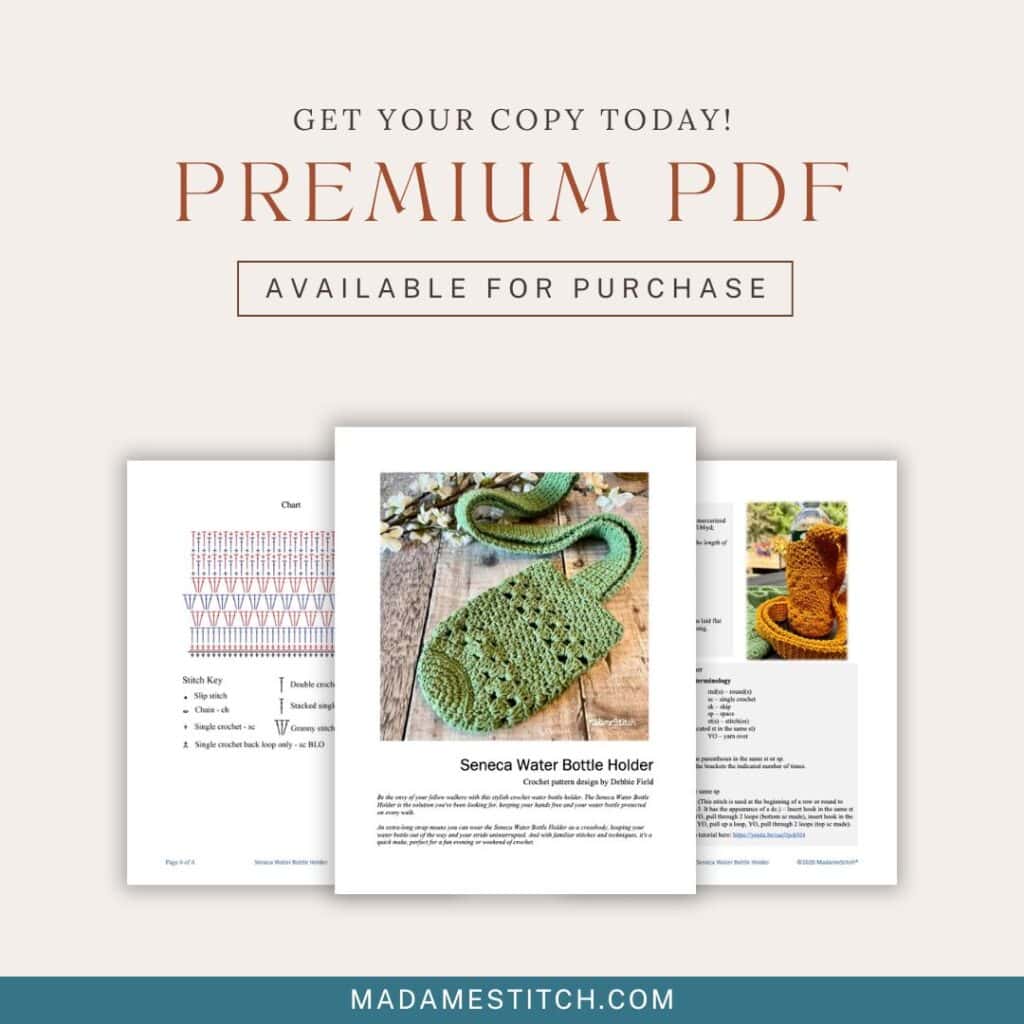
Upgrade to a printer friendly, downloadable PDF, available for purchase from one of my shops.
The premium PDF can be uploaded to your favorite mobile device so you can take your Seneca Water Bottle Holder project with you to work on whenever you’re out and about (it makes a fabulous travel crochet project).
The PDF is easy to read and beautifully formatted without ads for a great experience. It includes detailed written instructions, helpful photos for key construction spots, and a chart for stitch placement in the body.
Get your copy today!



Seneca Water Bottle Holder Free Pattern Starts Here
General Information
Yarn
Lion Brand “24/7 Cotton” 100% cotton worsted weight (3.5oz/185yd; 100g/170m)
Approx. 170 yds depending on the length ofthe strap (1 skein)
Hooks
- US size H-8 (5mm) for the body
- US size 7 (4.5mm) for the strap
Tools
- Removable stitch markers
- Tapestry needle
- 20 oz bottle of water
Finished Size
Approx. 7.5” high by 5.25” across laid flat
The strap measures approx. 42” long.
Gauge
8 rnds x 4 GS = Approx. 4”
Skill Level: Advanced Beginner
Abbreviations – US crochet terminology
- beg – beginning
- BLO – back loop only
- ch – chain
- dc – double crochet
- FLO – front loop only
- inc – increase (work 2 of the indicated st in the same st)
- rep – repeat
- rnd(s) – round(s)
- sc – single crochet
- sk – skip
- sp – space
- st(s) – stitch(es)
- YO – yarn over
Repeats
- (…) – Work everything within the parentheses in the same st or sp.
- […] – Repeat everything within the brackets the indicated number of times.
Special Stitches
Granny Stitch (GS) – 3 dc in the same sp
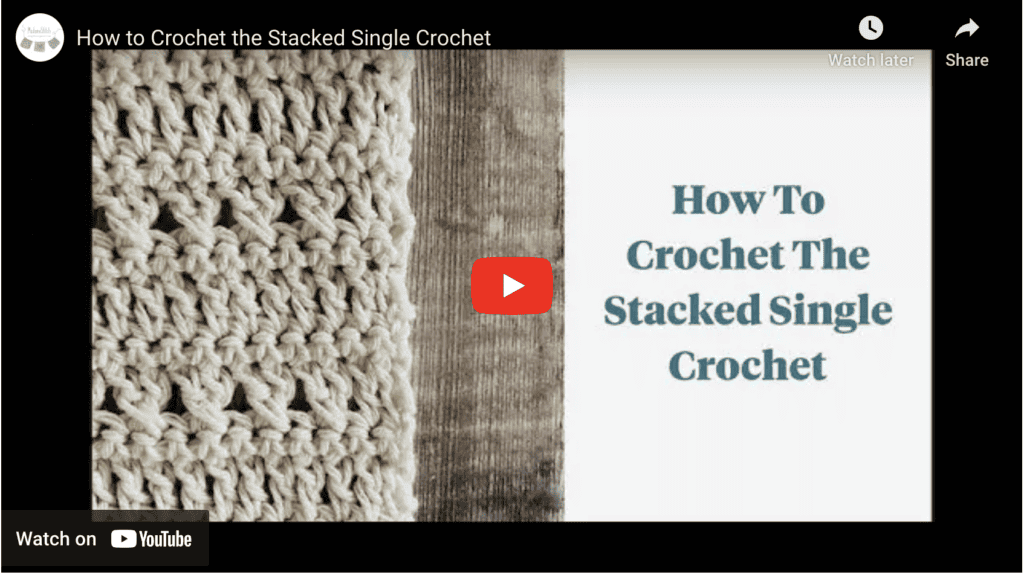
Stacked single crochet (STsc) – (This stitch is used at the beginning of a row or round to replace the traditional turning ch-3. It has the appearance of a dc.) – Insert hook in the same st as the loop, YO, pull up a loop, YO, pull through 2 loops (bottom sc made), insert hook in the left vertical bar of the bottom sc, YO, pull up a loop, YO, pull through 2 loops (top sc made).
Video Tutorial
Click below for the full pattern tutorial.
Pattern Notes
- Do not turn after any rnd in the body of the bottle holder.
- A ch-1 at the beg of a rnd does not count as a st.
- A ch-2 or ch-3 may be substituted for the STsc at any time without affecting the construction.
- The GS in the body of the bottle holder is worked in the sp where a ch-1 would normally be, between 2 GS in the rnd before.
Unlock Exclusive Subscriber Content
To unlock Exclusive Subscriber Content, click on the button in the box below. The Grow.me app window will pop up where you can either create an account or sign in if you already have one.
To create an account, sign in with your existing Google or Facebook account. You can also create an account with an email address and new password.
If you forget your password, simply click the “Forgot my Password”button. I have no access to your Grow account so I’m unable to retrieve or reset your password.
Remember, once you’ve created a Grow account, you never have to do it again. Your Grow account unlocks all the exclusive content created by Grow
Thank you for being a loyal blog subscriber. I hope you enjoy the exclusive content!
Pattern Instructions
More MadameStitch designs you might love


I could not find the box to click on for Grow
The code wasn’t working properly. It should be fine now.
-Debbie