A gorgeous granny square full of Old World charm
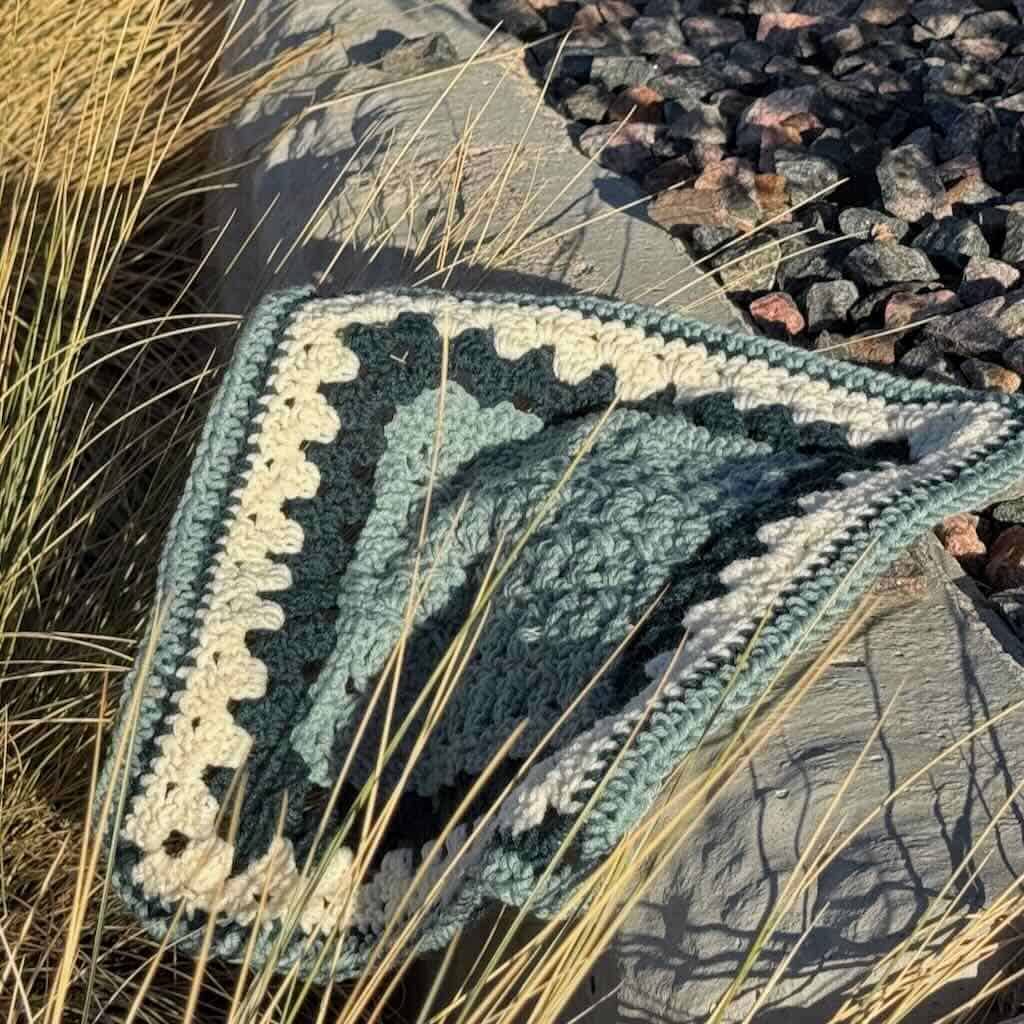
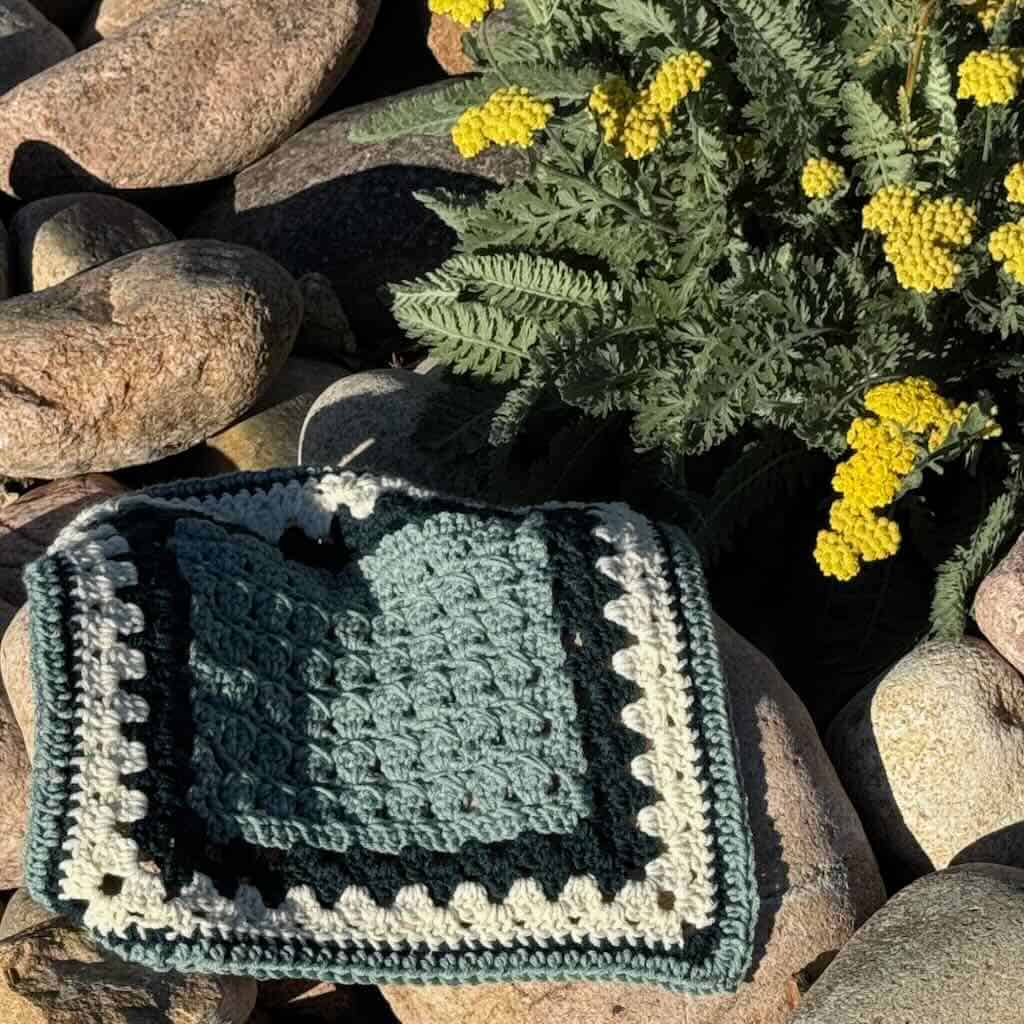
The beautiful Tiles granny square perfect for cozy blankets and more. Made with worsted weight yarn, it combines traditional granny square components with creative takes on old friends.
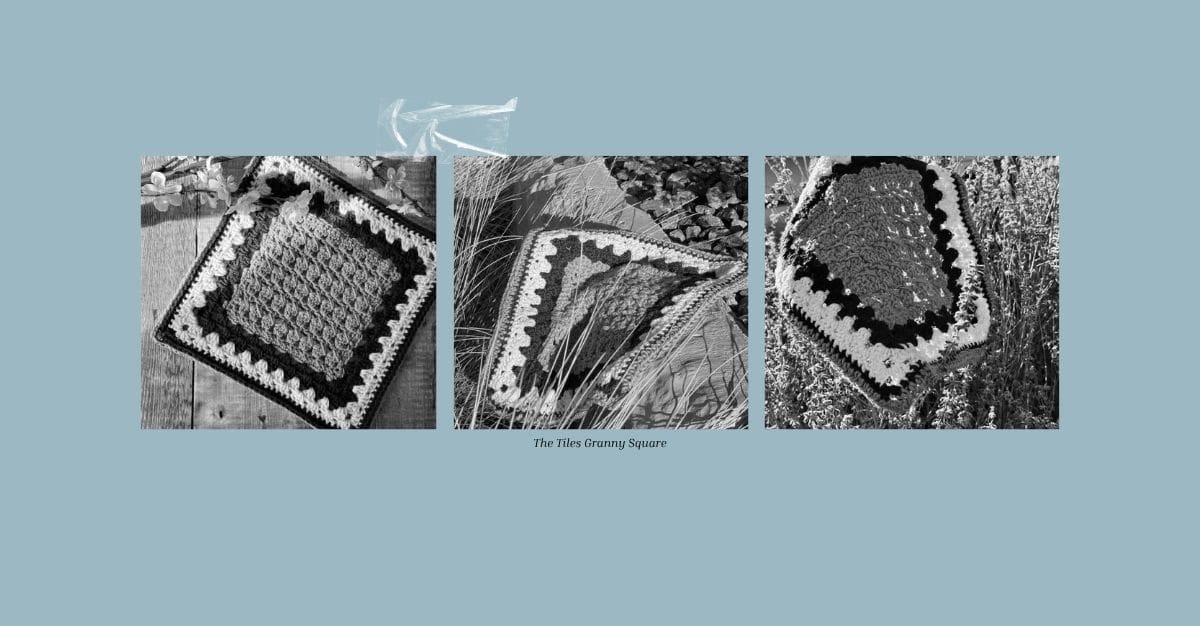
The Tiles Granny Square
The traditional granny square is my favorite crochet design element. I make hundreds of them each year. Sometimes, though, I want to see what happens when I change it up a bit.
I love experimenting with interesting ways to change and modify that traditional granny square.
For the Tiles Granny Square, those granny stitches that make the traditional granny square iconic are still in there. Add a few creative twists and you have something totally different and incredibly beautiful.
This year’s Granny Stitch Sampler Blanket took me in a totally different direction. I’m thrilled to introduce the Tiles Granny Square!
Pattern at a Glance
- Skill Level: Intermediate because of the combination of stitches and techniques beyond the basics
- Yarn: Any worsted weight yarn
- Yardage: 150 yds
- Hook: US size H-8 (5mm)
- Finished Size: Approx. 12″ square
- Video tutorial available on YouTube
- Original publish date: September 27, 2026
Why you’ll love this pattern
- You’ll love the variety of stitches used in the square.
- While the skill level is intermediate, making the square is pretty straightforward.
- The granny square is filled with subtle texture and loads of interesting stitches.
- Use it for home décor items like pillows and blankets. Or, make a fun scarf out of it.
Design + Construction
The Tiles Granny Square is different from every other granny square I’ve designed.
Normally, I like to work a granny square in rounds no matter what other stitches I add to it. This time, I started with a square center worked in back and forth rows.
In that center square, I’ve alternated rows of granny stitches with rows of crossed V-stitches to create a straightforward yet interesting texture.
Once that center square is complete, those granny stitches return in traditional rounds.
The entire square is finished off with half double crochets worked in the 3rd loop to add a final touch of subtle texture.
The resulting look is reminiscent of the ceramic tiles seen everywhere in Portugal. In fact, my husband saw the square and immediately landed on the name “Tiles”!

The Yarn
The Hearthside Book Sleeve and A Very Cottage Christmas event introduced me to Lion Brand’s “Color Theory“. Ever since I’ve been looking for any reason to use it.
“Color Theory” yarn, on the lighter end of the worsted weight category, is so soft and easy to work with. It’s 100% acrylic making it an easy-care option. The finished crochet project, whatever it happens to be, is snuggle-worthy and will become something you just don’t want to put down.
And, the colors are vibrant and cozy, making it an ideal choice for a mulit-color project. Even though the yarn feels pliable and soft, the stitch definition is exquisite.
Of course, you can use any worsted weight yarn you like. But, because “Color Theory” is a light worsted weight, anything heavier will produce a larger square.
Yarn Substitution
Not interested in using Lion Brand “Color Theory“? Have something else in your stash that you’d rather use? Not a problem!
My Yarn Substitution Worksheet will walk you through the steps to see if your yarn is a good substitute. Click the button below and download your free copy.

You’ll also find a list of the closest substitutes on YarnSub.com here.

Frequently Asked Questions
Are granny squares easy to make?
Generally, yes. But sometimes the modifications made to the traditional granny square can make it more difficult. If you love to try new crochet stitches and techniques, the Tiles Granny Square is for you!
Is there a video tutorial?
Yes, there is. You can find it on my YouTube channel here.
Does a granny square need to be blocked?
I highly recommend blocking a granny square. Not only does it ensure your square is the correct size, it evens out the stitches for a more professional finish.
Where to buy the PDF for the Tiles Granny Square
The Tiles Granny Square is a free crochet pattern available in this blog post. Scroll down to view the free crochet granny square instructions.
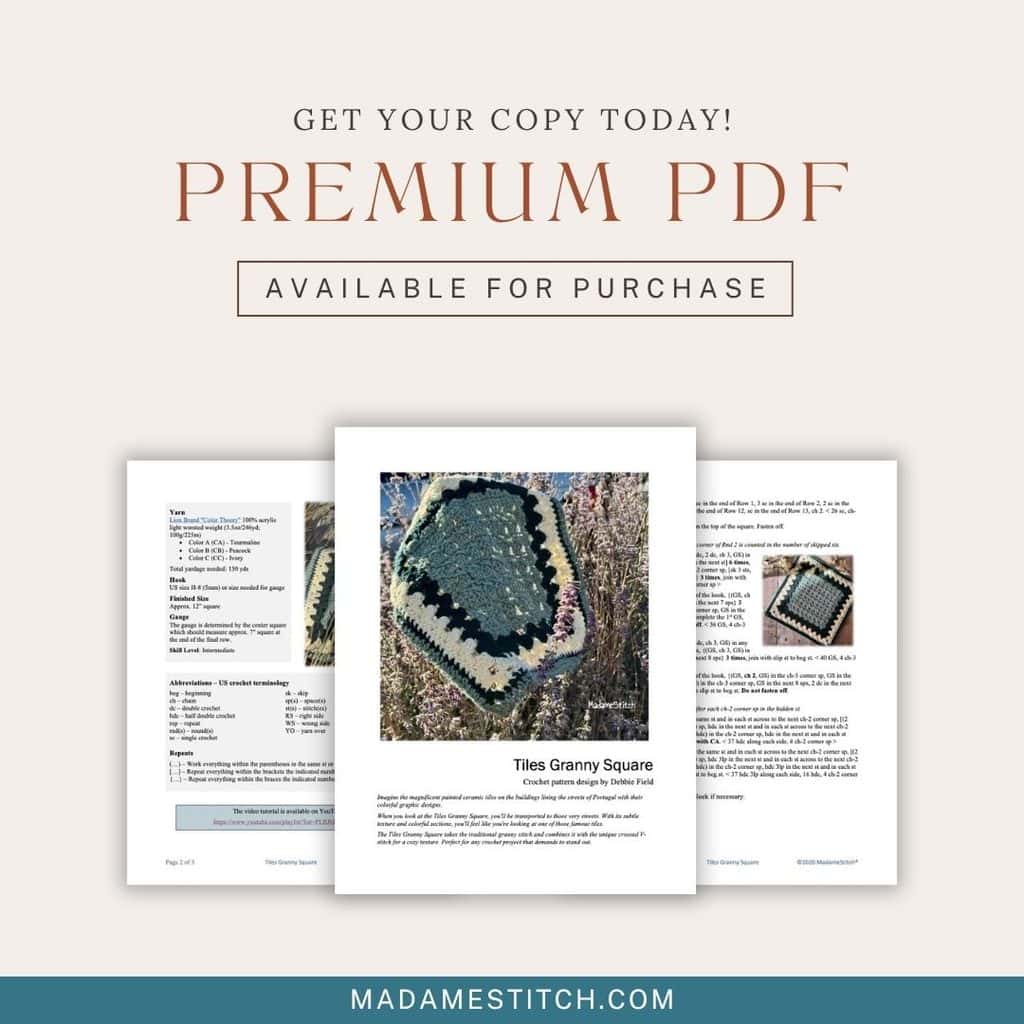
The premium PDF is printer friendly and downloadable, available for purchase from my Ravelry shop. It can then be uploaded to your favorite mobile device so you can take your Tiles Granny Square project with you to work on whenever you’re out and about.
The premium PDF is easy to read and beautifully formatted without ads for a great experience. It includes everything you need to crochet all 3 sizes.
Get your copy today!

2026 Granny Stitch Sampler Blanket
The Tiles Granny Square is one of the featured designs in the 2026 Granny Stitch Sampler Blanket.
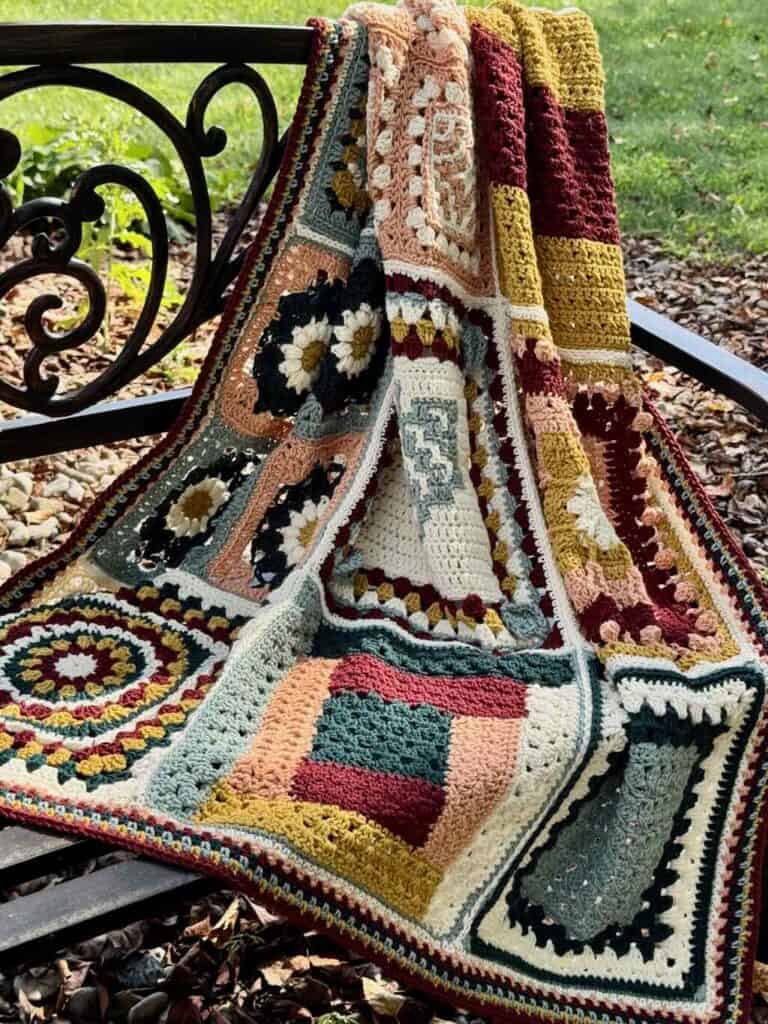
The Granny Stitch Sampler Blanket introduces you to unique and creative ways to combine the granny stitch with other stitches and techniques.
Twelve crochet designers come together to create this one-of-a-kind, show-stopping blanket.
Find out how to make your own by visiting the crochet along blog post.

Or, purchase the premium full pattern eBook that includes everything you need an more.

The Tiles Granny Square Free Pattern Starts Here
General Information
Yarn
Lion Brand “Color Theory” 100% acrylic worsted weight (3.5oz/246yd; 100g/225m)
- Color A (CA) – Tourmaline
- Color B (CB) – Peacock
- Color C (CC) – Ivory
- Total yardage needed: 150 yds
Hook
US size H-8 (5mm) or size needed for gauge
Finished Size
Approx. 12″ square
Gauge
The gauge is determined by the center square which should measure approx. 7″ square at the end of the final row.
Skill Level: Intermediate
Abbreviations – US crochet terminology
- beg – beginning
- ch – chain
- dc – double crochet
- hdc – half double crochet
- rep – repeat
- rnd(s) – round(s)
- sc – single crochet
- sk – skip
- sp(s) – space(es)
- st(s) – stitch(es)
- RS – right side
- WS – wrong side
- YO – yarn over
Repeats
- (…) – Work everything within the parentheses in the same st or sp.
- […] – Repeat everything within the brackets the indicated number of times.
- {…} – Repeat everything within the braces the indicated number of times.
Special Stitches
Chain-3 corner space (ch-3 corner sp) – The number denotes the number of chains made in a corner space.
Crossed V-stitch (crossed V-st) – In this design, the crossed V-st is worked over a GS directly below. The legs of the V-st will be crossed and form an “x” around the top of the GS. Here’s how to work it: Dc in the sp after the GS below, ch 1, dc in the sp before the GS below.
Foundation single crochet (Fsc) – To start the row, ch 2, insert hook in the 2nd ch from the hook, YO, pull up a loop, YO, pull through 1 loop (this forms the chain along the bottom), YO, pull through both loops on the hook (sc made).
All other Fsc in the row: Insert hook under both loops of the chain at the bottom of the previous st, YO, pull up a loop, YO, pull through 1 loop (this forms the chain along the bottom), YO, pull through both loops on the hook (sc made).
Granny stitch (GS) – 3 dc in the same st or sp
Half double crochet in the 3rd loop (hdc 3lp) – YO, insert hook through the 3rd loop that sits just under and behind the top loop of the stitch, YO, pull through the 3rd loop, YO, pull through all 3 loops on the hook to complete the hdc.
A note about the hidden stitch
What is the hidden stitch in crochet? It’s the 1st st that follows each corner when working in the round. Oftentimes, because of the stitches worked in the corner space, that 1st stitch can be hidden and tucked underneath those stitches. In this pattern, the hidden stitch is included in the stitch count unless instructed to skip it.
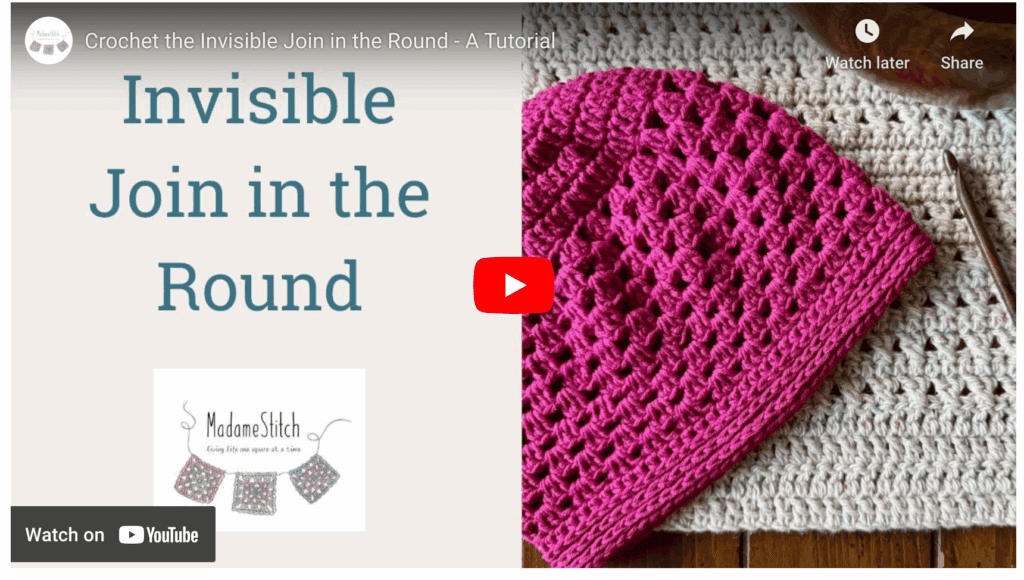
Invisible join: At the end of the rnd, remove working loop from hook, insert hook from back to front through the top of the 1st st of the rnd, add working loop back onto hook and pull through to the WS, continue as instructed.
Standing double crochet (Standing dc) – Make a slip knot, hold the slip knot firmly against the hook with the forefinger of the same hand, YO, insert hook in the indicated st, YO, pull up a loop, [YO, pull through 2 loops] twice.
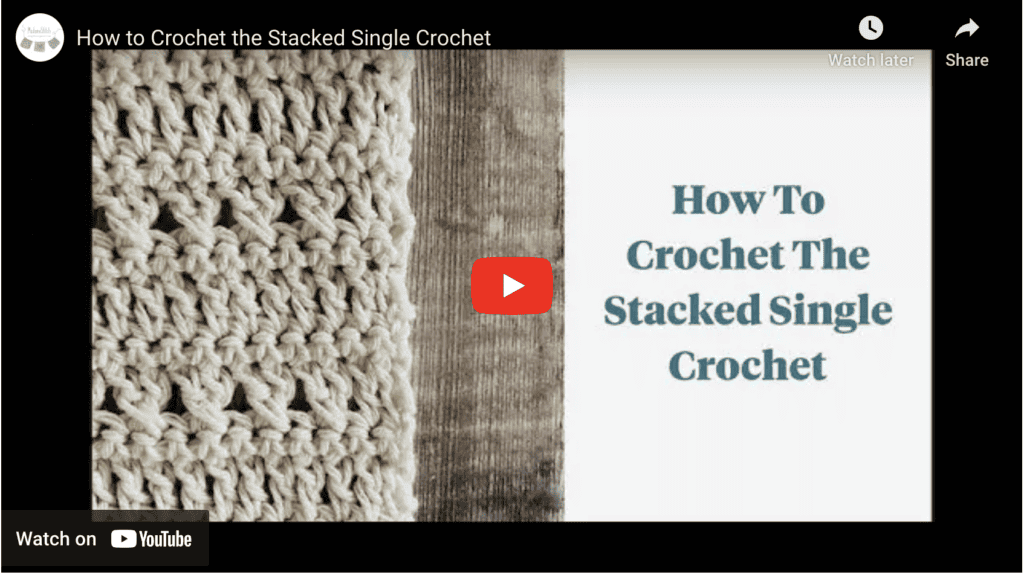
Stacked single crochet (STsc) – (This stitch is used at the beginning of a round to replace the traditional turning ch-3. It has the appearance of a dc.) – Insert hook in the same st as the loop, YO, pull up a loop, YO, pull through 2 loops (bottom sc made), insert hook through the left vertical bar of the bottom sc, YO, pull up a loop, YO, pull through 2 loops (top sc made).
Video Tutorial
Coming to YouTube on Monday, Sept 28…
Pattern Notes
- The center square is worked in turned rows. The rounds of the Outer Section are worked on the RS only without turning.
- A ch-1 at the beg of a rnd does not count as a st.
- A ch-2 or ch-3 may be substituted for the STsc at any time without affecting the construction.
- To change colors in Rnds 6-7 of the Outer Section, work the final st of the rnd to the last YO, drop the working yarn and pick up the new color, finish the final st with the new color.
Pattern Instructions
Center Square
Work in turned rows for this section.
Row 1 (WS): With CA, Fsc 26 OR ch 27, sc in the 2nd ch from the hook and in each ch across, turn. < 26 sc >
Row 2 (RS): STsc, sk 1 st, GS in the next st, [sk 2 sts, GS in the next st] 7 times, sk 1 st, dc in the last st, turn. < 2 dc, 8 GS >
Row 3 (WS): STsc, crossed V-st over each GS across, dc in the last st, turn. < 2 dc, 8 crossed V-st >
Row 4: STsc, GS in the ch-1 sp of each V-st across, dc in the last st, turn. < 2 dc, 8 GS >
Rows 5-12: Rep Rows 3-4 4 times.
Row 13 (WS): Ch 1, sc in the same st and in each st across, turn and do not fasten off. < 26 sc >
Your work should measure approx. 7″ square before adding the next rounds.
Outer Section
Work in joined rounds without turning for this section.
Note: The ch-2 at the end of each step in Rnd 1 will become the ch-2 corner spaces
Rnd 1 (RS):
- Top: Continuing with CA, ch 1, sc in the same st and in each st across, ch 2. < 26 sc, ch-2 corner >
- Side 1: Rotate 90 degrees, sc in the end of Row 13, 3 sc in the end of Row 12, 2 sc in the ends of Rows 3-11, 3 sc in the end of Row 2, sc in the end of Row 1, ch 2. < 26 sc, ch-2 corner >
- Bottom: Rotate 90 degrees, sc in each st across, ch 2. < 26 sc, ch-2 corner >
- Side 2: Rotate 90 degrees, sc in the end of Row 1, 3 sc in the end of Row 2, 2 sc in the ends of Rows 3-11, 3 sc in the end of Row 12, sc in the end of Row 13, ch 2. < 26 sc, ch-2 corner >
- Join with slip st to beg sc on the top of the square. Fasten off.
Note: The hidden stitch after each corner of Rnd 2 is counted in the number of skipped sts.
Rnd 2 (RS): With CB, (Standing dc, 2 dc, ch 3, GS) in any ch-2 corner sp, [sk 3 sts, GS in the next st] 6 times, sk 2 sts, {(GS, ch 3, GS) in the ch-2 corner sp, [sk 3 sts, GS in the next st] 6 times, sk 2 sts} 3 times, join with slip st to beg st. < 32 GS, 4 ch-3 corner sp >
Rnd 3: STsc in the sp to the right of the hook, {(GS, ch 3, GS) in the ch-3 corner sp, GS in the next 7 sps} 3 times, (GS, ch 3, GS) in the ch-3 corner sp, GS in the next 6 sps, 2 dc in the next sp to complete the 1st GS, join with slip st to beg st. Fasten off. < 36 GS, 4 ch-3 corner sp >
Rnd 4: With CC, (Standing dc, 2 dc, ch 3, GS) in any ch-3 corner sp, GS in the next 8 sps, {(GS, ch 3, GS) in the next ch-3 corner sp, GS in the next 8 sps} 3 times, join with slip st to beg st. < 40 GS, 4 ch-3 corner sp >
Rnd 5: STsc in the sp to the right of the hook, {(GS, ch 2, GS) in the ch-3 corner sp, GS in the next 9 sps} 3 times, (GS, ch 2, GS) in the ch-3 corner sp, GS in the next 8 sps, 2 dc in the next sp to complete the 1st GS, join with slip st to beg st. Do not fasten off. < 44 GS, 4 ch-3 corner sp >
Note: Be sure to work the 1st hdc after each ch-2 corner sp in the hidden st.
Rnd 6: With CB, ch 1, hdc in the same st and in each st across to the next ch-2 corner sp, [(2 hdc, ch 2, 2 hdc) in the ch-2 corner sp, hdc in the next st and in each st across to the next ch-2 corner sp] 3 times, (2 hdc, ch 2, 2 hdc) in the ch-2 corner sp, hdc in the next st and in each st across to the beg st, invisible join with CA. < 37 hdc along each side, 4 ch-2 corner sp >
Rnd 7: With CA, ch 1, hdc 3lp in the same st and in each st across to the next ch-2 corner sp, [(2 hdc, ch 2, 2 hdc) in the ch-2 corner sp, hdc 3lp in the next st and in each st across to the next ch-2 corner sp] 3 times, (2 hdc, ch 2, 2 hdc) in the ch-2 corner sp, hdc 3lp in the next st and in each st across to the beg st, join with slip st to beg st. < 37 hdc 3lp along each side, 16 hdc, 4 ch-2 corner sp >
Fasten off and weave in ends. Block if necessary.