A granny stitch placemat that’s perfect for any season
Cherish every meal with the timeless charm of this granny stitch placemat—a versatile blend of simplicity and elegance, ideal for every season.
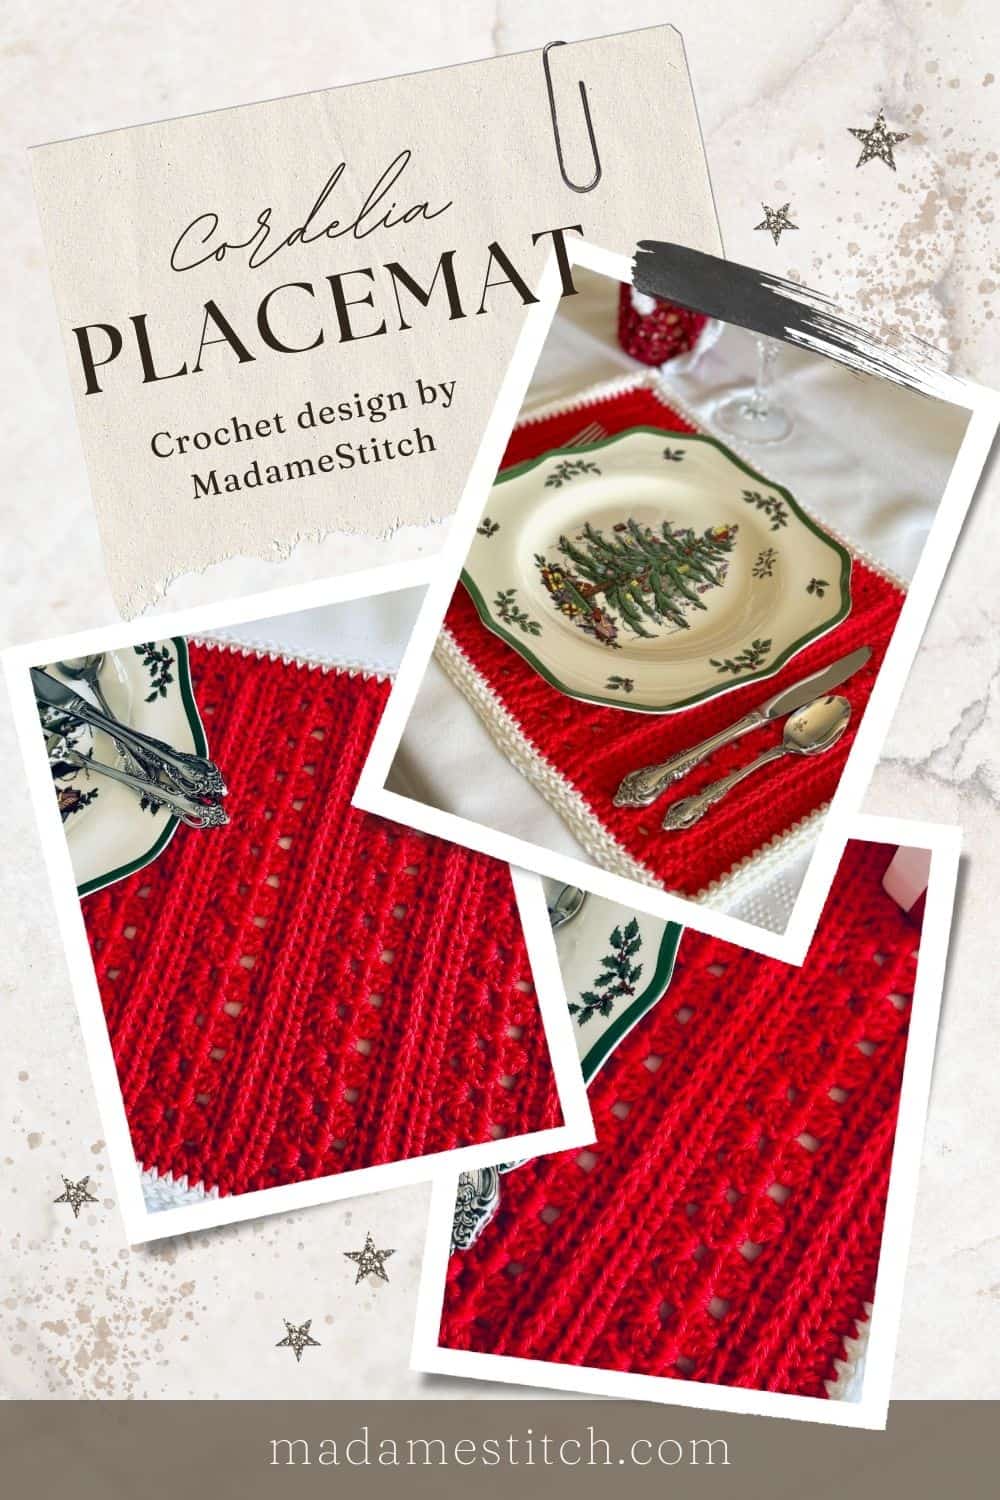
The Cordelia granny stitch Placemat
Believe it or not, I’ve never been one to focus too much on purposefully decorating my home. My decorating style is pretty functional with a side of memorabilia.
I look at what friends and family do in their homes and I have to admit I’m always a bit jealous. Their homes look put together and thought out, rather than the hodgepodge that happens at my house.
Let’s be clear, my house looks just fine, thank you. While everything is relatively coordinated, it wouldn’t pass the interior design test. Plus, our home is filled with memorabilia from all the places we’ve travelled.
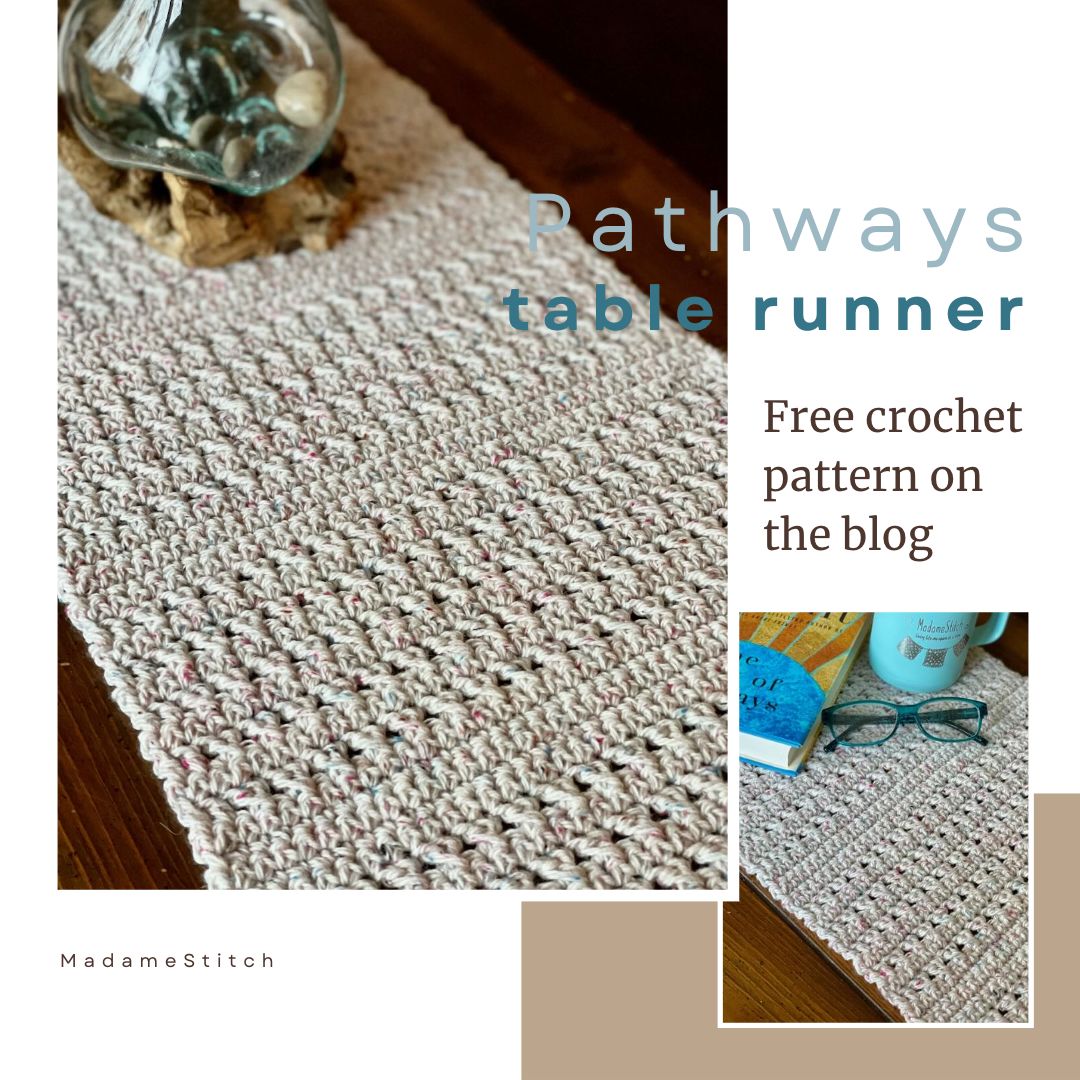
Now that the kids are grown, though, I’ve looked for more opportunities to add my crochet to the decor. My Pathways Table Runner is a perfect example. I love how it adds that finished touch to the coffee table and brings everything around it together.
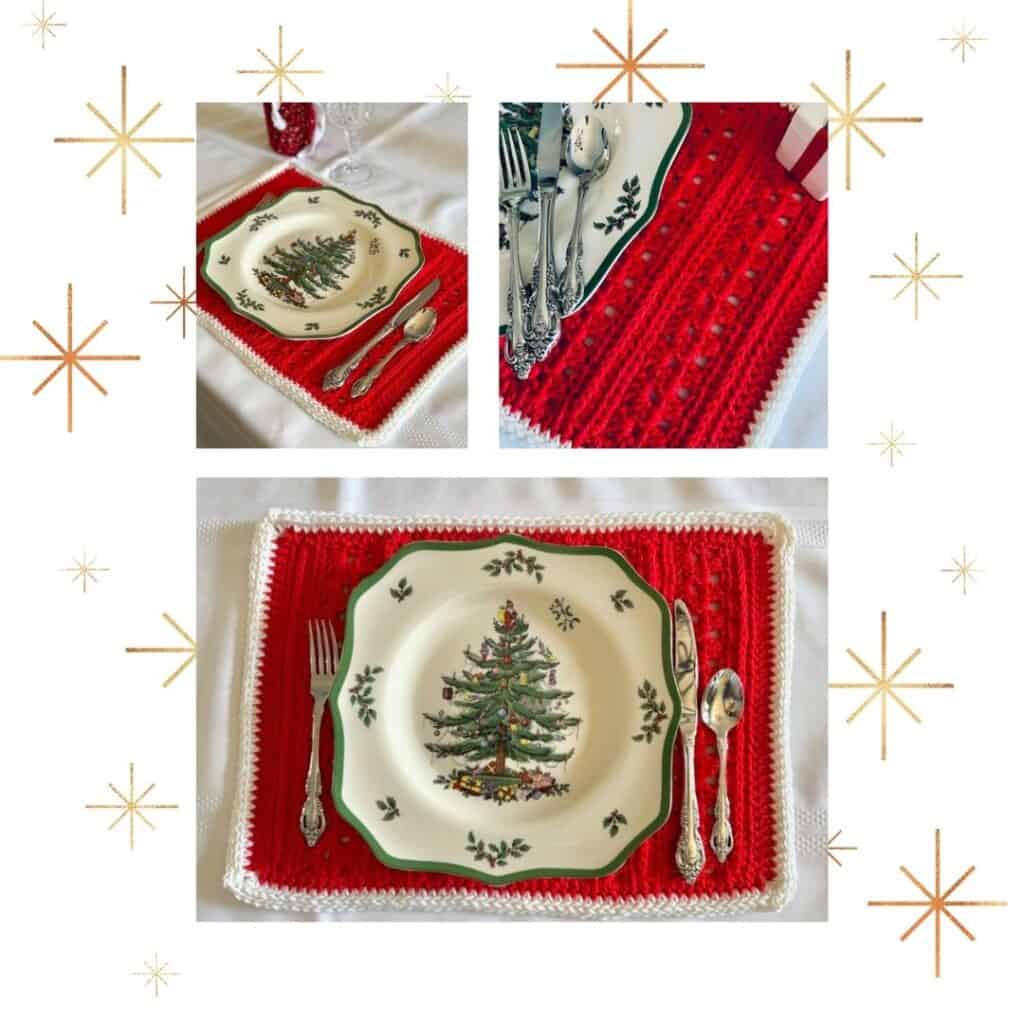
This year, I thought a set of placemats to go with my new Christmas tree plates was just what I needed. I grabbed some red yarn and a little bit of white yarn and went to town designing something special.
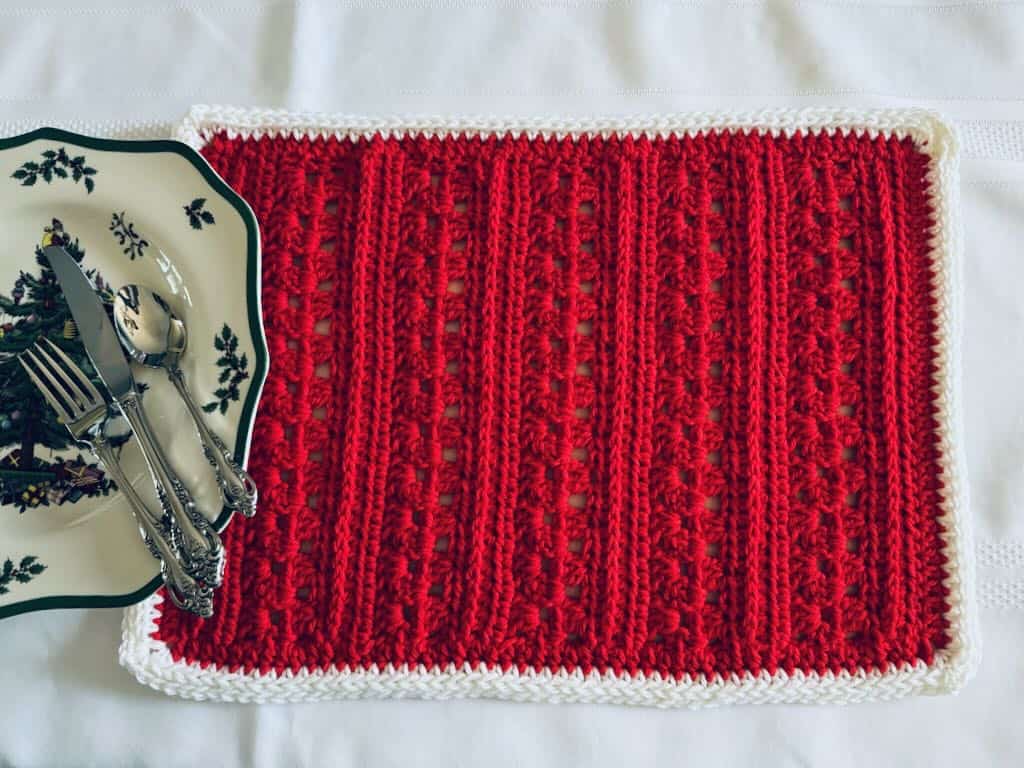
The result is the Cordelia Placemat, a beautiful blend of simplicity and tradition. This granny stitch placemat has charm and appeal for every season.
Design + Construction
Last year I designed the Cordelia Bandana Cowl and the Cordelia Infinity Scarf to add to my transitional weather wardrobe. I absolutely fell in love with the stitch pattern that combined the granny stitch with the half double crochet worked in the 3rd loop.
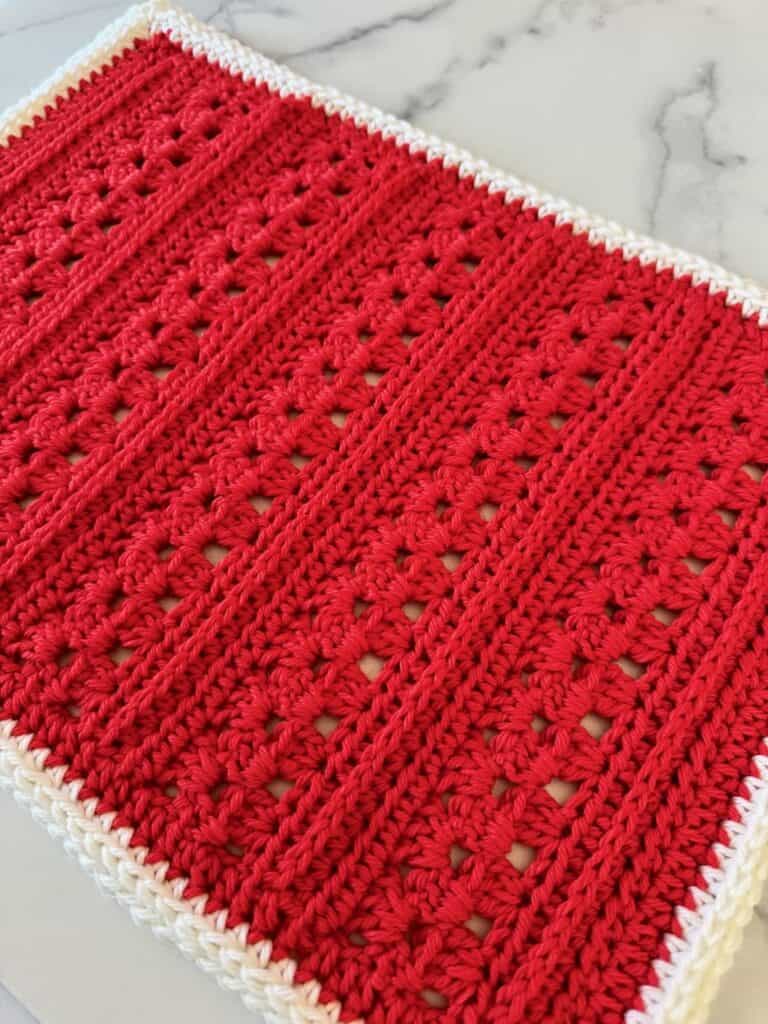
The Cordelia Placemat is a granny stitch placemat that uses the same stitch and pattern combination.
The unique look of this granny stitch placemat is achieved by mixing stitches and textures. The half double crochet and it’s close relative, the camel stitch (better known as the half double crochet in the 3rd loop) create sections of solid stitching for protecting your tabletop and surface texture for a simple, elegant look.
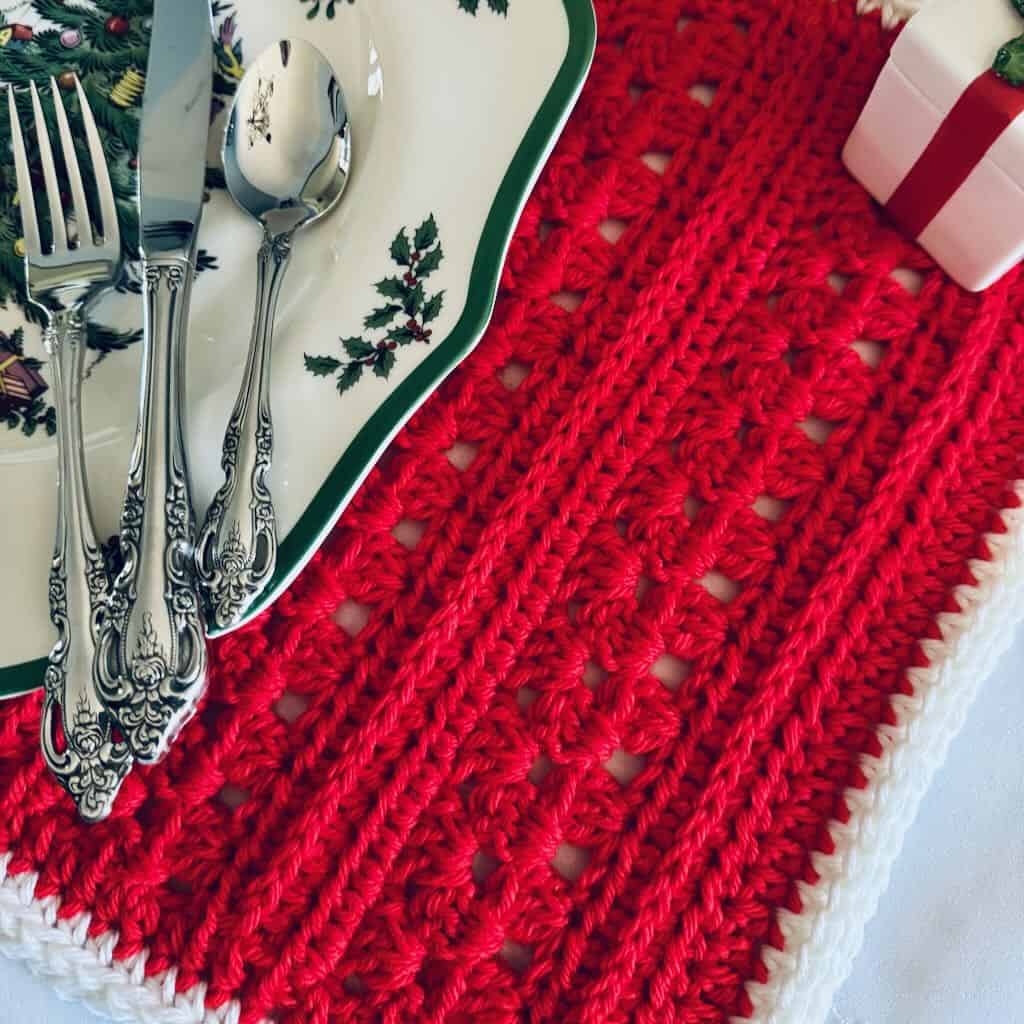
My personal favorite, the granny stitch, is the star of the show. Sections of this traditional stitch alternate with the half double crochet sections.
Because of its relatively solid construction, the granny stitch placemat will protect your tabletop or table cloth from the inevitable spill.
The contrasting border of the granny stitch placemat is worked in camel stitch (half double crochet worked in the 3rd loop) to add a distinctive edge to each placemat. If you’ve never worked the camel stitch, here’s a great tutorial by Agat of Made by Gootie.
The best part about the granny stitch placemat…only 4 ends to weave in when you’re done!
The Yarn for the granny stitch placemat
This post contains affiliate links. That means, if you purchase something using the link, I receive a small commission. You don’t pay any extra and your information is safe. Thanks for supporting my small business.
I designed this granny stitch placemat to made with any acrylic or acrylic blend worsted weight yarn you like. Whatever you choose, be sure to find a fiber content that supports the use of the placemat.
Will your granny stitch placemat be used at every meal? Do you have a messy family? Will it need constant laundering? You should definitely choose something that’s durable, retains its shape, and can stand up to repeated laundering.
Or, is your new granny stitch placemat for decoration only?
Answering those questions will help you decide exactly what type of worsted weight yarn to choose for your granny stitch placemat.
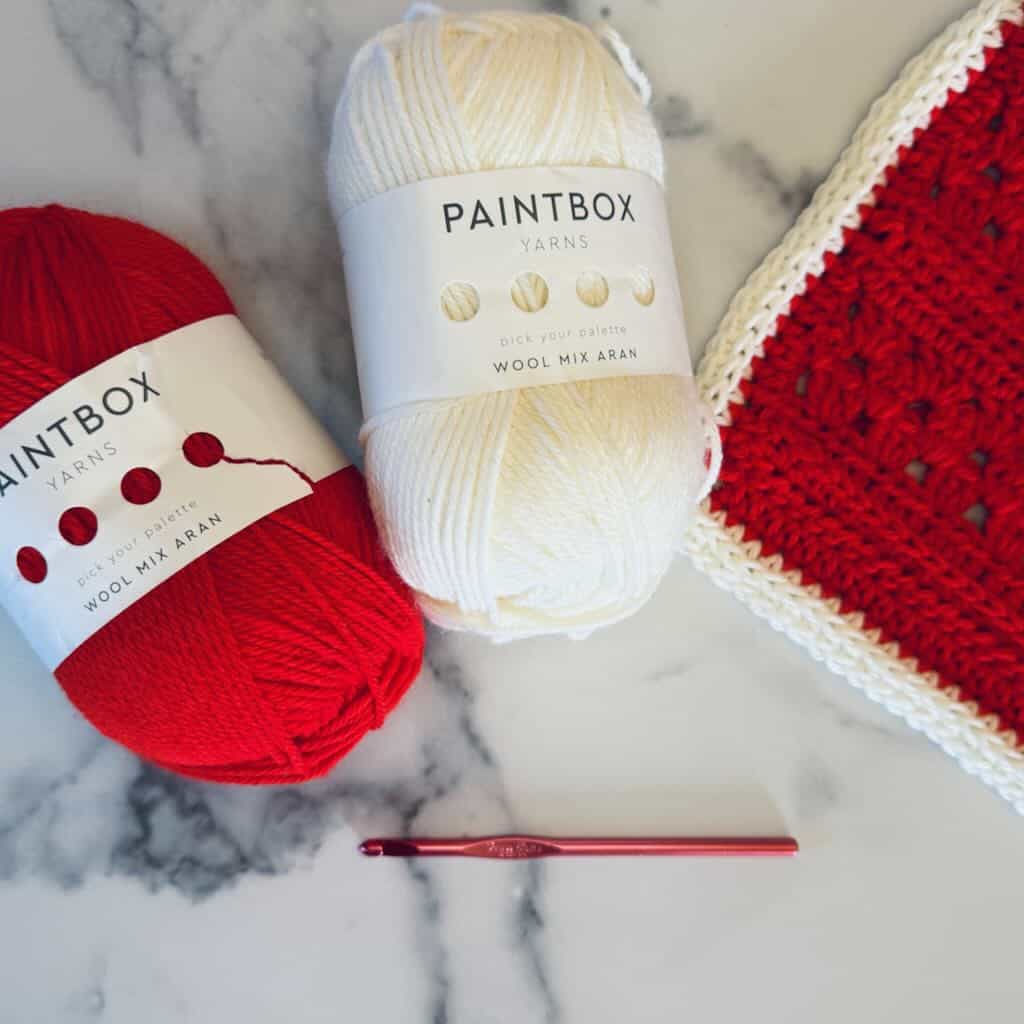
For the sample, I chose red and white for my granny stitch placemat for a Christmas themed table setting. I happened to have some Paintbox Yarns “Wool Mix Aran” in my stash.
However, keep in mind that the Cordelia granny stitch placemat can be used year round. All you have to do is choose the colors that match your decor or the season for which they’re intended.
How to care for your placemat
Keep in mind that your granny stitch placemat is handmade. Regardless of how durable you think it might be, it deserves special care to maintain its beauty and life.
First, follow the care instructions on the yarn label. The manufacturer will recommend what is best for the yarn you used.
Then, if you choose to machine wash your placemat, be sure to put it in a mesh laundry bag. And, instead of machine drying, lay the placemat flat to dry.
Skill level
The stitch patterns are very easy to remember, making this granny stitch placemat the ideal mindful project for binge watching your favorite show. It’s a beginner friendly pattern using mostly basic stitches and techniques.
I’ve designated the skill level for this granny stitch placemat pattern as Adventurous Beginner, someone who’s had some experience with working beyond just the basic stitches.
Where to get the PDF
The Cordelia Placemat is a free crochet granny stitch placemat pattern in this blog post. Scroll down to view the free version.

However, if you’d like a printer friendly and downloadable version of the PDF, I recommend you purchase it from one of my shops.

The purchased PDF can be uploaded to your favorite mobile device so you can take your Cordelia granny stitch placemat project with you to work on whenever you’re out and about.

The PDF is easy to read and beautifully formatted without ads for a great experience. Get your copy today!


The Cordelia Placemat Free Pattern Starts Here
Materials
Yarn
Paintbox Yarns “Wool Mix Aran” 50% wool, 50% acrylic worsted weight (3.5oz/196yd; 100g/180m)
Main color (MC) – Red 813 – 1 skein Contrasting color (CC) – Paper White 800 – 35 yds.
Any worsted weight yarn appropriate for granny stitch placemat will work.
Hook
US size I-9 (5.5mm) or size needed to meet gauge
Finished Size: Approx. 13″ wide x 18″ long after blocking
Gauge: 13 hdc x Rows 1-9 = 4″
Skill Level: Adventurous beginner
Abbreviations – US crochet terminology
- beg – beginning
- BLO – back loop only
- ch – chain
- dc – double crochet
- hdc – half double crochet
- rep – repeat
- rnd(s) – round(s)
- sc – single crochet
- sk – skip
- sp – space
- st(s) – stitch(es)
- RS – right side
- WS – wrong side
- YO – yarn over
Special Stitches
Foundation half double crochet (Fhdc) – To start the row, ch 2, YO, insert hook in the 2nd ch from the hook, YO, pull up a loop, YO, pull through 1 loop (this forms the chain along the bottom), YO, pull through all 3 loops on the hook (hdc made).
All other Fhdc in the row: YO, insert hook under both loops of the ch at the bottom of the previous st, YO, pull up a loop, YO, pull through 1 loop (this forms the chain along the bottom), YO, pull through all 3 loops on the hook (hdc made).
Granny stitch (GS) – 3 dc in the same st or sp
Stacked single crochet (STsc) – (This stitch is used at the beginning of a row or round to replace the traditional turning ch-3. It has the appearance of a dc.) – Insert hook in same st as loop, YO, draw up loop, YO, pull through 2 loops (bottom sc made), insert hook in left vertical bar of bottom sc, YO, draw up loop, YO, pull through 2 loops (top sc made).

Working in the 3rd loop: The 3rd loop is the loop that sits on the back side of a stitch just under the top loop of that stitch. It can be accessed from the right or wrong side of the fabric and the look will still be the same. In this pattern, the sc 3lp is part of the Border and is worked with the RS facing. That means the 3rd loop will be behind the top loop. The hdc 3lp is part of the body of the placemat and is worked with the WS facing. That means the 3rd loop will be in front of the top loop.
Single crochet in the 3rd loop (sc 3lp) – (Worked in the 3rd loop that sits under the top loop on the WS of the fabric) Insert hook through the 3rd loop, YO, pull through 3rd loop, YO, pull through both loops on hook to complete the sc.
Half double crochet in the 3rd loop (hdc 3lp) – YO, insert hook through the 3rd loop of the indicated st, YO, pull up a loop, YO, pull through all 3 loops on the hook.
Pattern Notes
- A ch-1 at the beg of a row does not count as a st.
- The Fhdc may tend to be tight. If so, use a size larger hook for Row 1 only.
- While the STsc gives the edge of the placemat a straighter edge, a ch-3 may be substituted at any time without altering the construction of the square.
- Because there are no ch-1 spaces between the granny stitches, the granny stitch is worked in the space where that ch-1 sp would have been, between GS groups from the previous row.
- In Rnd 3 of the Border, be sure to work a sc 3lp in the hidden st. The 1st st after a corner is typically hidden by the sts worked in the corner sp. Even though it may appear to be covered, it should be worked into.
Written Instructions
Body
Row 1 (WS): With MC, Fhdc 35 OR ch 36, hdc in 2nd ch from hook and in each ch across, turn. (35 hdc)
Row 2 (RS): Ch 1, hdc in the same st and in each st across, turn. (35 hdc)
Row 3 (WS): Ch 1, hdc 3lp in the same st and in each st across, turn. (35 hdc 3lp)
Row 4: STsc, sk 1 st, GS in the next st, [sk 2 sts, GS in the next st] across to last 2 sts, sk 1 st, dc in the last st, turn. (11 GS, 2 dc)
Row 5: STsc, dc in the sp before the 1st GS of the previous row, GS in the next sp and in each sp across to last sp, dc in the last sp, dc in the last st, turn. (10 GS, 4 dc)
Row 6: STsc, GS in the next sp and in each sp across, dc in the last st, turn. (11 GS, 2 dc)
Row 7: Ch 1, hdc in the same st and in each st across, turn. (35 hdc)
Row 8: Rep Row 7.
Row 9: Ch 1, hdc 3lp in the same st and in each st across, turn. (35 hdc 3lp)
Rows 10-33: Rep Rows 4-9 4 times.
Do not fasten off. Turn at the end of Row 33 and proceed to the Border.
Border
Note: Do not turn after any rnd.
Rnd 1 (RS)
Side edge 1: Ch 1, (hdc, ch 1, hdc) in the same st, hdc in the next st and in each st across to the last st, (hdc, ch 1, hdc) in the last st. (37 hdc, 2 ch-1 sp)
Bottom: Rotate 90 degrees, work a hdc at the end of each hdc row and 2 hdc at the end of each dc row evenly along the bottom edge. (48 hdc)
Side edge 2: Rotate 90 degrees, (hdc, ch 1, hdc) in the 1st ch, hdc in next ch and in each ch across to last ch, (hdc, ch 1, hdc) in the last ch. (37 hdc, 2 ch-1 sp)
Top: Rotate 90 degrees, work a hdc at the end of each hdc row and 2 hdc at the end of each dc row evenly along the top edge, join with slip st to beg st. Fasten off. (48 hdc)
Rnd 2: Attach CC to any corner sp, ch 1, (hdc, ch 1, hdc) in the same corner, hdc in the next st and in each st across to the next corner sp, [(hdc, ch 1, hdc) in the corner, hdc in next st and in each st across to the next corner sp] 3 times, join with slip st to beg st. (178 hdc, 4 ch-1 sp)
Rnd 3: Slip st into the corner sp, ch 1, 2 sc in the same corner, sc 3lp in the next st and in each st across to the next corner sp, [2 sc in the corner, sc 3lp in the next st and in each st across to the next corner sp] 3 times, join with slip st to beg st. (8 sc, 178 sc 3lp)
Fasten off and weave in ends.
Your Cordelia granny stitch placemat is done! Make one or make a whole set for your next dinner party.


2 Comments